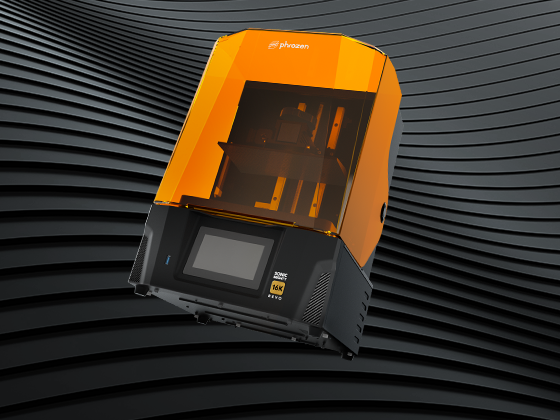
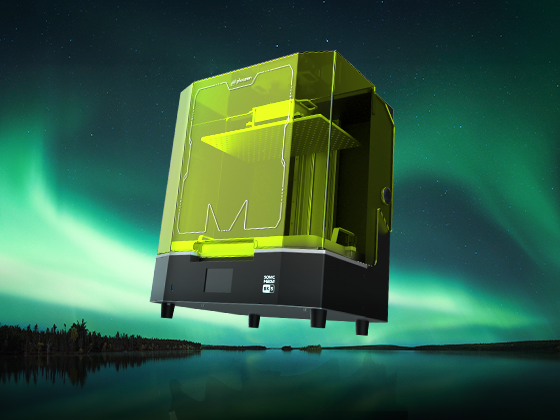
Jewelry 3D printing is a convenient way to produce large quantities of jewelry pieces in bulk as well as custom-made jewelry that can be created at a much more affordable price than previously possible. To learn more about which LCD 3D printers are best suited for jewelry printing, please click here.
As more and more jewelers are turning to 3D printing to create jewelry prints, it is important to be aware of the proper way of cleaning and curing jewelry pieces after they have been printed out.
Let’s begin by taking a look at the steps required to clean your jewelry pieces:
How to Thoroughly Clean your Jewelry 3D Prints
Before beginning this procedure, please wear gloves for safety purposes.

Step 1:
First things first, make sure to use a metal scraper to remove your jewelry prints. The scraper should be included in your Phrozen resin 3D printer’s toolbox. Add enough force so that your 3D prints pop right out.
Step 2:

Then submerge your jewelry prints into 99% IPA or 95% ethanol and store the resin 3D prints in a glass container. Make sure to tightly lock the container.
Step 3:
Take the container and put it in Phrozen Ultrasonic Cleaner. Turn the device on for approximately 1 minute.
If you don’t own Phrozen Ultrasonic Cleaner, you can directly put your jewelry prints in an alcohol solution and shake vigorously for roughly 30-40 seconds.
Take out your jewelry prints and check for any residual resin.
Step 4:
If your jewelry prints still contain residual resin, please repeat Step 3 until there is no residue left.
Step 5:

After your 3D prints have been thoroughly cleaned, use an air gun to blow dry your 3D jewelry models.
If you find any shiny spots on your prints during this process, please repeat Steps 3 to 5. At the end of the process, your jewelry prints should have a matte finish.
How to Properly Cure your Jewelry 3D Prints
After thoroughly cleaning your jewelry prints, it’s time to move onto the next step: Curing. 
Step 1:
Place your residue-free 3D jewelry models into a glass bowl and fill the glass bowl with glycerin. Fill until your jewelry prints are completely submerged in glycerin. This is to ensure that the 3D prints cure properly.
Step 2:
Place the glass bowl into one of Phrozen’s curing lamps, Phrozen Cure, Phrozen Cure XL,Phrozen Cure Luna, or Phrozen Cure Mega. Turn the device on for roughly 30 to 40 minutes. Please note that curing times may vary based on the type of chamber used and differences in jewelry prints.
If you don’t own a UV curing lamp, you can also place the bowl in a place where your jewelry prints can be exposed to sunlight or 60-watt, 390-405 UV curing light.
Step 3:

Rotate your jewelry prints every 10 minutes to ensure that every part of the print is evenly exposed to UV light.
You can skip this step if your own one of Phrozen’s Curing chambers as they come equipped with turntables that rotate 360 degrees to ensure that every part of your print is exposed to UV light in an even manner.
Step 4:
After the curing process is complete, press your jewelry 3D prints from different angles and check to see if your jewelry prints are thoroughly cured. If cured, your 3D jewelry prints should be extremely rigid.
Jewelry prints should not be brittle by this stage. If any part of your 3D jewelry pieces seems soft or fragile, please cure the models for an additional 10 minutes.
Step 5:
Repeat Step 4 until your jewelry pieces are stiff and rigid.
Step 6:
After it is cured, wash your jewelry pieces in hot water before washing them in cold water. Then use an air gun to dry off your jewelry 3D prints.
Step 7:
After drying off your jewelry pieces, submerge them in a Clean IPA for roughly 30 seconds.
Step 8:
Once your prints are completely dry, you’re all set! You can now cast your jewelry 3D prints, use them for rubber molding, or use them for demonstrative purposes.
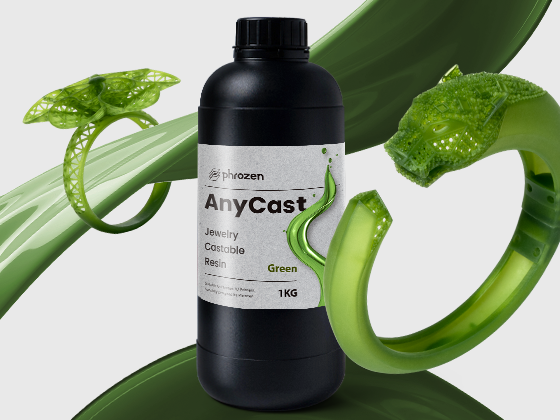
To learn more about which resins work best for jewelry 3D printing, please click here.



1 comment
Christian Herrera
Saludos Phrozen 3D …. En el mes de noviembre compré una impresora Sonic mini 8k , y dos botes de Wax-Like Casteable Resina Violet de 500g , he tenido inconvenientes en el proceso de impresión y curado , por favor me pueden ayudar en esto y configurar la resina Phrozen,,, estoy utilizando el programa Lychee Slicee Resina ,,,,, espero sus respuestas, gracias!
———
Phrozen Technology replied:
Hi Christian,
Please fill out the form at https://phrozen3d.net/U3GT4, and we will assist you shortly.
Cheers, Phrozen Team
>