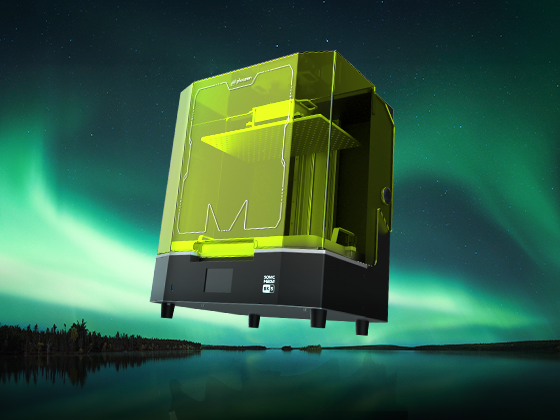


With an extended printing area of 9.3" and a 22cm Z-axis, Sonic Mighty 4K empowers makers to print larger and more ambitious builds that match your exact designs.
In this article, we will guide you through the steps of unpacking your Sonic Mighty 4K LCD 3D printer and introduce you to all the components and tools included in the box.
- Unpacking: Straight Out of the Box
- What’s in the Toolbox?
Unpacking: Straight Out of the Box
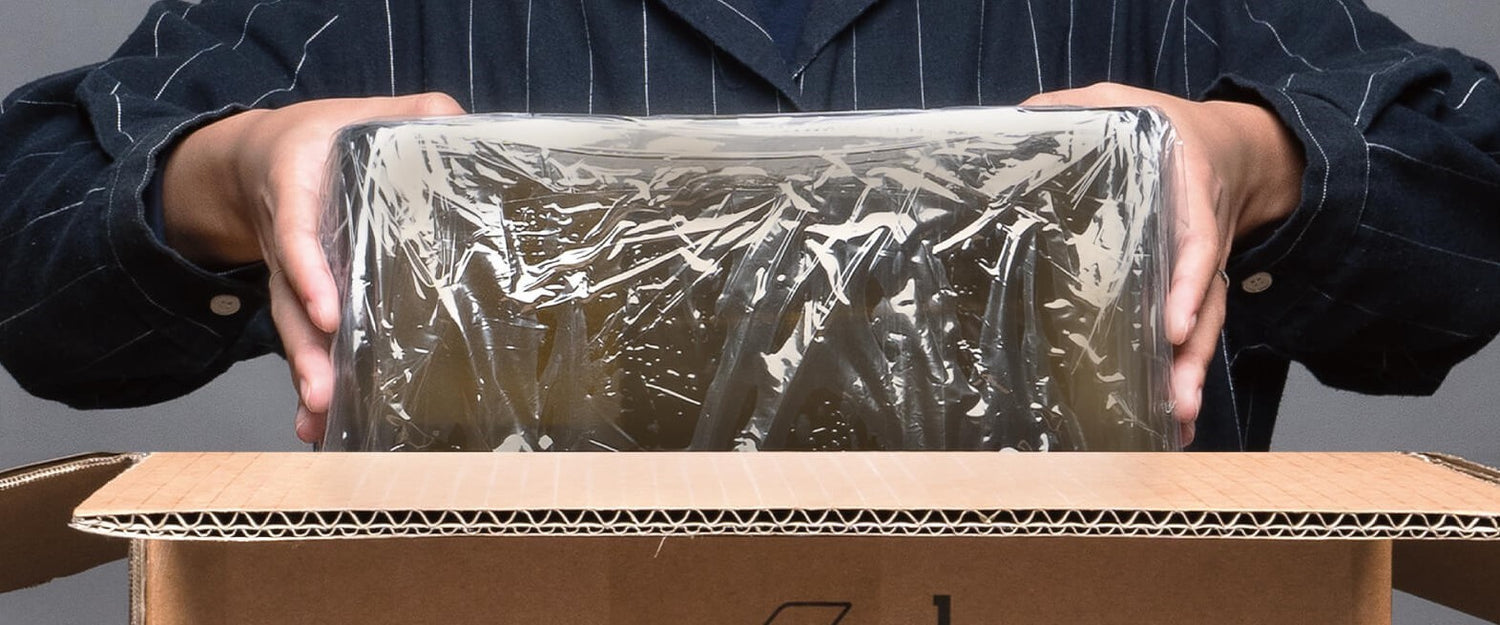
This box contains 1 Sonic Mighty 4K resin 3D printer, wrapped in plastic wrap, with four sections of cushions protecting it. This includes an upper cushion, middle cushion, lower cushion, and an inner cushion. The Sonic Mighty 4K toolbox is placed inside the plastic case. To unpack:

Step 1: Open the box.

Step 2: Take the 3D printer out of the box. Place the 3D printer on a flat and stable surface. 
Step 3: Remove the plastic foil from the printer. 
Step 4: Remove the plastic case. Then remove the toolbox and the inner cushion.
What’s in the Toolbox?

The toolbox contains essential tools for setting up the Sonic Mighty 4K as well as tools to maintain your device after you’ve finished printing.
*Important: Double-check to see whether everything is included in your toolbox. Make sure to understand how each tool is used before proceeding onto the next step.
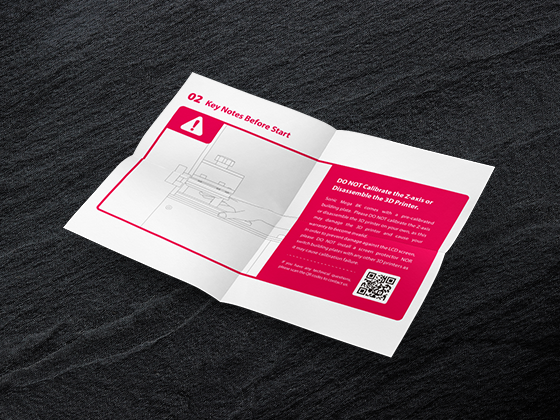
User Manual
The user manual contains essential information for users to set up their Sonic Mighty 4K. This includes the introduction of functions and capabilities of the device, keynotes before printing, and a step-by-step tutorial for setting up the LCD 3D printer.
Gloves
Please avoid direct contact with resin. This includes any part of your body or clothing. We suggest wearing PPE (Personal Protective Equipment) such as masks, goggles, and gloves while printing and using resin.
Scraper Set
The metal scraper is used for removing models from the building plate after printing. The plastic scraper is for cleaning the resin vat after printing or removing cured resin that is stuck on the FEP film or LCD screen.
*Important: DO NOT use the metal scraper to remove cured resin stuck on the FEP film.
Adapter
To start your device, you will need to connect the adapter to your Sonic Mighty 4K.
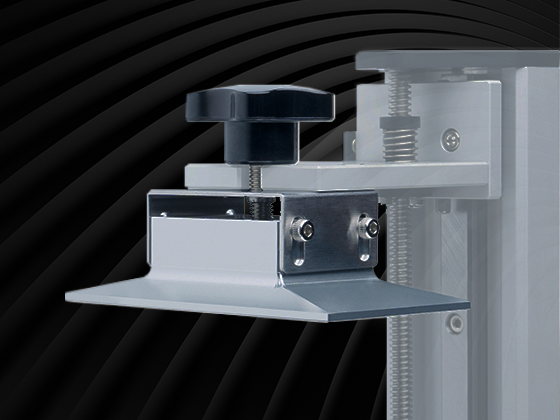
Allen Wrench
The Allen wrench included in the toolbox is intended for unscrewing and tightening the building plate while performing the Z-axis Calibration test.
Plastic Funnel
The plastic funnel is used for filtering out the excess resin after printing. Simply place the plastic funnel on top of the resin bottle cap, then pour the resin back into the bottle.
USB
Sonic Mighty 4K only supports USB drive file transfer. The USB is used to store your 3D printing file. Plug it into your LCD 3D printer and you’re good to go.
Backup Screws
The backup screws are intended for the building plate.
Click here to learn about the hardware and components of your Sonic Mighty 4K.