As one of the first and most classic sci-fi novels known to man, The War of the Worlds tells the story of a catastrophic conflict between humans and extraterrestrial Martians. First published in 1897, it has since been adapted into several movies and artworks, including Jeff Wayne's Musical Version of The War of the Worlds.
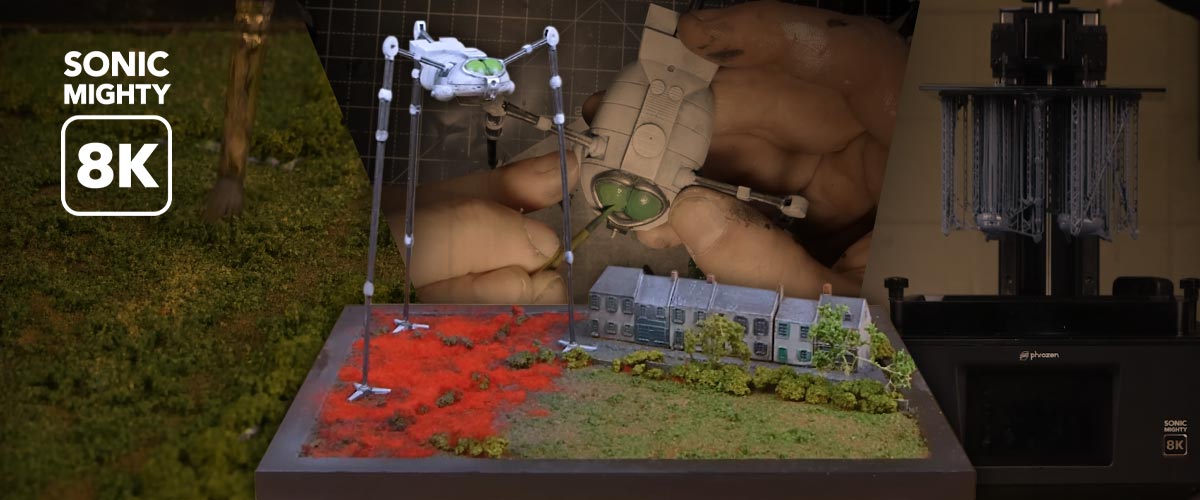
This time, taking inspiration from Wayne's work, Luke was excited to create The War of the Worlds miniature diorama.
Why a Miniature Diorama?
Luke mentioned that he wanted to make it a small-scale diorama instead of his usual standard one simply because he didn't want to build anything massive while still successfully showing the mindblowing scale of the war machine.
But of course, there are some pros and cons of the choice.
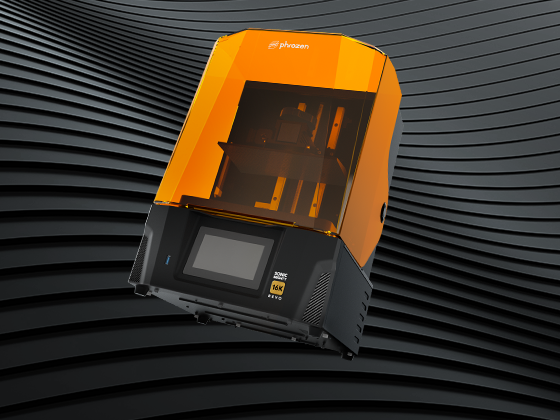
Why Choosing the Sonic Mighty 8K?
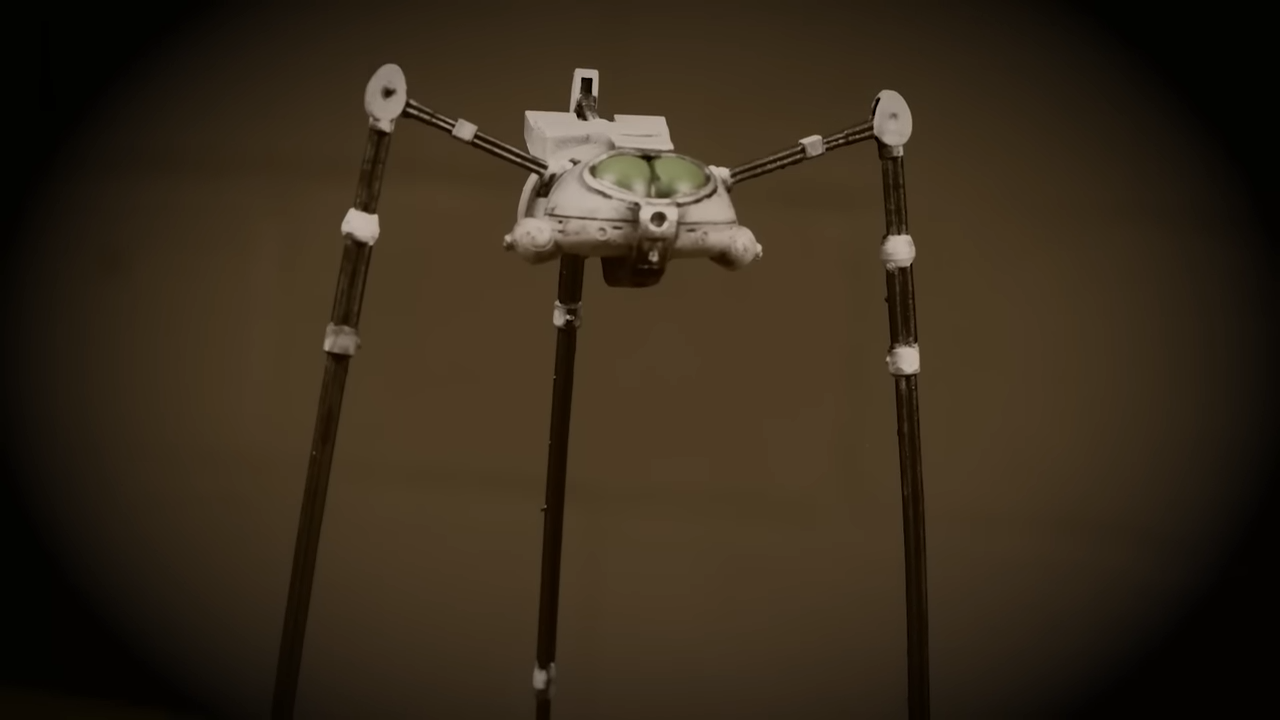
The Martian spaceship model inspired by Wayne's album that Luke used on this diorama is nowhere near full of details. Instead, it's almost so plain with minimum poly. So why did Luke choose such a high-resolution printer for such models?
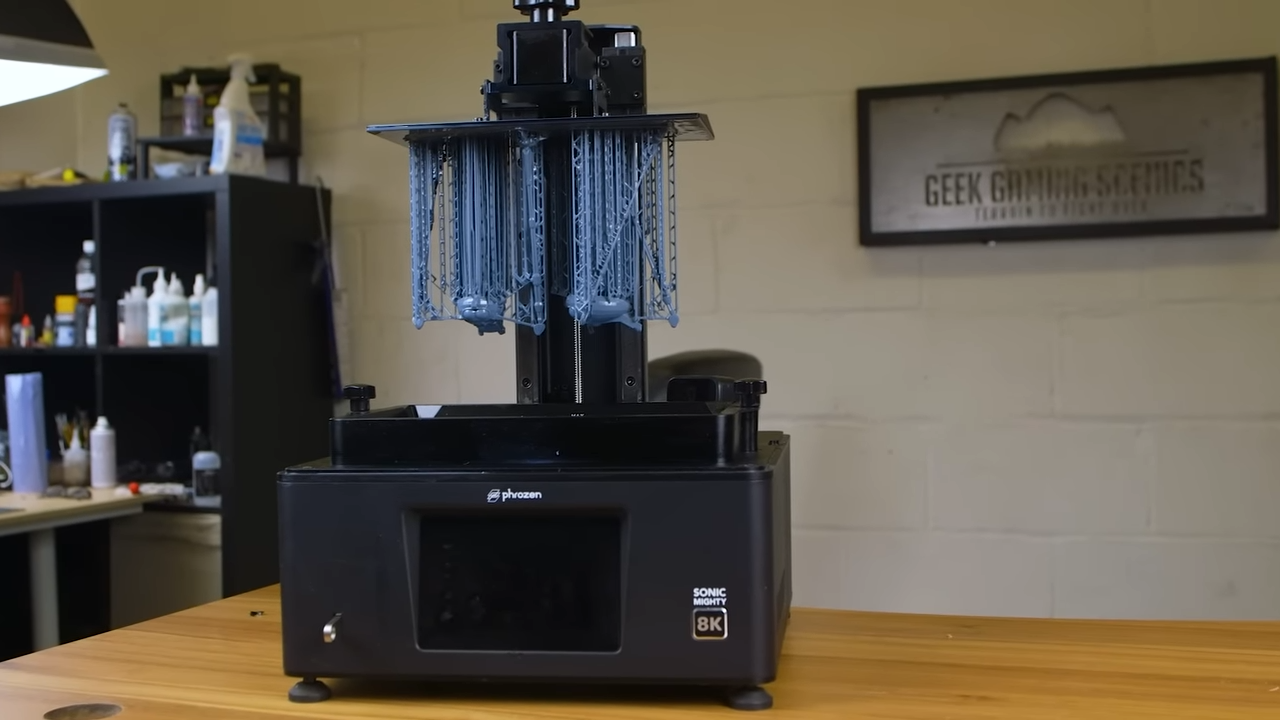
According to Luke, the tripod-shaped spaceship model has a lot of flat surfaces and smooth areas, which actually required a really low micron display to complete the job. The high-resolution and dense pixels of the Sonic Mighty 8K have made voxel and layer lines pretty much non-existent. In addition, the printer's bigger size means he can easily print out his spaceship model in one complete piece.
In fact, it fits two of the spaceship models perfectly. You may think, why on earth would he need two of the same models? But Luke said that since he got the model from Thingiverse and it looks like it wasn't meant for resin printing, he needs to make sure that it was successfully printed. So he printed two, just in case.
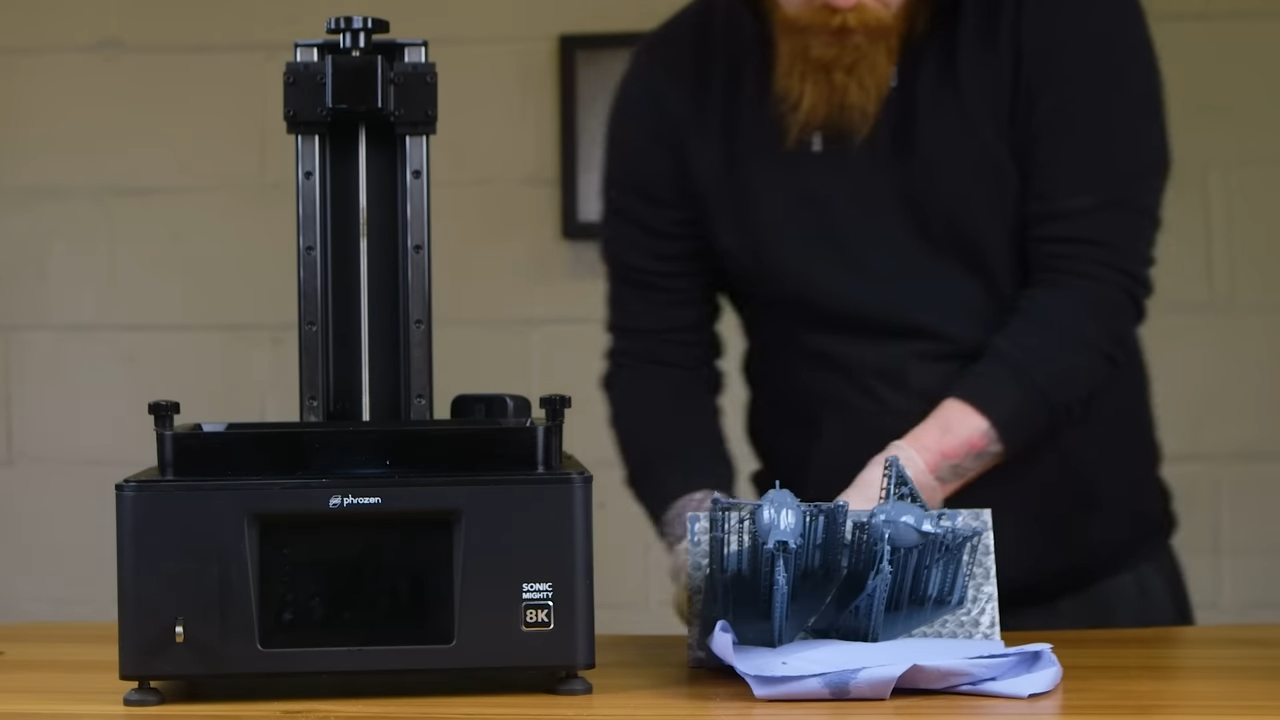
Fortunately, both models came out perfect, even beyond his expectations. Luke thought that the legs might be too flimsy and flexible, but they printed out really well, even without errors.
Painting Smooth-Surfaced Model
Painting the model was initially intimidating, as adding black primer and white paint to the model could easily mean accidentally accentuating the voxel lines. Yet, Luke was astonished to see how smooth the results were despite his model placement and printing orientation.

He also worried about how the paint wash and glaze might highlight unwanted details, but in reality, neither of these things highlighted anything, and he was very happy to now have a nice little display piece.
For the spaceship window that looks more like eyes, he just layered multiple green paints and added one coat of silver to where he wanted it to be metallic. That's it.
Preparing the Terrain
For the diorama, Luke decided to take inspiration from the BBC series of The War of the World, where the Walker comes up behind the church.
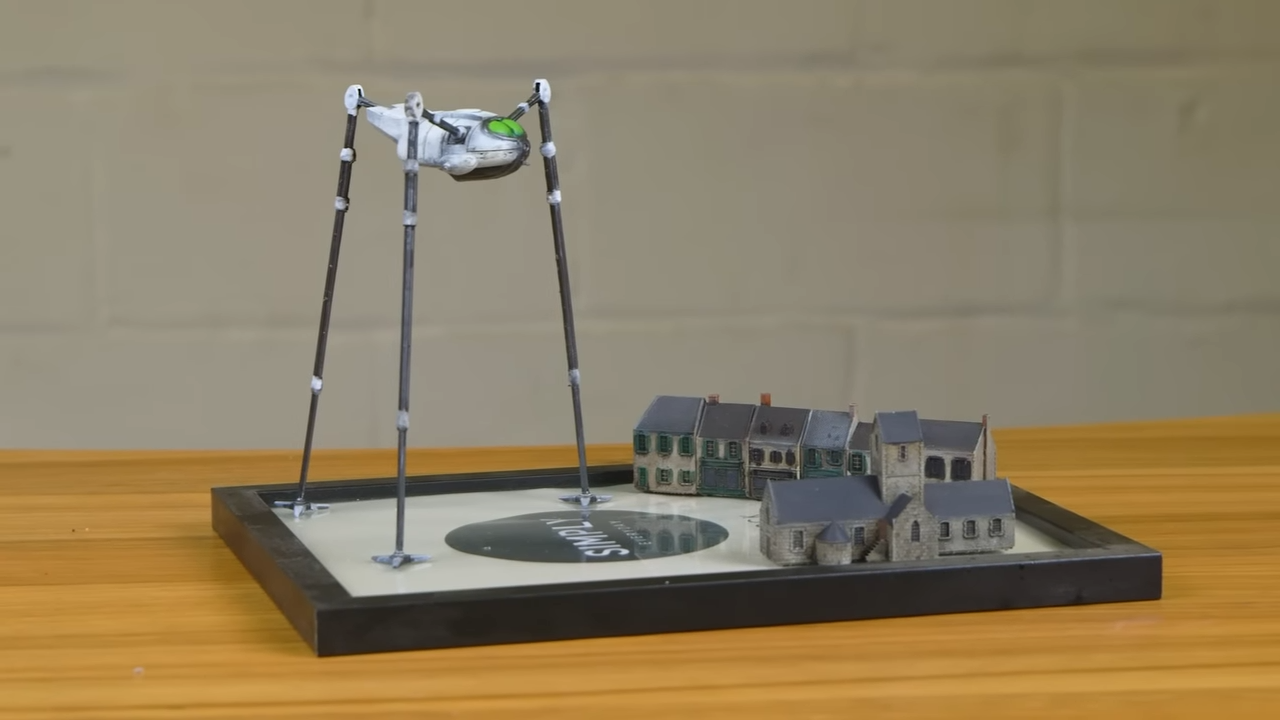
But he was off to a difficult start since the Martian spaceship was still too big for the terrain even after printing them at just 4% of the original model size.
He started off with a cork paper to create a standard town base for his diorama and another layer to give some elevation to the building models. Since the scene was rather simple, he added some 3D-printed resin walls just to give distinction to the area, adding as many details as possible without making them look too busy.
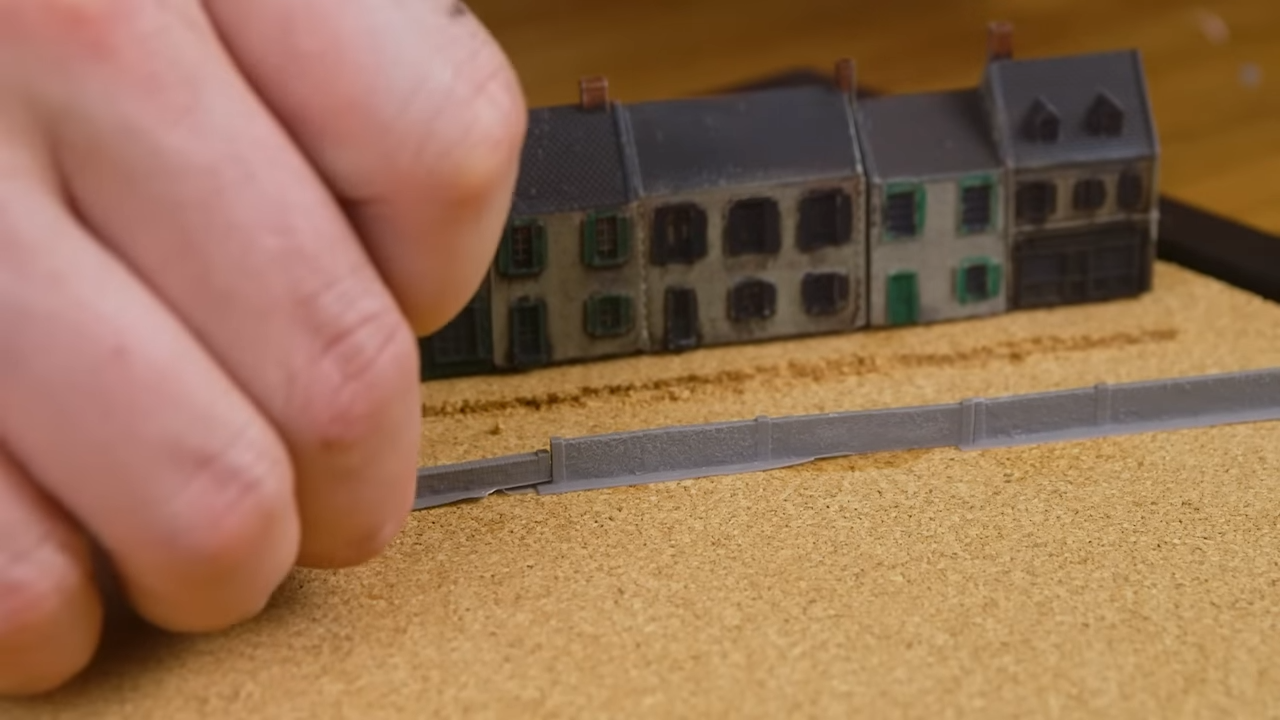
For the ground, he did the exact thing he did in the previous small-scale diorama, shifting on some grout and soil mixture to cover the whole area.
As it's such a small-scale diorama, Luke needs to get creative on how to use some of his usual stuff. The clump foliage he normally uses for weeds and ground coverings are now suddenly big bushes. This means he needs something way finer to use as ground covering. To start, he sprinkled the green blend foam cover randomly, sealed it with the matte scenic sealant, and started breaking the ground up with a brush to expose some of the grout and create texture.
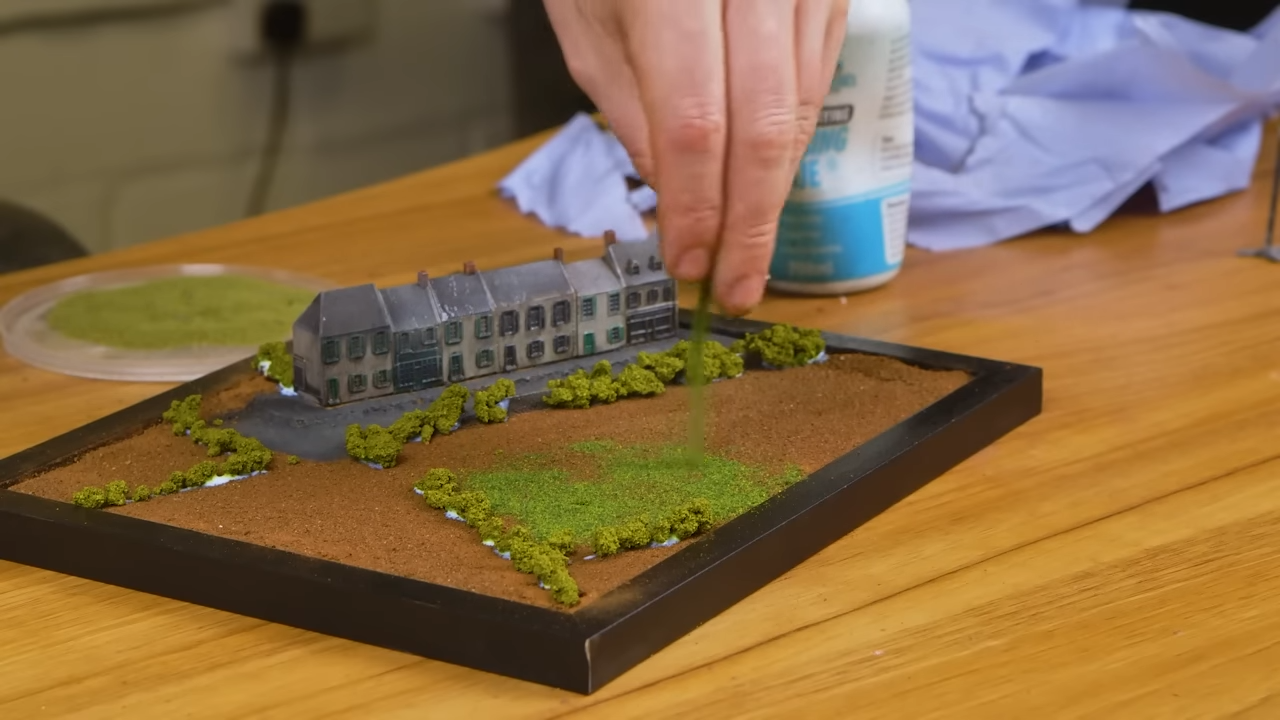
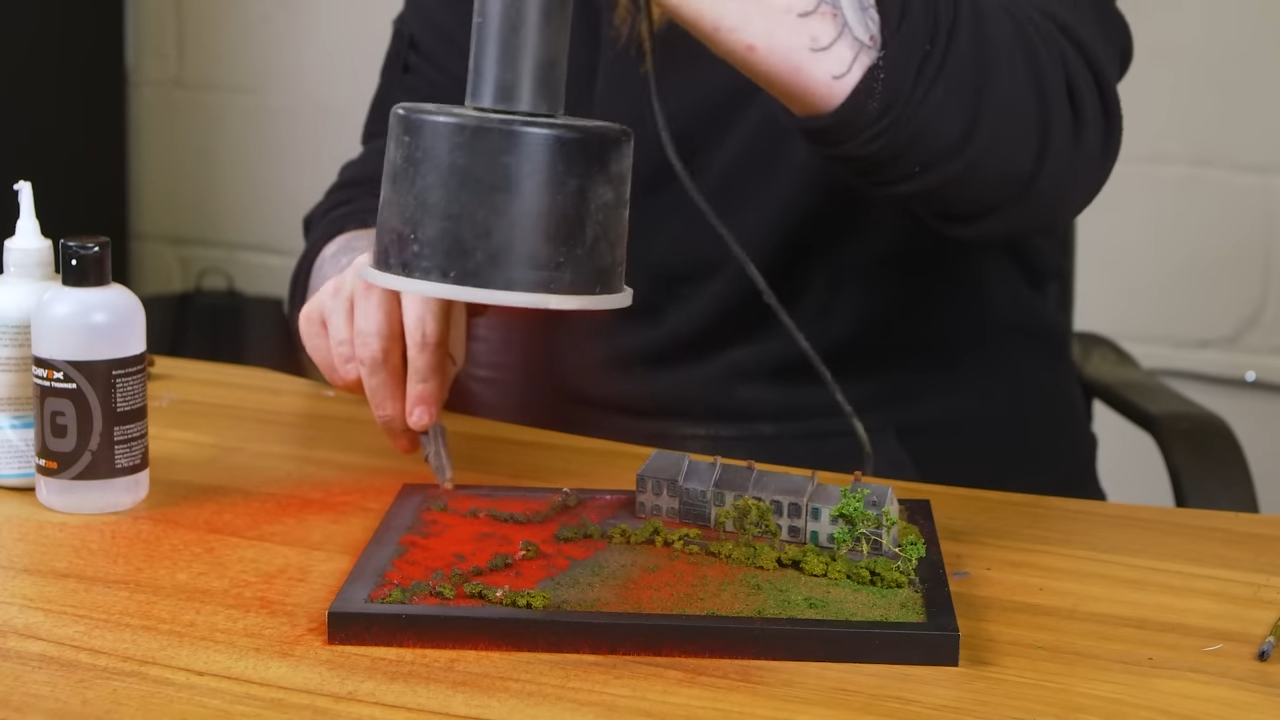
For the last touch, before adding on the red weed, Luke went ahead and did a thin layer of gray airbrush to make the grass look dead and darker under the red. To make the red grass, Luke used the bright red 2 mm static grass and a static grass applicator to create standing grass and sprinkled some more with his hand along the perimeter.
The Final 8K Miniature Diorama
Luke said that this is definitely not his best diorama as it looks rather empty due to the limitation he has with such a small-scale terrain.
Doing the static grass on such a miniature level is also a great learning experience, along with using clump foliage for bushes despite it being his less preferred method. But with a space that small, there's not much choice for him.
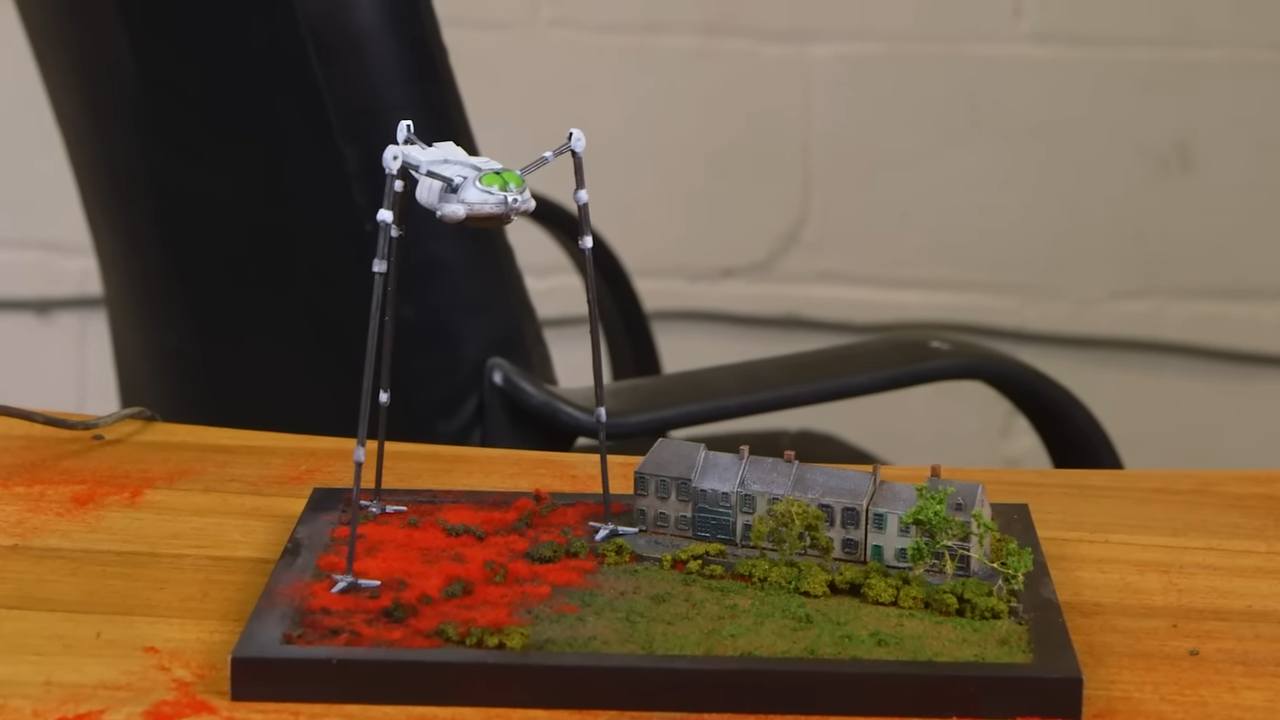
Regardless, he enjoyed making the diorama. He loves The War of the Worlds, and for him, this is a perfect way to show your love for the classic novel.
If you are planning to do more sci-fi models and dioramas, Luke definitely recommends the Sonic Mighty 8K. He mentioned that it's such a great printer for mostly soft surfaces in sci-fi stuff. It gives you enough space to print various model styles along with an extremely high resolution to make sure everything is printed to perfection.
How about you? What do you think about this diorama? Do you love it? Do you hate it? Let us know in the comment below, and make sure to watch Luke's video below to see his whole process.

