Are you part of the club that thinks that the book is always better than the movie?
Or are you part of another club that thinks that merchandise toys sold in the Toys R Us aisle always look nothing like their portrayal in the movie? Zedabyu (pronounced Zay-The-Byou) is definitely part of the second one, and he is now neck deep into a journey of fixing every Toy Story character's official toy, making them just like how they look in the movie.
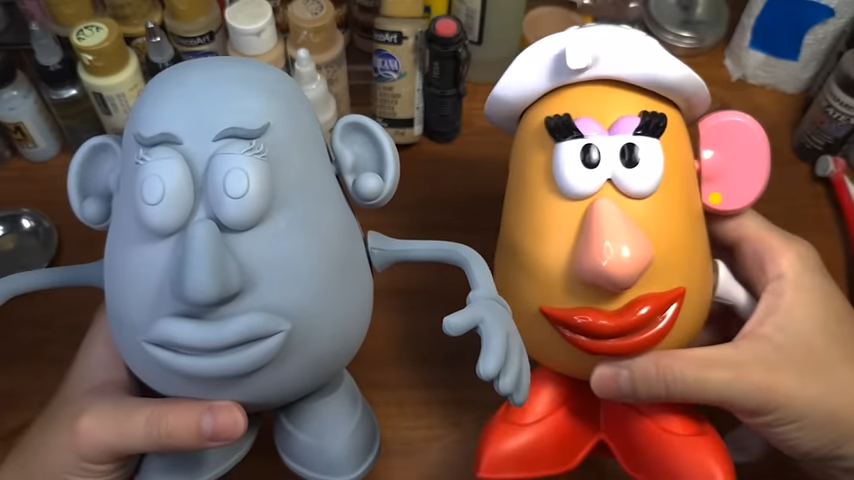
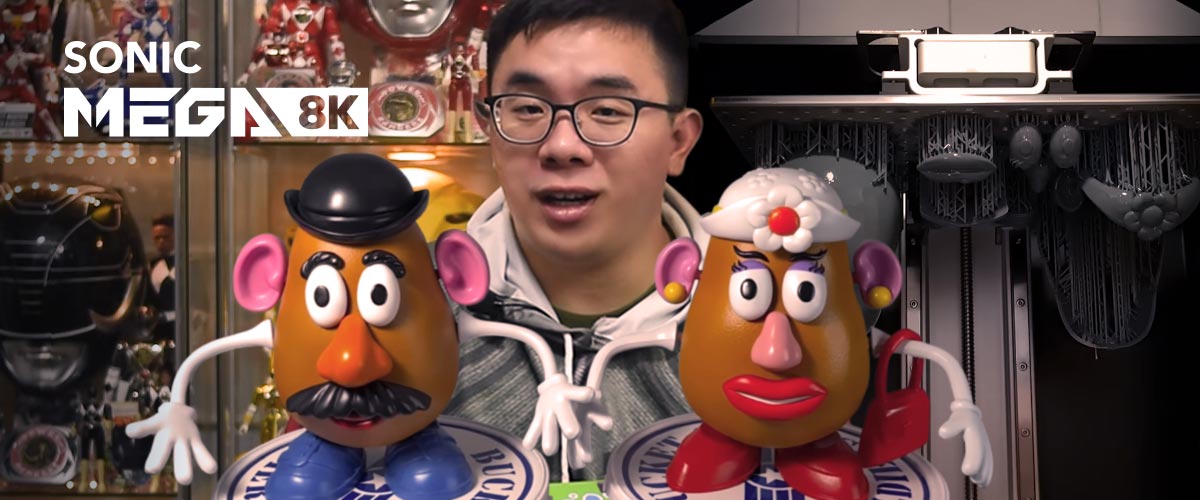
After first starting his project with the beloved Woody, it’s Mrs. Potato Head’s turn for a makeover. For this project, he’ll use a 3D scanner and one hella big of a 3D printer, the Sonic Mega 8K.
How to Fix Everything That’s Wrong?
First, Zedabyu use the model he got from Playskool as a reference for his true-to-the-movie Mrs. Potato Head model. He used a 3D scanner to scan all her shapes for base models before further resculpting and fixing them in a 3D sculpting program.
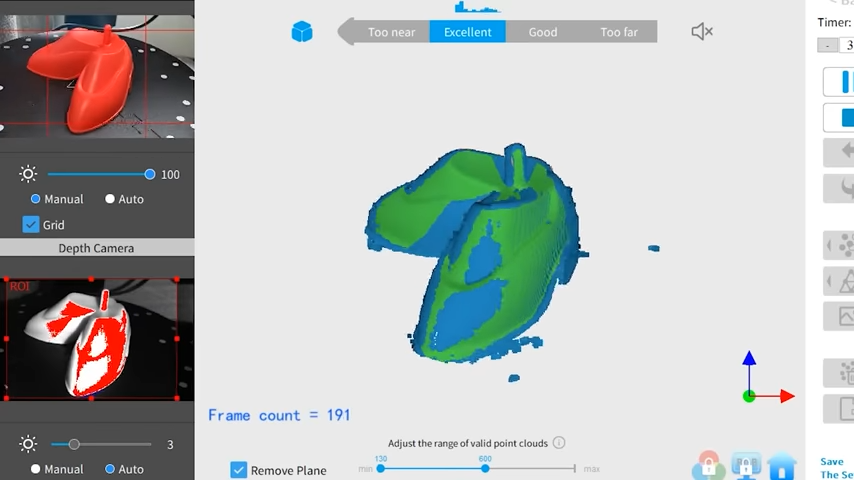
Starting with Mrs. Potato Head's shoes that are combined into one in Playskool’s version, he separated them off and turned them into individual ones as they should be. However, the 3D scanned version only provided really rough base shapes, which he needed to continue tugging, squeezing, smoothing, and basically almost resculpting them over just to create the right fit.
Since he still had Mr. Potato Head’s 3D model from the previous video, he could reutilize his shapes and just slightly readjust them. This includes Mr. Potato’s arms, ears, nose, and mouth. Although, of course, he needed to make Mrs. Potato Head's mouth plumper with a nice clean stripe of white teeth.
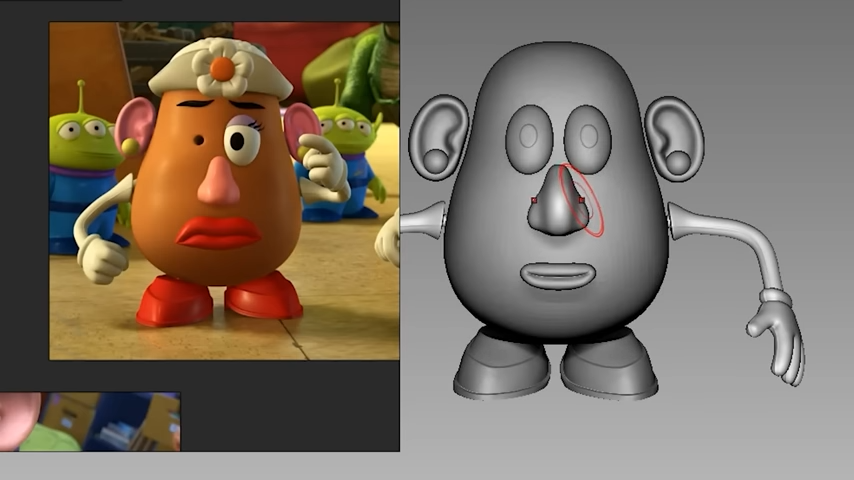
The next few parts are what makes Mr. and Mrs. Potato different, even without their accessories: her flirty eyes.
Zedabyu started by slicing her eyes at an angle to create eyelids. Then he duplicated said eyelids and resculpted them as eyebrows. Lastly, he duplicated these eyebrows three more times, scaled them down, and just like that… he completed three eyelashes for each eye.
Then, he arrived at the part which he dreaded the most: her flowery hat. Although he 3D-scanned the hat as a reference, he found that it still looked so different from what was depicted in the movie. On top of that, the scanned file didn't come out so well, which means he needed to pretty much resculpt it from scratch. Luckily, the scanned flower came out okay, and he only needed to make small modifications.
Printing Mrs. Potato Head in Just 9 Hours
After he completes every part of the Mrs. Potato Head 3D file model, it's time to cut them off and slice them for 3D printing.
He loves how the Sonic Mega 8K's building plate could easily fit Mrs. Potato Head and all of her accessories in just one plate, which he then printed in just nine hours. Pretty much 8x faster compared to the 3 days he spent printing Mr. Potato on a way smaller printer.
Next, he prepared the model and added support.
Since this was his first time printing with the Sonic Mega 8K, he wanted to make sure that Mrs. Potato Head was printed successfully. This means spending extra time checking layer by layer and adding more supports where they were needed.
Then, off to the printer.
The results are wonderful. Zedabyu said he was extremely proud of them and loved how print removal was so easy too. He washed them in IPA and did the final post-cure in his DIY curing station. To remove the model supports and sand off the support marks, he also used some simple post-processing tools like a plier and sandpaper.
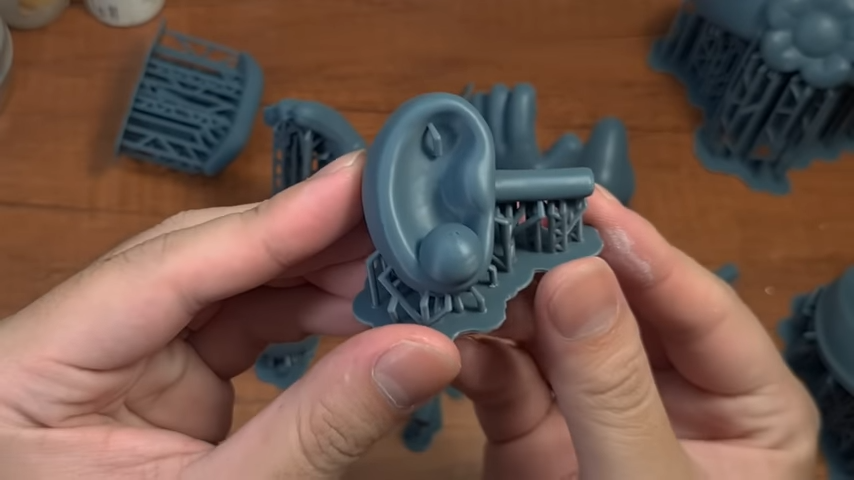
But as smooth as it goes, he laughed at how it was not a Zedabyu video if he didn't encounter any crisis.
He was done removing supports and sanding all of his models when he moved on to assemble them and found that his models might have been slightly over-exposed and expanded. This means the peg on Mrs. Potato Head’s accessories are now bigger than they should be, while all the holes in her face and body got smaller. So he shaved down all the pegs until they could all fit snuggly into Mrs. Potato Head's head.
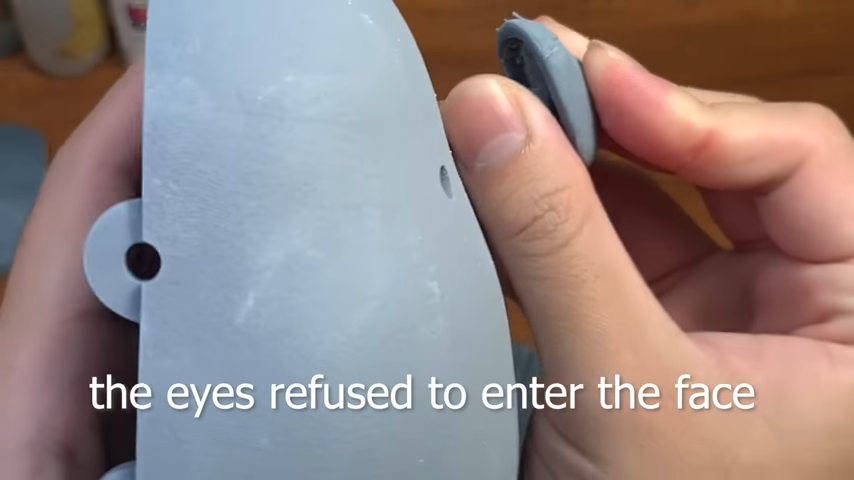
Although he was disappointed at first, he figured that this was his first time printing with the Sonic Mega 8K, and what happened was just a learning opportunity, and he could totally live with it.
Painting and Airbrushing 3D Printed Models
To color the models, Zedabyu chose to do some airbrushing.
Although he still failed to find the perfect paint for Mrs. Potato's color, he decided to just go ahead and do some color matching. Fortunately, the results came out wonderful and satisfactory. Most of the accessories are just one solid color, so they are easy to airbrush. While parts that require more details are a game of blue-tac and masking tape.

Finally, to complete the whole look, he added a layer of floor polish gloss to make everything shiny and look like plastic toys.
What do you think of Zedabyu's Mrs. Potato Head? Does it look better than the one produced by Playskool?

At the end of his video, Zedabyu highlighted how he's so glad that now he owns a reliable big printer like Sonic Mega 8K because it’ll open up so many work opportunities for custom work!
If you are interested in seeing Zedabyu's whole process, make sure to check out his channel or watch below:



1 comment
Sam Hay
Ring 103 Place
Ring 103 Place