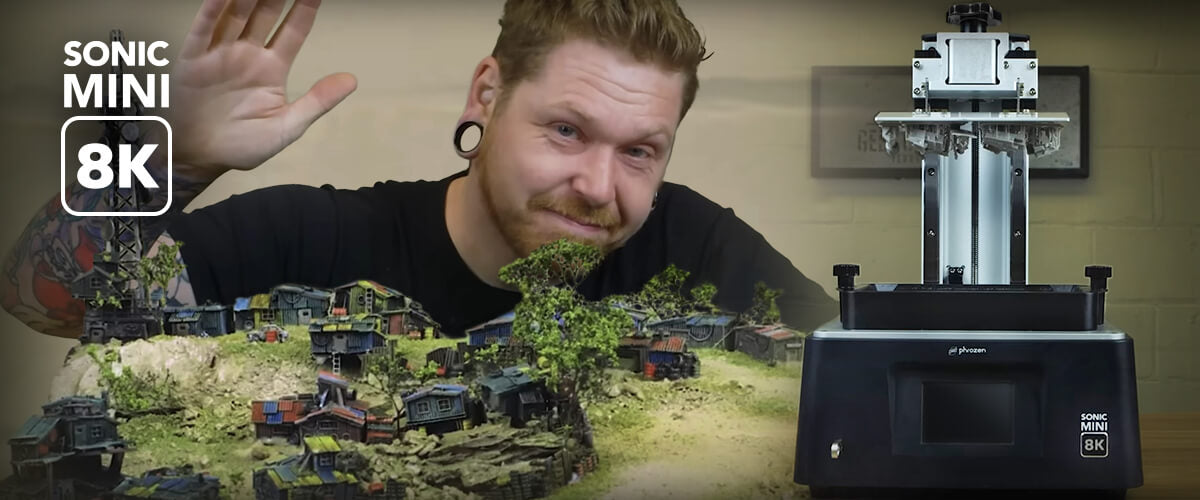
If you’re into wargaming terrains and miniature dioramas, the name Geek Gaming Scenics or Luke must have been familiar to you. Although Luke has decided to leave Geek Gaming Scenics for good, we can still watch his old video and learn something good from it.
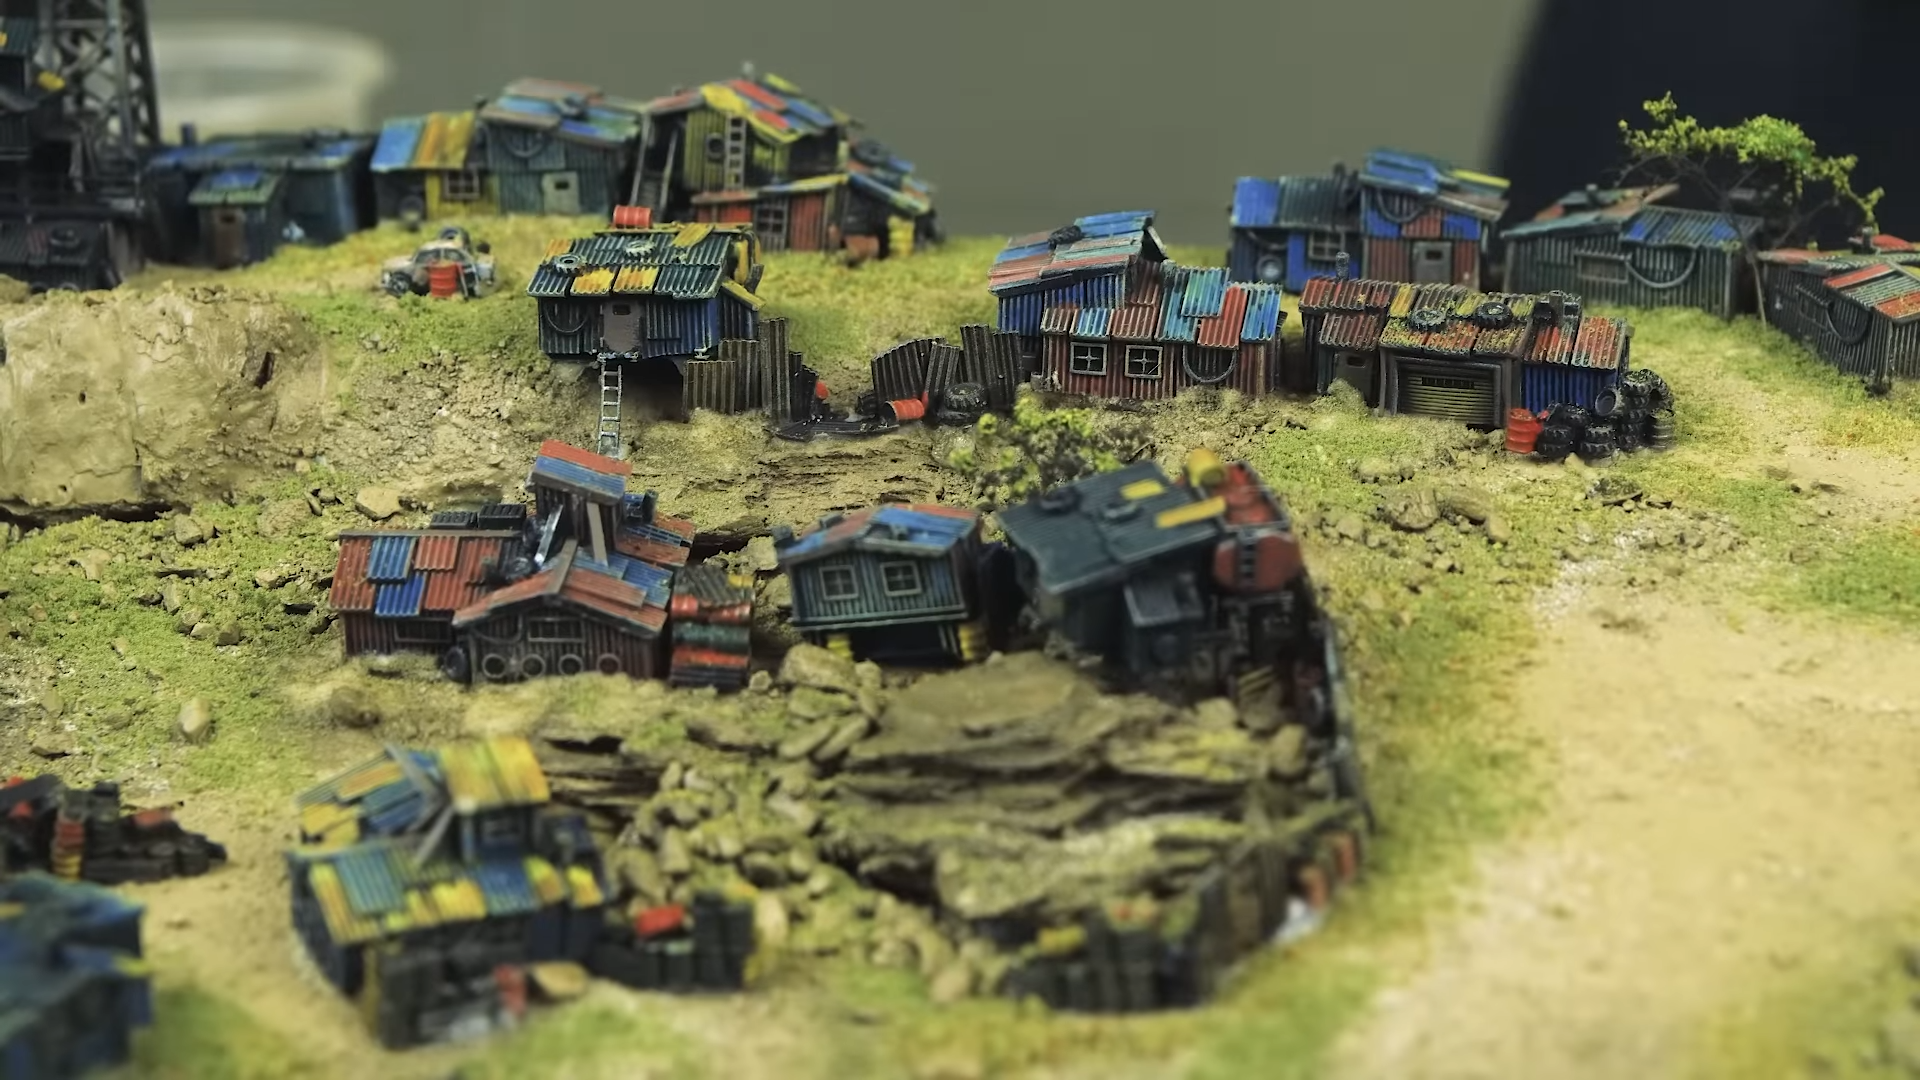
Today, let’s take a look at his Teeny Tiny Shanty Town Diorama and learn how he applied his knowledge to this mini diorama.
Preparing the 3D Printed Miniatures
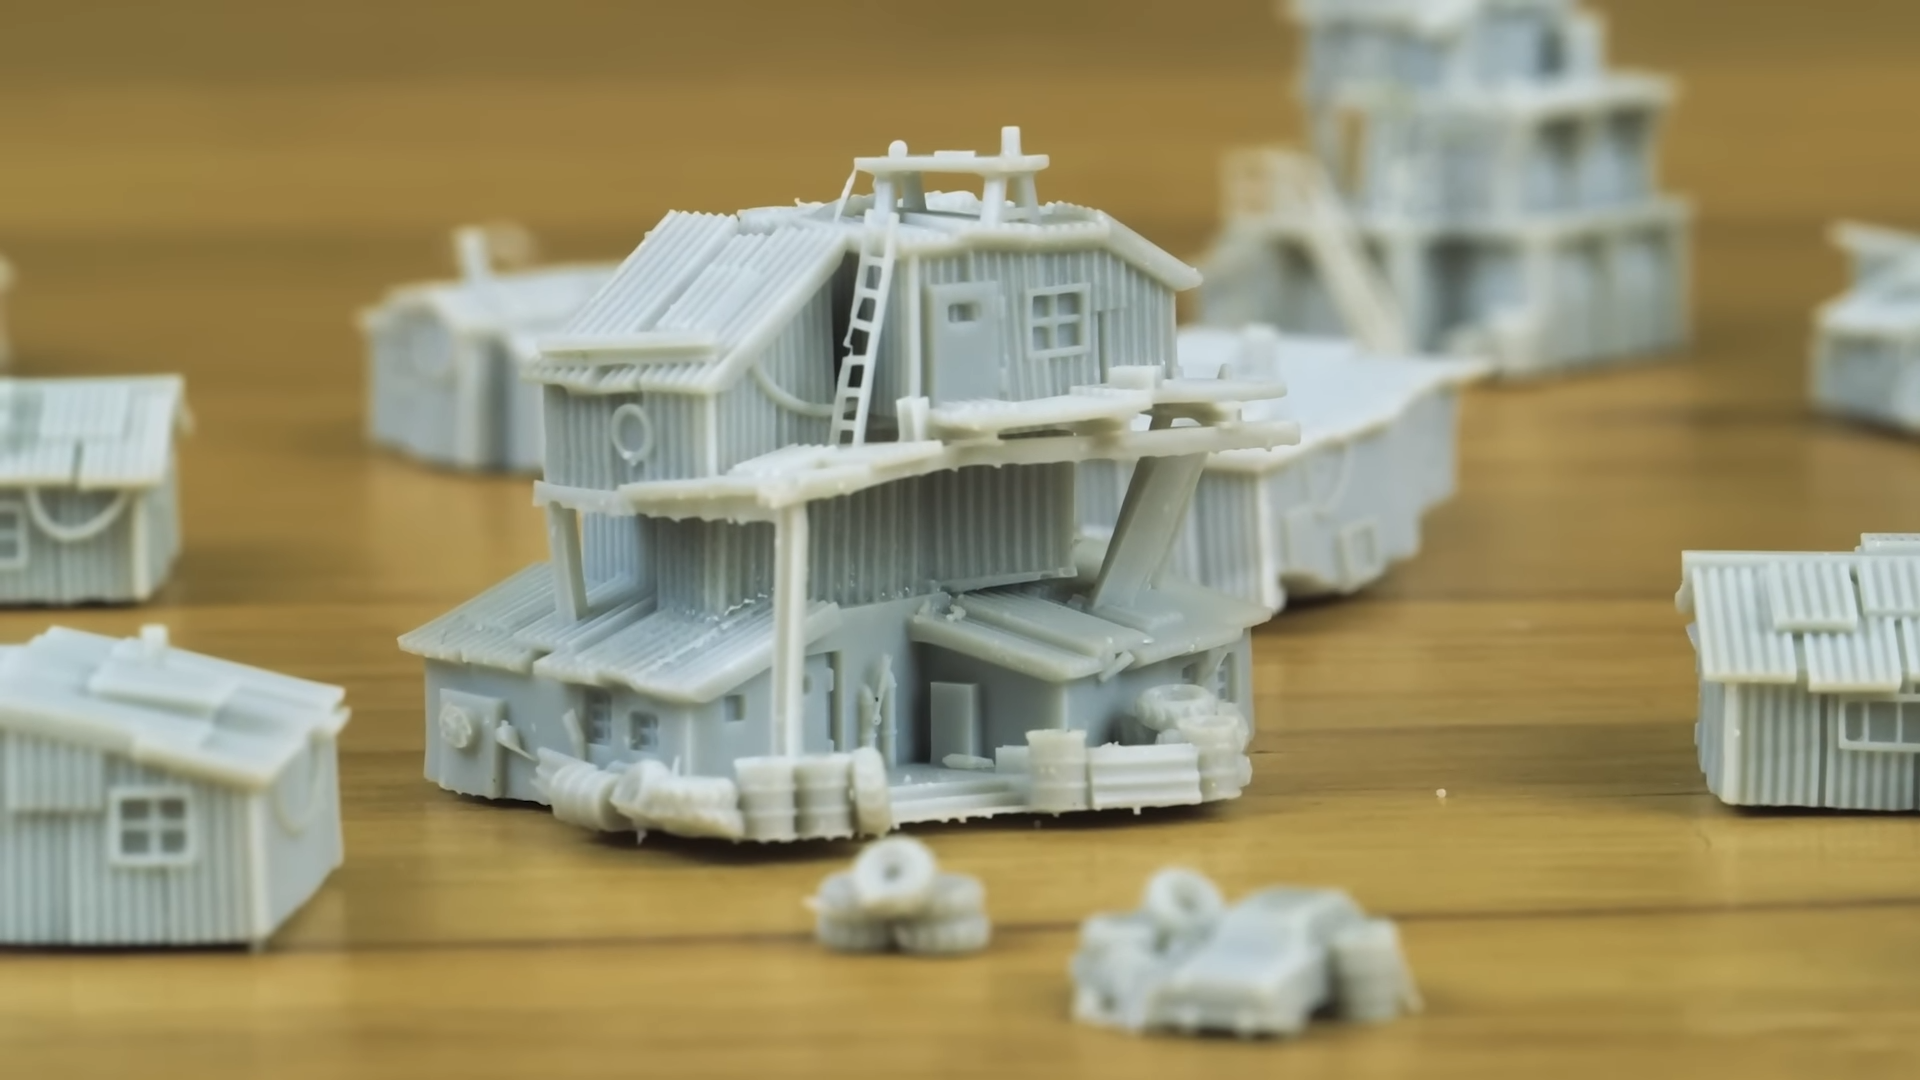
Before getting deep into his terrain preparation, Luke started by preparing the 3D miniature models he would use for this project. His choice landed on The Lazy Forger’s 6 mm scale game terrain models from their game system. He loves how these buildings have loads of characters. Different building types with various walkways, ladders, and stairways add to the post-apocalyptic sci-fi style of the diorama, but in his opinion, all without being too sci-fi.
To bring this model to life, Luke went with the Phrozen Sonic Mini 8K. He chose this 8K resolution printer because it’s still one of the highest-resolution resin 3D printers on the consumer market with outstanding details. For building models that small, it’s important to maintain all the details possible. This is why, according to Luke, the Sonic Mini 8K with its razor-sharp details, is the best printer to capture details on these models with its unbelievable 22-micron resolution.

In total, Luke printed out four full plates of miniature building models on his Sonic Mini 8K before washing them in methylated spirits and removing their supports with hot water. He mentioned that four full plates might seem a lot, but due to the size of these models, he’ll need a lot of them to fill out the space, even though his diorama is just as big as an A5 paper.
Painting the Miniature Building Model
Once he got fully cured models, he went ahead to paint them.
First, he used a black primer to cover all of his models.
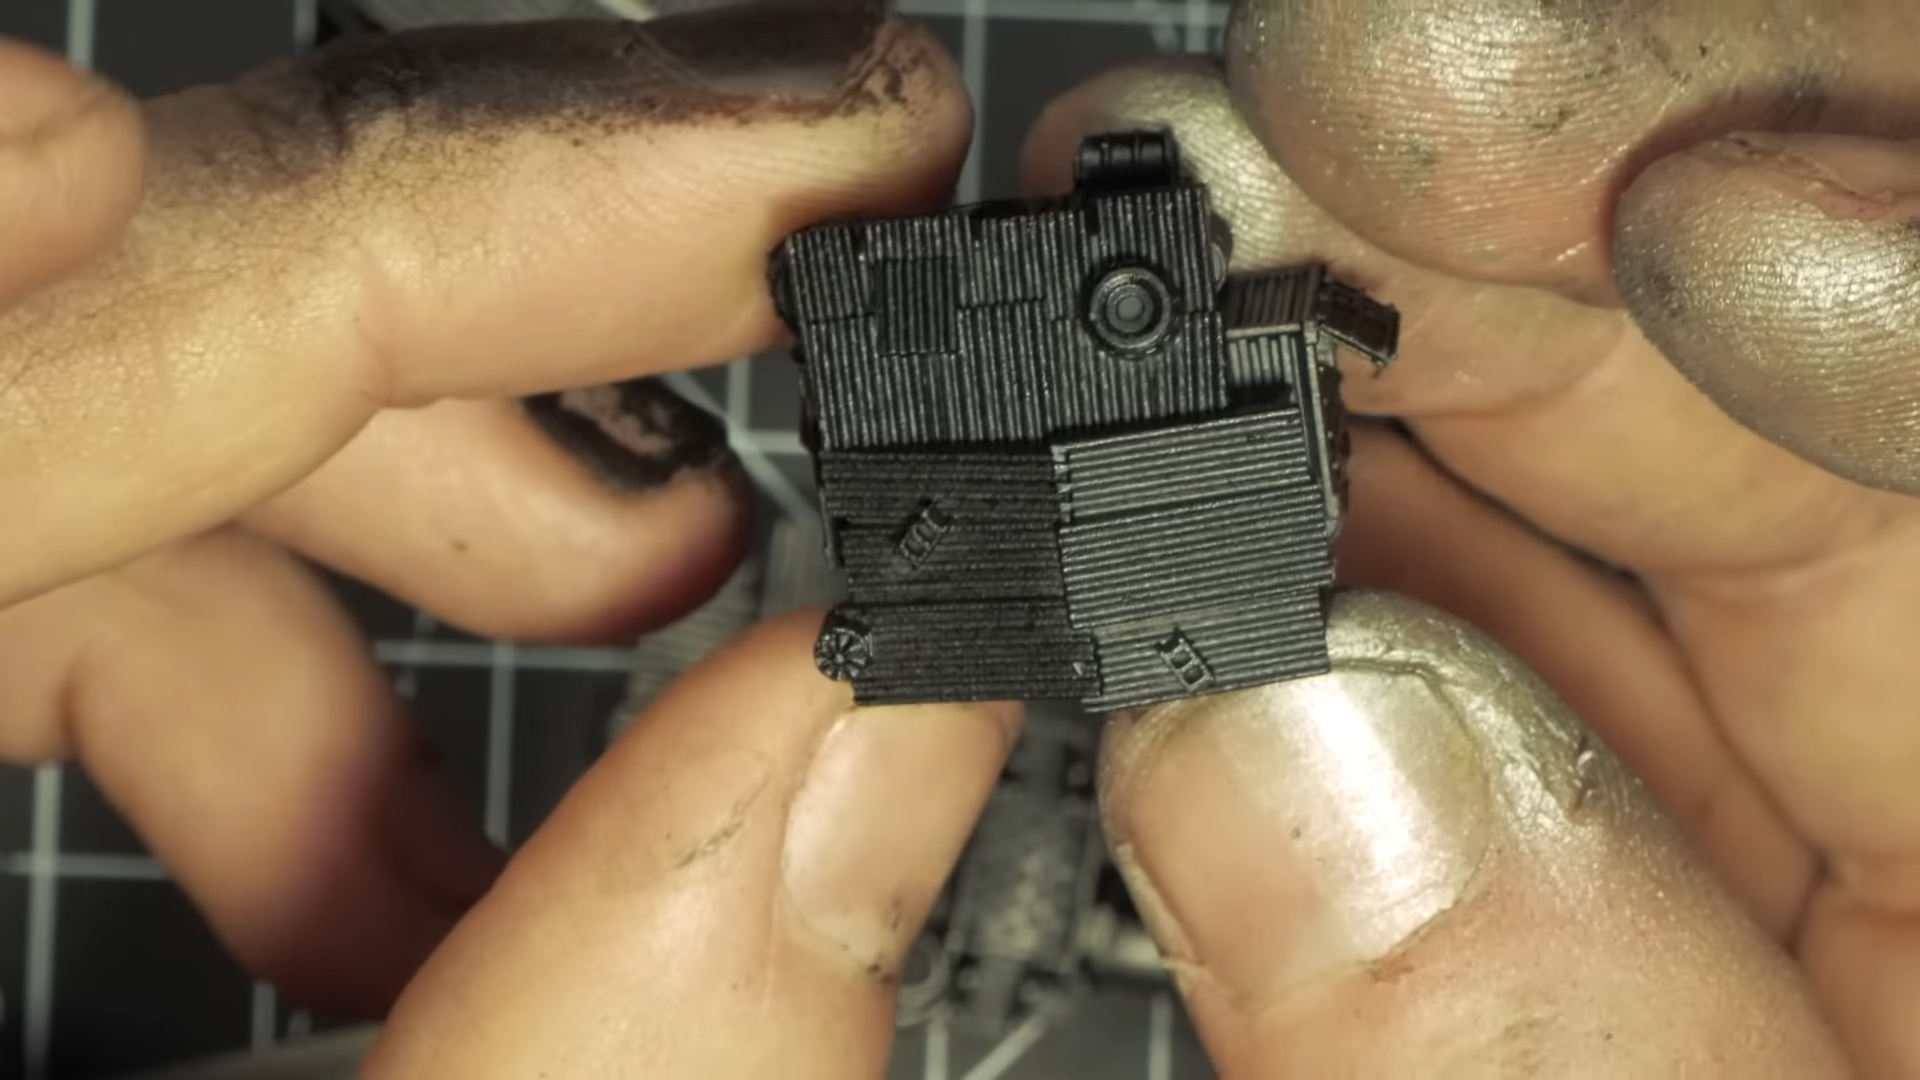
Next, he dry brushed everything with a silver dry brush so that in case he missed any part, it would just look like metal parts that are damaged by weathering. This also adds great effect on the models since he can’t use his usual weathering products because the particles would look too big on these teeny tiny models.
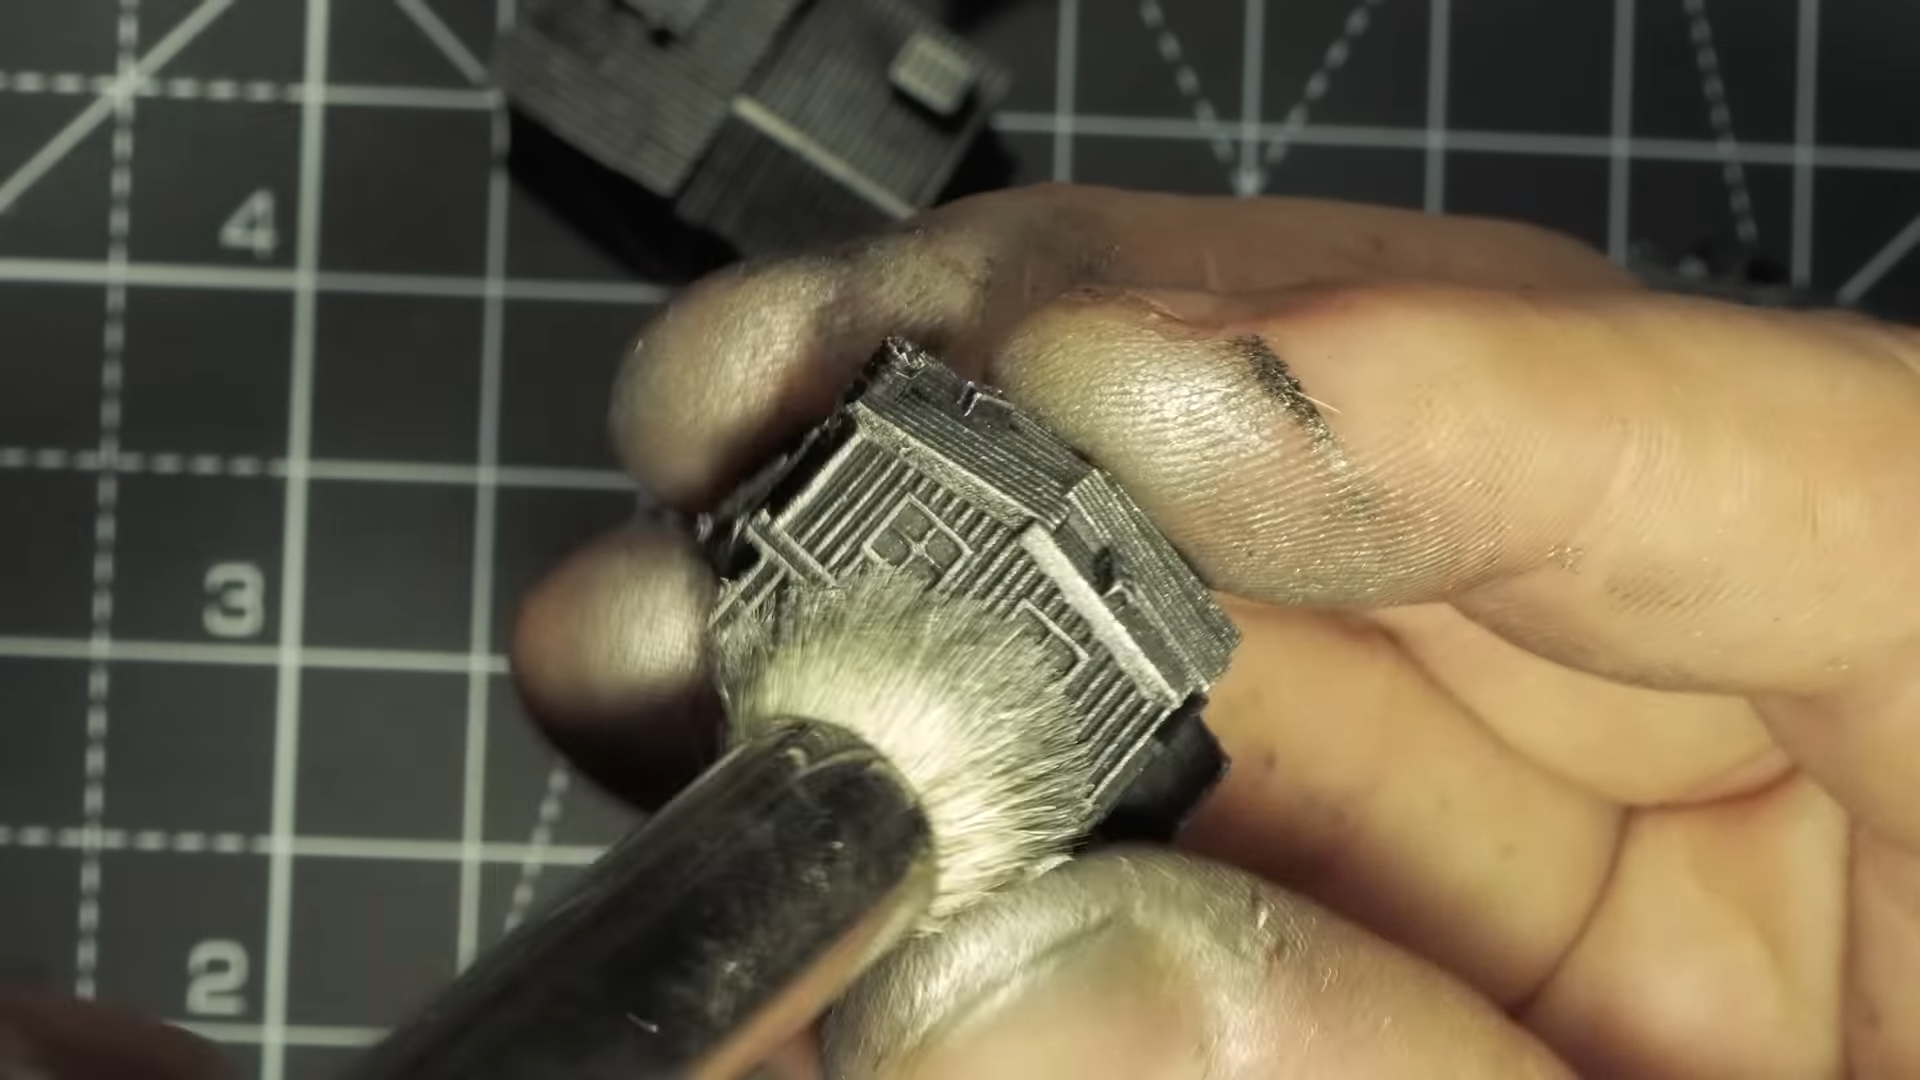
He then continues by roughly stippling paint to color all the models, focusing on breaking the dry brush underneath without getting to the edge. According to Luke, “It’s adding texture without actually adding texture.” Make sure to color all of the models and let them dry a bit before continuing with the next step.
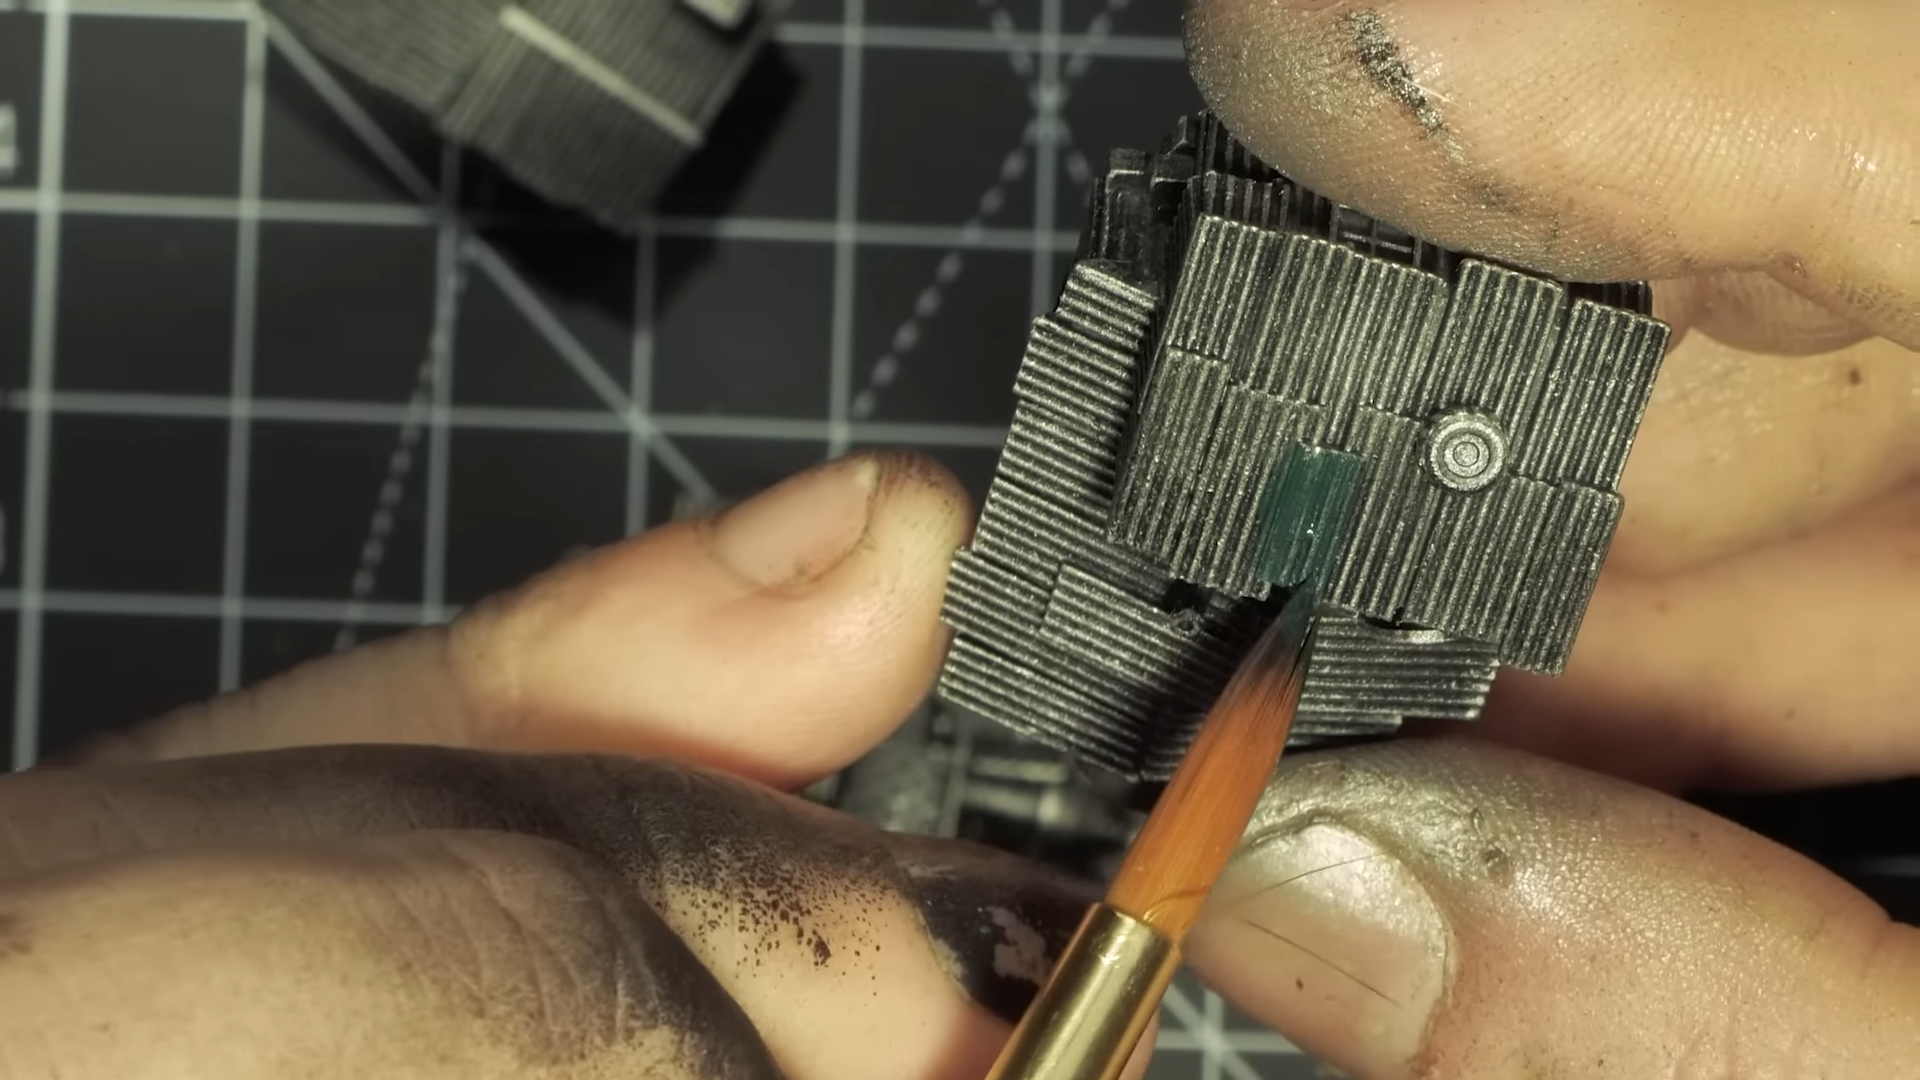
For the next step, Luke added a black wash to let it sink into the recesses of the roof and add more contrasts to the models. He mentioned that although the models look big on camera, they are actually really small in real life, and small details like this really help the overall look of the model.
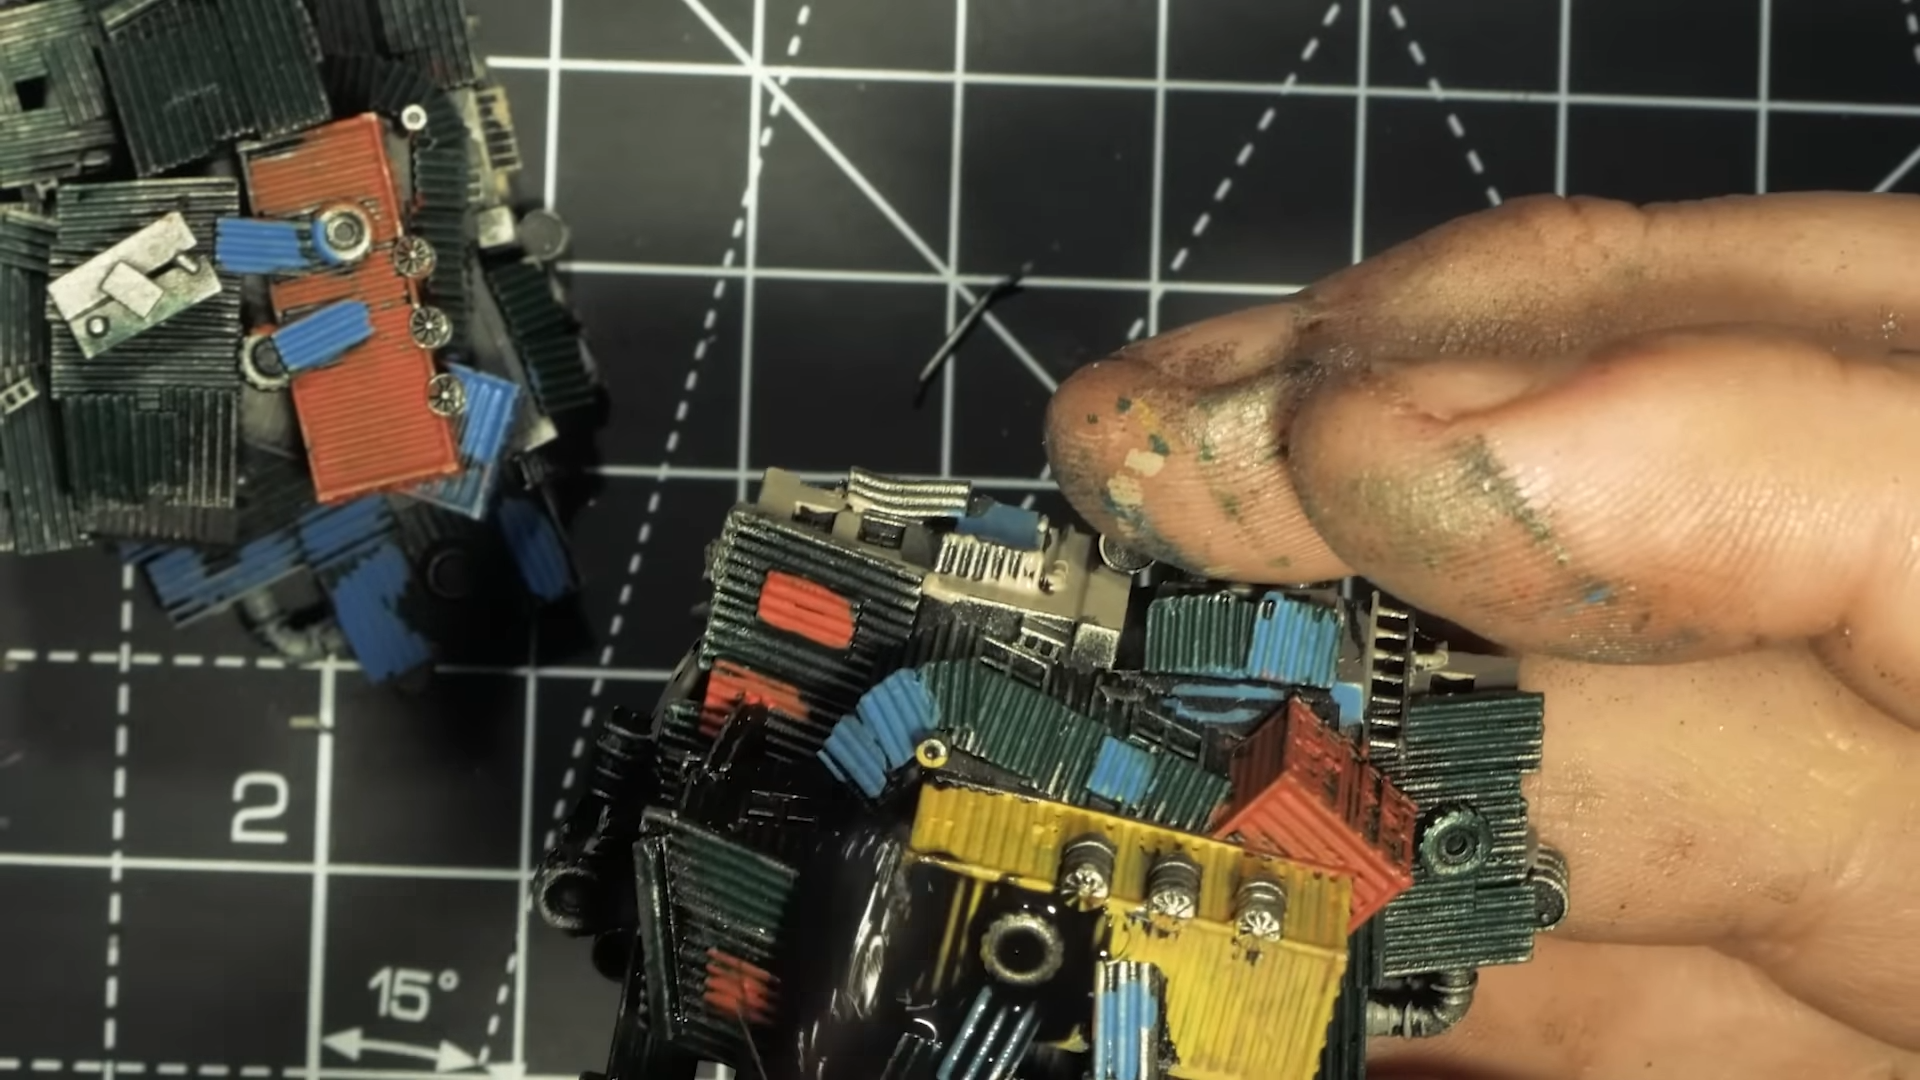
Lastly, he added more weathering effects to the building models by giving them a dry sand brush to make dusty effects and finishing it off with flesh wash to give them a rust-like texture.
Diorama Making Techniques
After he completed all of his models, Luke went on to prepare his diorama base. He used a 10 cm thick blue foam to create the base and utilized a foam cutter to carve out a rough shape before sanding it smooth with detail sanders.
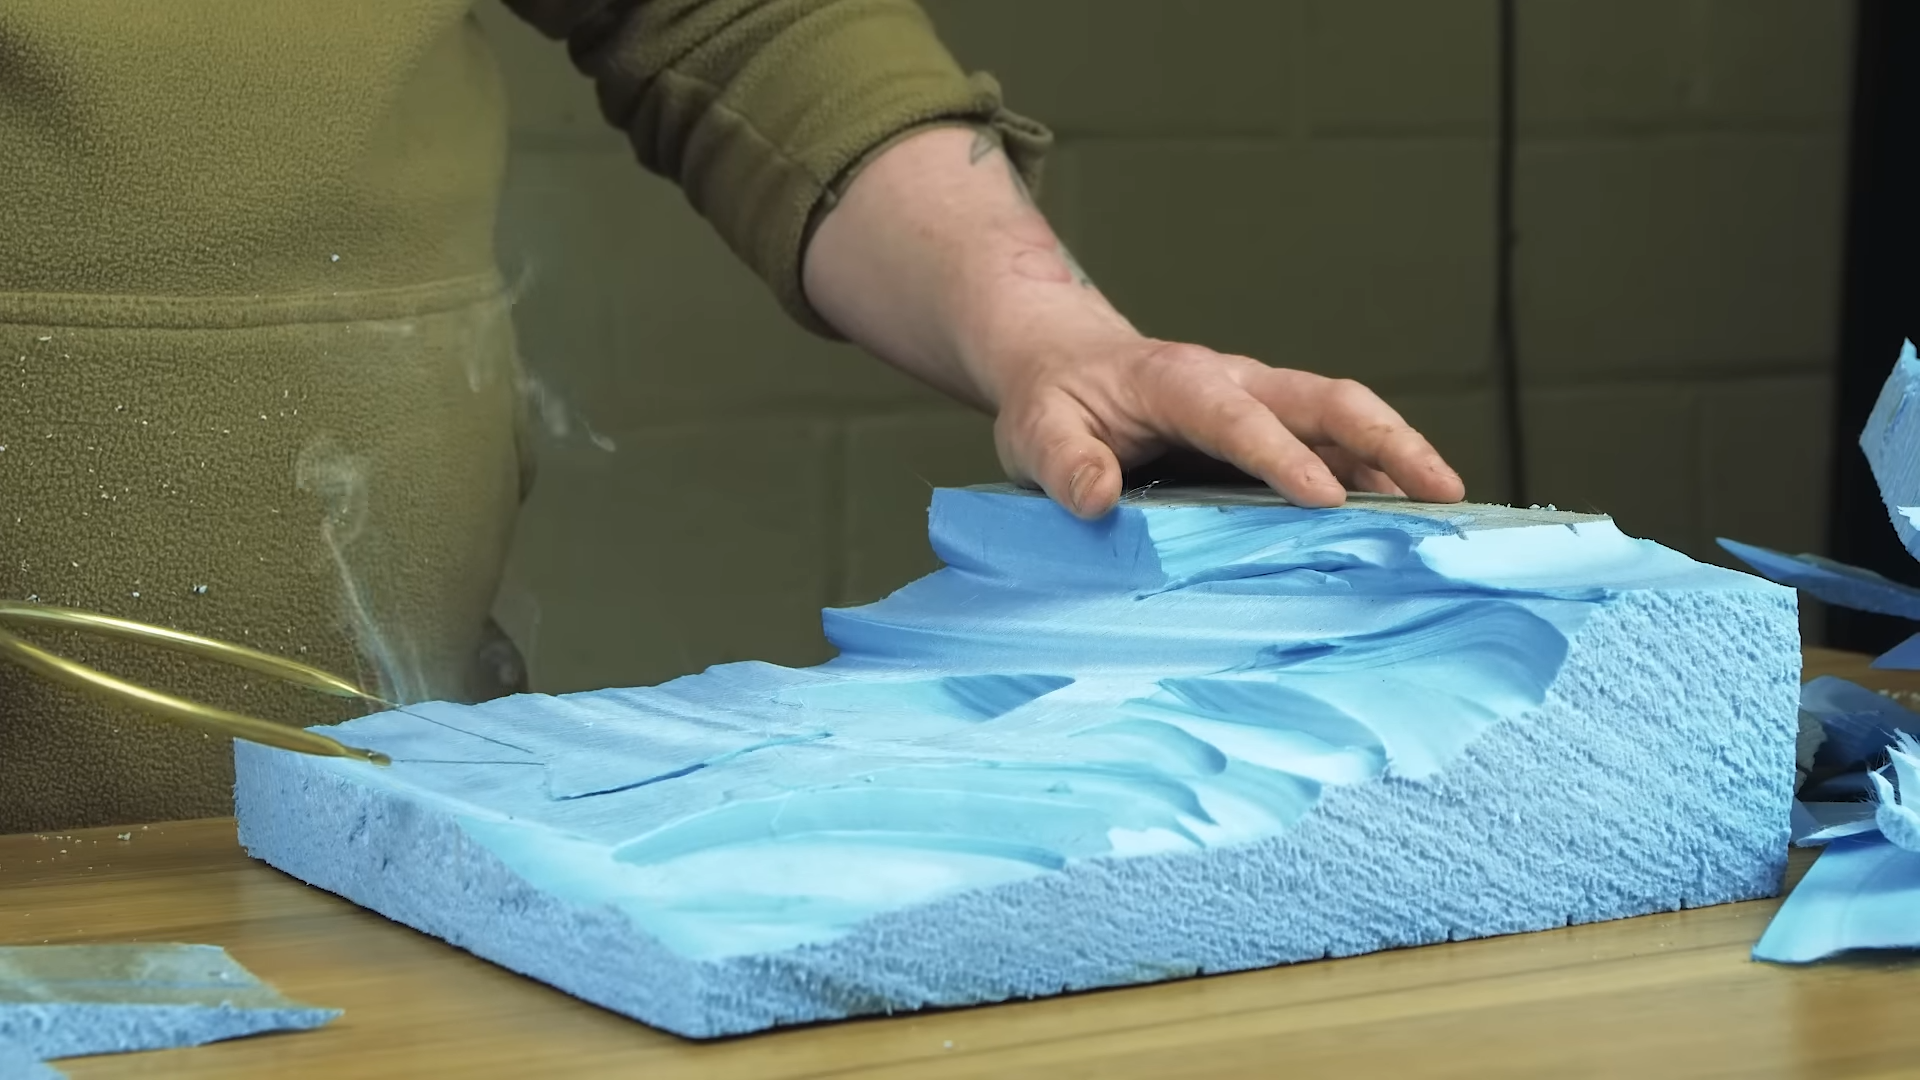
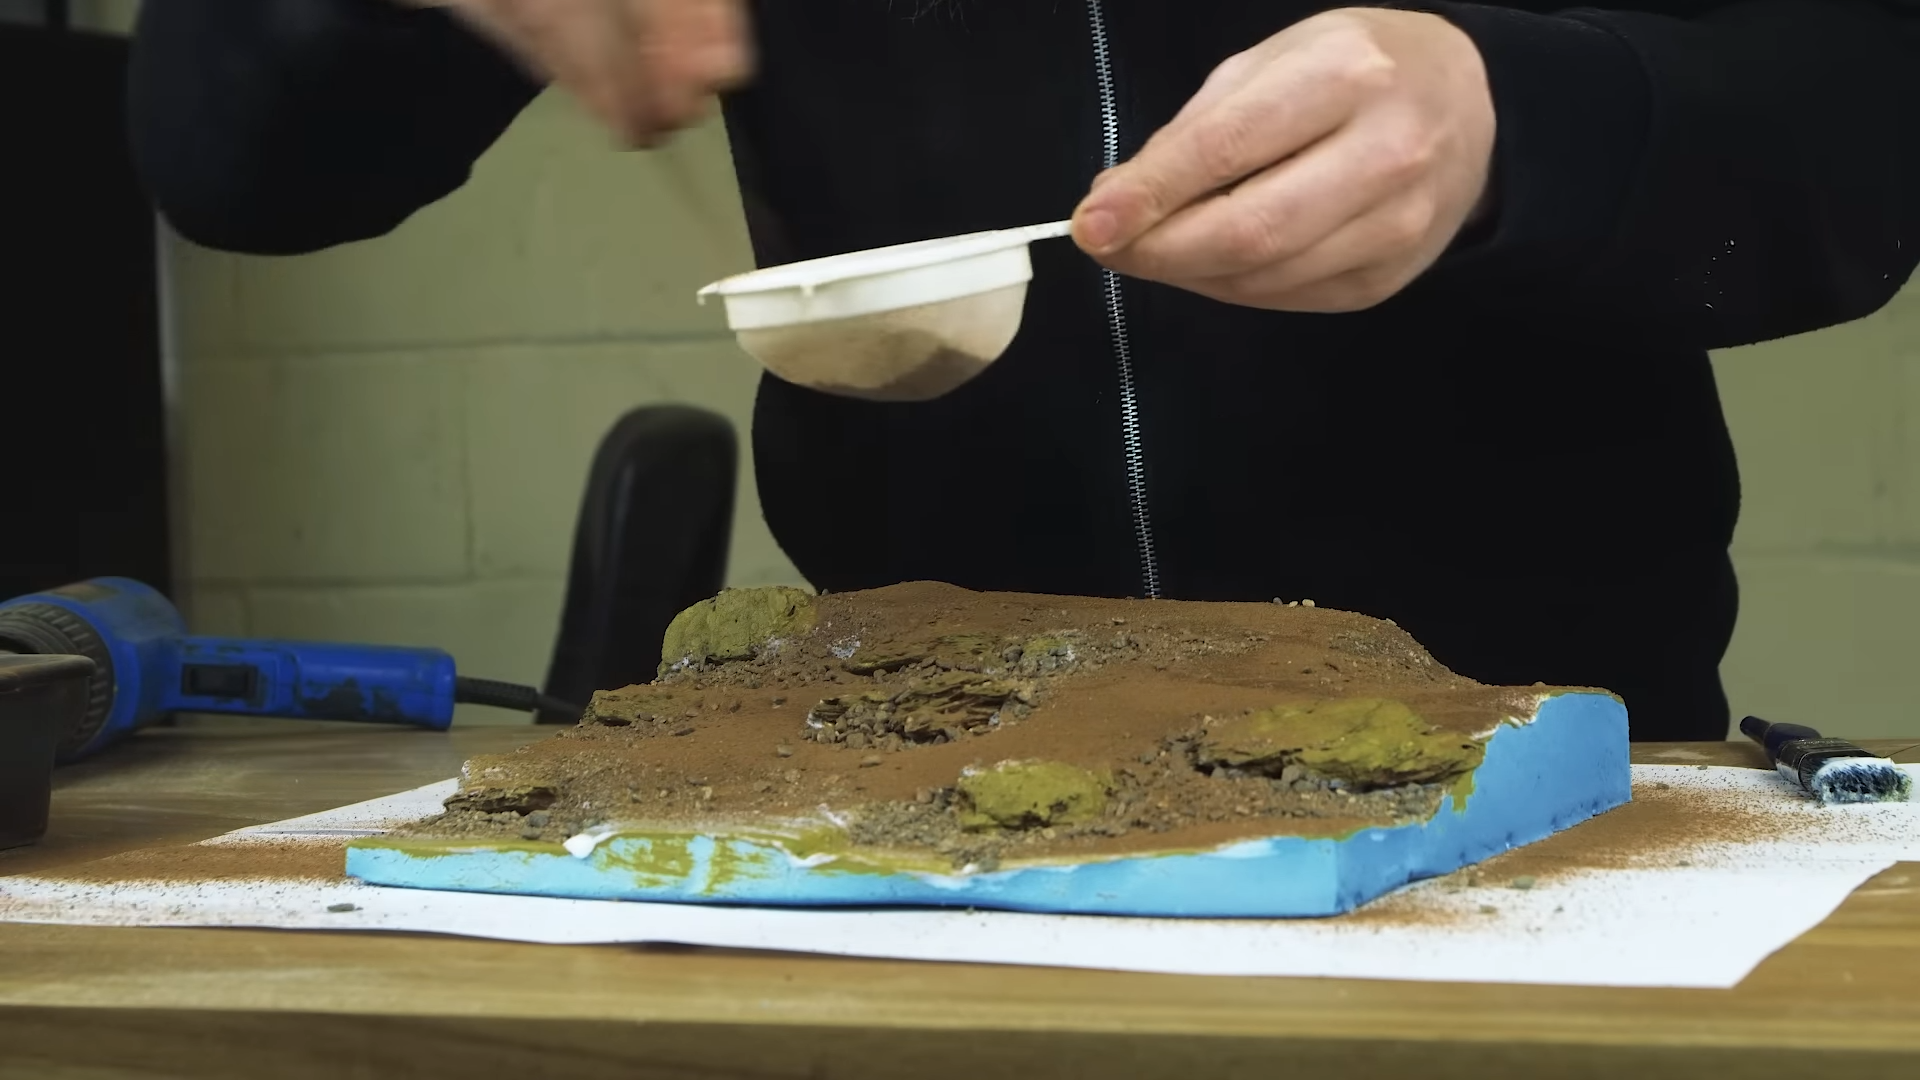
Next, he used cut-off bark chunks for rock details and attached them to the foam with pink grip — a quick-dry, caulking-gun style adhesive that was used like a putty. To cover the blue color, he painted the whole foam with emulsion and added a fast dry basing glue to the whole land. The basing glue will securely hold the arid earth base that he added around his rock-like bark chunk and the grout-soil mixed he shifted to cover the whole diorama before spraying them all with matte scenic sealant and letting them dry.
Diorama Painting and Finishing
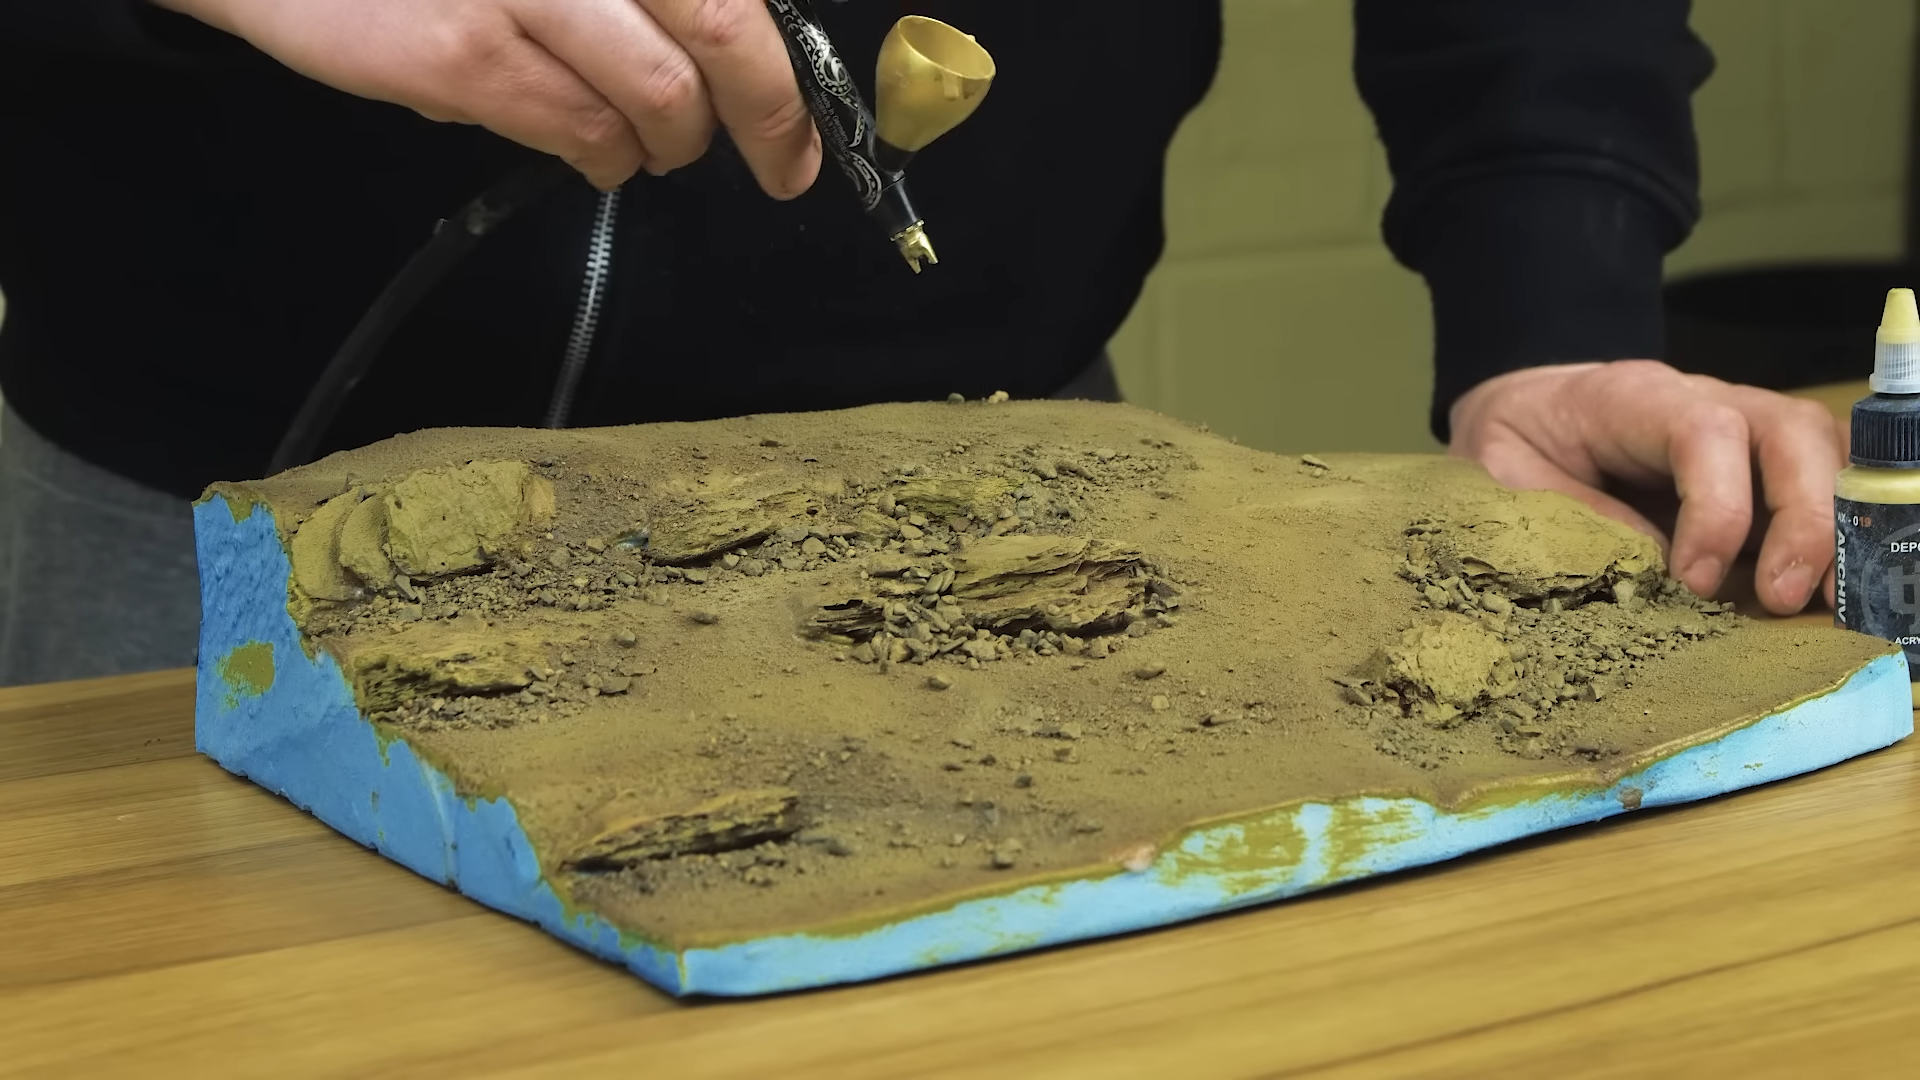
To make his diorama look more realistic and natural, Luke used a mixture of some earth brown and desert yellow colors to airbrush the land, giving it more depth and texture. The rocks were coated with a grayish tone from watered-down ink, along with the ground around it.
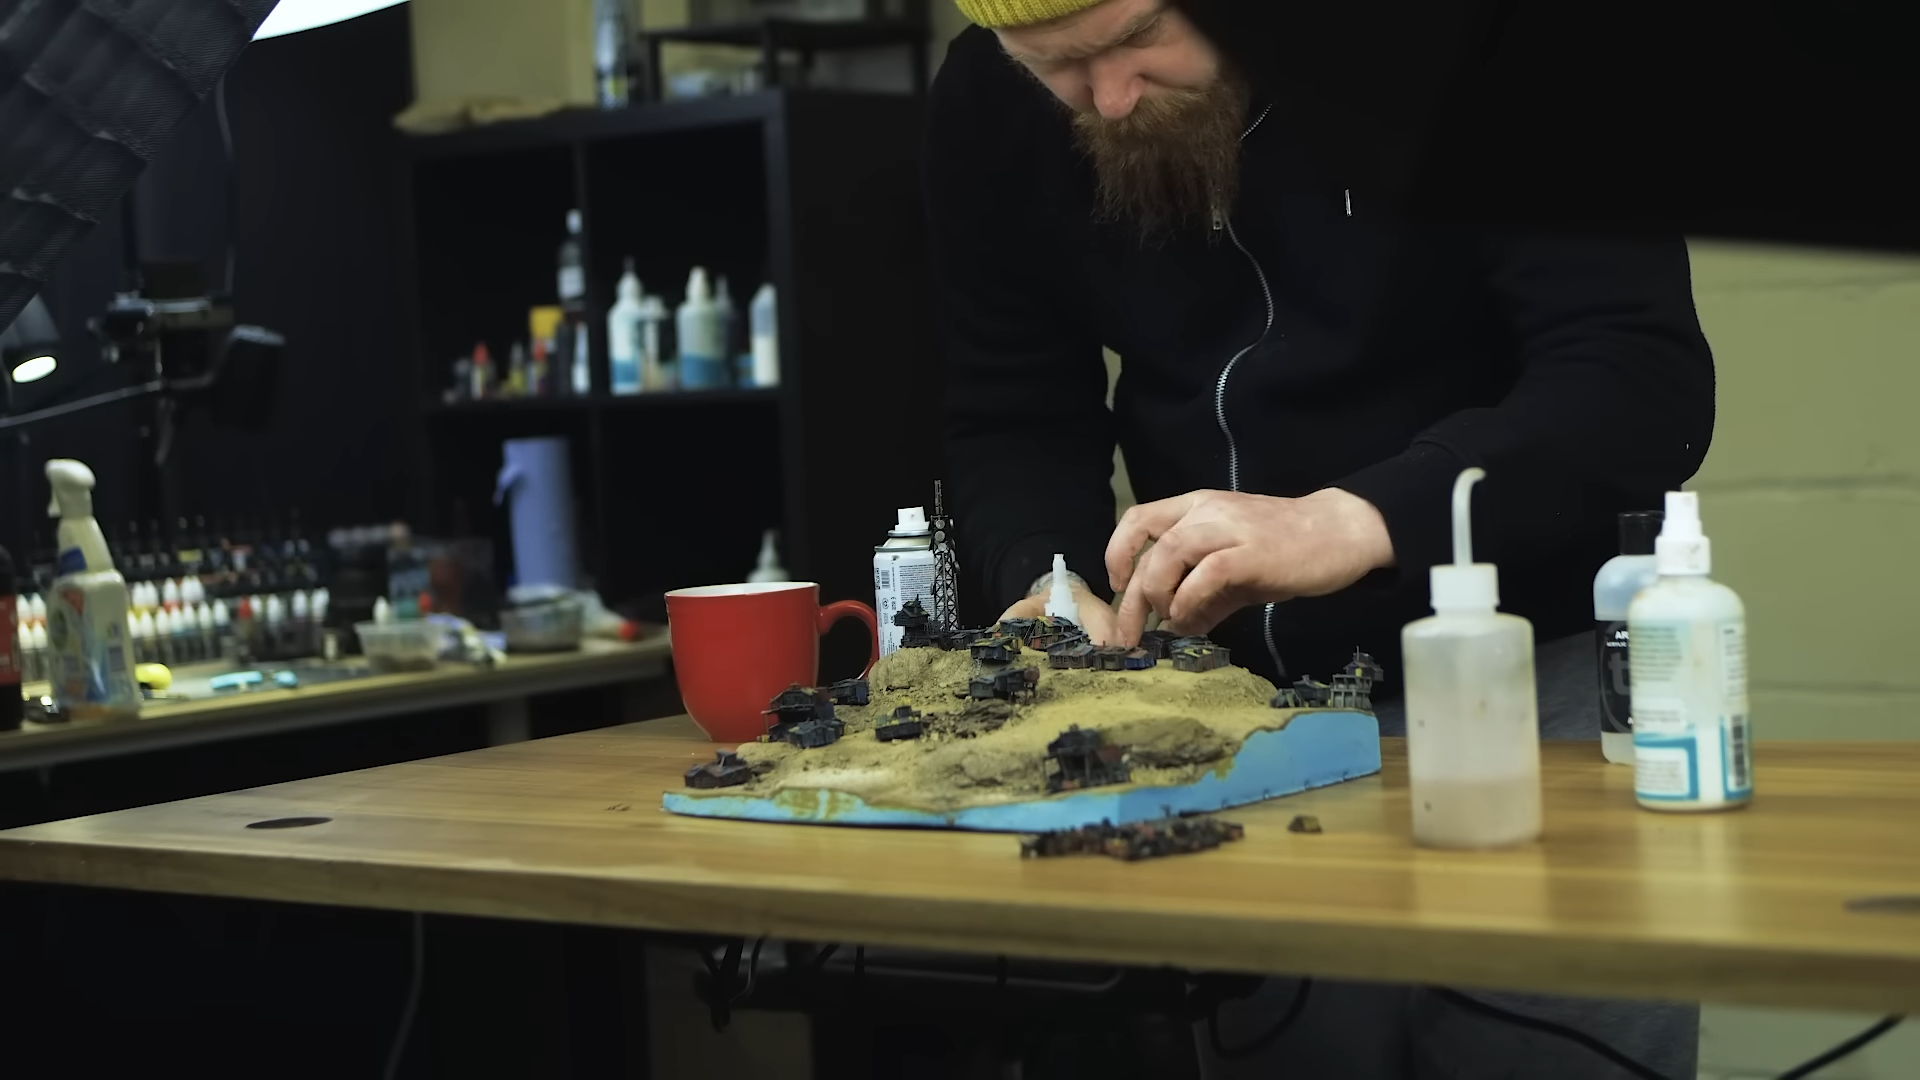
Soon enough, he realized that most of the area on his land was not flat, so he mixed some PVA glue with sand to make a filler underneath these buildings and securely attached the 3D printed models with super glue. Once the PVA was dried out, he painted them with the brown wash so they merged better with their surroundings and gently covered them with a little bit of brown and green foam to blend the edges away.
For extra details, Luke brushed away some dirt and soil with a large brush to create a pathway and added trees here and there with super glue. He highlighted that ‘nature is random,’ so don’t think too much about where to put these trees. Just throw them around and stop when you think it’s enough.
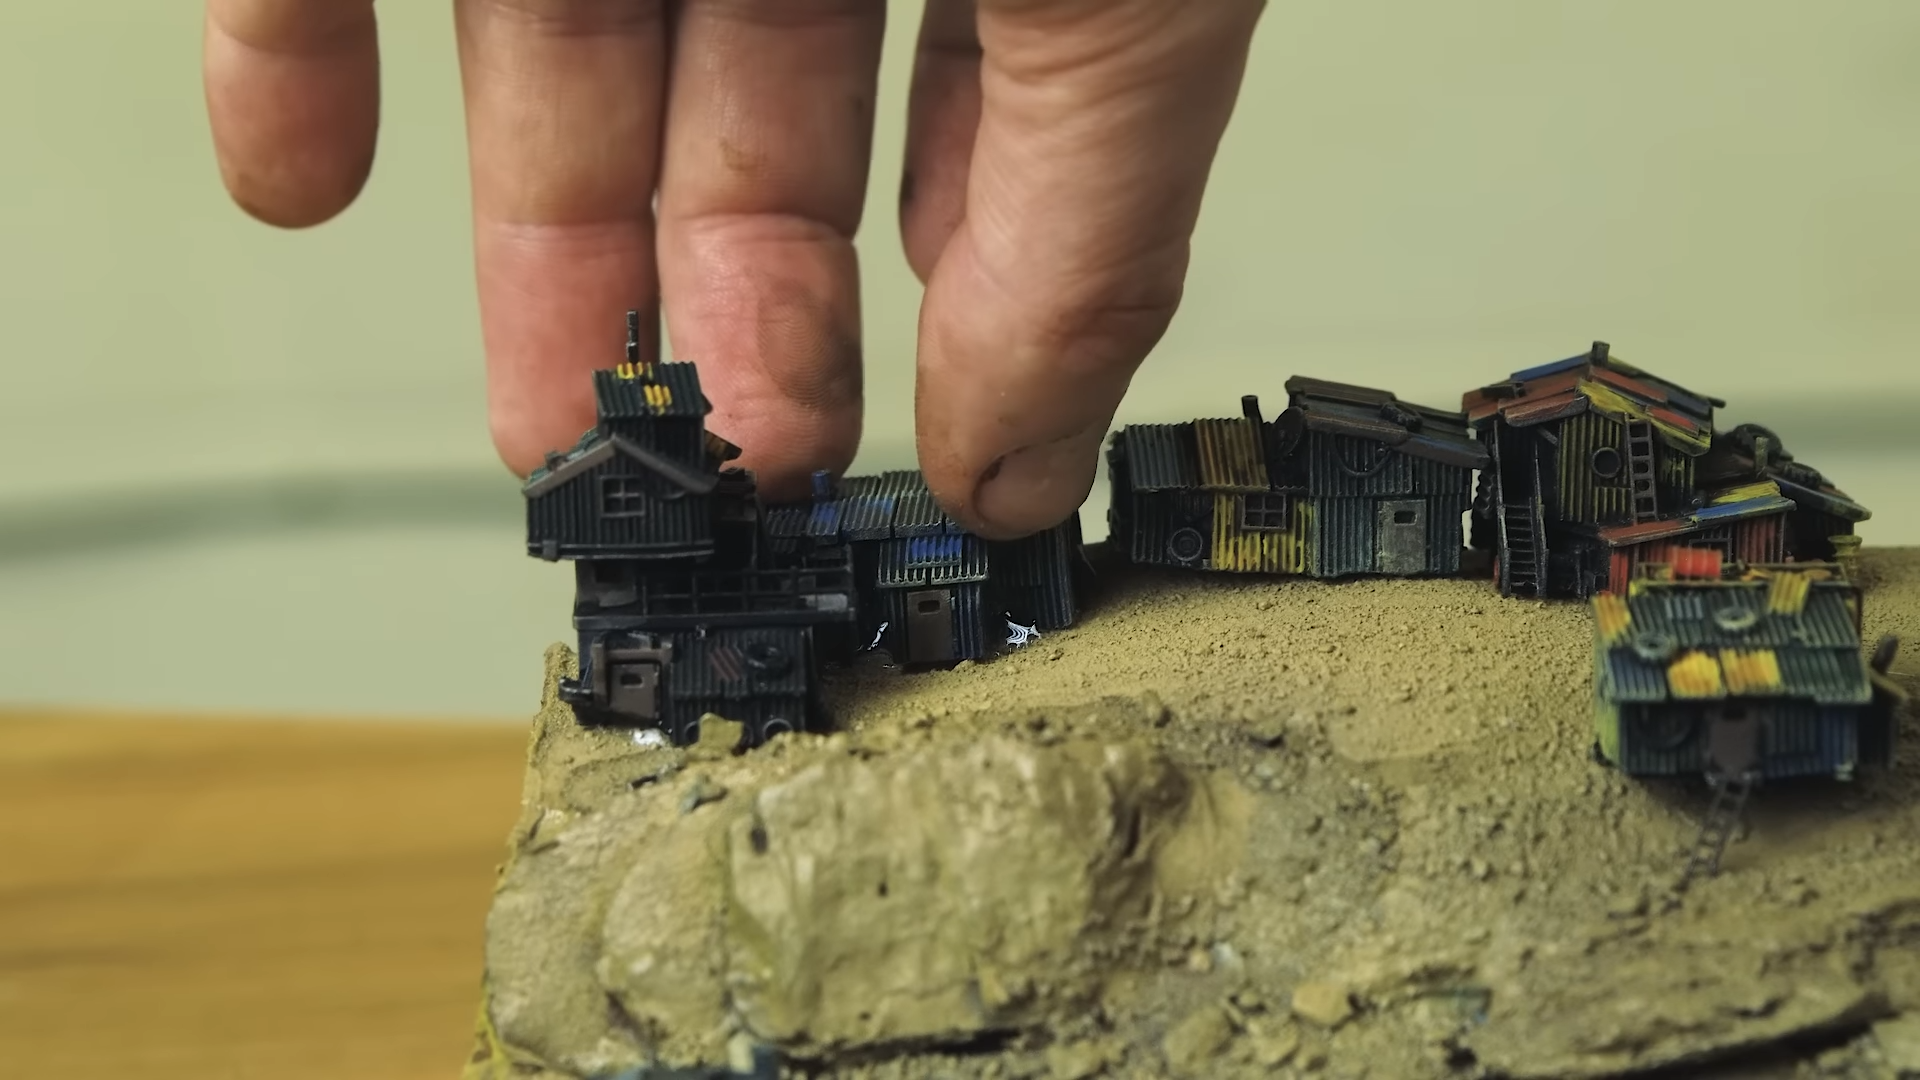
And just like that, Luke completed his teeny tiny shanty town diorama. Watch the full video of his tutorial below:
He loves how this is a great practice for his diorama-making skill, especially at such scale. Some of his knowledge of standard dioramas is not applicable to such miniature scales, and so it forced him to explore more possibilities and play around with his approach. But all in all, he loved the result of this apocalyptic-style town and how the Sonic Mini 8K provided all the details he needed to make these buildings look so realistic, even at 6 mm scale.
Do you want to try and make something like this yourself? Share your ideas in the comment below!

