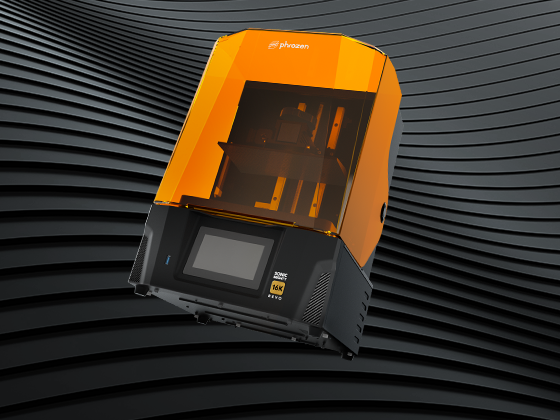
In this article, we will guide you through the steps of setting up your Sonic Mighty 4K LCD 3D printer before you print out your first design.

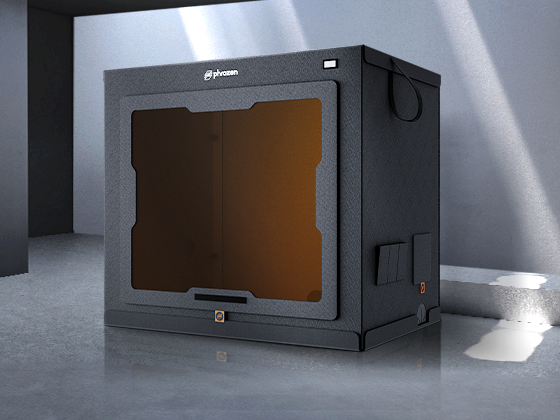
Step 1: Remove the plastic case.

Step 2: Plug in the power cable located at the back of the resin 3D printer.

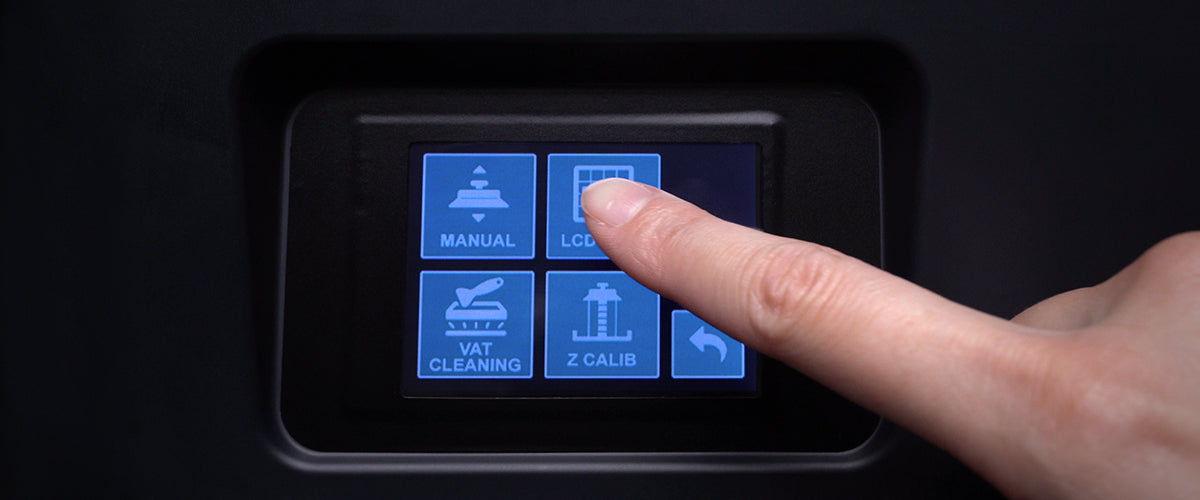
Step 3: Turn the switch on. It may take up to 2 seconds for the touch panel to light up. Once you hear a loud beep, it means the device is ready for use.
Click here for the next step: performing an LCD Test on your Sonic Mighty 4K.






1 comment
steve
This is clearly incomplete instructions. Thank you for a worthless video to find when i am searching for real information.
———
Phrozen Technology replied:
Hello Steve, Thank you for commenting.
This is a short unboxing introduction to the product. In the end of the article, there’s a link to the next step after this one. Please take a look and follow the steps which linked at the end of each article.
If you are looking for the solution to a specific problem, please let me know or use the search function in the helpcentre page ( https://helpcenter.phrozen3d.com/).
Hope this helps.
Best, Phrozen Team
>