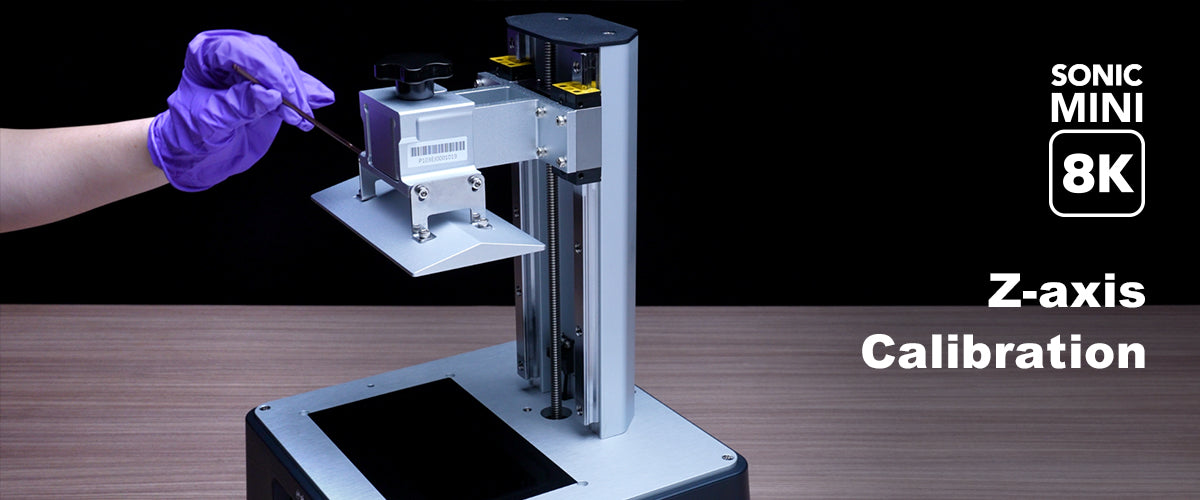
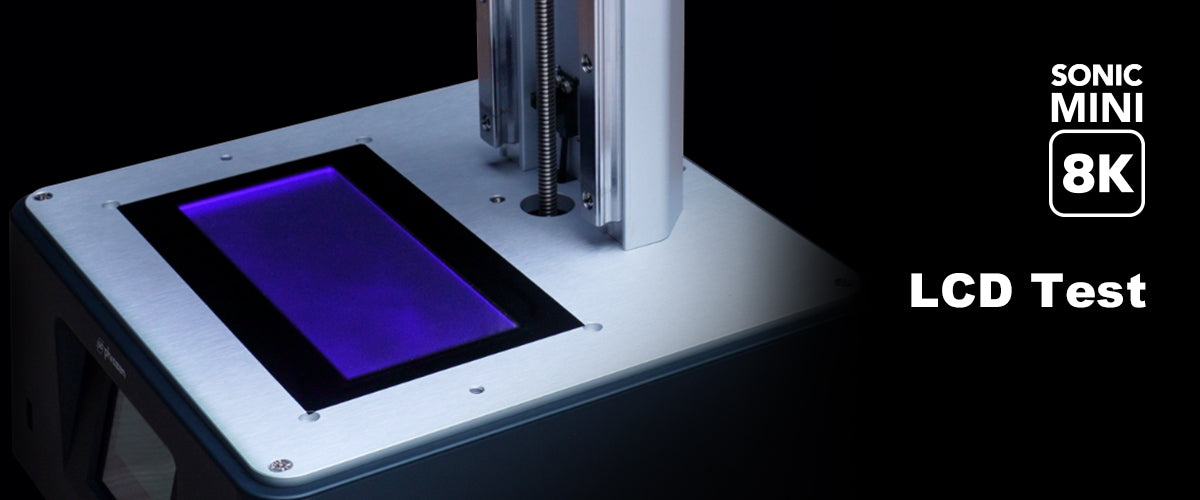
Z-axis calibration is essential for every 3D printer. Run this test to make sure that the building plate is leveled to the LCD screen. This is to ensure that models and prints will adhere to the building plate.
We will guide you through the steps of calibrating your Sonic Mini 8K LCD 3D printer by using a piece of A4 paper:
Step 1: Loosen the Screws on the Building Plate

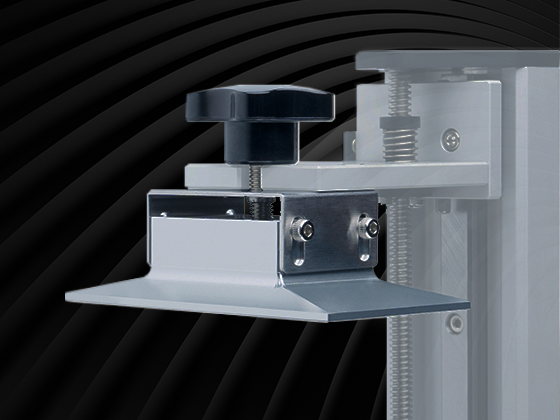
Use the Allen wrench included in the toolbox to loosen all 4 screws on the sides of the building plate in a counterclockwise direction. After loosening it, double-check to see if the plate is loose and movable.
Step 2: Place a piece of paper on the LCD

Prepare a piece of A4 paper (roughly 0.07-0.10 mm thick) and lay it flat on the LCD screen. This piece of paper will be used for leveling the building plate.
Step 3: Settings

On the touch panel, click TOOLS, then click Z CALIB on your touch panel to begin the calibration process.
Click NEXT and wait for 1-2 minutes as the building plate extends to touch the LCD screen.
Step 4: Apply Pressure on the Building Plate
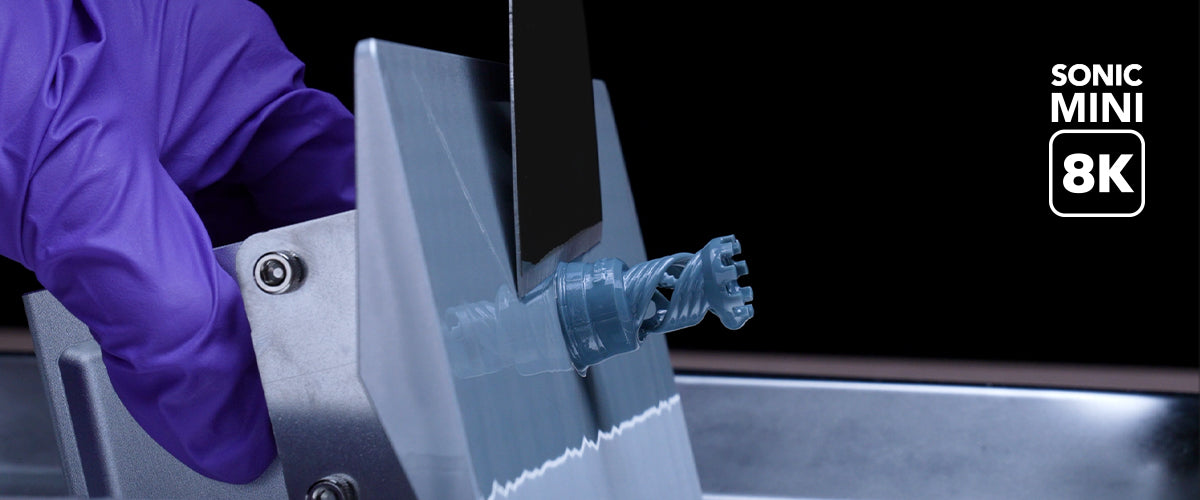
Once the building plate has touched down, apply pressure and press down firmly on the sides of the building plate. Pull on the piece of paper to make sure the building plate is laying tight against it.
Step 5: Tighten the Screws in a Cross Pattern Order

Once you have successfully adjusted the building plate, tighten all four screws on the sides of the building plate in a clockwise direction while pressing down on the building plate with the other hand, in a cross pattern order, e.g., top-right, lower-left, top-left, and lower-right.
Step 6: Double-Check Z-axis Calibration
Tug on all four corners of the A4 paper to check for pressure intensity. If it is tight, please proceed onto the next step. If it isn’t, please calibrate the Z-axis one more time.
Step 7: DONE

Click DONE on the touch panel and wait for the building plate to retract. Once the plate has retracted, remove the A4 paper.
You are now ready to begin your 3D printing journey! Click here for a tutorial on printing out Phrozen's test file.




3 comments
Miguel Salazar
Al querer calibrar el eje z no baja la plataforma que debo hacer la primera calibración que le hago la acabo de comprar
———
Phrozen Technology replied:
Hello Miguel, Thank you for commenting.
Please update the firmware of your printer to the latest version and see if it fix the problem.
You can download the latest version of firmware for your printer on this page: https://helpcenter.phrozen3d.com/hc/en-us/articles/6369983852569-Firmware-downloads-and-release-notes
Please make sure to follow the instruction carefully when updating the firmware.
If this does not solve the problem, please submit a request regarding this to our customer support team by filling in the form on this page: https://helpcenter.phrozen3d.com/hc/en-us/requests/new Our agent will reply to your message within a working day.
Thank you!
Best, Phrozen Team
>
Mariano
Hola
He puesto una placa magnética flexible y no me calibra la Sonia mini 8k .
No para cuando llega a la pantalla
———
Phrozen Technology replied:
Hello Mariano, Thank you for commenting.
Please notice that the magnetic plate isn’t an official accessory and we do not recommend using this kind of accessories without the knowledge and ability to troubleshoot. Please contact the manufacturer of the accessory to get assistance on the information needed to make the printer work with the accessory installed.
Best, Phrozen Team
>
javier riccardi
Good morning, I am the owner of a mini 8k printer, it is printing incorrectly in z, it does not keep the proportions, they come out flattened, how do I make a correction? I need it to print correctly in z
———
Phrozen Technology replied:
Hello Javier, Thank you for commenting.
Please try update both the firmware of your printer and the slicing software you’re using to the latest version to see if it solves the problem. You can download the latest version of firmware on this page: https://helpcenter.phrozen3d.com/hc/en-us/articles/6369983852569-Firmware-downloads-and-release-notes Please follow the instruction carefully when updating the firmware, and keep only one instance of installation of the slicing software on your computer at once.
Hope this helps.
Best, Phrozen Team