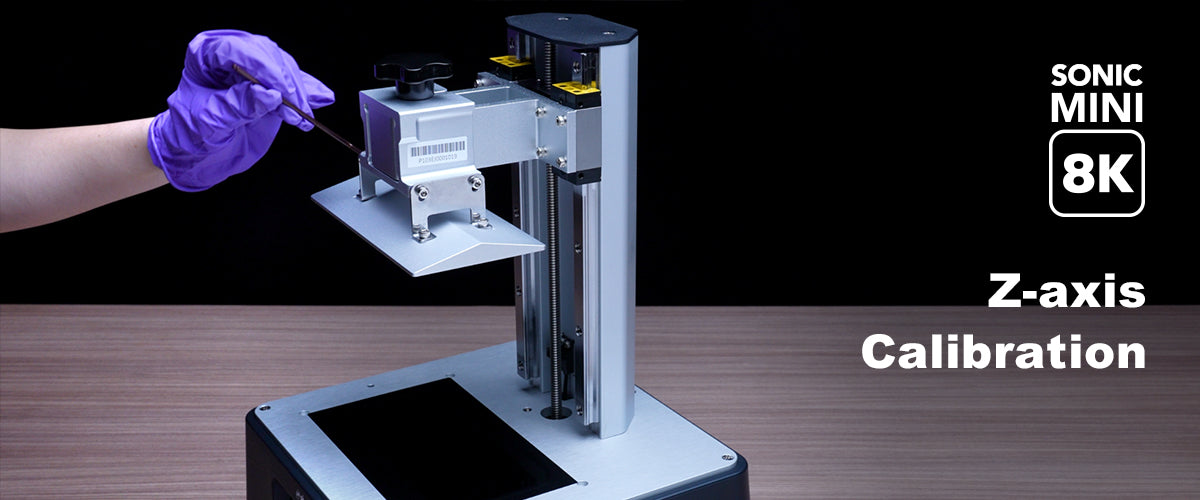
After correctly calibrating your Z-axis, it’s time for you to test out your first print with the Sonic Mini 8K! We have included a test file in the USB drive for you to test out the LCD 3D printer with Aqua-Gray 8K resin.
Step 1: Suiting Up

As direct contact with resin may cause allergic reactions, it is advisable to wear PPE (Personal Protective Equipment) masks, goggles, and gloves while printing.
Step 2: Install the Resin Vat

Install the resin vat. Please make sure that the bottom screws of the resin vat are perfectly aligned with the platform grooves. Then tighten the screws on both sides.

Please pay attention to the bottom screws and DO NOT damage the LCD screen when placing the resin vat.
Step 3: Fill the Vat with Resin

Make sure to shake the resin well (for approximately 1 min.) before pouring it into the resin vat. When pouring resin, make sure it does not exceed the max fill line on the resin vat.
Step 4: Transfer your File to Sonic Mini 8K
Please note that the Sonic Mini 8K 3D printer only offers a USB data transfer method. Please save the file as a .CTB file as the Sonic Mini 8K can only read .CTB files. Plug in your USB into the USB portal of Sonic Mini 8K to begin printing.
Step 5: Start Printing

On the touch panel, click PRINT, and select your .CTB file. The printing process will take approximately 2 hours.
*Note: Prior to each print session, check to see if the resin vat has already been filled with resin. Please use the plastic scraper included in the toolbox to search for cured resin left in the vat. Use the scraper to stir the resin.
Inspect the platform of the machine and check to see if any clutter has been left behind. Remove the clutter and you can begin printing.
Step 6: Finish Printing
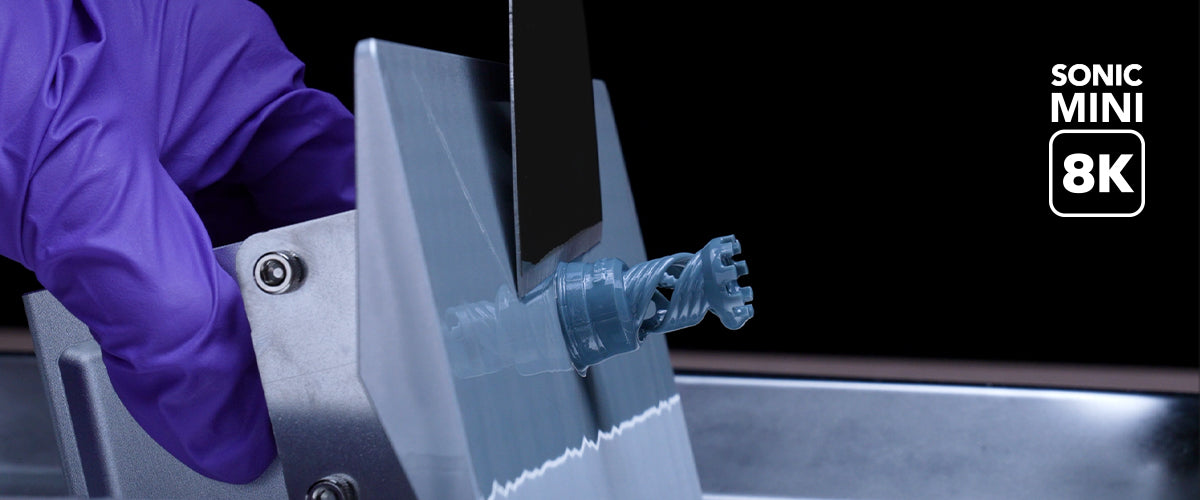
Once the printing process is complete, the building plate will retract to the top. Wait until the resin has drained completely before proceeding onto the next step: post-processing.



5 comments
Bastien
hello
I bought a phrozen sonic Mini 8k printer and the raisine aqua gray 8k and NFEP.
I would like to know what setting you recommend for the resin parameters on lychee sliser? Could you advise me some parameters?
———
Phrozen Technology replied:
Hi Bastien,
Thank you for your comment. We have a page shows our recommendation for different kinds of resins on different models of printer that we have tested. Please use this as a reference or a starting point when you are dial in your resin, the settings might need to be changed accordingly to your working environment.
Here’s the URL to the page: https://reurl.cc/M8yj7n
Best regards, Phrozen Team
>
Jaime Vega
Hi there I wanted to rephrase my question. What I meant was would I be able to print a single item for example would I be able to print a single ring or do I need to print multiples?
———
Phrozen Technology replied:
Hi Jamie,
Thank you for coming back! Yes it is able to print a single model like a ring. Imagine that you have a three dimensional space to make liquid resin hardened, turn it into a solid state model, that’s what a 3D printer is doing! You can make multiple items at one time if you can manage to fit them in that space, and surely can print only just one item if that’s what you would like to do. The size of that space you have to print is depending on which model of printer you have, you can learn more in this article to help you find out the one that’s best for you. And don’t forget to check our latest released Sonic Mini 8K S printer.
https://reurl.cc/Nq5qNp
Best, Phrozen Team.
>
Jaime Vega
Can I print a single piece on the sonic mini 8k printer?
———
Phrozen Technology replied:
Hi Jamie,
Thank you for commenting! If you are asking about a single piece like a dress, we are not sure if that will be able to accomplish without a specific, delicate design to what you are looking for. If you are saying printing a miniature model or something just in one piece, then yes! It’s totally doable with our printers like the Sonic Mini 8K. The result will differ from case to case in terms of how do you prepare your model and what kind of thing you are going to print, but overall you will get more and more used to it once you gaining experience and knowledge of 3D printing by just go through the process yourself.
So please join us and start to create today!
Best, Phrozen Team
>
Mark Sweeney
Can I use Phrozen ABS like resin to print the test file , will it work or does it have to be 8k resin? If so, what prints do the ABS like resin suit ? Thanks
———
Phrozen Technology replied:
Hi Mark,
Yes, you can use Phrozen ABS-like resin to print the test file. Just make sure that the file has been sliced with the suitable parameters intended for ABS-like resins. You can check the resin profile for ABS-like resin here: https://phrozen3d.com/pages/resin-mini-8k. However, Aqua 8K resins would have a better result showcasing all the 8K details of Sonic Mini 8K.
Cheers, Phrozen Team
>
Thor Jensen
Hi,
How can I make a CTB file when my 3D model is made inventor?
Tried to google it but could not help me
Help from your side is a appreciated.
Thanks in advance
Regards Thor Jensen
Hi,
How can I make a CTB file when my 3D model is made inventor?
Tried to google it but could not help me
Help from your side is a appreciated.
Thanks in advance
Regards Thor Jensen