In our previous blog post, we promised we would show you how to print out this exact ring step by step....so let’s begin!
Click on this link to download the ring so that you can follow along with us.
Fasten the Printer’s Building Plate Tightly

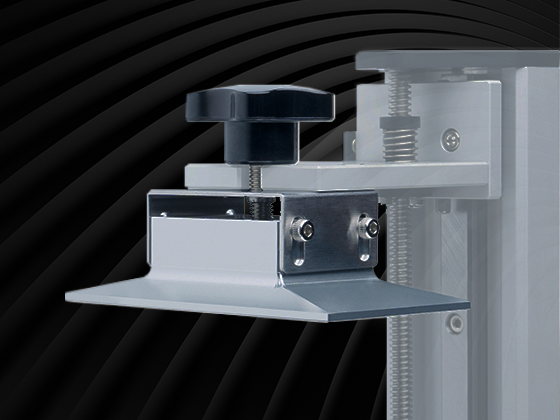
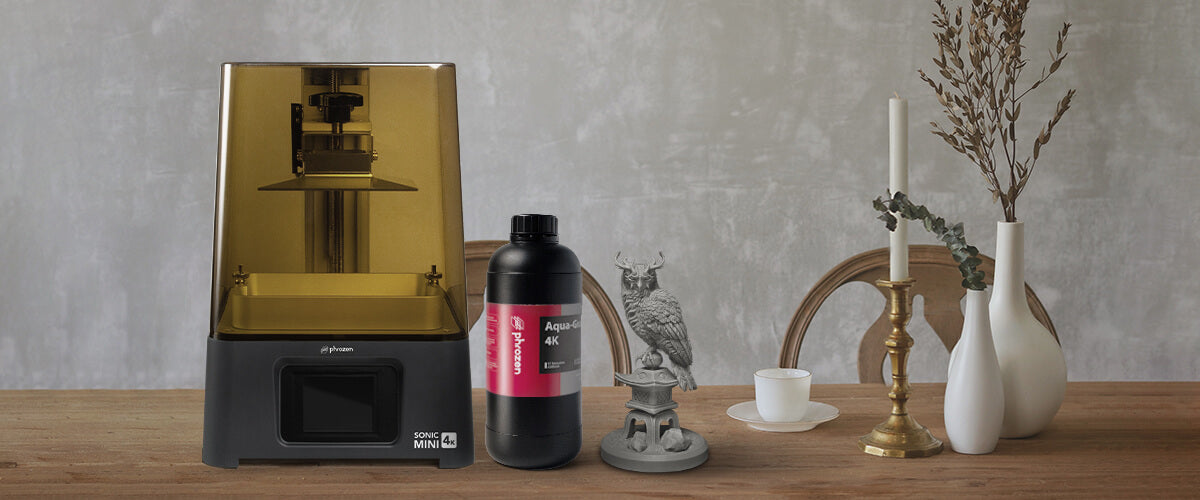
Before you begin printing, make sure to set up the building plate for Sonic Mini 4K and fasten it tightly onto the printer’s Z-axis.
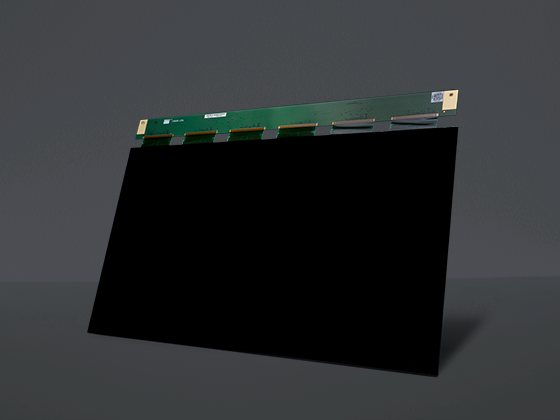
Perform an LCD Test before you begin Printing

1. On your printer's touch panel, click on TOOLS
2. Then select LCD TEST for the test to begin
Calibrate your Z-axis for Better Prints
Calibrating your printer’s Z-axis is also crucial for improving the quality of your prints. It also ensures that your 3D printer will be able to accurately print out high-quality models with less room for error during the printing process.
1. To calibrate the Z-axis, remove any objects present on the LCD screen and loosen all the screws on the building plate.
2. Prepare a piece of A4 paper (roughly 0.07 mm thickness) and lay it flat across the LCD screen.
3. On the Sonic Mini 4K’s LCD touch panel, click on TOOLS then Z CALIB to begin the process.
4. After the building plate extends to touch the piece of paper, adjust the plate to make sure it is laying tight on the paper, then tighten the screws.
5. Click DONE for the building plate to retract, remove the piece of paper, and fasten the resin vat to begin the printing process.
Click here for a detailed tutorial on how to calibrate the Z-axis on your Sonic Mini 4K.
Shake and Pour Resin into the Vat

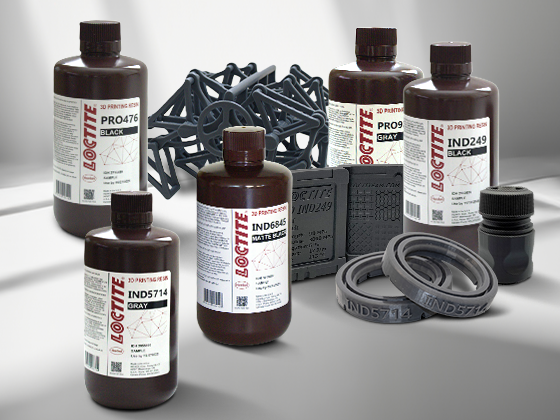
Before pouring Aqua-Gray 4K resin into the resin vat, make sure to shake it evenly for approximately one minute. This is because the resin is made up of several components including coloring pigments, which tend to settle at the bottom of the bottle.
As resin is shaken, the sediments will distribute evenly, meaning that you can create successful prints more easily. If you don't shake resin before pouring it into the resin vat, it will cure unevenly, and your prints may fail.
When pouring resin, make sure it does not exceed half of the height of the resin vat. This prevents resin from overflowing during the printing process which could cause damage to the LCD screen.
As this is a test print, we're using Aqua-Gray 4K resin for demonstration purposes. You can use Phrozen Wax-like Castable Resin for professional purposes.
Adjust Print Parameters on CHITUBOX

1. Click on CHITUBOX Slicer software on your laptop or desktop computer. You can also click here to watch a video tutorial.

2. Click Settings, then click on Add new Printer

3. Then click on Phrozen and choose Sonic Mini 4K as your 3D printer. Click OK when it's done.

4. Then click on resin and choose Aqua-Gray 4K as your resin.

Then open the ring file and set the following print parameters for the Phrozen ring. As we’ll be using Phrozen Aqua-Gray 4K resin, we’ll follow the recommended print parameter settings listed on our resin profile spreadsheet.
You can always refer to our resin profiles for a general idea on how to set up resin profiles for different Phrozen resins. Feel free to make adjustments and test to see what works best for you.
Save & Transfer over File to the 3D printer
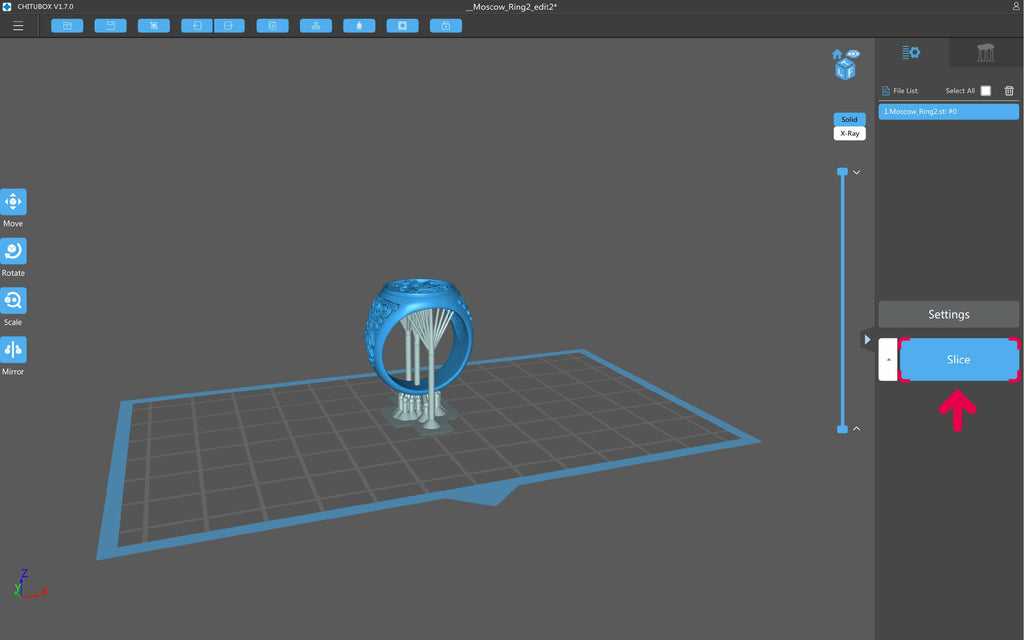
After setting up the print parameters, click Slice. Once that’s done, save your file as a .ctb file. Plug in your USB into Sonic Mini 4K and you’re good to go!
Please note that Sonic Mini 4K can only read files that are saved as a .ctb file. If you save it as another file format, the resin 3D printer won’t be able to read your file and you won’t be able to print out your 3D models.

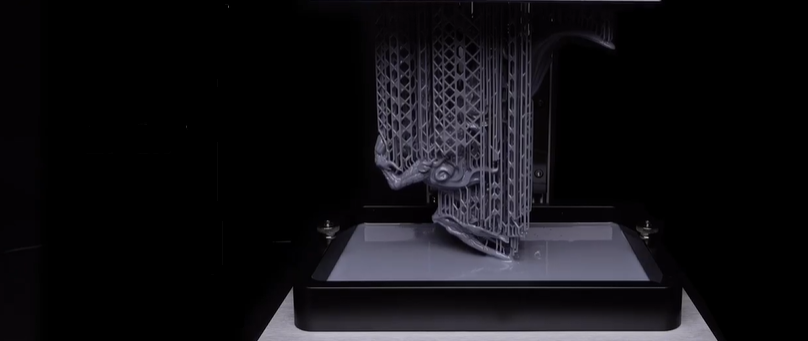
Voila, you're now all set to begin printing! On the printer's LCD touch panel, click 3D Print, click on your file then click GO. It should take roughly 2 hours to print out the ring.
Once you’re done printing, use a hard scraper to scrape off the print. Carefully remove the supports. You now have your very own 3D printed ring!
To learn how to post-process your 3D models after printing, click here.




6 comments
Frank Hartmann
Hallo,
wie kann ich die Spiegelung ausschalten. Meine Modelle werden spiegelverkehrt gedruckt.
Mfg Frank
———
Phrozen Technology replied:
Hello Frank,
Thank you for commenting. Please refer to this document about the mirroring settings in Chitubox: https://reurl.cc/VNaVRQ
Hope this helps.
Best, Phrozen Team
>
Phrozen Team
Hi Albert, Thanks for the comment. You can find the settings on the resin profile page: https://phrozen3d.com/pages/resin-sonic-mini-series
Hi Albert, Thanks for the comment. You can find the settings on the resin profile page: https://phrozen3d.com/pages/resin-sonic-mini-series
Albert
Hi, where can I find the parameter setting for castable resin w20 green with sonic mini 4k? thank you
Hi, where can I find the parameter setting for castable resin w20 green with sonic mini 4k? thank you
ALEJANDRO M DELL OLIO
Hi
Hope ypu are ok and well. I have a lot of issues with the printing…Ive tried to print 32mm miniarures with little or no success. Miniatures came in Flat or featureless….any help?
———
Phrozen Technology replied:
Hi there,
Thank you for your comment. Please feel free to fill out this form:
https://phrozen3d.com/pages/technical-issue-form
Phrozen Team
Hi there,
Thank you for your comment. For jewelry casting, we recommend using Phrozen’s Wax-Like Castable Resin for best results.
Hi there,
Thank you for your comment. For jewelry casting, we recommend using Phrozen’s Wax-Like Castable Resin for best results.
izaac noe
can i make jewelry casting with the 4k resin?
can i make jewelry casting with the 4k resin?