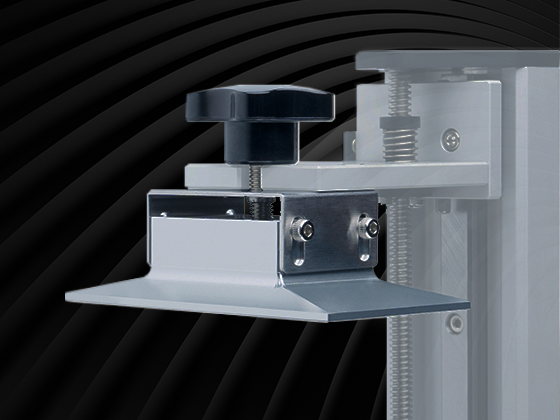
Sanding the building plate isn’t 100% necessary, but it increases adhesion significantly; therefore, we’ve included a piece of 80 grit sandpaper in your Sonic Mini 4K toolbox. The following are tips for sanding the building plate:
Step 1: Roughen the Surface of the Building Plate in One Direction

Place the short side of the building plate against a firm, stable surface, then use the 80 grit sandpaper provided in your toolbox to roughen the surface in one direction. Sand it approximately 6-8 times to make sure every part of the building plate is roughened.
Step 2: Check the Roughness of the Building Plate

After roughening the building plate with 80 grit sandpaper, this is what the results will look like. You can also use your fingertips to check if the surface has been roughened equally.
Step 3: Clean the Building Plate

Use 95% alcohol, IPA, or Phrozen Wash to clean the building plate. Make sure all the edges have been cleaned.
Step 4: Done
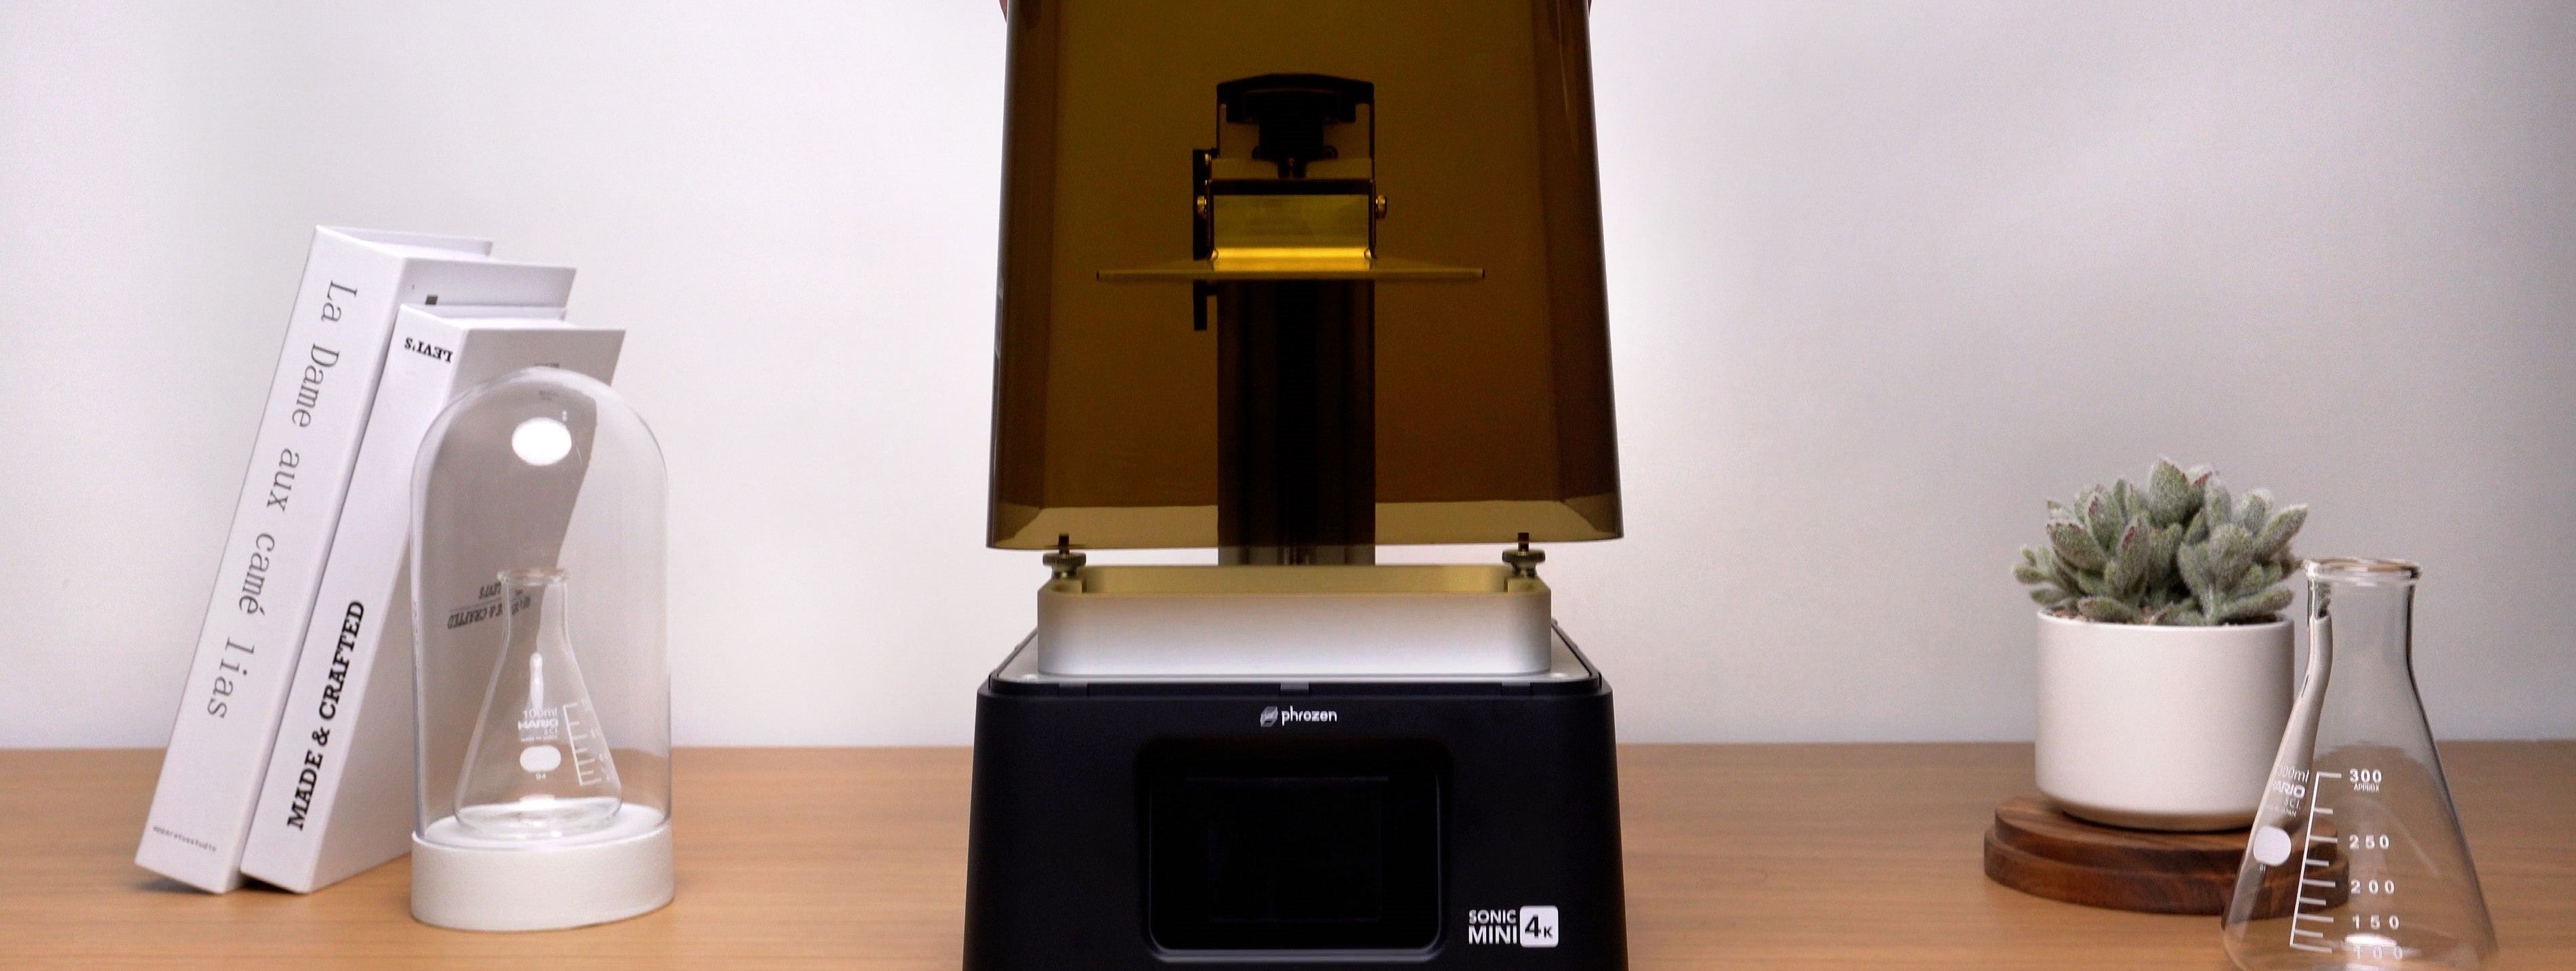
Attach the building plate to your Sonic Mini 4K LCD 3D printer. You're now ready for the next step: Setting up your Sonic Mini 4K.





4 comments
Gergely
Should the build plate also work in factory condition?
My very first print is a disaster despite of correct settings…
Manual does not mention sanding before the very first use.
———
Phrozen Technology replied:
Hi there,
Thank you for your comment! Yes, the building plate does come pre-sanded. However, feel free to sand it just a bit more so that you can have the perfect prints.
Phrozen Team
Hi there, thank you for your comment!
If you have a sandblasted building plate, then it is not necessary to sand it.
Hi there, thank you for your comment!
If you have a sandblasted building plate, then it is not necessary to sand it.
Ronald
I have a sandblasted build plate, do I need to sand it?
I have a sandblasted build plate, do I need to sand it?
Fabio
Perfect and clear, thank you!
Perfect and clear, thank you!