

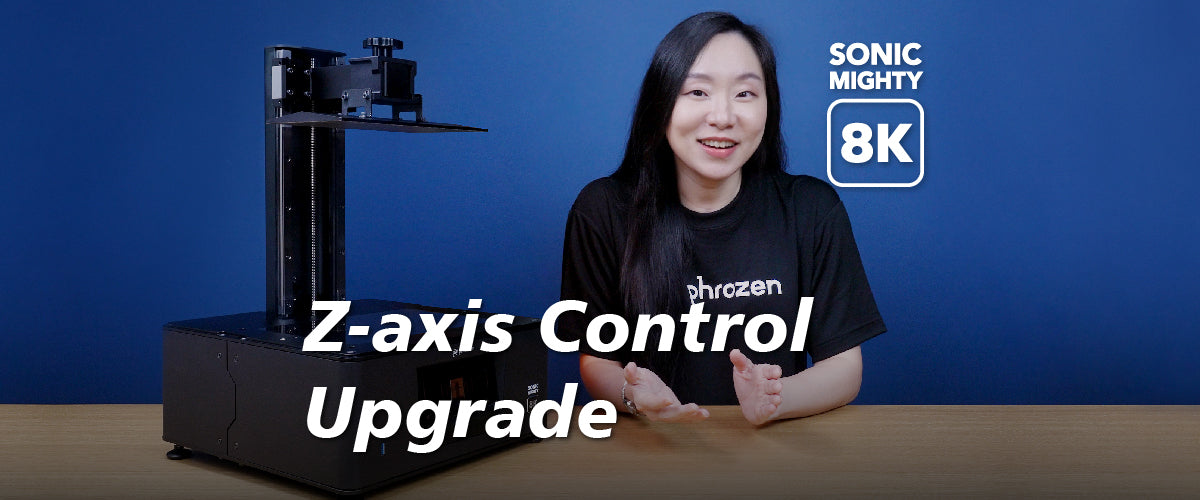
To make your 3D printing experience easier and smoother, we’ve upgraded some functions in the Sonic Mighty 8K LCD 3D Printer to better suit our user needs. One of them is an upgraded z-axis control function. With this new feature, you can easily adjust your z-axis offset with just a few clicks on your all-touch-screen panel on your 3D printer.
What is z-offset, and why do we need to adjust it? As the name suggests, z-offset is an offset space in your z-axis between the building plate and the LCD screen. It is an essential feature in a 3D printer, especially as you embark deeper into your 3D printing journey. For example, when you are printing with specialty/functional resins with a thicker viscosity, you’ll need to increase your z-offset so the resin will have enough space to relevel in the resin vat.
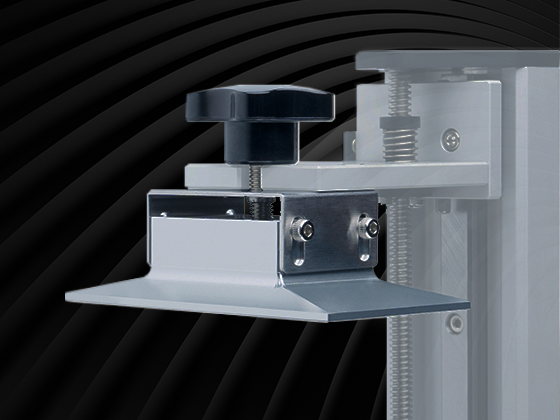
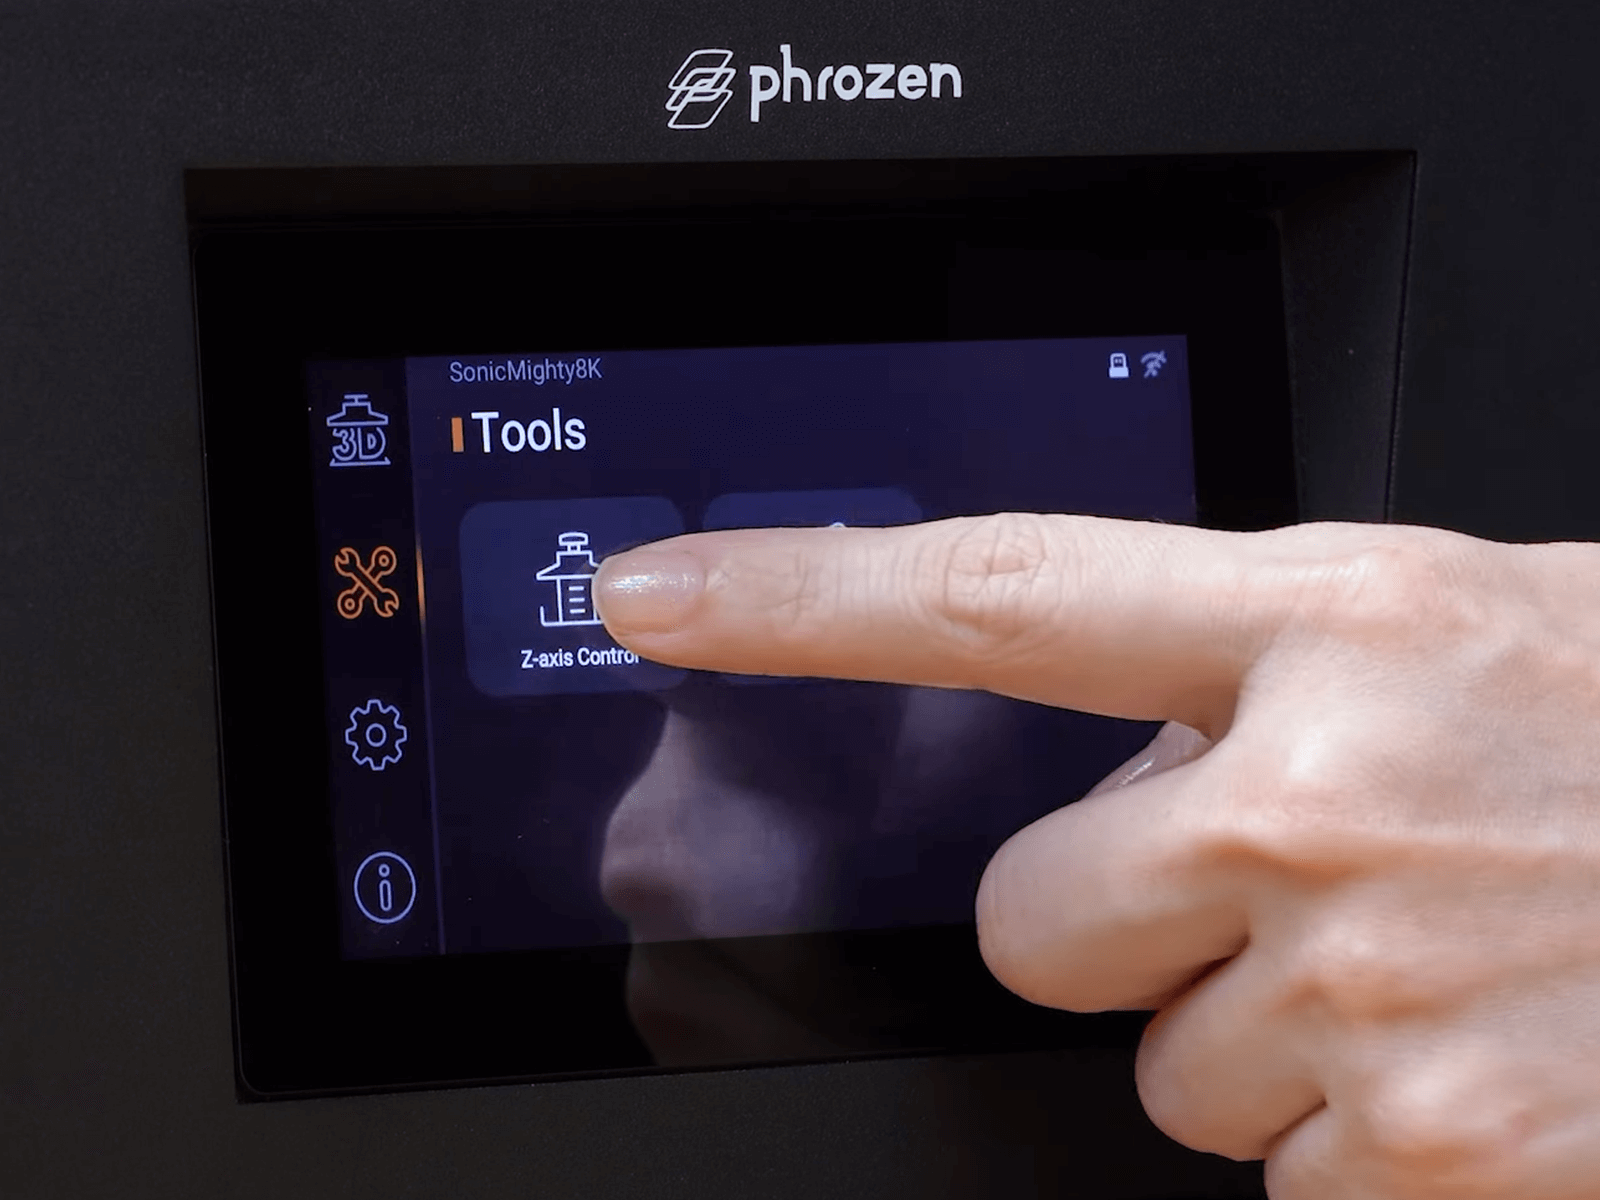
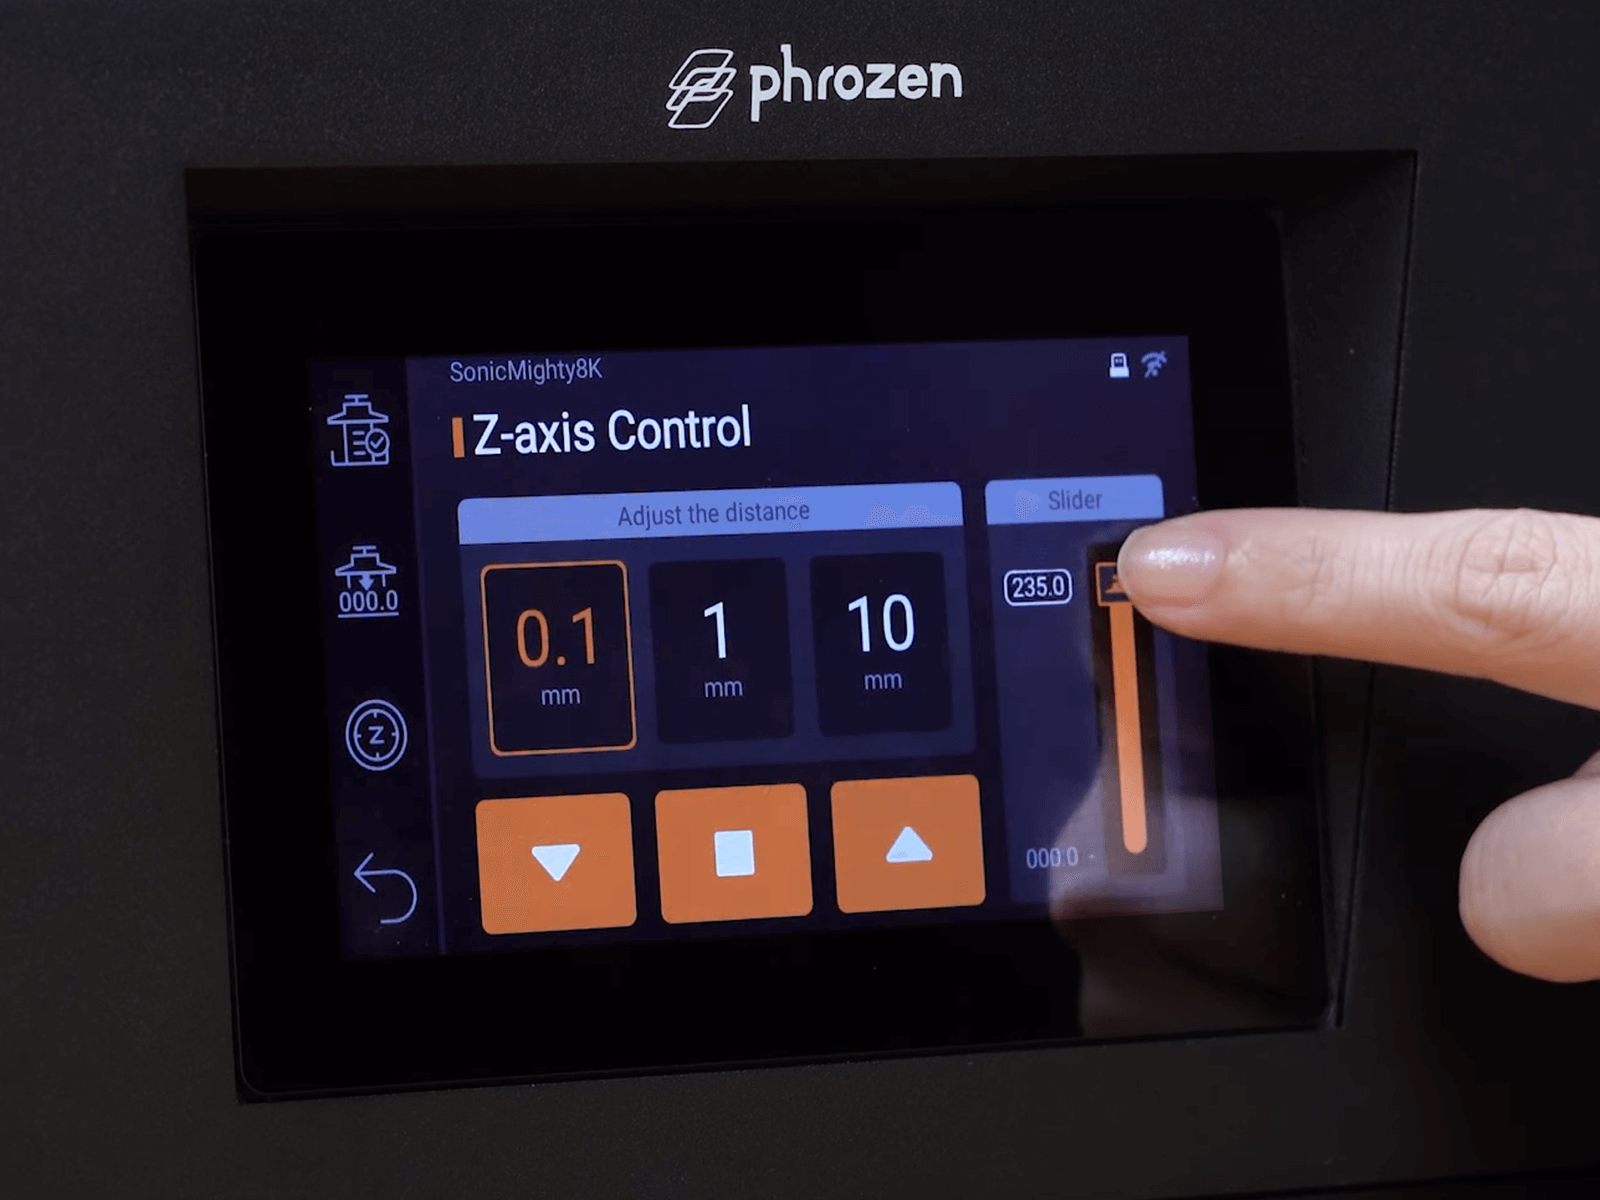
Sonic Mighty 8K improved z-axis control makes adjusting the building plate along the slide rail faster and much more convenient. First, go to the Tools tab and choose the Z-axis Control.
You can adjust the z-offset easily from the touchscreen panel of the Sonic Mighty 8K. Simply use the slider on the right side of the panel by sliding the toggle up and down the slider rail to adjust the z-offset.
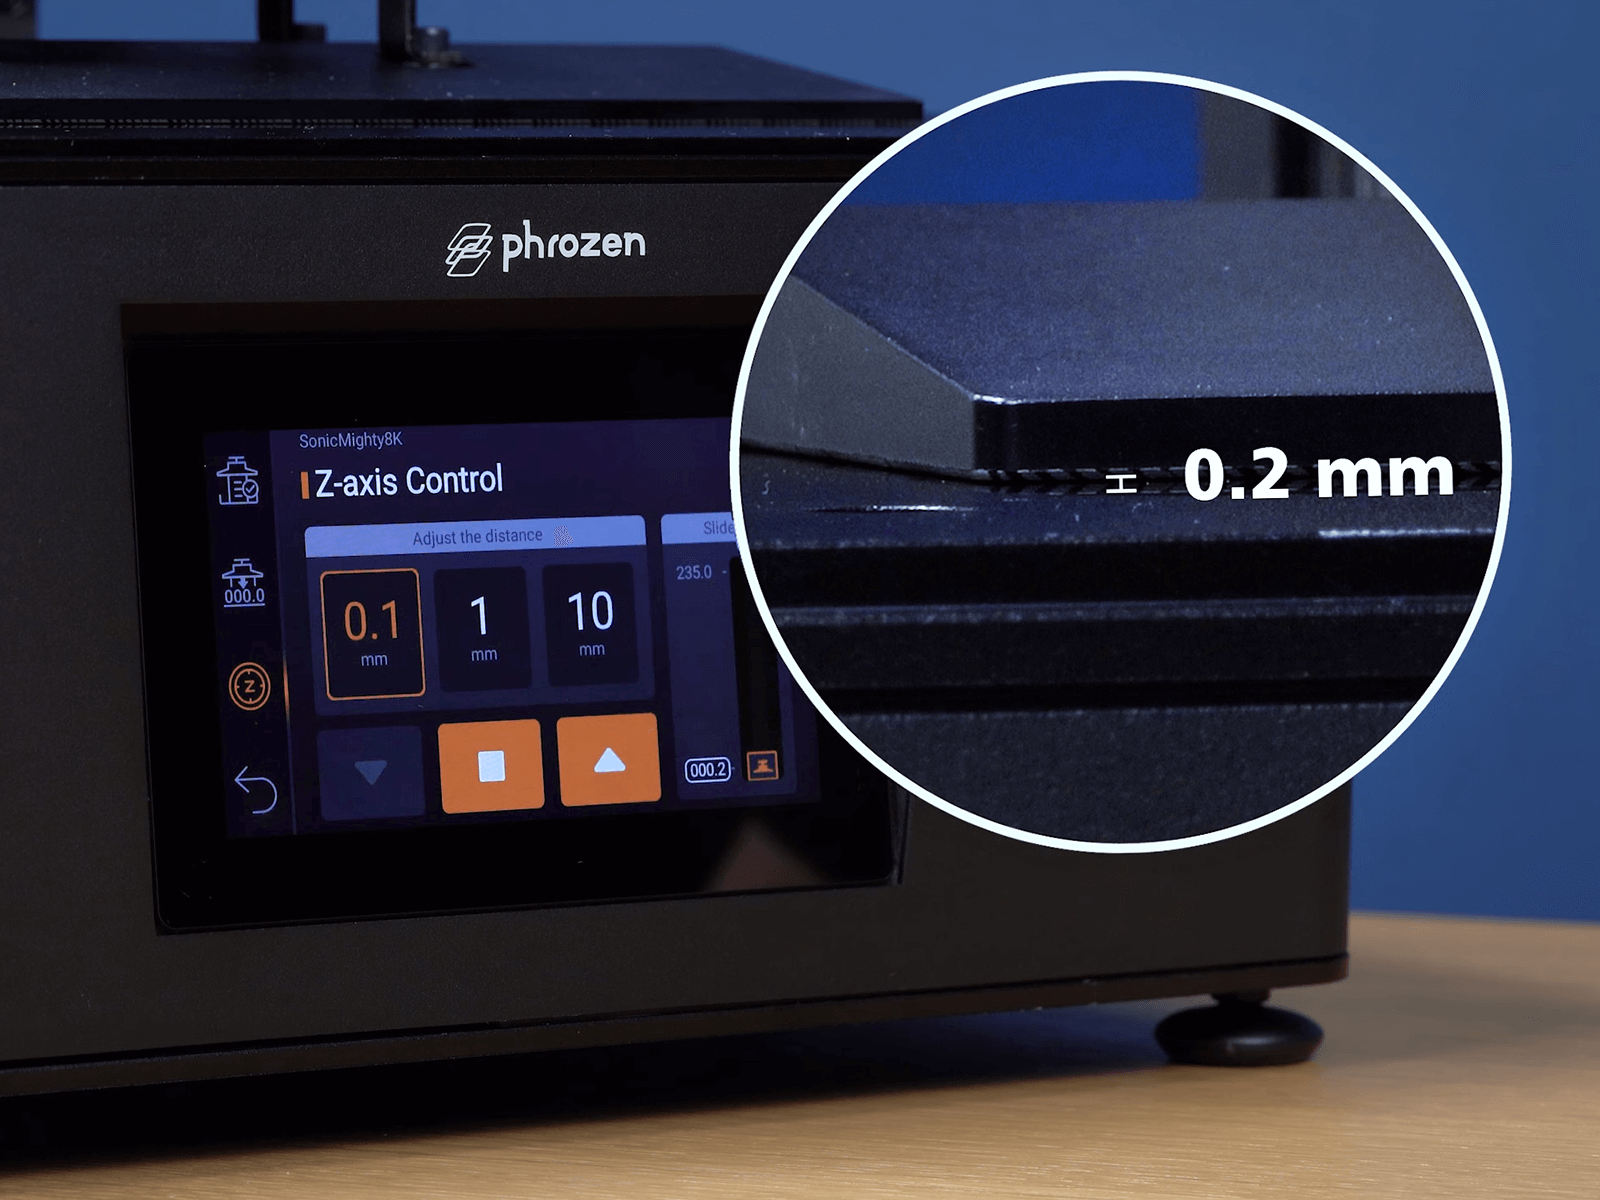
Even more, you can use three different units to adjust the height of your z-offset in detail: 0.1 mm, 1 mm, and 10 mm settings. Simply choose the unit you prefer, and tap on the arrow button until it fits your needs.
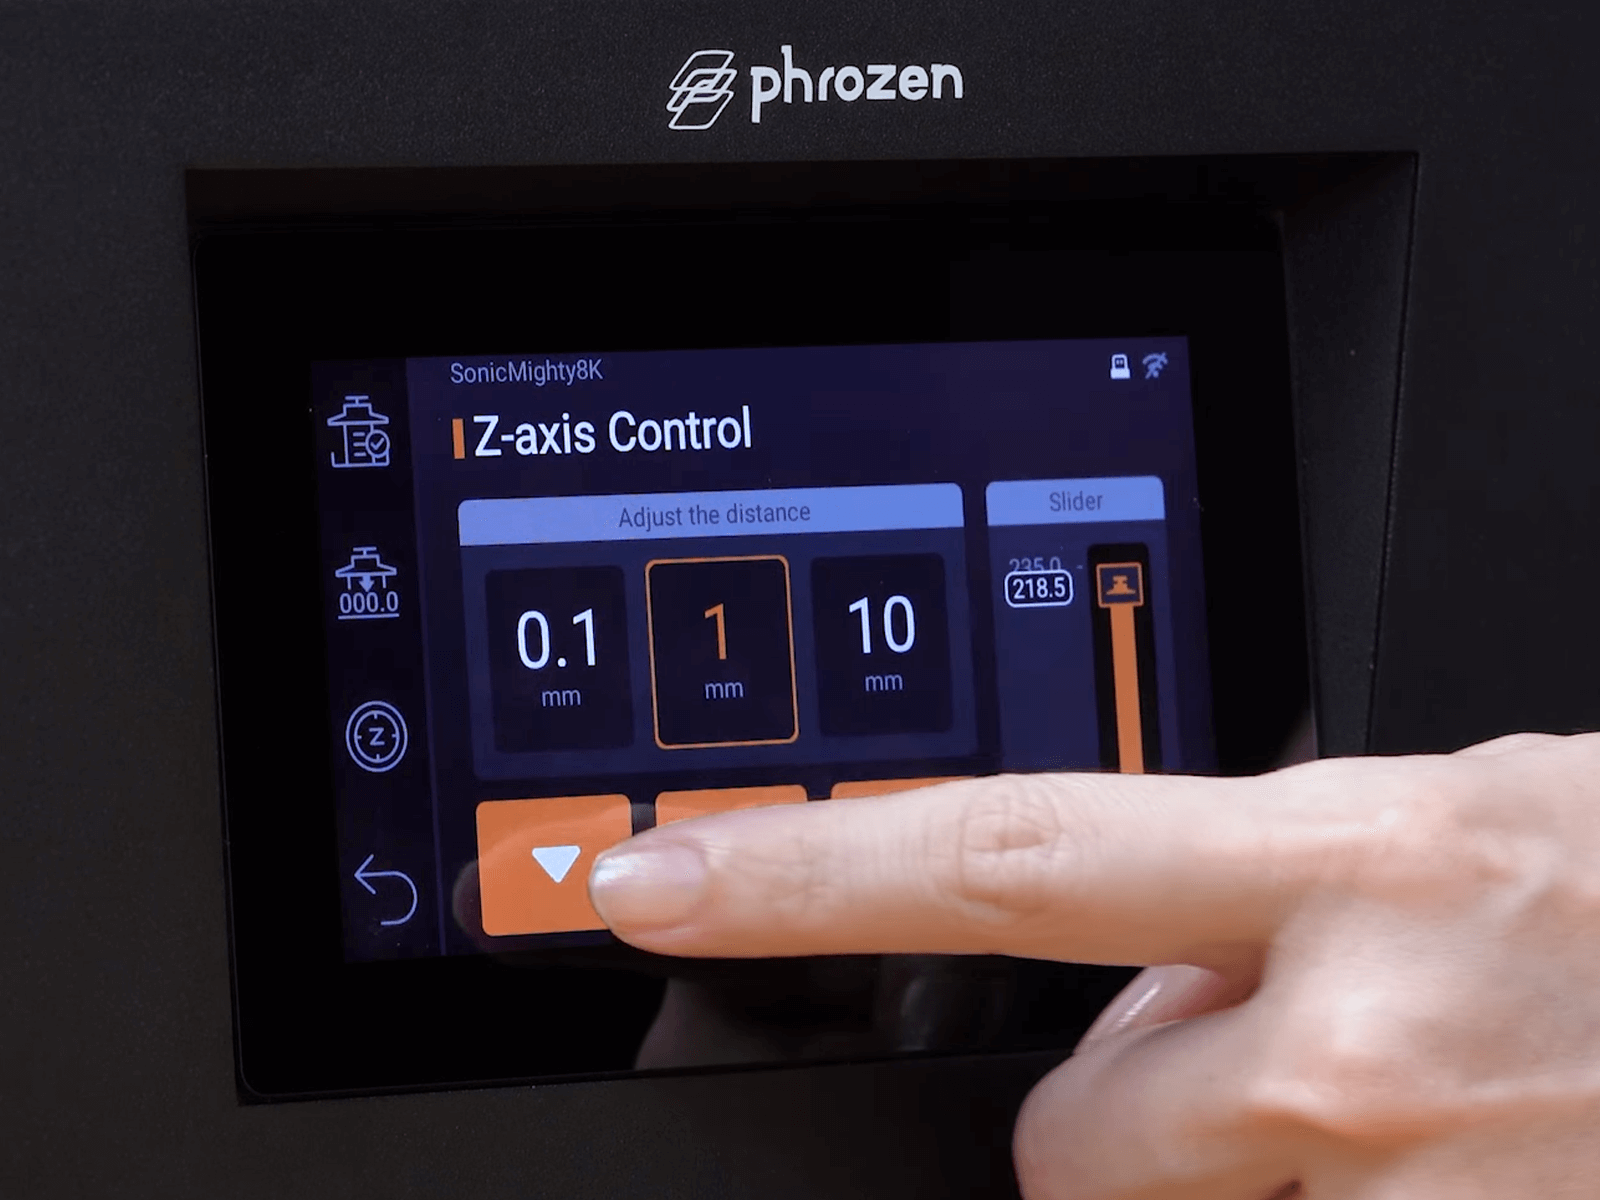
On the bottom right corner of the screen, next to the bottom slider, you can see the level of your current z-offset settings.

Now that you know how to set your z-axis offset, feel free to use any resins you like and you are all set for your next print.
In the next article, we'll show you how to set up your internet connection and to perform file import through the network.