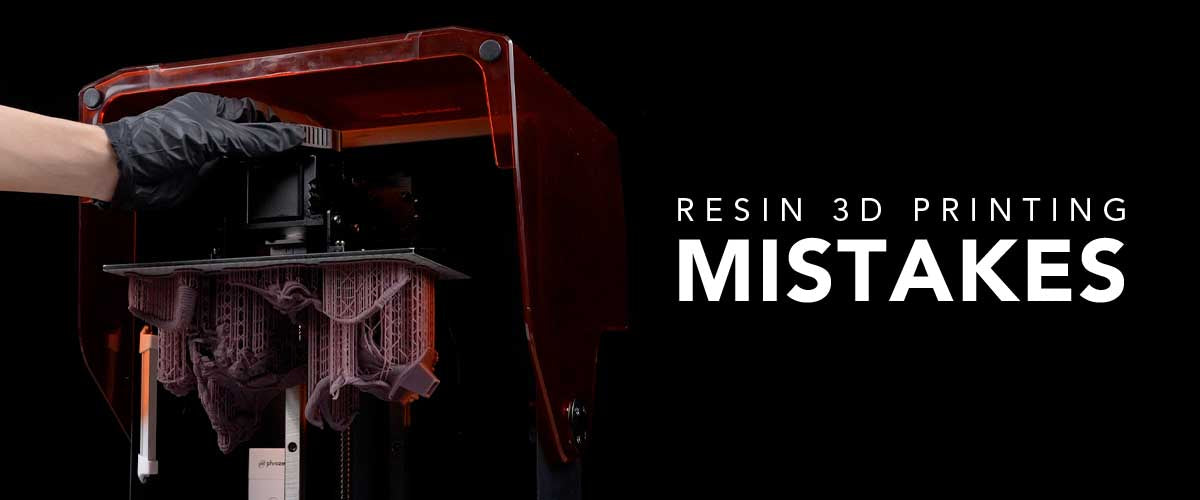
Ever had that moment when you pull your latest resin print off the build plate, only to find it’s a complete mess?
Maybe it didn’t stick, or parts of it are missing, or it’s got weird lines and holes all over it.
Resin print failures are frustrating, especially after you’ve invested time and effort into getting your setup just right.
But don't worry—you’re not alone, and more importantly, you’re in the right place to figure out what went wrong and how to fix it.
In this guide, we’re going to walk through the most common resin print failure types and what you can do to prevent them.
Let’s turn those frustrating moments into learning opportunities so you can get back to printing flawless models.
1. When Your Print Doesn’t Stick to the Build Plate
Problem. Your print either doesn’t adhere to the build plate at all, or it detaches halfway through, leaving you with a failed resin print and a mess in your vat.
What’s Happening and How to Fix It:
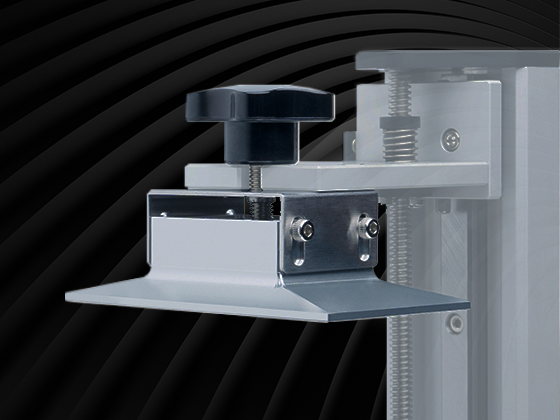
Poor Build Plate Calibration. If your build plate isn’t perfectly level, you’re almost guaranteed a failed resin print. The first step is to recalibrate the build plate, ensuring it’s level across the entire surface. Use a piece of paper to help gauge the distance between the plate and the bottom of the vat, and make sure everything is tightened down securely.
Not Enough Exposure Time. The initial layers of your print need extra exposure time to bond firmly to the build plate. If you’re not giving them enough, you might end up with prints that just won’t stick. Bump up the exposure time for those first few layers by 10-20%, and see if that helps.
Resin Temperature. Resin that’s too cold can be thicker and less likely to flow and stick properly. Keep your resin at room temperature or consider using a resin heater to maintain a consistent environment.
Dirty or Smooth Build Plate. A build plate that’s either too smooth or has some leftover gunk from previous prints can also lead to resin print failures. Lightly sanding the build plate with fine-grit sandpaper can improve adhesion, and always clean the plate thoroughly with isopropyl alcohol before starting a new print.
2. Dealing with Layer Delamination
Problem. Your print looks great… until you notice that it’s splitting apart at the layers. Resin print failures like this are particularly annoying because they often show up when you think everything’s going fine.
What’s Happening and How to Fix It:
Under-Exposed Layers. If your layers aren’t getting enough exposure time, they might not bond well, leading to delamination. Try increasing the exposure time for the regular layers to strengthen the bond.
To learn more about layers and other parameters to get successful and perfect prints, check out our blog on improving 3D print quality—It's a must read to get the best prints from your project.
Over-Cured Bottom Layers. Too much exposure on the bottom layers can make them too rigid, creating stress on the rest of the print and leading to resin print failures like delamination. If you suspect this is the issue, reduce the exposure time for the bottom layers, but be careful not to lower it too much, or you’ll end up with adhesion problems.
Lift Speed and Wait Time. Sometimes, the issue isn’t with the exposure at all but with the mechanical settings of your printer. If the lift speed is too fast, or if the wait time before the lift is too short, the layers might not have time to settle and bond properly. Slowing down the lift speed and increasing the wait time can help reduce the chances of delamination.
Dirty Resin Vat or FEP Film. If there’s cured resin stuck to the bottom of your vat, it can interfere with the printing process and cause layers to peel apart. Regularly check and clean your vat, and inspect the FEP film for scratches or cloudiness that could affect the print quality.
3. Support Failures: When Your Print Collapses Mid-Print
Problem. You set up your print with what seems like enough supports, but halfway through, the model starts to collapse or ends up with missing parts. This type of resin print failure is a common headache.
What’s Happening and How to Fix It:
Insufficient Support Density. The number one cause of support failures is simply not having enough of them, or they’re too thin. Increase the density and thickness of your supports in your slicer software. Consider using stronger support settings, especially for heavier or more complex prints.
Poor Support Placement. Supports need to be strategically placed to hold up overhangs and ensure the entire model stays stable during the print. If they’re not in the right places, or if you have large unsupported areas, you’re setting yourself up for a failed resin print. Take the time to manually adjust support placement, focusing on critical areas that need extra stability.
Incorrect Support Settings. Sometimes, it’s about fine-tuning the settings for your supports. This could mean adjusting the tip size of the supports or changing the type of supports you’re using (like switching from tree supports to standard lattice supports). Experimenting with these settings can make a big difference.
Check out our blog on supports for 3D printing—it covers everything you need to know about when to use, add, and remove supports.
4. Surface Quality Issues: Rough or Pitted Surfaces
Problem. You finally get a print off the build plate, but instead of a smooth finish, you’re left with a rough, pitted surface. This type of resin print problem is particularly disappointing when you’re aiming for high-detail work.
What’s Happening and How to Fix It:
Over-Curing. If your exposure settings are too high, the resin can over-cure, leading to a rough, gritty texture on the surface of your print. Try dialing back the exposure time slightly and see if that improves the surface finish.
Also, ensure that your curing system is efficient and optimized for best results. Phrozen's Cure Mega S offers top-grade drying and curing capabilities with a built-in interior light so that you can see your 3D mode's curing state.
Under-Curing. On the flip side, if your resin isn’t getting enough exposure, the layers might not fully solidify, resulting in a bumpy, uneven surface. Use a calibration test print to find the sweet spot for your exposure settings.
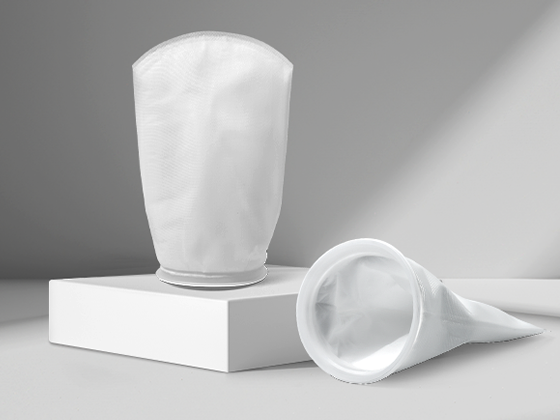
Resin Contamination. Dust, particles, or even leftover bits of cured resin in the vat can cause imperfections in your prints. Always filter your resin before use, and keep your printing environment as clean as possible to avoid these types of resin print failures.
Poor Layer Adhesion. If layers aren’t bonding well enough, you might see issues like pitting or an “orange peel” effect on the surface. Ensuring proper layer exposure and adjusting the lift speed can help improve the adhesion between layers and result in a smoother finish.
5. Random Holes and Gaps: When Parts of Your Print Go Missing
Problem. Your print looks mostly okay, but there are random holes or gaps where there shouldn’t be any. These kinds of resin print failures can be especially frustrating because they often don’t show up until after the print is complete.
What’s Happening and How to Fix It:
Under-Exposure. Small gaps or holes are often a sign that parts of your print didn’t receive enough UV light to fully cure. Increasing the exposure time slightly can help ensure all parts of your print cure properly.
Insufficient Wall Thickness. If your model’s walls are too thin, they might not print correctly, leading to weak spots or holes. Increasing the wall thickness in your slicer can help prevent this issue.
Air Bubbles in Resin:

If your resin wasn’t properly mixed or if there’s trapped air in your vat, you might end up with tiny air bubbles that cause holes in your print. Always stir your resin well before printing, and let it sit for a few minutes to allow bubbles to rise to the surface and escape.
Hollow Parts Without Drain Holes. If you’re printing a hollow model without proper drain holes, pressure can build up inside, leading to print failures. Make sure to add drain holes in your design or position your model to minimize the trapped resin inside.
6. Unwanted Lines and Artifacts on Your Print
Problem: You notice strange lines, ridges, or other artifacts on your print that shouldn’t be there. This is a common issue with resin print failures and can be caused by a variety of factors.
What’s Happening and How to Fix It:
Z-Wobble or Mechanical Issues:

If your printer’s Z-axis isn’t moving smoothly, you might see unwanted lines on your print. Check for any mechanical issues, like loose screws, or lubricate the Z-axis rod to ensure smooth movement.
Light Leakage. If light is leaking onto your resin vat from somewhere other than the UV source, it can cure the resin in unintended areas, leading to lines or other artifacts. Make sure your printer is in a controlled, dark environment and that the cover is properly secured.
Dirty or Scratched FEP Film. A scratched or dirty FEP film can also cause artifacts. Regularly inspect your FEP film and replace it if necessary to maintain print quality.
Incorrect Print Settings. Finally, double-check your print settings. Sometimes, lines can appear if your layer height is set too high or if your exposure settings aren’t optimized. Running a few test prints with different settings can help you identify the optimal configuration for your printer.
Ready to Solve Your Resin Printing Problems?
Dealing with resin printer problems can be a real pain, but understanding the root causes of these issues is the first step toward consistently successful prints.
Whether you’re struggling with failed resin prints, rough surfaces, or mysterious holes, there’s always a solution—sometimes it just takes a bit of tweaking and patience.
If you’re still having trouble, don’t hesitate to check out more in-depth guides like our troubleshooting for 3D printing blog, which offers even more tips and tricks to perfect your printing process.
Moreover, our blog on maintaining a 3D printer is a must-read if you want to ensure that your 3D printer passes the test of time.
Remember, every resin print failure is an opportunity to learn and improve, and with the right approach, you’ll be back to producing flawless prints in no time.

