
As a miniature and 3D printing enthusiast, Shaun has always dreamed about creating his own Wargaming-inspired RPG game. So in this article, Shaun is taking the first step to realizing his dream by making his largest 15 mm Wargaming game yet.
Want to know what Shaun made, how did he make it, and his tips and tricks for this project?
Make sure to keep reading!
Collecting and Choosing the Models
Drawing inspiration from movies like The Last of Us and games like Dungeons and Dragons, Shaun wants to make a tactical RPG game that mixes survivor apocalyptic genre with fantasy.
So he started to scour the internet to find the perfect models.
He found a lot of free buildings and terrains as the backdrop settings from Cults, while most of his characters came from various designers on MyMiniFactory.
Curious about all the models he used on this project? Let’s go!
Scaling and Slicing the Models
Once Shaun finds all the models he needs for his wargaming miniatures project, the most crucial thing to do next is to decide on his scale and how he will make it work.
After some testing, Shaun decided on the standard 15 mm size. But even with that number in mind, different designers might still have varying sizes on their models, although they are listed with the same scale. To keep his models within the same ratio to each other, Shaun makes sure that he always has his reference mini in hand. For this, he picked a model from Station Forge.
So what does Shaun mean by a reference mini?
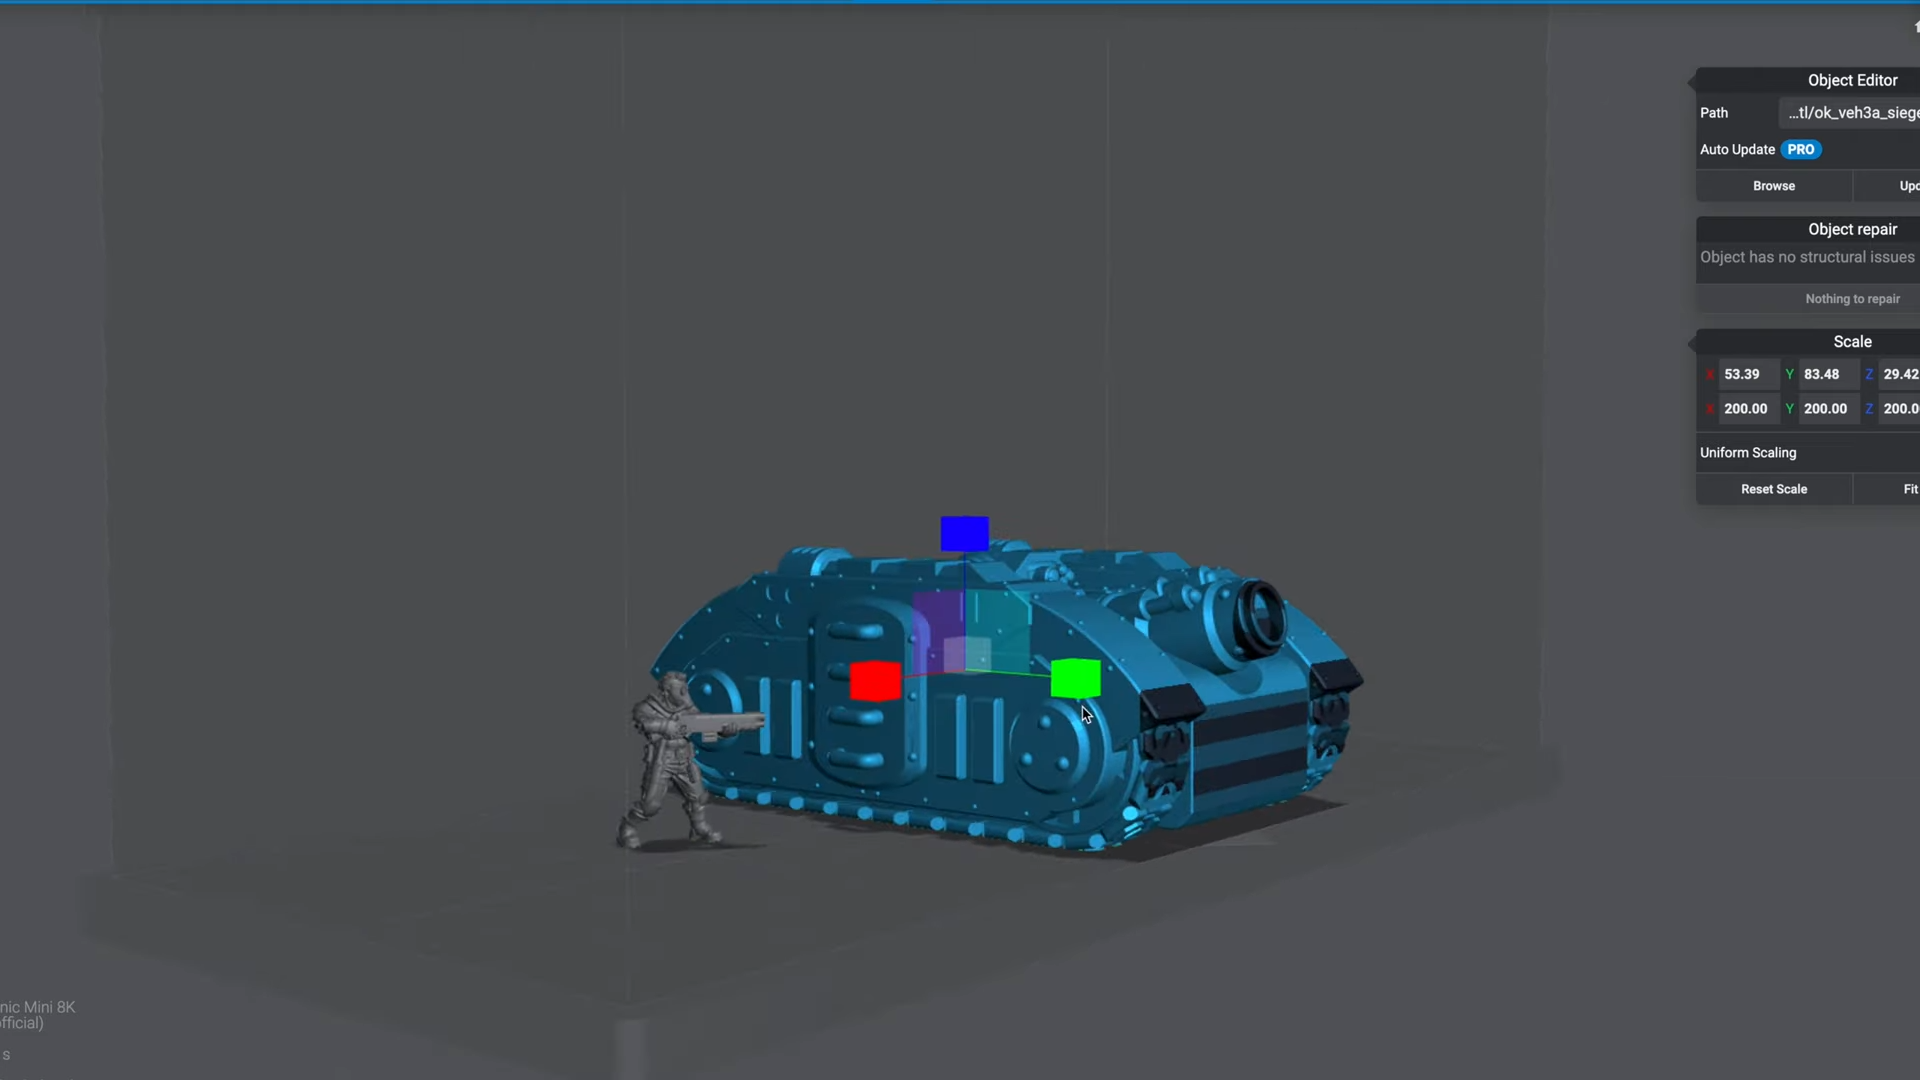
A reference mini is a mini model that you throw into the slicer software every time you are about to print something else so that you can compare all the other objects to the size of your reference mini. If you are printing a vehicle like a tank, then it should be one or two times taller than your reference mini. Similarly, when printing big office buildings, you would want to make sure that each floor of your building is at least taller than your character.
3D Printing the Models
Shaun takes advantage of both a resin 3D printer and an FDM printer for this project as he believes both have different benefits.
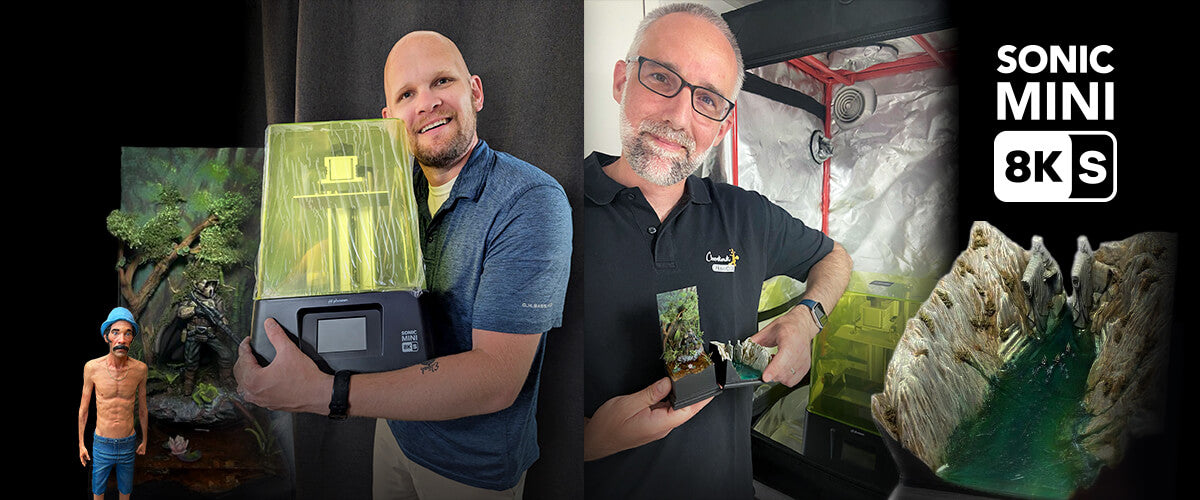
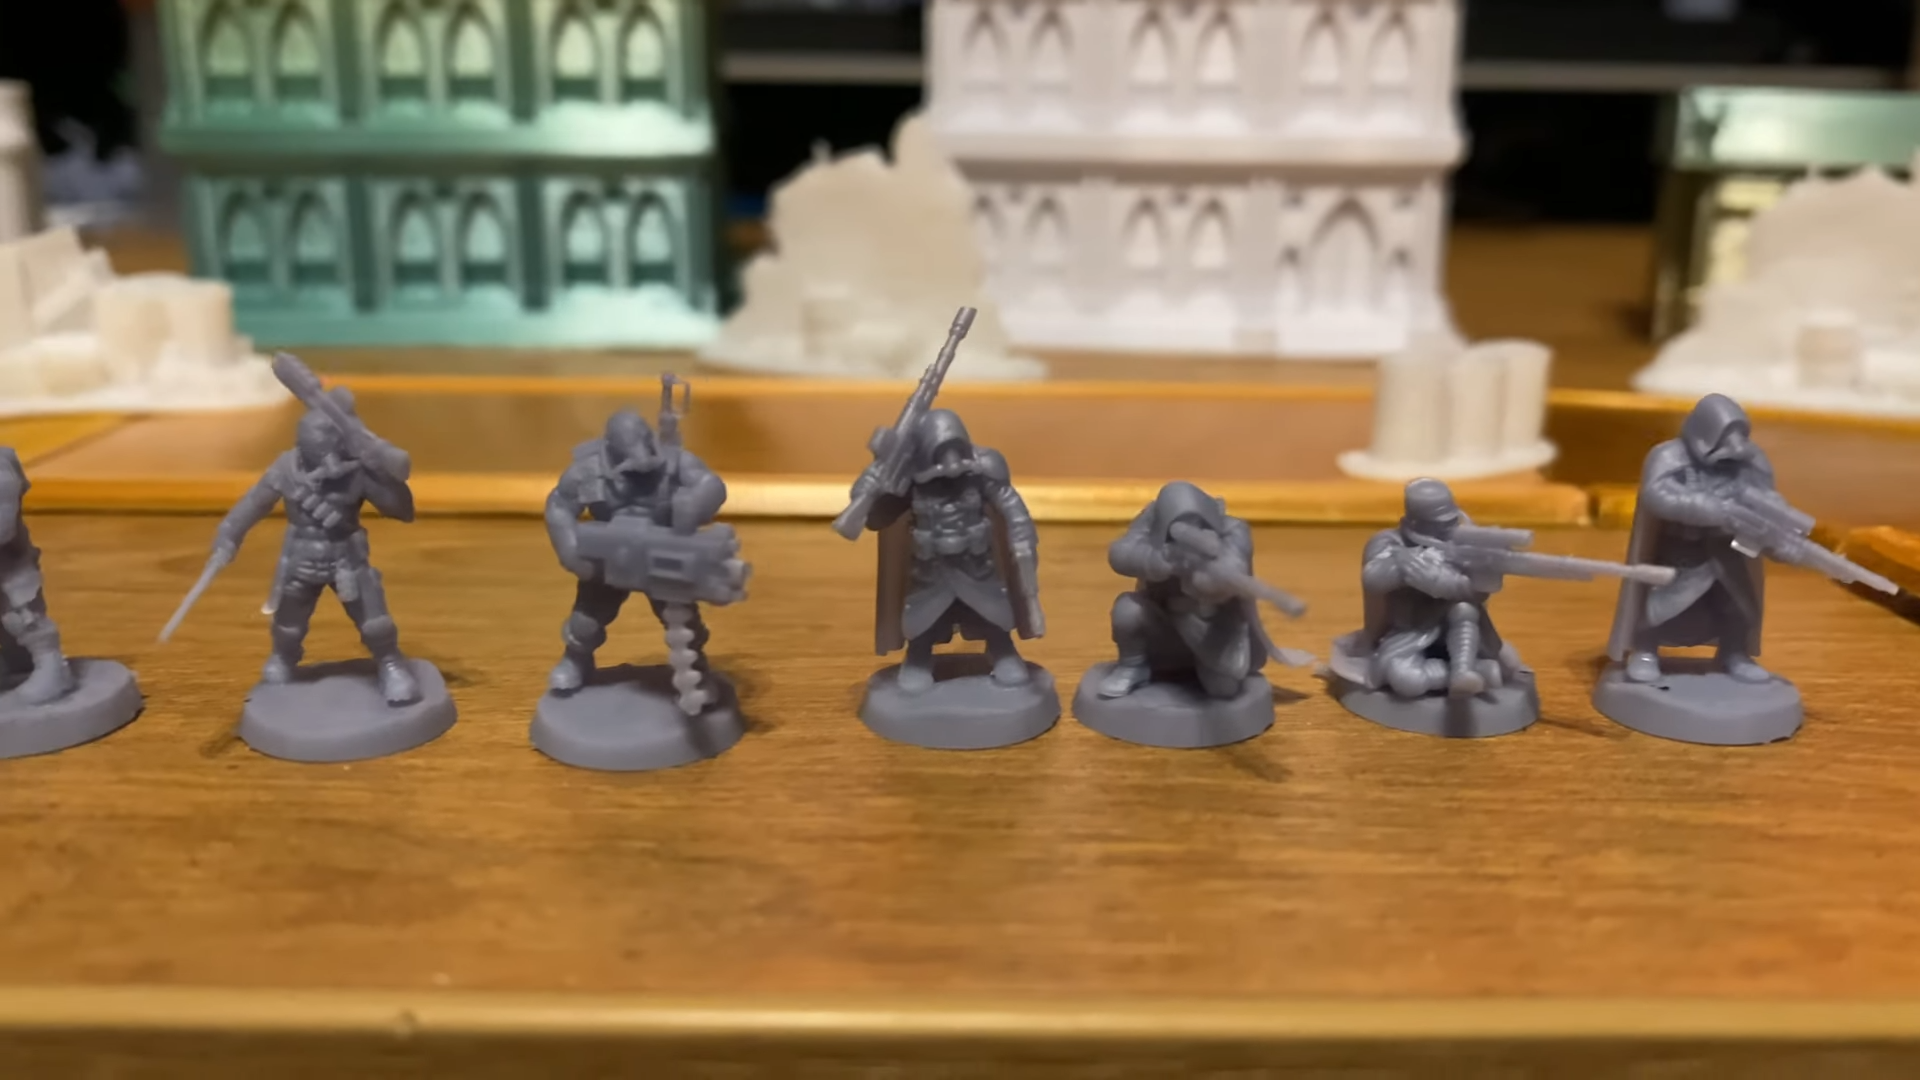
For the small miniatures and larger characters with intricate details, Shaun went with the Sonic Mini 8K. He loves how the 22μm resolution LCD panel gave him the best details for the main models. He compared it to the Saturn 8K he owned and mentioned how the smaller build plate of the Sonic Mini 8K offers more condensed pixels and overall really did an incredible job with the details showing super sharp and crisp. He absolutely loves how it turns out.
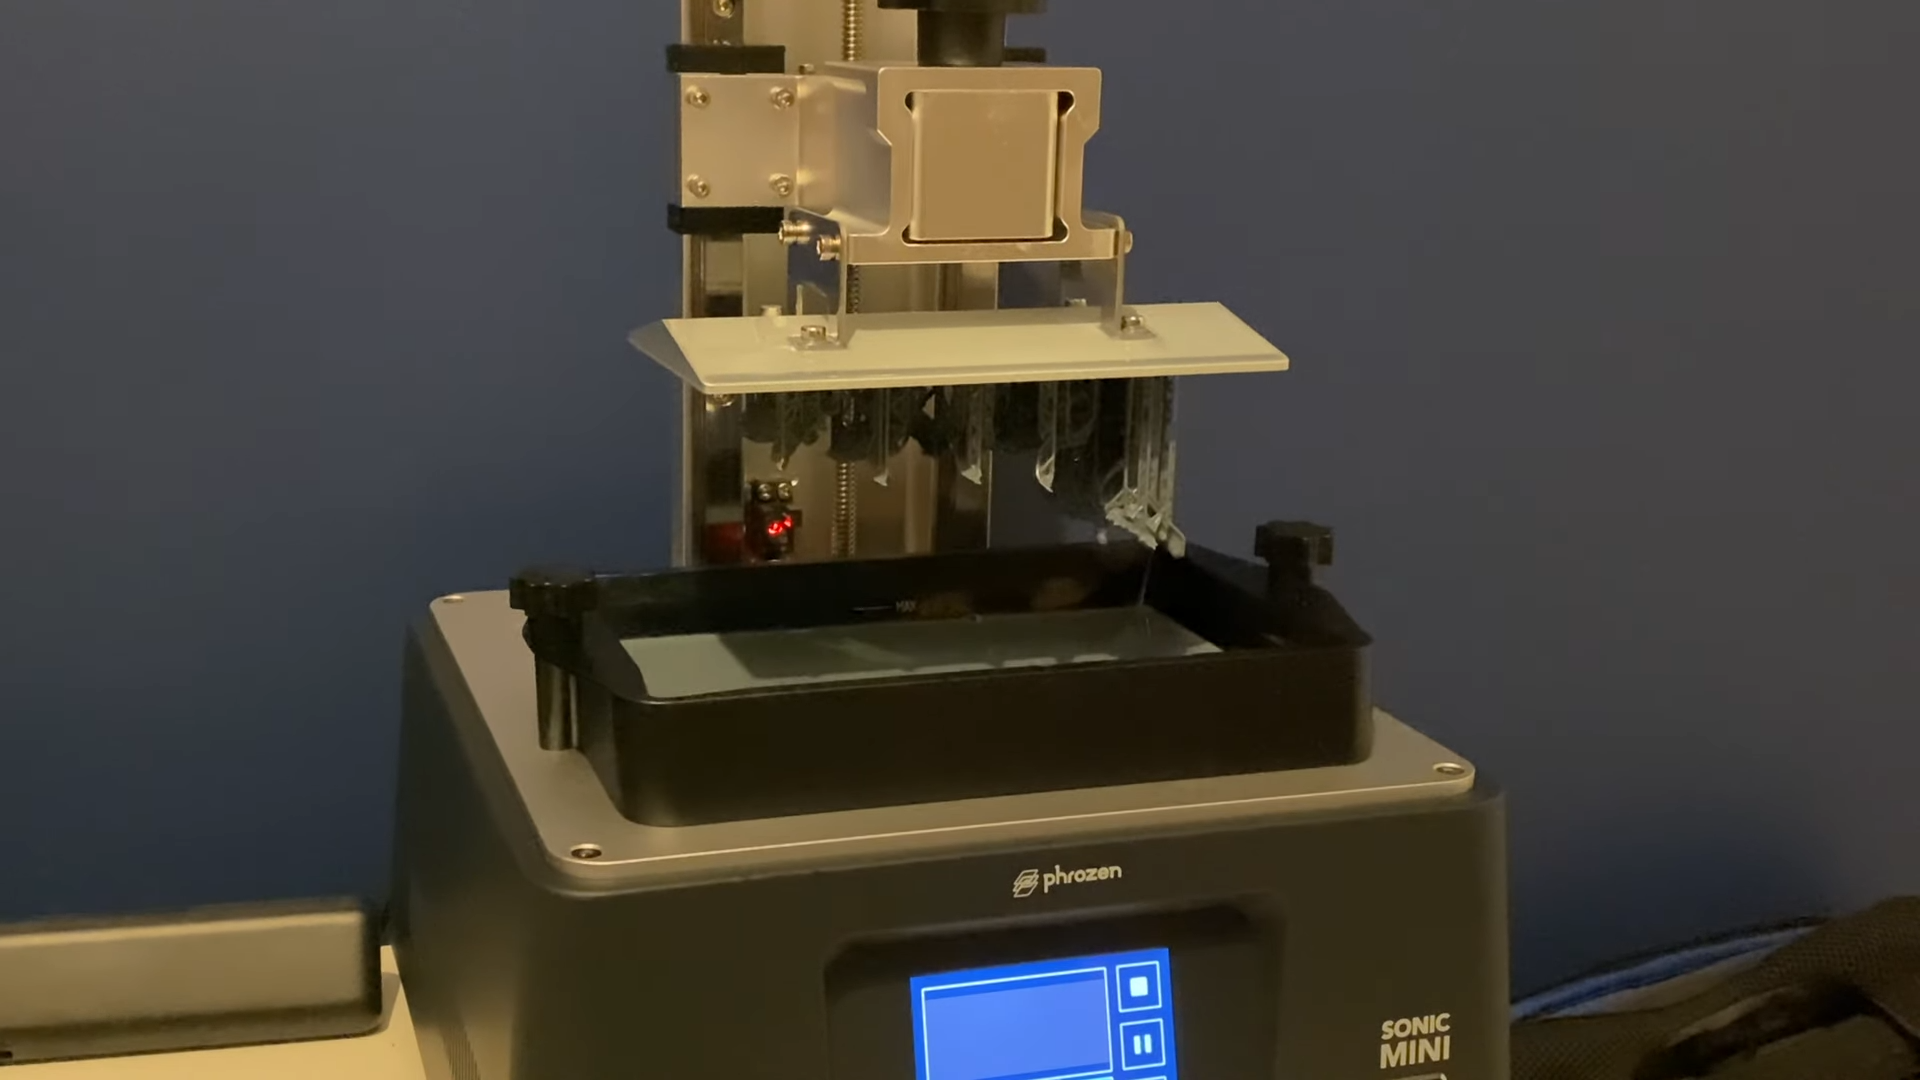
He also compares the Sonic Mini 8K to printers like Saturn and Mars and likes how the laser-etched build plate on the Sonic Mini 8K allowed him to reduce his bottom layer and exposure time.
Shaun chose to go with the FDM printer for the terrains and skyscraper buildings as it’s faster, and he doesn’t need too many details for these models. In addition, these objects will get used around a lot and show signs of wear and tear with time. Printing them with an FDM printer makes more sense because it’s cheaper when he needs to print them again.
Tips and Tricks to 3D Print the Models
Shaun also shares his tips and tricks to make sure that his models come out perfect.
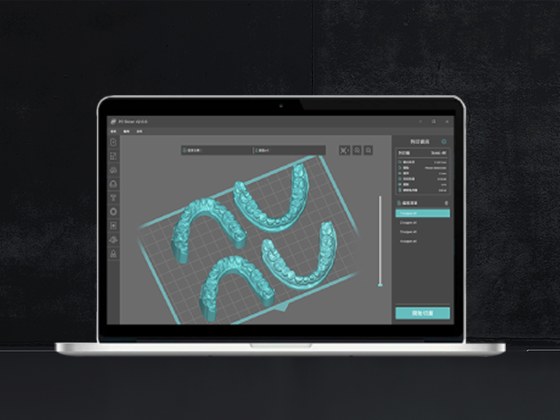
- Throw the models you want to print into a slicing software like Chitubox or Lychee. Shaun himself started with a Chitubox but somehow went with Lychee after a while.
- When printing the characters and small miniatures, use finished/combined models instead of those that need to be assembled, as the small scale will make it complicated.
- When printing larger objects like vehicles, monsters, or buildings, throw in your reference mini to the slicer so you can compare their sizes and how big you would like to print these items.
- When you choose to scale down models, choose to use unsupported models and scale them to their suitable scale before adding support. Shaun finds that pre-supported models will often have their supports become too small when reduced in size.
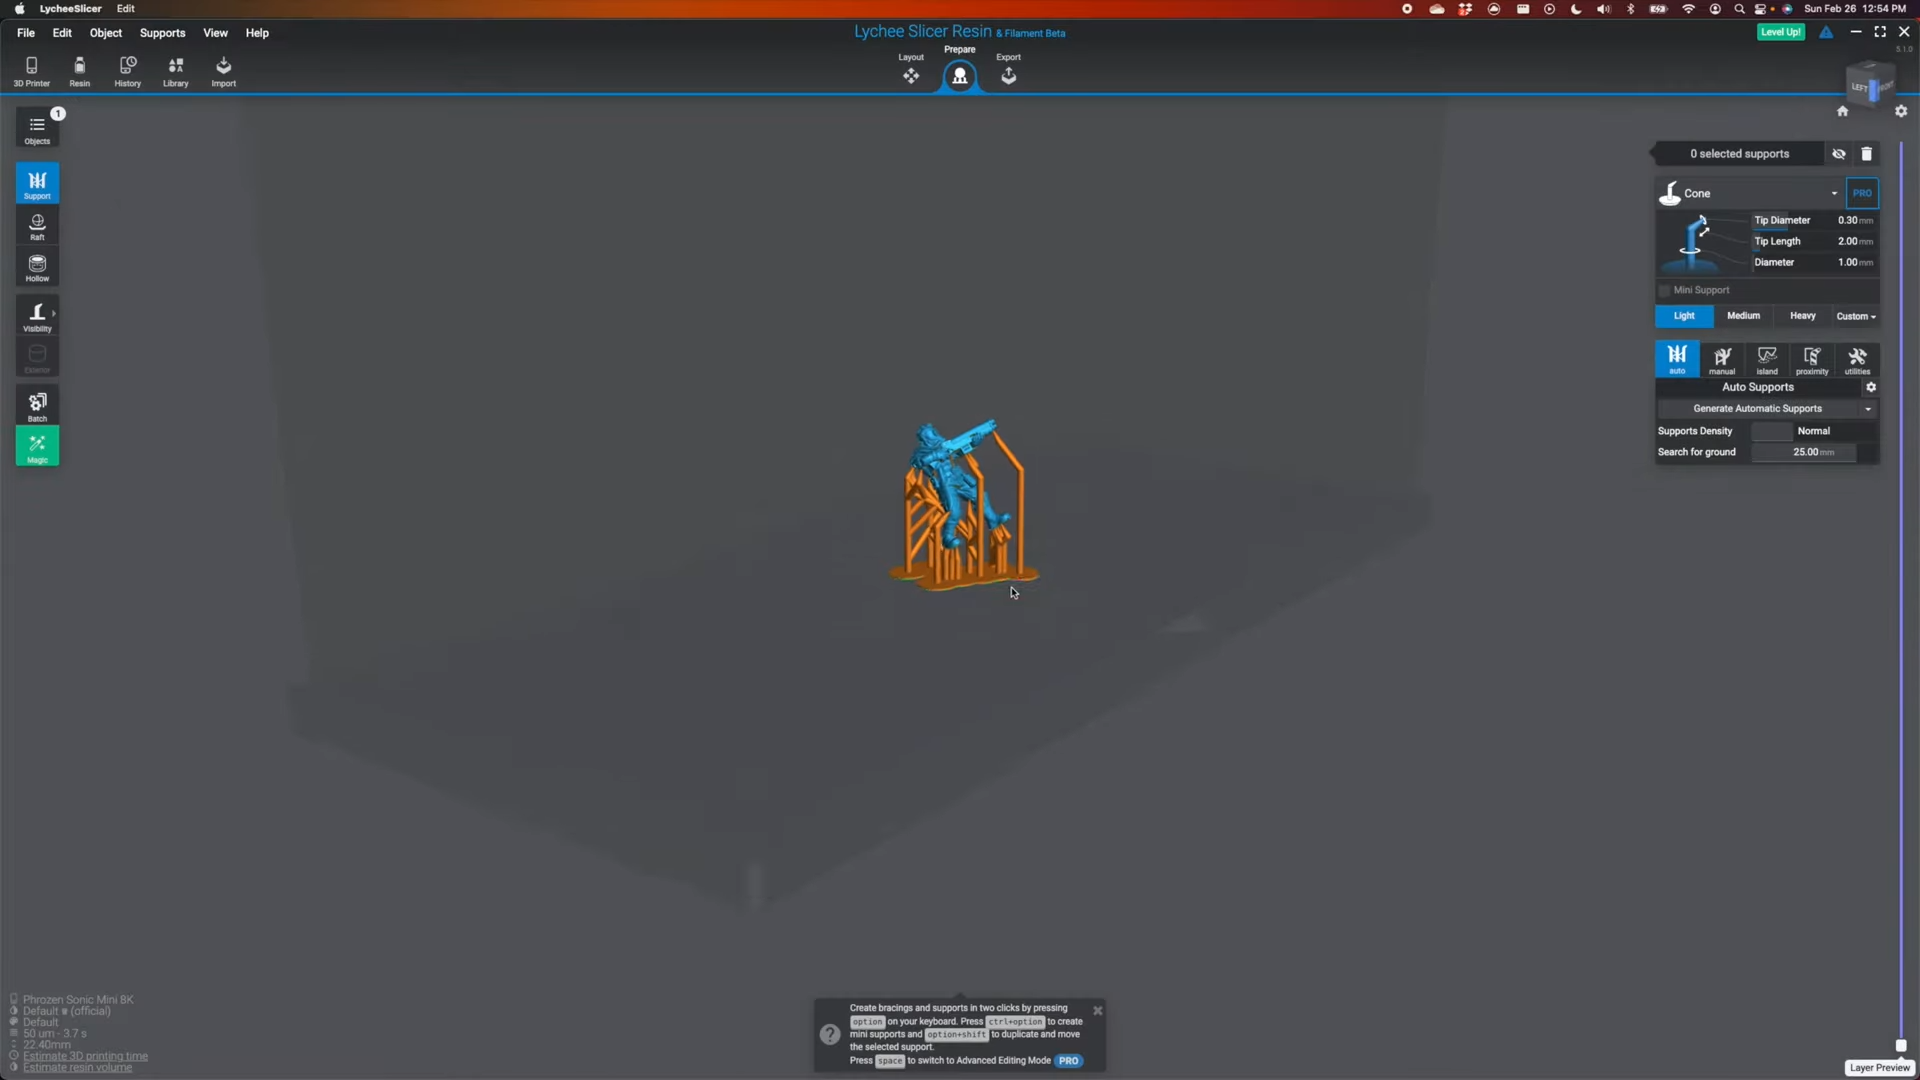
- Put your models at an angle. He personally prefers to lean the models on their backs, then add light supports so they’ll be easy to remove.
- Slice it, throw it to your USB drive, and let your printer do its UV resin magic.
Painting the Miniatures
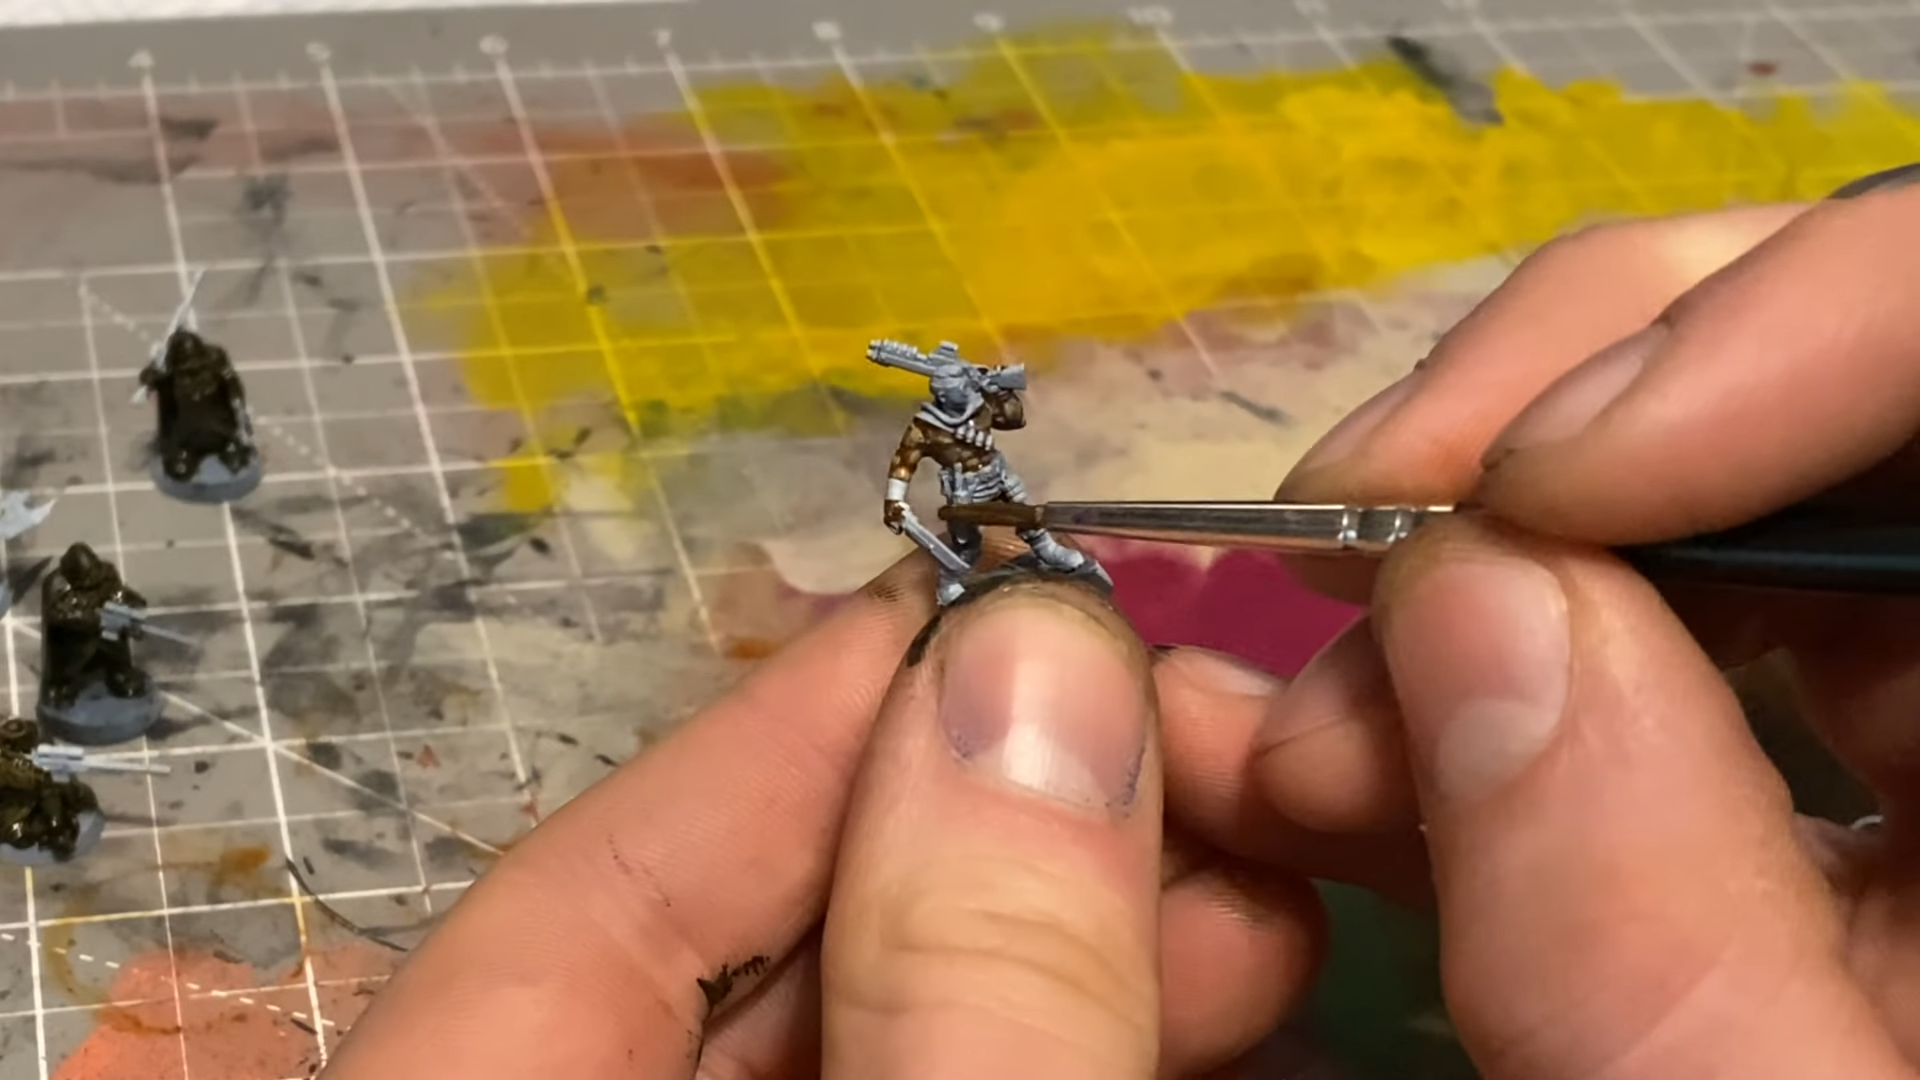
Lastly, Shaun shows us how he paints his models and gives some tips and tricks. He says that printing miniatures can look daunting due to their small size, but he thinks it’s actually so easy. The secret is to stick with the three-color rules.
First, he started by priming his minis with the Zenfone Prime black, then added some white over the top. Next, he color-blocks it with whatever color he wants those minis to be, and you don’t need to think much about the details.
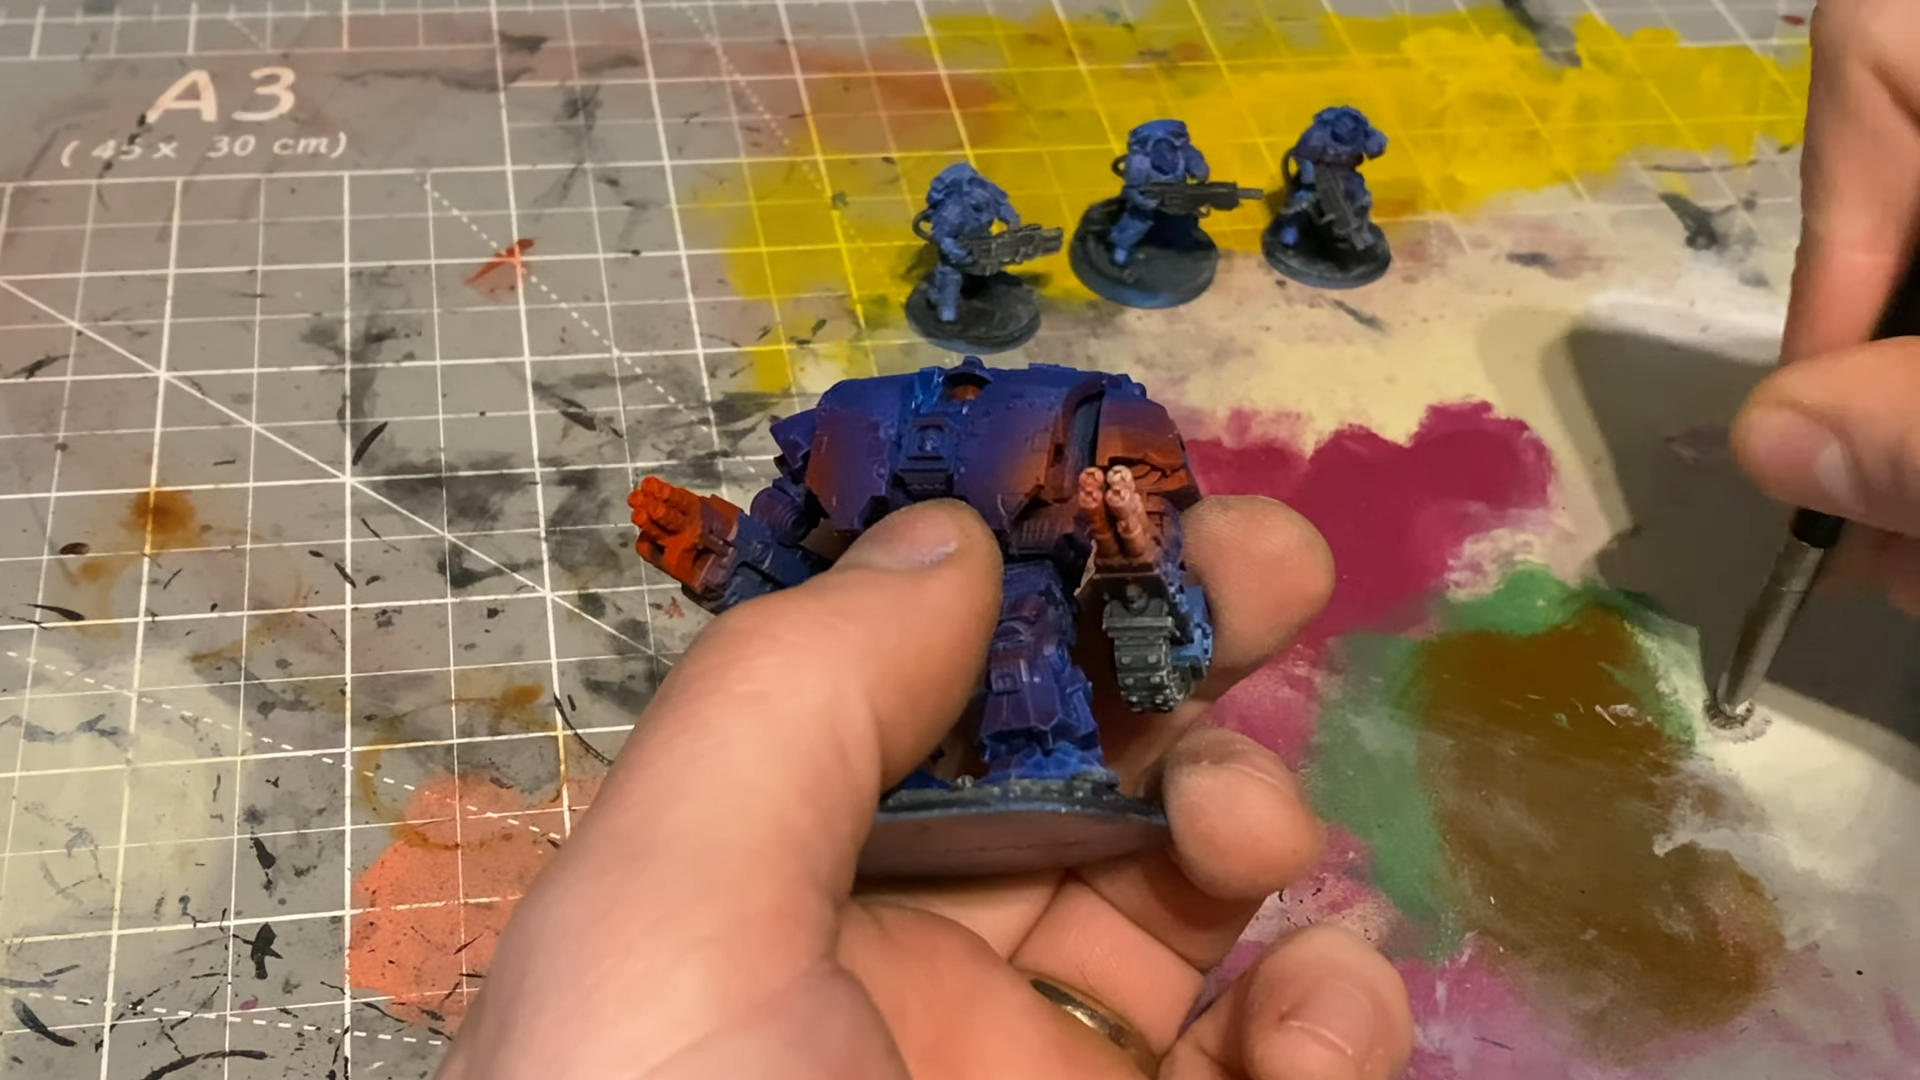
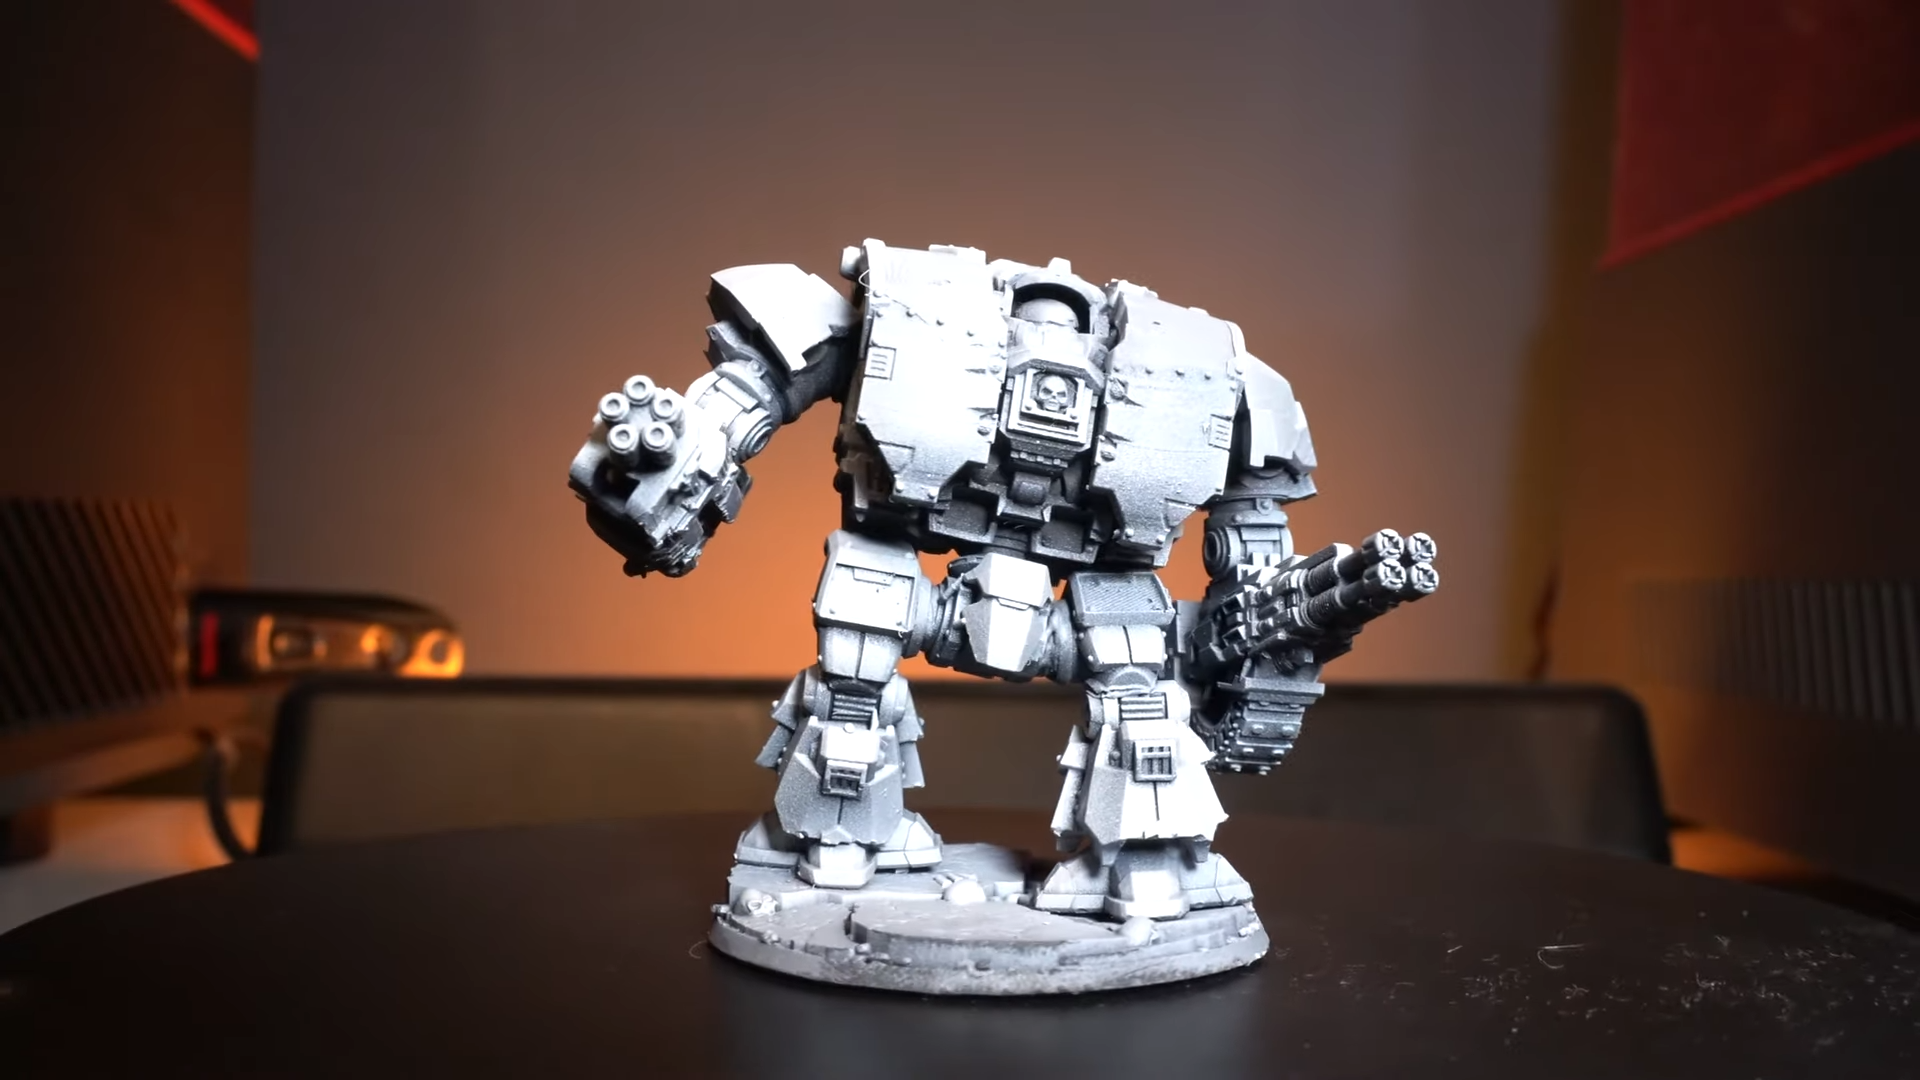
For his Space Marines, he color blocks it with blue, then adds some black on the weapons and an extra gold here and there for accents. Give it an oil wash for shading, and you are done.
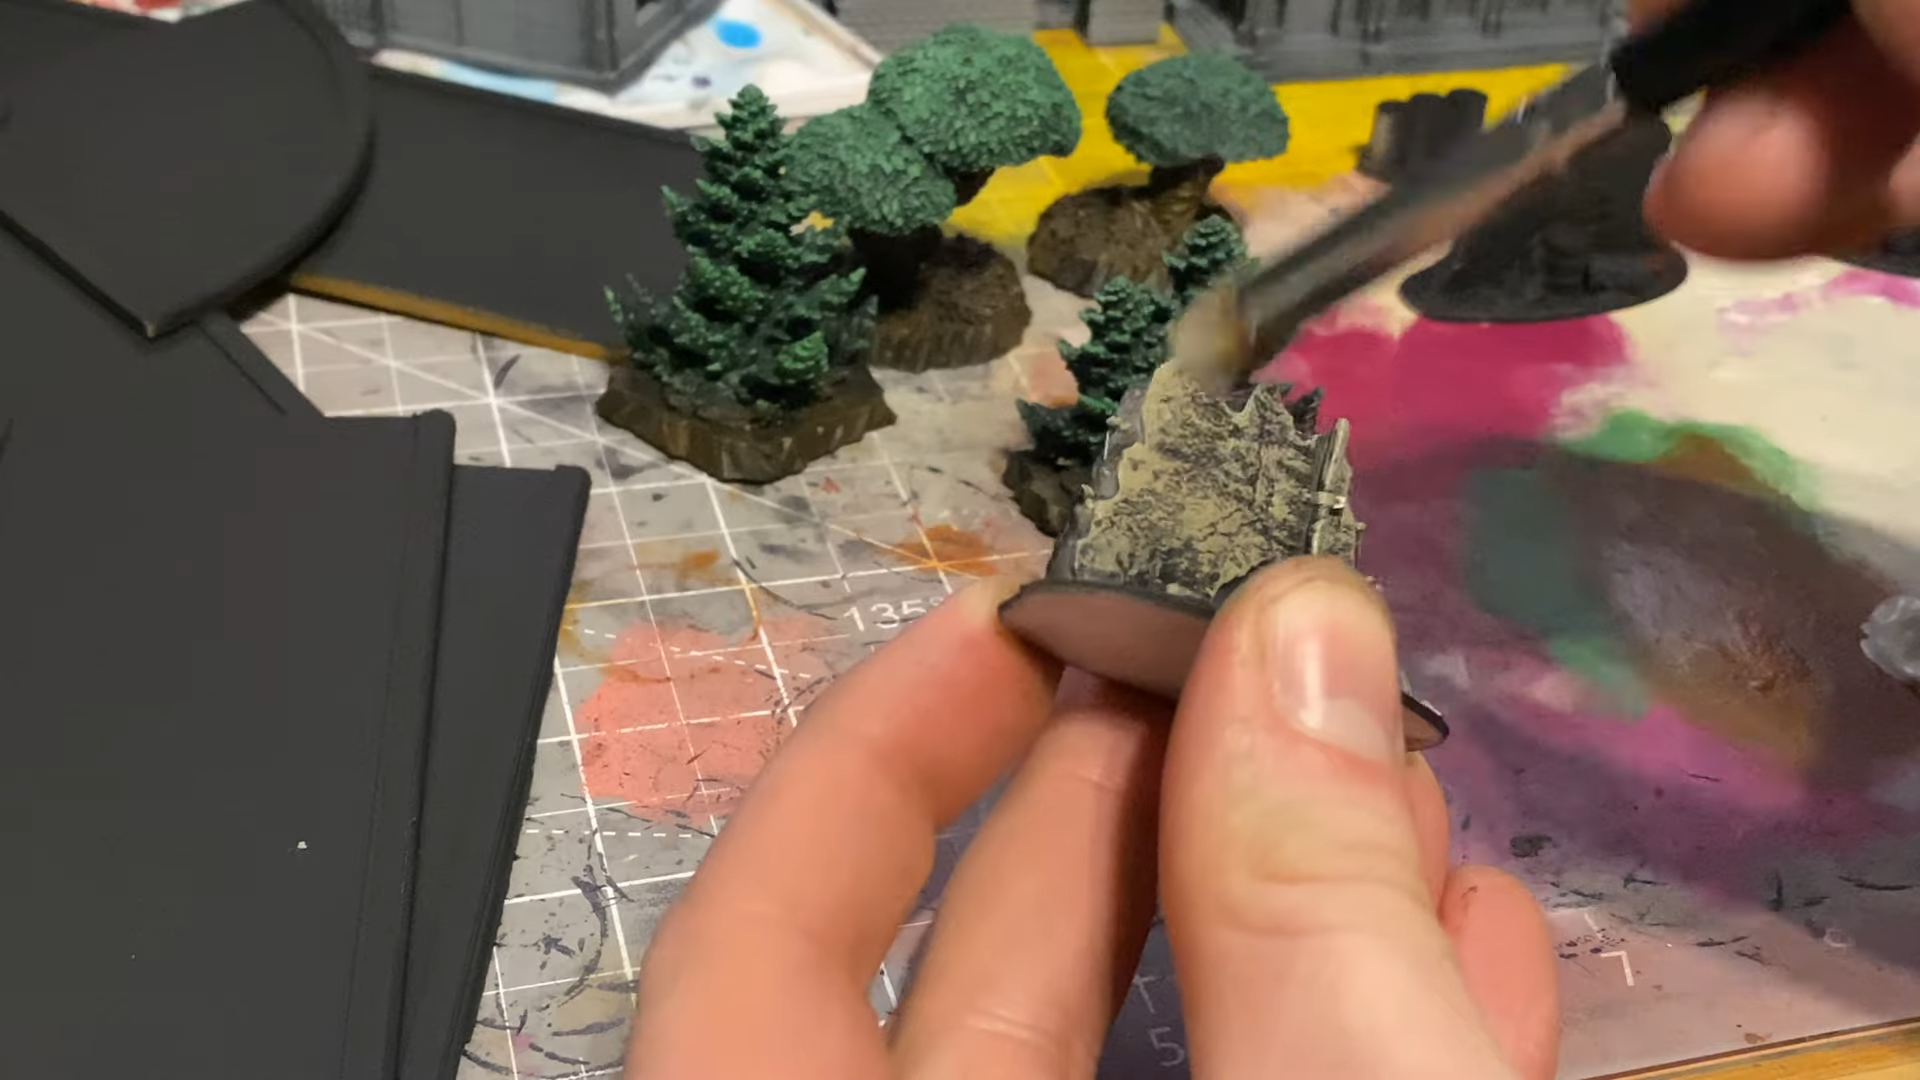
Objects like trees and rocks are even easier because you just need some priming and a very basic paint job.
The Reveal
To close the video, Shaun showed us the final reveal. He added a black background to his wargaming diorama and added some smoky effects to make the shot.
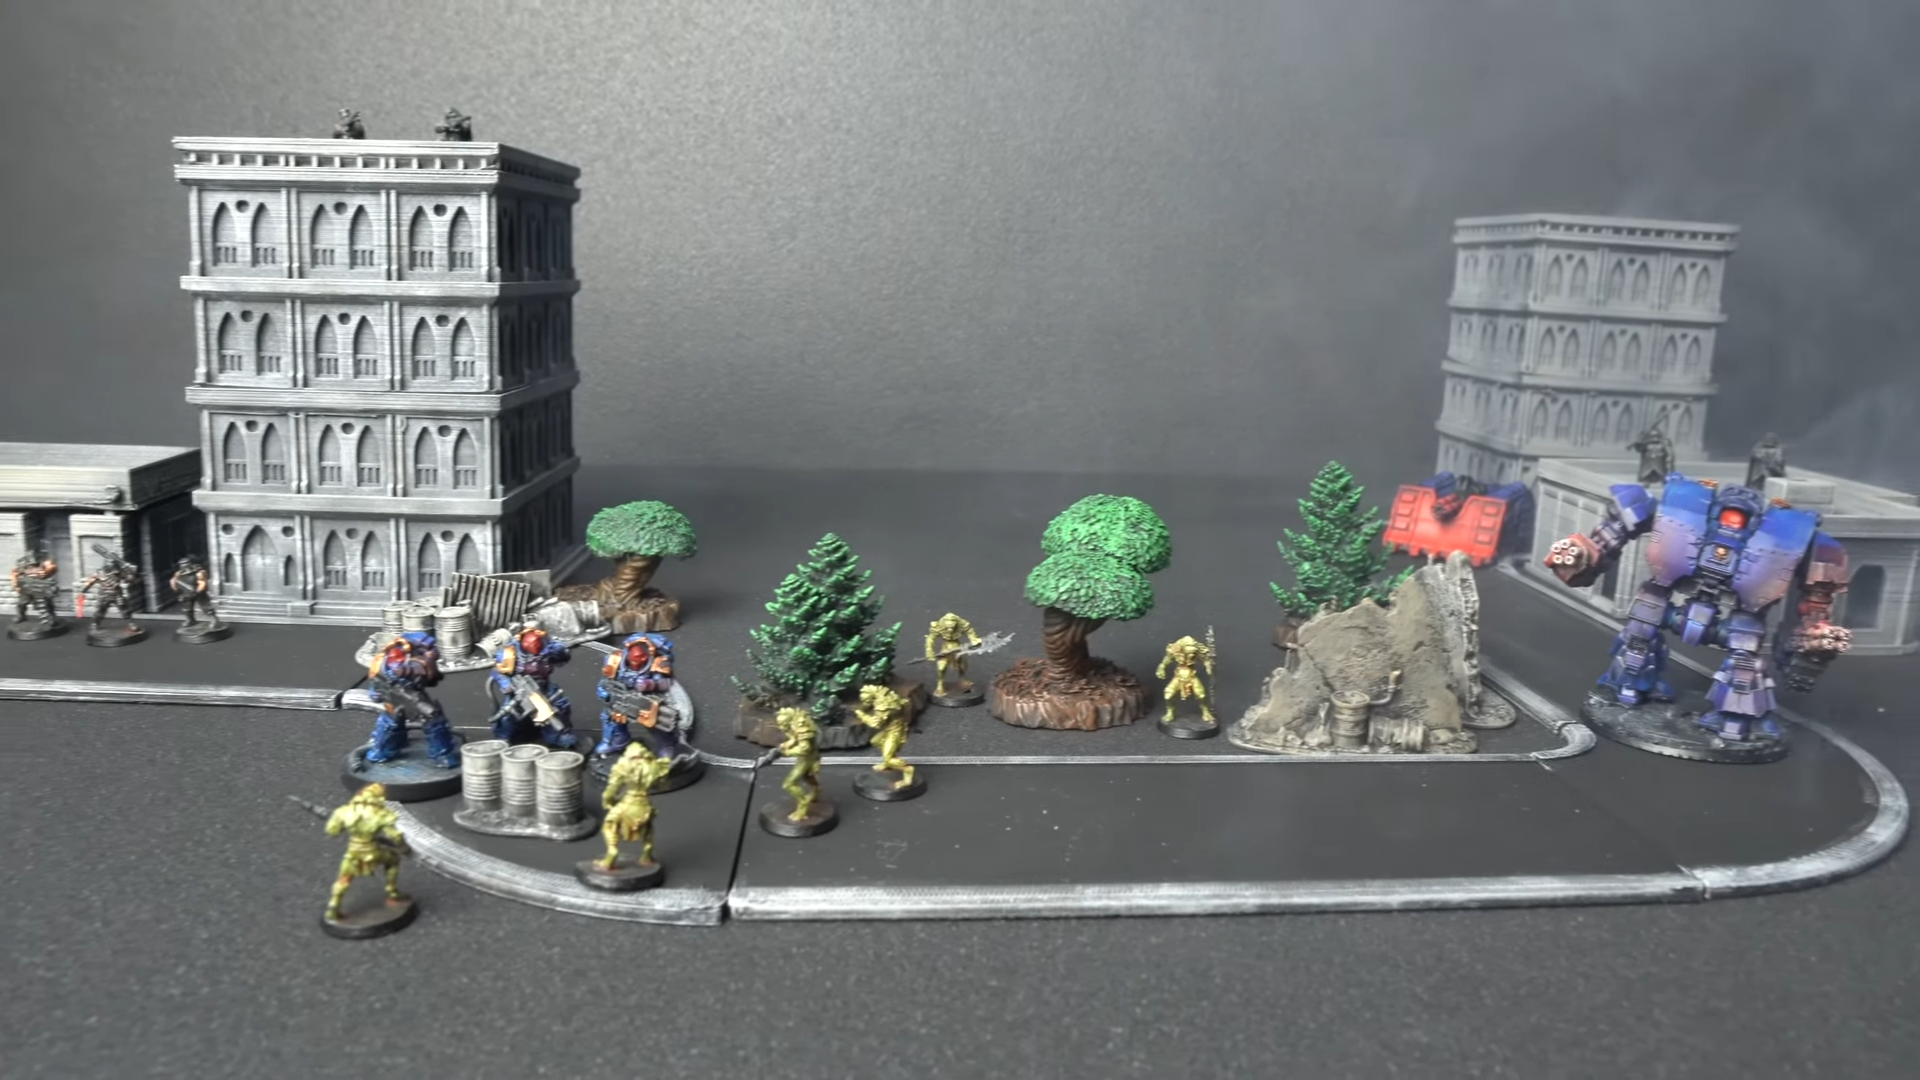
He loves how it turns out and plans to create mini Kill Teams for his game. He would love to make this project a real RPG game with him as a game master and a deck of cards that tell the players what to do and what’ll happen next.
If you’d like to see everything Shaun did for the project, make sure to watch his video below and stay tuned for his next project!