There are many reasons why 3D printing is now the go-to method for cosplay costume creations. A lot of cosplay enthusiasts are exploring the idea of using 3D printed technology to build cosplay models and costumes that were previously made with plastics and fiberglass, and it's easy to see why.
3D printing opens up the possibilities with rapid prototyping and almost limitless modifications. While handmade projects require hours and even days of hands-on work, 3D printing allows you to continue your creation even while you work or are busy with something else.
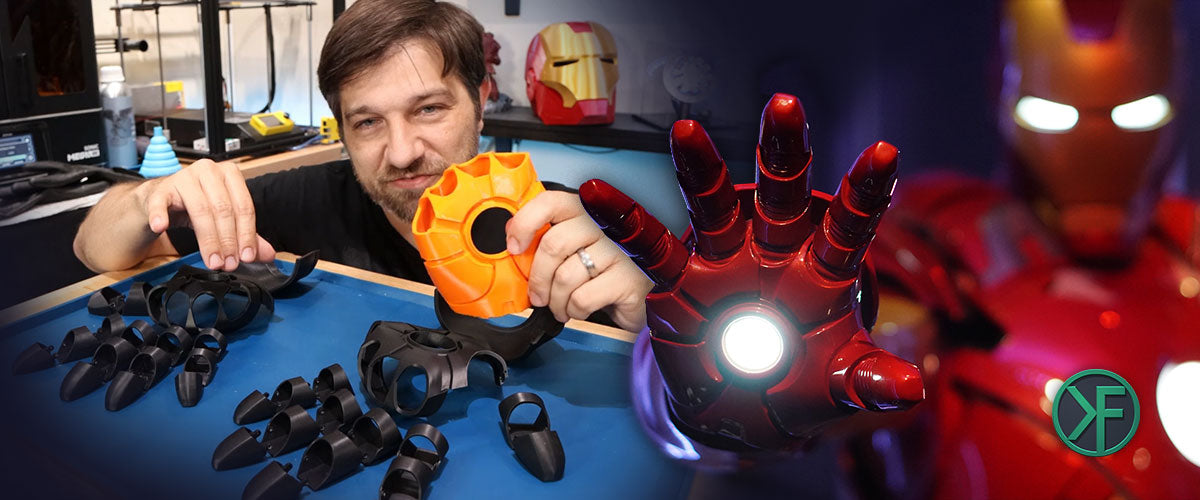
As a huge, huge fan of Iron Man, Kersey Fabrications is on a mission to create his own complete, full-built Iron Man suit based on his favorite, classic red-gold Mark 3. This time, he's going to make a replica of Iron Man's gauntlets, complete with working repulsors, and we're all here for it.
His creation process consists of four important steps:
- Choosing the right model
- Making size adjustments to your cosplay costume
- Prototyping with an FDM printer
- Building your final model in resin prints
Choosing the Right Model
There's a lot to discuss when choosing the perfect model for your 3D printed costume project. It could be the shape and style you like, the feature you want to pursue, or simply the model that's possible for you to work with. For Kris's Iron Man gauntlet project, choosing the right model includes finding the right palm segmentations, taking into consideration the installation of his repulsors, how he could put it on, and how it will fit him.

He mentioned how the earliest gauntlet model often consists of a single whole hand that you'd need to cut on your own or split into half. Then comes models from Walsh3D that offer a variety of assembly, comes in pretty much any number of pieces, and you can easily adjust it to your own needs. Kris's choice fell into the hinged Iron Man hand because it's easy to wear—you can attach it with either a magnet or a latch, and it offers some space for the electronics.
Measure and Adjust
Of course, you would want a gauntlet that fits like a glove, perfectly hugging your hand, and is great for the action stuff. But given that everyone's hand is a slightly different size, you'll need to make some size adjustments and modifications to your model.
First, Kris recommended starting by getting into Meshmixer and measuring the model. He found that the model was way too small for his liking, especially knowing he would want to fit the electronics in it. On top of that, the way the model was designed makes it harder for him to move the wrist, and there's no flexibility on his joints. To solve this, he made several modifications to the palm and the fingers.

Sizing Up the Palm
Although he likes how the palm was shaped and its wearable system, Kris would need to put in the work and add some thickness so he'll have enough space for the electronics. By doing this, he also ended up with larger finger holes, giving him room to move his fingers and even make a fist.
Fitting the Fingers
While the palm comes in simple two-piece models, the fingers consist of three small joints per finger, with each part connected with a hinge to move the finger around.
After printing out all of his finger parts, Kris started to try them individually, feeling how each finger moves and feels on his hand. Since he wanted the possibility to add some rubberized parts inside the gloves, he decided to upscale the fingers by adding some thickness and height.
Kris also recommended making a master model with all the right sizing in Meshmixer for future usage. This way, you don't need to rescale everything again each time you print something new. Instead, you can just use your master model and start printing.
Prototyping With an FDM Printer
As mentioned earlier, FDM 3D printing is a great way to do rapid prototyping as it offers a quick, convenient, and cheaper way to make iterations. In Kris's case, it gives him a chance to try out all of his gauntlet parts altogether and make sure they fit and move well before he commits to the resin 3D printer.
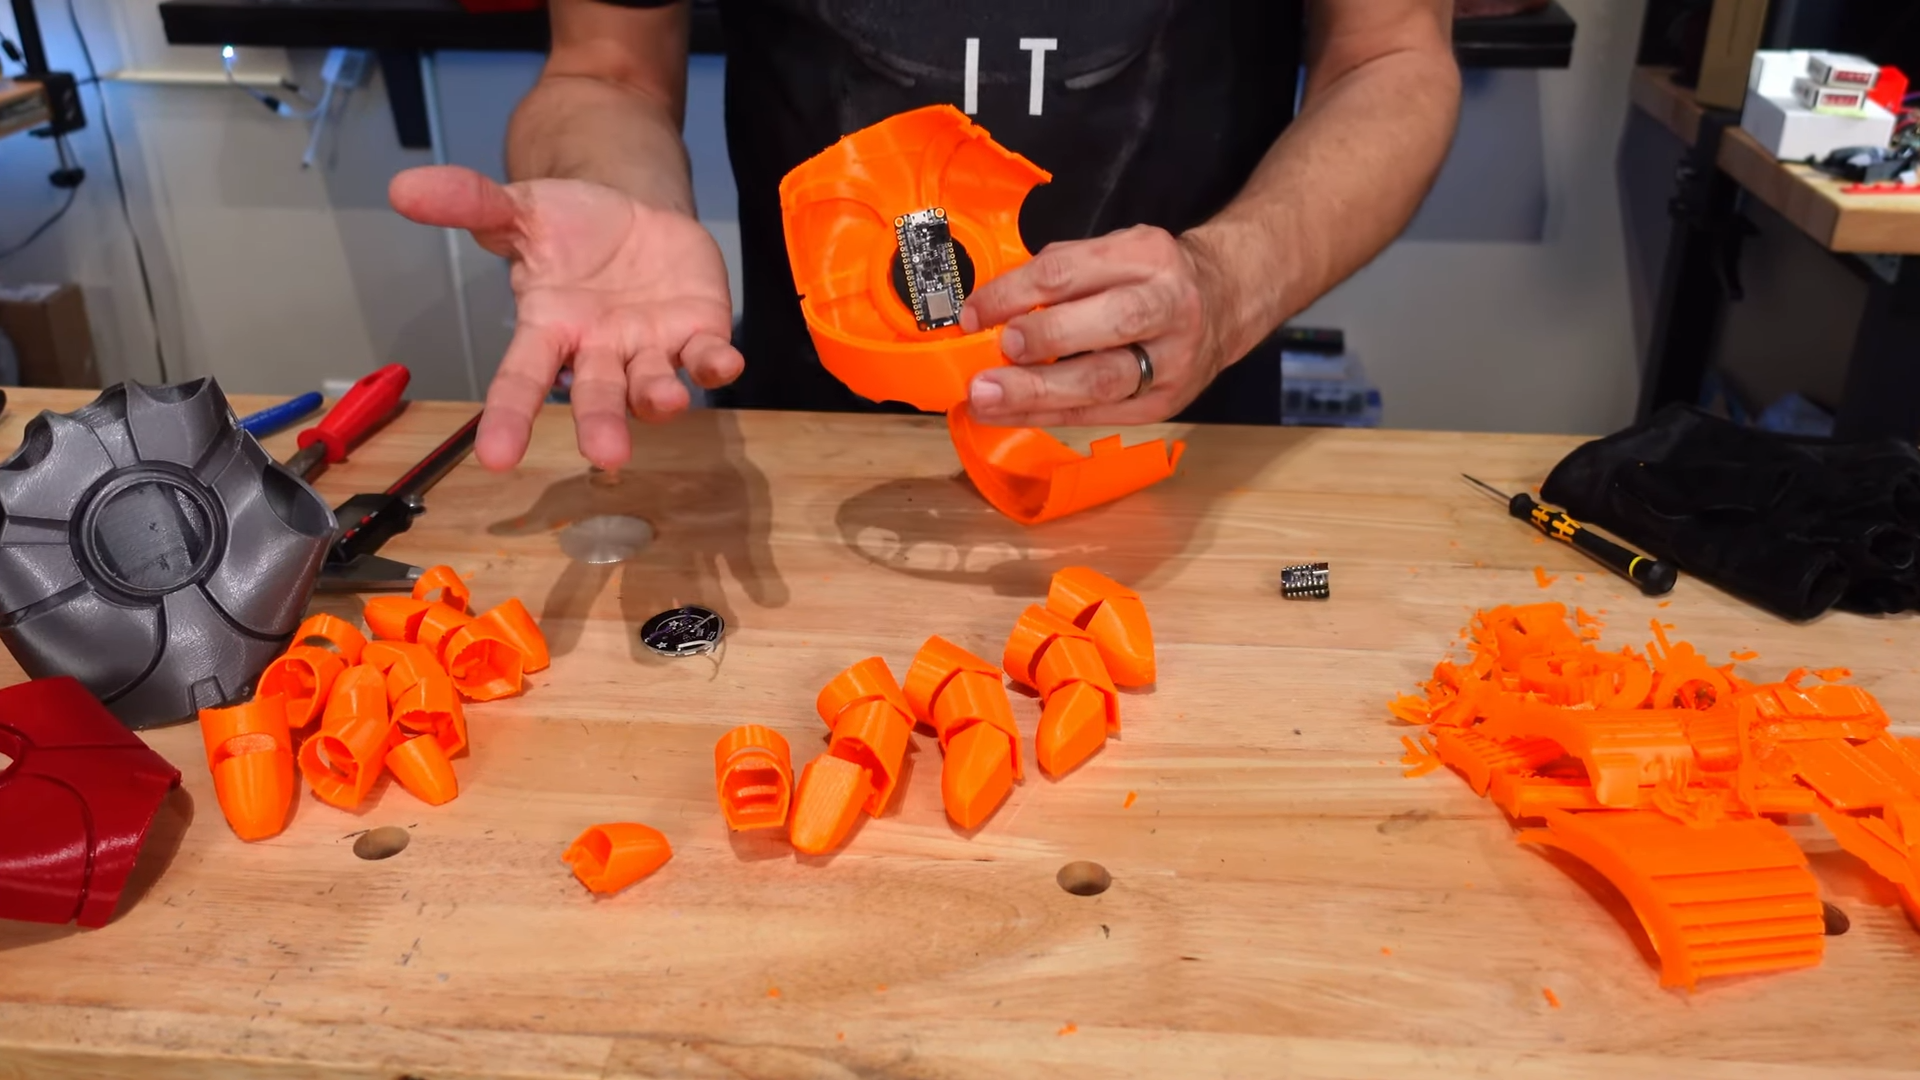
It also allows him to try out whether his electronics—including the neo pixels, the battery, and the motherboard could fit into the gauntlets.
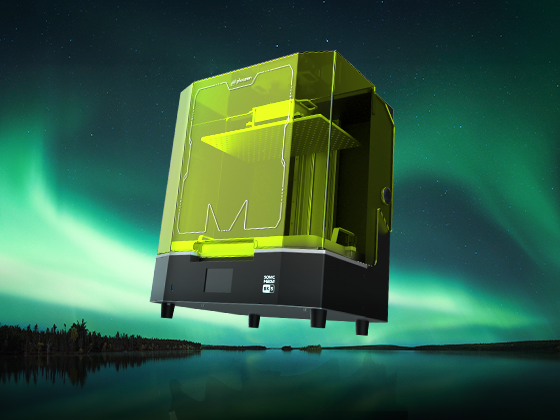
Once he's happy with his FDM results, he's ready to fire up his new Sonic Mega 8K.
3D Printed Cosplay Model With Resin 3D Printing
While FDM printing is more cost-effective, the print result might not be something you're aiming for as your final cosplay piece.
Although it may be possible to achieve smooth surfaces once you do tons of polishing and priming, resin 3D printed parts could achieve the same look pretty much straight from the printer, saving you time and effort.
Kris loves how smooth and clean the surfaces of his printed parts are and thinks the quality is easily comparable to the results of injection molding, thanks to the 8K resolution quality of the Sonic Mega 8K. In addition, the size of the printer makes it possible for him to print all the parts of his gauntlet in just a single build plate so he could complete his gauntlet pair in just two prints.
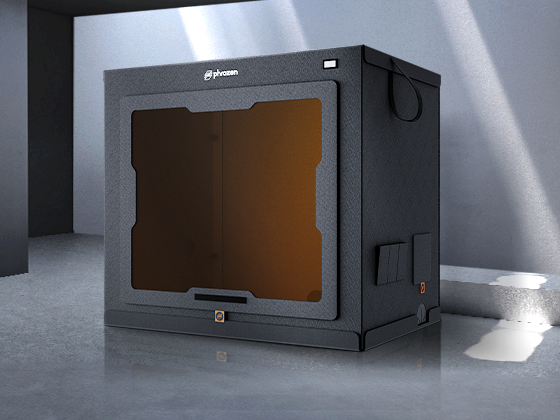
If you are thinking about getting a resin 3D printer to complete your cosplay costume parts, the Sonic Mega 8K or Sonic Mega 8K S are equally good choices. With large printing volumes and 8K resolution screens, rest assured that all your models will be perfectly printed with smooth surfaces all around!

