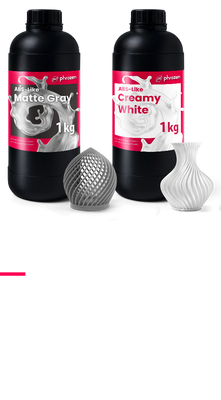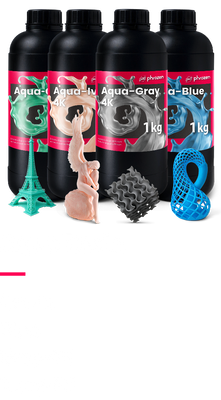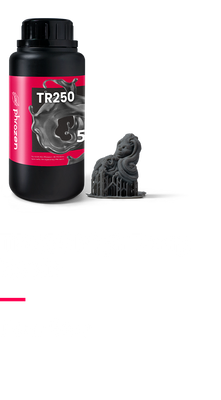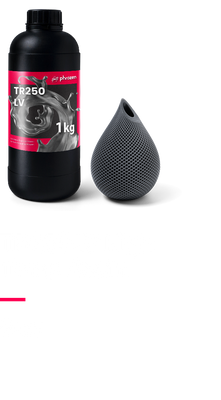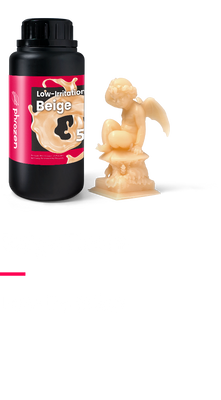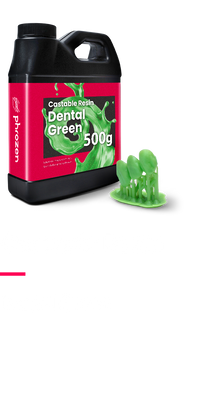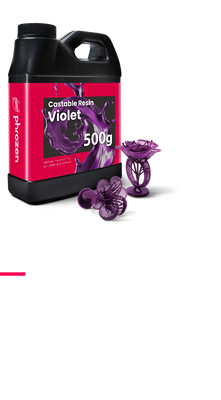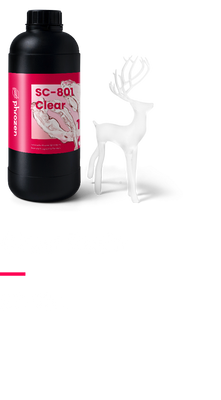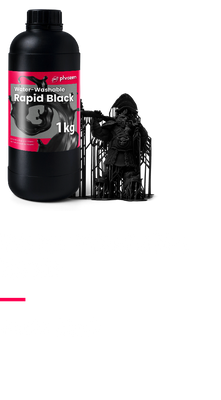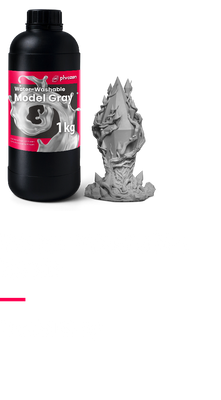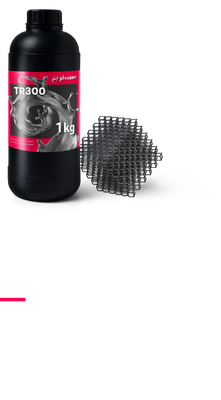
resin profile
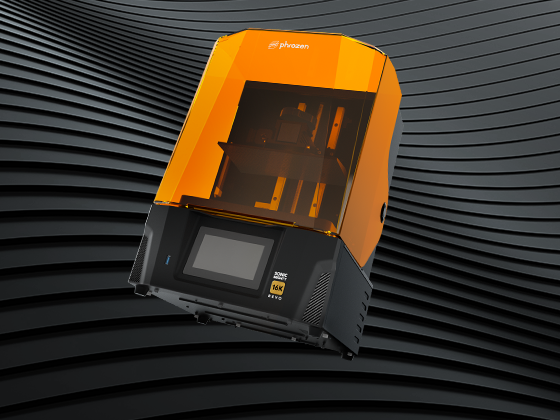
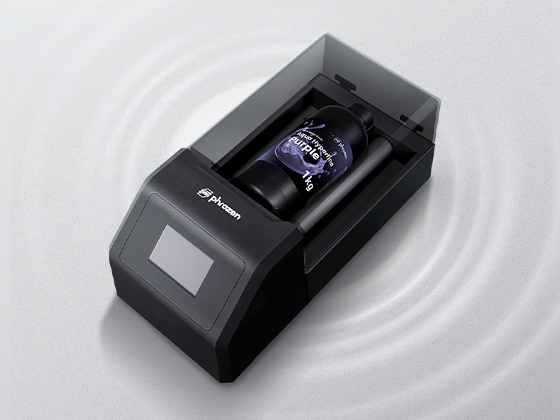
Shuffle 4K
1. Settings for Shuffle 4k should be adjusted on Phrozen OS Interface.
2. If you do not see your resin on this list, you may use a resin exposure finder to dial in your settings.
3. If prints failed to stick to the building plate, try increasing the bottom layer exposure time. Or check our FAQ page.
| Basic Info | Layer Height(mm) | 0.05 |
|---|---|---|
| Retract Speed(mm/min) | 150 | |
| Bottom Layers | Layer Count | 6 |
| Exposure Time(s) | 25-35 | |
| Lifting Distance(mm) | 6 | |
| Lifting Speed(mm/min) | 60 | |
| Light-off Delay(s) | 10 | |
| Transition Layers | Layer Count | 6 |
| Normal Layers | Exposure Time(s) | 2.0-2.5 |
| Lifting Distance(mm) | 6 | |
| Lifting Speed(mm/min) | 60 | |
| Light-off Delay(s) | 10 |
| Basic Info | Layer Height(mm) | 0.05 |
|---|---|---|
| Retract Speed(mm/min) | 150 | |
| Delay(ms) | 6 | |
| Burn Layers | Layers(Numbers) | 25-35 |
| Cure Time(ms) | 6 | |
| Lift Height(mm) | 60 | |
| Up Speed(mm/min) | 10 | |
| Normal Layers | Cure Time(ms) | 6 |
| Lift Height(mm) | 2.0-2.5 | |
| Up Speed(mm/min) | 6 |
| Basic Info | Layer Height(mm) | 0.05 |
|---|---|---|
| Retract Speed(mm/min) | 150 | |
| Bottom Layers | Layer Count | 6 |
| Exposure Time(s) | 25-35 | |
| Lifting Distance(mm) | 6 | |
| Lifting Speed(mm/min) | 60 | |
| Light-off Delay(s) | 10 | |
| Normal Layers | Exposure Time(s) | 2.0-2.5 |
| Lifting Distance(mm) | 6 | |
| Lifting Speed(mm/min) | 60 | |
| Light-off Delay(s) | 10 |
| Basic Info | Layer Height(mm) | 0.05 |
|---|---|---|
| Retract Speed(mm/min) | 150 | |
| Bottom Layers | Layer Count | 6 |
| Exposure Time(s) | 25-35 | |
| Lifting Distance(mm) | 6 | |
| Lifting Speed(mm/min) | 60 | |
| Transition Layers | Layer Count | 6 |
| Normal Layers | Exposure Time(s) | 2.0-2.5 |
| Lifting Distance(mm) | 6 | |
| Lifting Speed(mm/min) | 60 | |
| Waiting Mode During Printing | Mode | Resting time |
| Rest Time After Retract(s) | 3 |
| Basic Info | Layer Height(mm) | 0.05 |
|---|---|---|
| Bottom Layers | Layer Count | 6 |
| Exposure Time(s) | 25-35 | |
| Lifting Distance(mm) | 6 | |
| Lifting Speed(mm/min) | 60 | |
| Retract Distance(mm) | 6 | |
| Retract Speed(mm/min) | 60 | |
| Transition Layers | Layer Count | 6 |
| Normal Layers | Exposure Time(s) | 2.0-2.5 |
| Lifting Distance(mm) | 6 | |
| Lifting Speed(mm/min) | 60 | |
| Retract Distance(mm) | 6 | |
| Retract Speed(mm/min) | 60 | |
| Waiting Mode During Printing | Mode | Resting time |
| Rest Time After Retract(s) | 3 |
| Basic Info | Layer Height(mm) | 0.05 |
|---|---|---|
| Retract Speed(mm/min) | 150 | |
| Bottom Layers | Layers(Numbers) | 25-35 |
| Cure Time(s) | 6 | |
| Lift Height(mm) | 60 | |
| Lift Speed(mm/min) | 10 | |
| Lift-off Delay(s) | 10 | |
| Normal Layers | Cure Time(s) | 6 |
| Lift Height(mm) | 2.0-2.5 | |
| Lift Speed(mm/min) | 6 |