Vulcanized rubber molding is an important part of the jewelry-making process and is especially suitable for creating small, intricate jewelry pieces such as rings and pendants. By creating rubber molds, jewelers designers or jewelry hobbyists can repeatedly create the perfect jewelry piece without the need for adjusting jewelry designs again and again.
With resin 3D printing, the entire process is streamlined to provide a faster and more efficient jewelry-making experience.
To learn more about jewelry 3D printing, please click here.
What are Some of the Advantages of 3D Printing?
With the traditional rubber molding process, the entire process is more time-consuming and labor-intensive as a large number of people are required to prepare jewelry prototypes. This way, jewelry makers can cut down on labor costs and produce large quantities of jewelry models in one go.
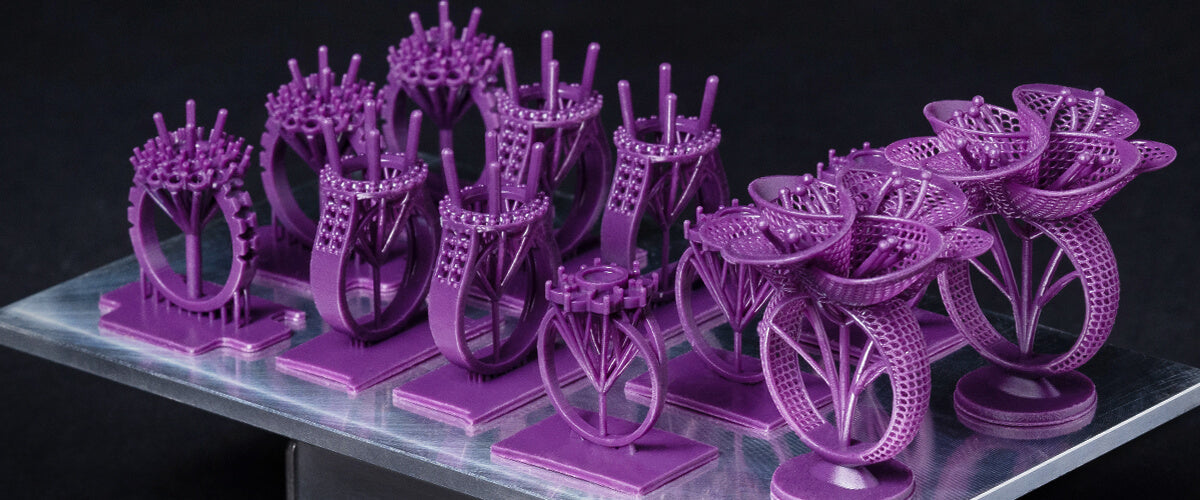
With 3D printing, jewelry designers create jewelry prints with fine details before using a vulcanized rubber mold to replicate the exact design repeatedly. Want to learn how to set supports for jewelry 3D printing? Click here.
To learn more about which resins are suitable for jewelry 3D printing, please click here.
What are the Different Rubber Molding Techniques?
There are three main rubber molding techniques: organic rubber, heat vulcanized silicone, and RTV silicone.
The first two techniques require a vulcanizer as it uses heat during the vulcanization process while RTV silicone comes in a liquid form and is able to cure at room temperature. RTV silicone is the most suitable option for working with delicate jewelry pieces, as jewelry makers use resin 3D printers to produce intricate jewelry prints.
Vulcanized Rubber Molding + Resin 3D Printing Workflow
Printing + Curing Jewelry Prints
Step 1:
Before starting the vulcanized rubber molding process, we must create the jewelry 3D print itself. First, choose an LCD 3D printer and resin. We recommend using Sonic Mini 4K and TR250 Gray resin or Wax-like Castable resin for best results.
You can either design your own jewelry print with CAD software such as RhinoGold, 3Design or choose 3D files that are available on websites such as CGTrader, or Cults among others.
Then it’s time to print! To learn how to set up your Sonic Mini 4K LCD 3D printer, please follow our Starter Guide.
Step 2:
After the printing process is complete, you’ll need to cure your jewelry 3D prints for roughly 40-45 minutes. This is to ensure that the print has a smooth surface and is sufficiently hardened. We recommend using one of Phrozen’s Curing lamps: Phrozen Cure, Phrozen Cure XL, Phrozen Cure Luna, or Phrozen Cure Mega for best results.
To learn how to thoroughly post-process your intricate jewelry pieces, please click here.
Step 3:
Your prints are now ready for the next stage: Vulcanized Rubber Molding
Rubber Molding
Step 1:
Put your 3D printed jewelry pieces in a mold box. Then pour RTV silicone or liquid silicone rubber into the box to create a rubber mold.
Set it aside for roughly 24 hours, or an entire day.
Step 2:
To ensure that the master 3D print is replicated exactly, use a vacuum chamber to remove any air bubbles that are present in the mold.
Step 3:
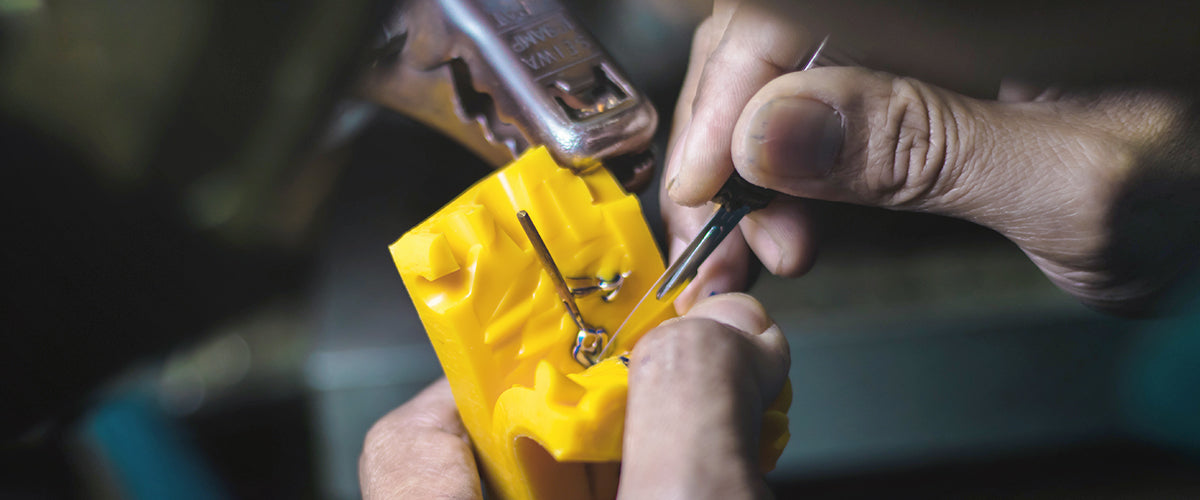
Next, remove the mold from the mold box. Cut open the mold and remove the jewelry piece.
Step 4:
Your mold is now ready. You can pour a liquid metal alloy, epoxy resin, UV resin, or wax and this will create a jewelry piece that is an exact replica of your jewelry 3D print. Need ideas for jewelry 3D printing? Then click here!
Click here to learn more about which resin 3D printers are suitable for jewelry 3D printing.


