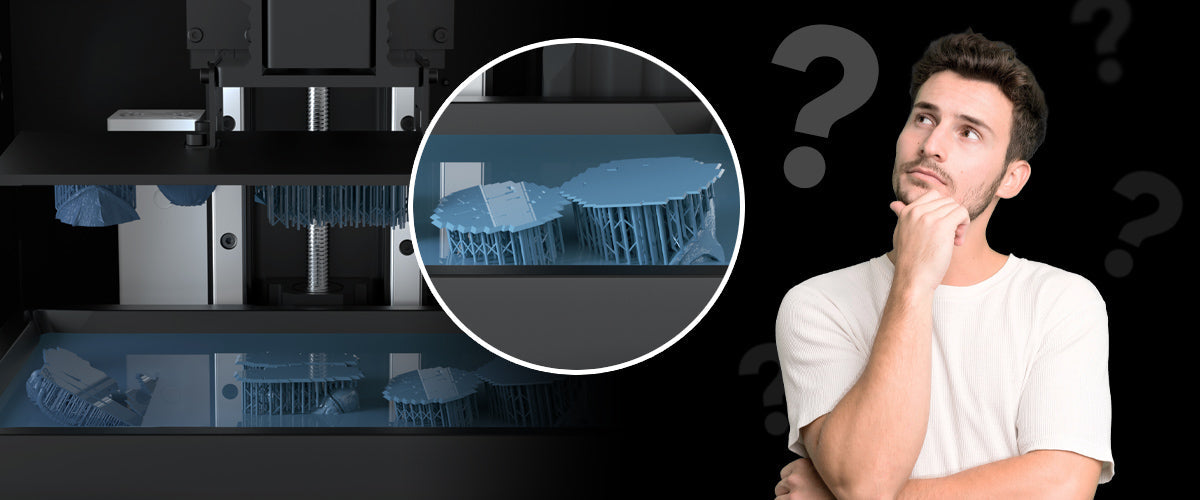
So, you’ve got your 3D printer set up, and you’re ready to dive into your next project. But now you’re faced with a critical decision: which resin should you use?
This might seem like a small choice, but it can have a huge impact on the quality of your prints. Pick the wrong resin, and you could end up with brittle pieces, warped edges, or a final product that just doesn’t live up to your expectations.
But don’t worry—we’re here to guide you through this process, helping you choose the perfect resin for your needs.
Understanding Resin Properties: The Basics You Need to Know
Before you start browsing through different resins, it’s important to understand the key properties that will affect your final print. Knowing these basics will help you make an informed decision tailored to your specific project.
Mechanical Properties
Mechanical properties determine how a resin behaves when it’s put under stress. These properties are crucial because they directly influence the strength, flexibility, and durability of your printed objects.
- Tensile Strength: Think of tensile strength as the resin’s ability to withstand being pulled apart. If your project involves creating parts that need to be strong and durable, like structural components or tools, you’ll want a resin with high tensile strength. This will ensure that your parts can handle tension without breaking.
- Elongation at Break: This property measures how much a material can stretch before it snaps. If you need flexibility—say, for wearable items or parts that need to bend without breaking—you should choose a resin with a high elongation at break. This means the material can endure more stretching and bending, making it ideal for flexible components like hinges or wearable tech.
- Flexural Strength: Flexural strength tells you how much a material can bend before it deforms permanently. This is particularly important for prints that need to remain rigid, such as enclosures for electronics or structural supports. A resin with high flexural strength won’t warp or bend easily, ensuring that your parts retain their shape and function under pressure.
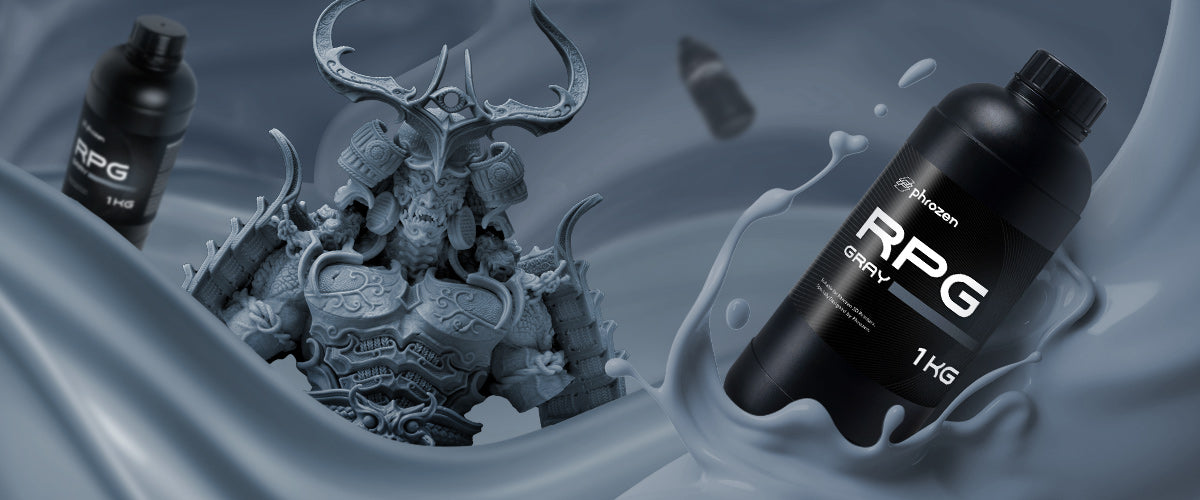
Our RPG Resin and EL400 resin come with high flexural strength. Consider reading our blogs:
- Your Guide to Mastering Phrozen EL400 Resin Printing
- The Definitive Guide to Using Phrozen RPG Resin for 3D Printing
- Impact Resistance: If your final product will be exposed to sudden forces or impacts—like in cases, protective gear, or mechanical parts—impact resistance is key. This property ensures that your prints can absorb shocks without cracking or shattering, making your parts more durable in everyday use.
Thermal Properties
Thermal properties come into play when your prints will be exposed to heat, either during the printing process or in their final application.
- Heat Deflection Temperature (HDT): HDT is the temperature at which a material begins to deform under a specific load. If your prints need to withstand high temperatures—such as parts for automotive or industrial applications—you’ll want a resin with a high HDT. This ensures that your parts won’t warp or melt under heat.
- Glass Transition Temperature (Tg): Tg is the temperature at which the resin changes from a hard, glassy state to a more flexible, rubbery state. A resin with a higher Tg is more suitable for applications where the part needs to maintain its rigidity in warmer environments. For example, parts that are exposed to direct sunlight or near heat sources should have a higher Tg to stay solid.
Optical Properties
The appearance of your final print is just as important as its physical properties, especially for decorative or functional parts where aesthetics matter.
- Transparency: If you’re aiming for clear, see-through parts—such as lenses, light covers, or display pieces—you’ll need a transparent resin. This type of resin is designed to cure without clouding, allowing light to pass through with minimal distortion. It’s perfect for projects where clarity is essential, but keep in mind that transparent resins may require more careful handling to avoid yellowing or clouding over time.
- Color: Resins come in a variety of colors, from vibrant solids to subtle shades. Some resins can be easily painted or dyed after printing, giving you additional flexibility in the final appearance of your part. When selecting a colored resin, consider how it will complement the design and function of your project. For example, darker resins may hide internal structures better, while lighter colors might highlight details more effectively.
Other Properties
Beyond mechanical, thermal, and optical properties, there are a few other factors that can influence your resin choice.
- Viscosity: Viscosity refers to how thick or thin the resin is. A low-viscosity resin will flow more easily, which can be beneficial for creating smooth, detailed prints with fewer surface imperfections. However, thinner resins might be trickier to handle and may require more careful leveling during the printing process.
- Cure Time: Cure time is how quickly the resin hardens when exposed to the printer’s light source. Faster-curing resins can speed up your printing process, allowing you to complete projects more quickly. However, if a resin cures too fast, it might lead to brittleness or over-cured parts, so it’s important to find a balance that suits your needs.
- Biocompatibility: If your printed parts will come into contact with skin, or if they’re intended for medical use, biocompatibility is a crucial factor. Biocompatible resins are formulated to be safe for use in applications like dental models, surgical guides, and wearables, ensuring that they won’t cause irritation or other adverse reactions.
What to Consider When Picking Your Resin

There are several factors that must be kept in mind while choosing a resin
Now that you’re familiar with the basic properties of resins, let’s dive into the practical considerations that will help you choose the right resin for your specific project.
Application and End-Use
The first thing to think about is the application and final use of your printed object. The type of resin you need will largely depend on what the print is meant to do.
- Prototyping vs. Functional Parts: If you’re working on prototypes or models where aesthetics and detail are more important than strength, a standard resin might be all you need. Standard resins are typically more affordable and can produce high-quality prints with fine details.
However, if you’re printing functional parts that need to withstand wear and tear—like mechanical components or enclosures—you’ll want to choose a more durable resin, such as a tough or engineering resin. These resins are designed to handle the rigors of everyday use, ensuring that your parts will last.
- Industry-Specific Needs: Different industries have specific requirements for their 3D printed parts. For example, in dentistry, biocompatible resins are essential for printing dental models or surgical guides that will be used in patient care.
In the jewelry industry, castable resins are crucial for creating detailed molds for lost-wax casting. Understanding the specific needs of your industry will guide you in selecting the right resin that meets those requirements.
Print Quality Requirements
The quality of your print is influenced by the type of resin you use, particularly in terms of detail, surface finish, and dimensional accuracy.
- Resolution: If your project demands high-resolution prints with intricate details—such as miniatures, prototypes with fine textures, or jewelry—you’ll want to choose a resin that is specifically designed for high-resolution printing. These resins can capture subtle details that might be lost with lower-resolution materials, ensuring that your final product is as precise as possible.
- Surface Finish: The surface finish of your print is another important consideration. Some resins produce a smooth, glossy finish straight out of the printer, while others might have a more matte or textured appearance.
Depending on your project, you might prefer one over the other. For example, a glossy finish might be ideal for display pieces or consumer products, while a matte finish could be better for functional parts where glare or reflections are undesirable.
- Dimensional Accuracy: For parts that need to fit together precisely, such as mechanical components or assembly pieces, dimensional accuracy is key. Choose a resin known for its stability and low shrinkage, which will help ensure that your parts are printed to exact specifications and fit together as intended.
Post-Processing Needs
After your print is complete, there’s often additional work required to get the final product looking just right. Different resins will handle post-processing differently, so it’s important to choose one that matches your workflow.
- Sanding/Polishing: If your print needs a smooth, polished finish, you’ll want a resin that can be easily sanded and polished. Some resins are more forgiving during sanding, allowing you to achieve a glass-like finish with minimal effort. This is particularly important for parts that will be displayed or handled frequently, as a smooth finish can greatly enhance their appearance and feel.
- Painting/Dyeing: Planning to add color to your print? Make sure the resin you choose can hold paint or dye well. Some resins are more porous, which can help them absorb paint and dye evenly, while others might require a primer or additional surface preparation. Consider how the resin’s natural color and finish will interact with your chosen paints or dyes to achieve the desired effect.
- Infiltration: If your print is porous or needs extra strength, you might need to infiltrate it with a sealant or another material. Certain resins are more compatible with this process, allowing you to fill in gaps or reinforce the structure of your print without compromising its integrity.
Environmental Conditions
Where and how your printed part will be used can significantly impact the type of resin you should choose.
- UV Exposure: If your prints will be exposed to sunlight or other sources of UV light, it’s crucial to choose a UV-resistant resin. Standard resins can yellow or degrade when exposed to UV light over time, leading to discoloration and a loss of structural integrity. UV-resistant resins are formulated to withstand prolonged exposure to sunlight, making them ideal for outdoor applications or parts that will be displayed in bright environments.
- Temperature Variations: Consider the temperatures your print will be exposed to in its final application. If the part will be subject to extreme heat or cold, you’ll need a resin that can maintain its properties under those conditions. Resins with high heat deflection temperatures (HDT) are better suited for high-temperature environments, while others are designed to remain flexible in cold conditions.
Cost and Availability
Finally, you’ll need to balance your budget with the performance you need from your resin.
- Price per Liter: Resins can vary widely in price, depending on their properties and intended use. High-performance resins, such as engineering or biocompatible resins, often come at a premium but offer superior performance in demanding applications. When choosing a resin, consider how much you’re willing to invest in your project and whether the additional cost is justified by the benefits.
- Supplier Reliability: Not all resins are created equal, and the quality can vary between suppliers. It’s important to choose resins from reputable manufacturers who are known for consistent quality and reliable delivery. This ensures that you get the same performance from batch to batch, avoiding any unpleasant surprises that could disrupt your project.
- Shipping and Storage: Don’t forget to factor in the cost of shipping and any special storage requirements for your resin. Some resins may require specific conditions to maintain their properties, such as cool temperatures or protection from light. Make sure you have the necessary storage solutions in place before ordering.
Popular Resin Types and Where They Shine
With so many different types of resins available, it helps to know what each one is best at. Here’s a breakdown of some of the most popular resins and their ideal applications.
Standard Resins
Best for: General use, prototyping, and educational projects.
Why: Standard resins are versatile and provide a good balance between detail, strength, and cost. They’re perfect for creating prototypes, models, and other non-functional parts where the primary focus is on appearance and detail. These resins are easy to work with and are often the go-to choice for beginners and those working on projects that don’t require specialized properties.
Tough Resins
Best for: Functional parts and mechanical assemblies.
Why: Tough resins are designed to handle stress and strain, making them ideal for parts that need to be strong and durable. They have higher tensile and flexural strength compared to standard resins, which means they can withstand more physical abuse. Tough resins are commonly used for creating enclosures, brackets, and other components that need to maintain their integrity under load.
Flexible Resins
Best for: Projects requiring flexibility, like protective cases or bendable components.
Why: Flexible resins produce parts with a soft, rubber-like texture, allowing them to bend and flex without breaking. This makes them perfect for applications such as protective cases, seals, and components that need to absorb impact. Flexible resins are also great for creating ergonomic parts, like handles or grips, that need to conform to the user’s hand.
Castable Resins
Best for: Jewelry and dental applications.
Why: Castable resins are specifically formulated for use in lost-wax casting, where the resin model is burned out to create a mold for metal casting. These resins burn out cleanly, leaving behind no ash or residue, making them ideal for intricate jewelry designs and precise dental applications. Castable resins allow for the creation of highly detailed and accurate molds, essential for producing high-quality castings.
For a highly-detailed and easy to understand blog on choosing jewelry resin, do check out: A Jeweler's Guide to Choosing Resin for LCD 3D Printing
If you’re interested in learning more about the best jewelry 3D printer, check out our blog: Best Resin 3D Printer for Jewelry
Dental Resins
Best for: Biocompatible models and medical devices.
Why: Dental resins are biocompatible, meaning they are safe for use in applications where the printed parts will come into contact with human skin or tissue. These resins are commonly used to create dental models, surgical guides, and other medical devices that require precision and safety. They meet the stringent standards required for medical use, ensuring that your printed parts are both functional and safe.
Engineering Resins
Best for: High-performance prototypes and parts.
Why: Engineering resins are designed for demanding applications that require specific material properties, such as high heat resistance, toughness, or flexibility. These resins simulate the performance of engineering-grade plastics, making them ideal for creating prototypes that need to perform under real-world conditions. Whether you’re working on automotive parts, industrial components, or functional prototypes, engineering resins provide the durability and performance you need.
Handling and Safety Tips for Resin
Working with resin requires some care and attention to ensure both your safety and the quality of your prints. Here are some tips to help you handle and store your resin properly.
Proper Storage and Shelf Life
- Keep It Dark: Resins are sensitive to light, especially UV light, which can cause them to cure prematurely. Store your resins in a dark, cool place to prevent them from hardening in the bottle. This will help extend their shelf life and ensure they remain usable for as long as possible.
- Stable Temperature: Most resins should be stored at a stable temperature, ideally around 20°C (68°F). Avoid exposing them to extreme temperatures, as this can affect their properties and lead to poor print quality. If you live in a climate with significant temperature fluctuations, consider storing your resins in a temperature-controlled environment.
- Seal It Tight: After each use, make sure to tightly seal your resin containers to prevent contamination and exposure to air. Airborne particles can contaminate the resin, leading to defects in your prints, and prolonged exposure to air can cause the resin to degrade over time.
- Check Expiration Dates: Resins have a limited shelf life, and using expired resin can result in poor print quality or failed prints. Always check the expiration date on the bottle before use, and try to use your resin within the recommended timeframe.
Safety Precautions
- Wear Protective Gear: Resins can be harmful if they come into contact with your skin or eyes, so it’s important to wear protective gear when handling them. Always use gloves and safety glasses to protect yourself from splashes or spills. If resin does get on your skin, wash it off immediately with soap and water.
- Work in a Ventilated Area: Even low-odor resins can emit fumes that may be harmful if inhaled over long periods. To ensure your safety, always work in a well-ventilated area, preferably with an exhaust fan or open windows to allow for proper airflow.
- First Aid Ready: In case of accidental contact with resin, it’s important to have first aid supplies on hand. If resin gets into your eyes, rinse them immediately with plenty of water and seek medical attention. For skin contact, wash the affected area thoroughly with soap and water. If you experience any irritation or allergic reactions, consult a doctor.
Disposal and Environmental Impact
- Follow Local Regulations: Resins are considered hazardous waste in many areas, so it’s important to dispose of them according to local regulations. Never pour liquid resin down the drain or throw it in the trash. Instead, cure any leftover resin fully (by exposing it to UV light) before disposal, or take it to a designated hazardous waste facility.
- Think Green: As the 3D printing industry grows, so does the focus on sustainability. Consider using eco-friendly resins that are less harmful to the environment. Additionally, always dispose of waste responsibly and look for ways to minimize your environmental impact, such as recycling used resin containers or opting for resins with lower environmental footprints.
Mastering Resin Profiles and Printer Settings
Getting your printer settings right is crucial for achieving high-quality prints, and that’s where resin profiles come in. A resin profile is essentially a set of optimized printer settings tailored to a specific resin, ensuring that you get the best results.
What is a Resin Profile?
A resin profile includes all the key settings your printer uses to print with a particular resin. This includes layer height, exposure time, and lift speeds, among other parameters. Each resin has its own unique properties, so having a tailored profile helps you achieve the best possible print quality and consistency.
Key Parameters in Resin Profiles
- Layer Height: This is the thickness of each layer in your print. Lower layer heights produce finer details but increase print time. If your project requires high resolution and fine detail, choose a smaller layer height. For quicker prints where detail isn’t as critical, a larger layer height can save you time.
- Exposure Time: Exposure time is how long each layer of resin is exposed to the printer’s UV light source. Getting this right is crucial—too short, and your print might not cure properly, leading to weak or incomplete parts; too long, and you could end up with over-cured, brittle parts. The right exposure time depends on your resin’s specific curing characteristics, so start with the manufacturer’s recommendations and adjust as needed.
- Lift Speed and Distance: After each layer is cured, the build platform lifts before lowering again for the next layer. Lift speed and distance affect how quickly this happens and can impact both print speed and quality. Faster lift speeds can reduce print time but may cause issues like layer shifting or incomplete curing, especially with thicker resins. Adjust these settings to find the right balance between speed and print integrity.
If you’re 3D printing with Phrozen resins, we have a complete resin profile page where you’ll find all the information you’ll need for perfect prints.
Fine-Tuning Your Resin Profile
- Start with the Basics: Begin with the resin manufacturer’s recommended settings. These are usually a good starting point and will give you a baseline for your prints.
- Test and Adjust: Run a series of test prints, tweaking one setting at a time. For example, start by adjusting the exposure time and observe how it affects the print. If you notice issues like incomplete curing or brittleness, make small adjustments and test again.
- Analyze and Optimize: Pay close attention to the results of each test print. Look for signs of over-curing (such as brittle or overly hard prints) or under-curing (soft or sticky surfaces). Adjust your settings based on these observations, and continue testing until you’re satisfied with the results.
- Keep Tweaking: Once you’ve found a good baseline, continue to refine your settings for specific projects. Different designs may require slight adjustments to optimize print quality, especially if you’re working with intricate details or complex geometries.
Troubleshooting Common Resin Issues
Even with the best setup, things can go wrong. Here’s how to troubleshoot some of the most common issues you might encounter when working with resin.
Incomplete Curing
Problem: Your parts aren’t fully solidified and may be weak, sticky, or misshapen.
Fix: Increase the exposure time incrementally until the resin cures completely. Incomplete curing is often caused by insufficient exposure to UV light, so make sure your printer’s light source is functioning properly and that the resin is receiving enough exposure during the printing process.
Warping and Deformation
Problem: Your parts are bending, warping, or otherwise deforming during or after printing.
Fix: Warping is often caused by uneven curing or inadequate support. To fix this, ensure that your print has sufficient supports, particularly for overhangs or large, flat areas. You might also need to adjust the print orientation to reduce the likelihood of warping. Additionally, check your curing settings—if the resin cures too quickly in some areas and too slowly in others, it can lead to warping.
Brittleness
Problem: Your prints are too brittle and break easily, even with light handling.
Fix: Brittleness can result from over-curing or using a resin that’s too rigid for your application. Try reducing the exposure time slightly to prevent the resin from becoming too hard. If that doesn’t help, consider switching to a more flexible or tough resin that’s designed to handle stress and impact without breaking.
Discoloration
Problem: Your prints aren’t the color you expected or are showing signs of yellowing or other discolorations.
Fix: Discoloration can be caused by several factors, including improper mixing, contamination, or exposure to UV light. To prevent this, make sure your resin is well-mixed before each print, and store it in a cool, dark place to protect it from light exposure. If you notice discoloration during printing, check your printer’s settings and ensure that the resin isn’t being overexposed to UV light during the curing process.
If you want more information about troubleshooting common problems, we have a comprehensive blog to help you: Troubleshooting Common Issues with Resin 3D Printing
What’s Next? Trends and Future Developments
The world of 3D printing is always evolving, and so is resin technology. Here’s what to watch for in the coming years.
New Resins
Manufacturers are constantly developing new resins with specialized properties, such as increased durability, flexibility, or biocompatibility. There’s also a growing focus on eco-friendly resins that are less harmful to the environment. As these new materials become available, they’ll open up even more possibilities for what you can create with your 3D printer.
Advances in Resin Technology
Expect to see improvements in resin technology that make printing faster, more accurate, and more versatile. For example, we’re likely to see faster curing times, higher resolutions, and even multi-material and full-color printing capabilities. These advancements will make it easier than ever to produce complex, high-quality prints in less time.
Going Green
Sustainability is becoming a bigger focus in the 3D printing industry, and resin manufacturers are responding by developing more eco-friendly materials. These resins aim to reduce environmental impact without sacrificing performance, making it possible to create high-quality prints while being kinder to the planet.
Wrapping It All Up
Choosing the right resin for your 3D printing projects doesn’t have to be overwhelming. By understanding the key properties of resins and how they relate to your specific needs, you can make smart choices that lead to high-quality, durable prints every time.
Remember, experimentation and learning as you go is part of the process. Stay curious, keep testing new materials, and don’t be afraid to push the boundaries of what you can create with 3D printing.

