So, you’ve decided to explore the world of resin 3D printing. Maybe you’ve seen those incredibly detailed miniatures or complex models online and thought, “I want to create something like that!”
But as you start digging into the process, you quickly realize that resin 3D printing isn’t exactly a walk in the park. You’re bombarded with terms like SLA, MSLA, resin types, curing, and post-processing. Suddenly, it feels like you need a degree just to figure out where to start.
Here’s the good news: you don’t need to be an expert to get great results. Resin 3D printing for beginners can be straightforward and rewarding if you have the right guidance.
That’s where this guide comes in. We’re going to walk you through everything you need to know—from understanding the basics of how resin 3D printing works, to choosing the best printer for your needs, to setting up your first print and troubleshooting common issues.
If you’re ready to turn your creative ideas into reality with resin printing, let’s get started!
What is Resin 3D Printing?

Before we dive into the nitty-gritty of resin 3D printing, let’s start with the basics. Resin 3D printing, also known as SLA (Stereolithography) or MSLA (Masked Stereolithography Apparatus), is a type of additive manufacturing that’s renowned for its ability to produce highly detailed and smooth models.
Unlike FDM (Fused Deposition Modeling) printers, which build models by extruding melted filament layer by layer, resin printers use a liquid resin that is cured by a UV light source.
Here’s a quick rundown of how the process works:
- Resin Vat: You begin with a vat filled with liquid resin. This resin is a photosensitive material that hardens when exposed to UV light.
- UV Light Source and LCD Masking: Above the resin vat, there’s an LCD screen that masks the UV light. The screen displays the design of each layer of your model, allowing the UV light to pass through only in specific areas. The exposed resin hardens, forming one layer of your model.
- Layer by Layer: After each layer is cured, the build platform moves up slightly, and the process repeats. Layer by layer, your model takes shape as the printer builds it from the bottom up.
- Post-Processing: Once the printing is complete, the model is lifted from the vat, but it’s not quite ready yet. The printed model is coated in uncured resin that needs to be washed off. After washing, the model must be further cured under UV light to reach full strength.
The result? Incredibly detailed, smooth models with a resolution that FDM printers can’t match. This makes resin 3D printing ideal for creating intricate designs, highly detailed miniatures, and professional prototypes.
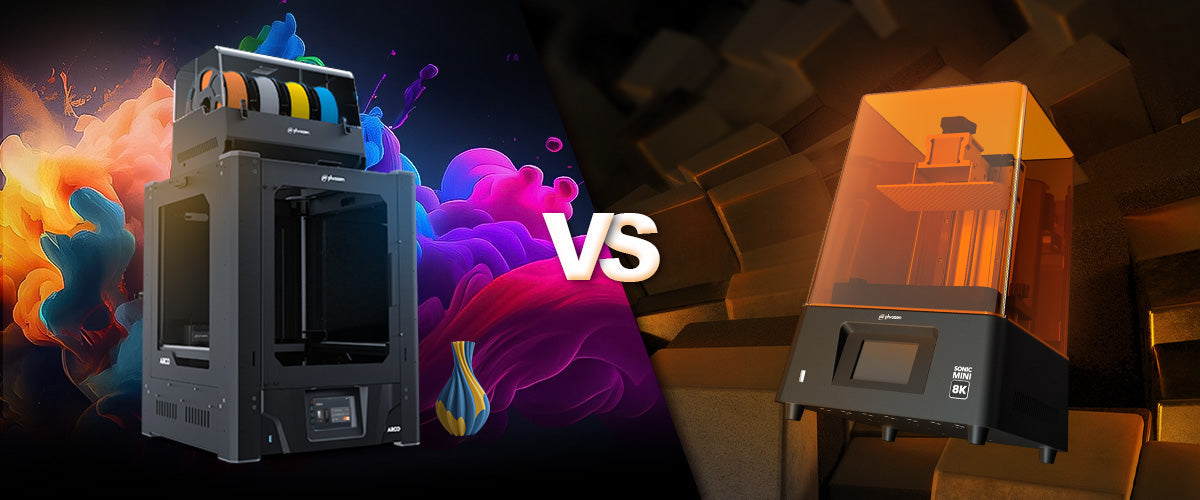
To help you understand better, we’ve prepared more resources. Our detailed blogs — How Does a Resin 3D Printer Work? and Resin vs. Filament 3D Printing: Which One Is Right for You? — are must-reads if you want to dive deeper and find out which option best suits your project needs.
Key Differences Between Resin and FDM 3D Printing
If you’re familiar with FDM printing, you might wonder how resin 3D printing compares. While both technologies fall under the umbrella of additive manufacturing, they’re quite different in several key ways:
Print Quality and Resolution
One of the most significant advantages of resin 3D printing is its superior print quality. Resin printers can produce incredibly fine details, with layer heights as low as 0.025 mm.
This is especially important for applications where precision is key, such as in the creation of miniatures, dental models, or jewelry. In contrast, FDM printers generally produce rougher surface finishes and struggle to achieve such fine resolution, typically offering layer heights no lower than 0.1 mm.
You must check out our must-read blog on improving 3D print quality if you want to know more about improving the details of your 3D prints.
Printing Speed and Efficiency
While resin printers can cure an entire layer of resin in one go, they are not necessarily faster than FDM printers. The curing process, combined with the time needed for the build platform to raise between layers, can make resin printing a slower process, particularly for larger models.
However, one advantage is that resin printers can print multiple small models at the same time without a significant increase in print time, which is not the case with FDM printers.
Give our blog on 3D printing faster a read if you want to know the best techniques and settings for speeding up your printing process.
Post-Processing Requirements
This is where resin 3D printing really differs from FDM printing. With FDM, once your print is done, you typically just remove it from the build plate, maybe trim off some supports, and it’s ready to go. Resin printing, on the other hand, involves several additional steps:
- Washing: After printing, your model will still be covered in uncured resin, which needs to be washed off, typically using isopropyl alcohol (IPA).
- Curing: Even after washing, the model needs to be exposed to UV light to fully cure the resin, giving it the desired mechanical properties.
- Support Removal: Because of the fine details that resin printing allows, you’ll often have more supports to remove, and this process can be delicate.
Our blog on supports for 3D printing is a must-read; you'll learn everything you need to know about using, adding and removing supports. Moreover, our comprehensive guide on maintaining a 3D printer is indispensable for maximizing performance and extending the longevity of your 3D printer.
Material and Cost Considerations
Resin printing generally involves higher material costs compared to FDM. The resin itself is more expensive than the filament used in FDM printers, and you’ll also need to budget for additional consumables like IPA for cleaning, nitrile gloves for safety, and the resin itself. On top of that, some resins are specialized (e.g., flexible, tough, or dental resins) and can cost even more.
Safety Concerns and Workspace Setup
Safety is a big consideration with resin 3D printing. Resin is a toxic material, and it can be harmful if it comes into contact with your skin or is inhaled. That’s why it’s important to work in a well-ventilated area, always wear gloves, and handle everything with care. Resin printing also requires a bit more space and a well-organized workspace to keep everything clean and contained.
To know the minute differences between the two, read our blog on resin vs. filament 3d printing.
Getting Started with Resin 3D Printing
So, you’ve decided to take the plunge into resin 3D printing. Great choice! But before you start printing, there are a few things you need to get set up.
Choose the Best Resin 3D Printers for Beginners
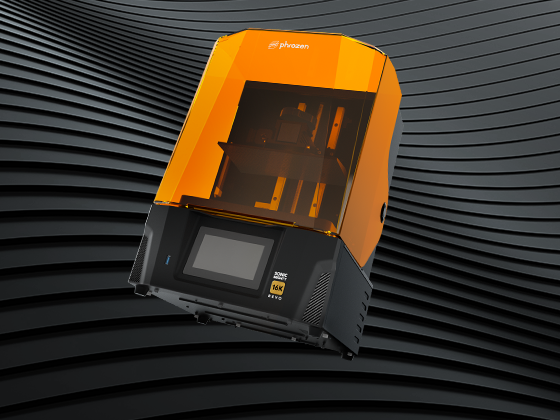
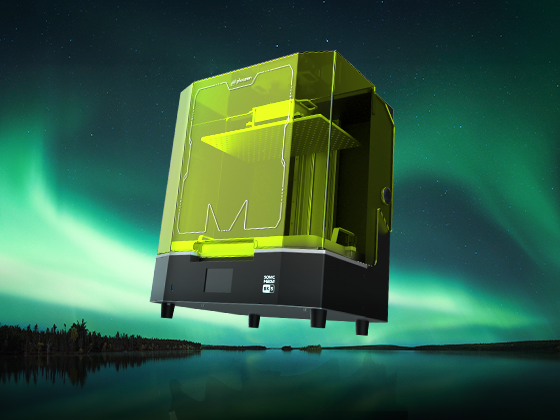
When it comes to choosing the best resin 3D printer for beginners, you want something that’s easy to use, reliable, and capable of producing high-quality prints. Phrozen offers some of the best options for beginners who want to start strong:
- Phrozen Sonic Mini 8K: The Sonic Mini 8K is a powerhouse when it comes to resolution, boasting an incredible 22 µm (1152 ppi) resolution. This makes it perfect for printing highly detailed miniatures, busts, and intricate designs. It features a 7.1” Mono LCD screen and ultra-stable dual linear rails, ensuring that your prints are sharp and precise. The Sonic Mini 8K is an excellent choice for beginners who want to achieve professional-quality results right from the start.
- Phrozen Sonic Mini 4K: The Sonic Mini 4K is a more budget-friendly option but still offers impressive features for beginners. With a 4K resolution and 35µm XY resolution, this printer delivers detailed and accurate prints. It’s compact, easy to use, and works well with a variety of resins, making it a versatile choice for those new to resin 3D printing. Whether you’re printing miniatures, prototypes, or decorative items, the Sonic Mini 4K is up to the task.
- Phrozen Sonic Mighty 8K: If you’re looking for a larger build volume without sacrificing detail, the Sonic Mighty 8K is worth considering. It combines the high resolution of the Mini 8K with a larger print area, making it ideal for bigger projects. This printer is great for beginners who want the flexibility to print larger models without compromising on quality.
Each of these printers offers a unique set of features tailored to different needs, but they all provide the reliability and ease of use that beginners need to get started with resin 3D printing.
Essential Accessories
Before you can start printing, you’ll need to gather a few essential tools and materials. Here’s a checklist to get you started:
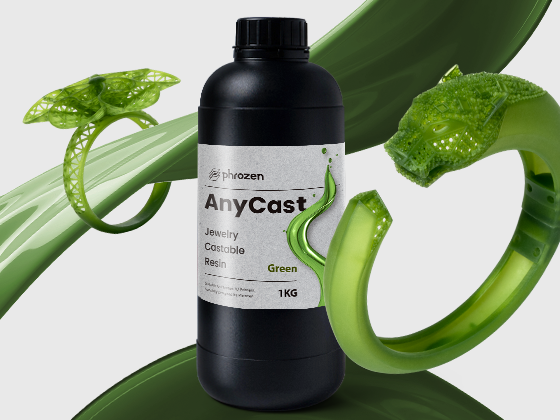
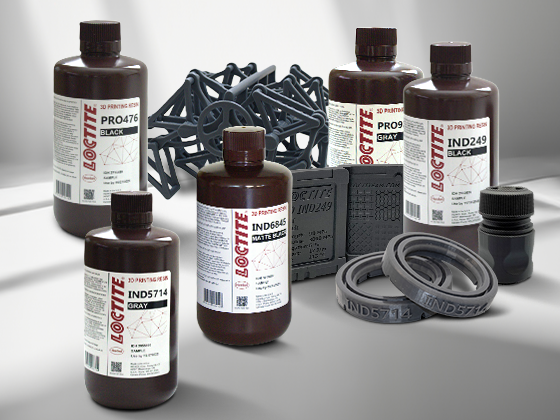
- Resin: This is the core material for resin 3D printing. There are different types of resin available, including standard, tough, flexible, and water-washable varieties. For beginners, standard resin is usually the best place to start. It’s easy to work with and produces great results.
- Isopropyl Alcohol (IPA): IPA is used to clean your prints after they come off the printer. The resin is sticky and toxic until it’s fully cured, so you’ll need IPA to wash it off. It’s recommended to use 99% IPA for the best results, although there are alternative cleaning solutions specifically designed for resin prints.
- Nitrile Gloves: Resin can irritate your skin, so it’s important to wear gloves whenever you’re handling it. Nitrile gloves are the best choice because they’re resistant to chemicals and offer good protection.
- Safety Gear: In addition to gloves, it’s a good idea to wear a mask to protect yourself from fumes, and safety goggles to shield your eyes from any splashes.
- Containers and Filters: You’ll need containers for washing your prints in IPA, and filters for pouring the used resin back into the bottle. This ensures that any debris is removed and your resin stays clean for future prints.
- UV Curing Station: After washing, your prints need to be cured under UV light to harden fully. A dedicated UV curing station will give you the best results, but you can also cure prints in direct sunlight if you’re on a budget.
For a detailed breakdown of everything you'll be needing, check out our blog on tools for 3D printing.
Workspace Setup

Now that you’ve got your printer and accessories, it’s time to set up your workspace. Resin 3D printing can be messy, so having a dedicated area that’s easy to clean is essential. Here are a few tips for setting up your workspace:
- Ventilation: Make sure your workspace is well-ventilated. Resin fumes can be harmful if inhaled, so it’s important to have good airflow. An exhaust fan or an open window is ideal.
- Organization: Keep your workspace organized. You’ll need easy access to your printer, resin, cleaning supplies, and safety gear. Consider using shelves or a pegboard to keep tools within reach and off your work surface.
- Protection: Resin can be messy, so protect your workspace with a silicone mat or disposable paper to catch any spills. You’ll also want to have plenty of paper towels or microfiber cloths on hand for cleaning up.
- Safety: Set up your workspace in a way that minimizes the risk of accidents. Keep your resin bottles sealed when not in use, store your IPA in a safe place, and make sure your curing station is in a stable location where it won’t get knocked over.
Our blog on 3D printing safety is a must-read for a thorough understanding of the best practices for safe printing.
With everything set up, you’re ready to start printing!
Step-by-Step Guide to Your First Resin Print
Alright, it’s time to get hands-on. Let’s walk through the process of setting up and completing your first resin 3D print.
Printer Setup
- Level the Build Plate: The first step in any resin 3D print is to ensure that your build plate is perfectly level. If it’s not, your prints won’t stick properly, and you’ll end up with a failed print. Most resin printers come with an easy leveling process. Usually, this involves loosening the screws on the build plate, lowering it to the LCD screen with a piece of paper in between, and tightening the screws while maintaining slight resistance on the paper. This ensures the build plate is perfectly parallel to the screen.

- Prepare the Resin Vat: Once your build plate is leveled, it’s time to prepare the resin vat. Make sure the vat is clean and free of any debris or leftover cured resin from previous prints. Pour in your resin, but be careful not to overfill it—there should be enough resin to cover the bottom of the vat but not so much that it overflows when the build plate is lowered. If your resin has been sitting for a while, stir it gently to ensure it’s well-mixed.
Slicing the Model
Next up is preparing your 3D model for printing. This involves using slicing software to convert your digital model into layers that your printer can understand. Popular slicing software for resin printing includes Chitubox and Lychee Slicer.
- Import the Model: Load your 3D model (usually in STL format) into the slicer. Most slicers have an easy drag-and-drop interface, so this step is straightforward.
- Orient the Model: Position your model on the build plate in a way that minimizes the need for supports and reduces the chances of print failure. For example, angling the model slightly can help reduce the number of flat surfaces that might struggle to adhere to the build plate.

- Add Supports: Supports are crucial in resin printing because they help stabilize the model as it’s being printed. Most slicers have an auto-support feature, which will automatically generate supports where they’re needed. However, it’s a good idea to manually check the support placement to ensure that all overhanging parts of your model are adequately supported.

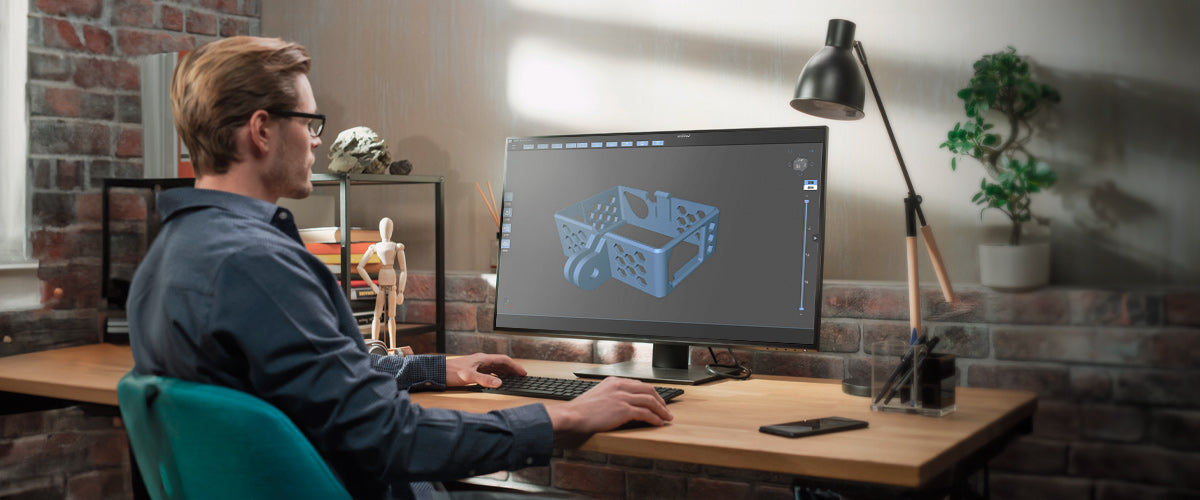
The 3D model must be sliced into multiple layers
- Slice the Model: Once everything looks good, slice the model. This will convert your 3D model into a series of layers that the printer can follow. Save the sliced file to a USB drive or SD card, depending on what your printer uses.
Checkout our list of websites for free 3D print models. It features a comprehensive list of the best websites to download high-quality and free STL files for your 3D printing project.
Moreover, if you want to edit your file, you can find our resource on free STl editors to be very resourceful.
Printing
With your model sliced and your printer set up, you’re ready to start printing!
- Transfer the File: Plug the USB drive or SD card into your printer and select your file from the menu. Most resin printers have a straightforward interface that makes this easy.
- Start the Print: Make sure the resin is poured and the build plate is leveled, then start your print. Keep an eye on the first few layers to ensure everything is sticking properly. If the first layer fails to adhere to the build plate, stop the print, re-level the build plate, and try again.
- Monitor the Print: While resin 3D printing can take some time, it’s a good idea to check in on your print periodically. Most resin printers will give you a preview of the current layer being printed, so you can catch any issues early.
Post-Processing
Once your print is complete, the fun isn’t over yet—resin printing involves several post-processing steps to get your model ready for display.
- Washing the Print: After printing, your model will still be covered in uncured resin. To remove it, submerge the print in a container of IPA and gently agitate it to wash off the resin. You might need to repeat this process a few times to ensure all the uncured resin is removed.
- Curing the Print: After washing, your print needs to be cured under UV light to harden fully. Place your model in a UV curing station or, if you’re using sunlight, set it outside for a few hours. The curing time will depend on the type of resin you’re using, but most prints will take between 2 to 10 minutes in a curing station.
- Removing Supports: Once the print is cured, it’s time to remove the supports. This can be done with clippers, and it’s often easier to do while the resin is still slightly flexible. Be careful when removing supports to avoid damaging the model, especially in areas with fine details. Tools like the Sonic Saber from Phrozen are a must-have if you want to remove supports quickly and efficiently without leaving any marks on your 3D model.
Common Issues and Troubleshooting
Even with the best preparation, things can go wrong during resin 3D printing. Here are some common issues you might encounter and how to fix them:
Prints Not Sticking to the Build Plate
One of the most frustrating problems for beginners is when the print fails to adhere to the build plate. This is often due to an improperly leveled build plate. To fix this, make sure the build plate is perfectly parallel to the LCD screen. You might also want to check that the first layer exposure time is long enough—if the resin isn’t cured thoroughly, it won’t stick properly.
Layer Shifting or Missing Layers
Layer shifting or missing layers can ruin an otherwise perfect print. This issue is usually caused by insufficient support or incorrect print settings. Double-check your supports in the slicer and ensure that the exposure times are set correctly. If you’re still having issues, try increasing the lift speed or reducing the layer height.
Air Bubbles in the Resin
Air bubbles in the resin can cause defects in your print. If you notice bubbles, let the resin sit in the vat for a few minutes before starting your print. Stirring the resin gently with a plastic spatula can also help release trapped air.
Print Failures
If your print fails halfway through, it could be due to debris in the resin or a problem with the slicing settings. Clean the vat and filter the resin to remove any debris, then recheck your slicing parameters before trying again.
Read our blog on resin print failures for detailed info on the most common failures and their solution. It's a must-read before you start printing.
Recommended Resources and Community Support
Diving into resin 3D printing can be daunting, but you’re not alone. There are plenty of resources and communities out there to help you along the way:
- 3D Printing Forums: Online forums like Reddit’s r/3Dprinting and the 3DPrintBeginner forum are invaluable resources. Here, you can ask questions, share your prints, and get advice from more experienced users. These communities are friendly and always willing to help newcomers.
- YouTube Channels: If you’re a visual learner, YouTube is a goldmine of tutorials and reviews. Channels like 3D Printing Pro, Uncle Jessy, and Maker’s Muse offer step-by-step guides, printer reviews, and troubleshooting tips. Watching these videos can help you understand the process better and pick up some tips and tricks along the way.

Sites like Udemy offers tons of courses on 3D Printing (Image source: Udemy)
- Online Courses: If you prefer a more structured learning approach, platforms like Udemy and Coursera offer courses on 3D printing that cover both the basics and more advanced techniques. These courses can be a great way to deepen your understanding and improve your skills.
- Manufacturer Resources: Don’t forget to check out the resources provided by your printer’s manufacturer. Companies like Phrozen offer detailed user manuals, resin profiles, and troubleshooting guides that are specific to their printers. These resources are often overlooked but can be incredibly helpful, especially when you’re just starting out.
Conclusion
Resin 3D printing opens up a world of possibilities, allowing you to create highly detailed, professional-quality models right from your home. While it comes with a steeper learning curve compared to FDM printing, the results are well worth the effort.
However, if you're particularly interested in creating 3D models, it can be a steeper learning curve. You can check out our comprehensive blog on creating a 3D model for 3D printing which details every step needed to bring your 3D model to life.
By choosing the right printer, gathering the necessary tools, setting up a proper workspace, and following the steps outlined in this guide, you’ll be well on your way to producing stunning prints.
Remember, every expert was once a beginner. Don’t be discouraged by the challenges you might face—use them as opportunities to learn and improve. With patience and practice, you’ll soon be creating prints that you’re proud to show off.

