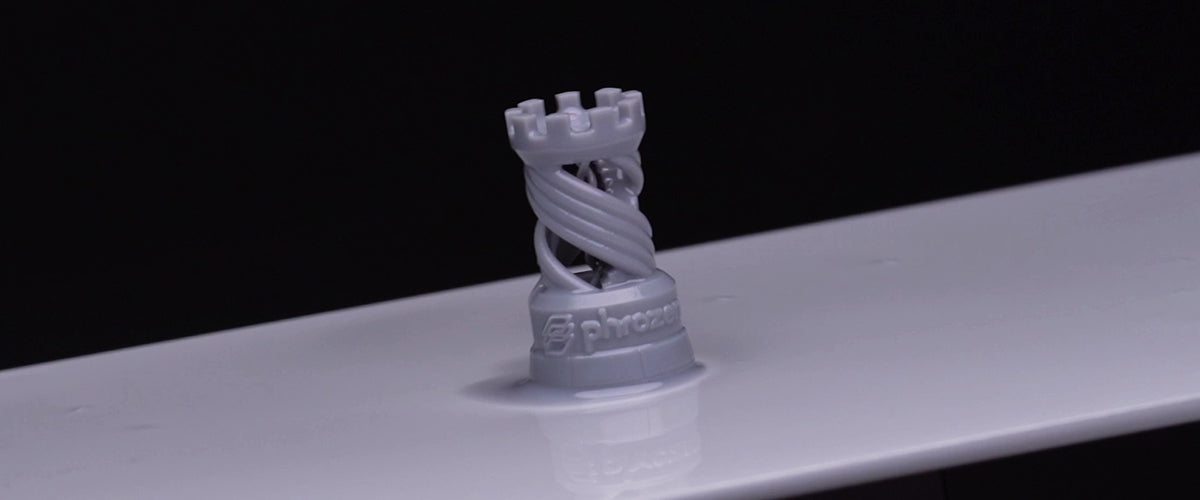
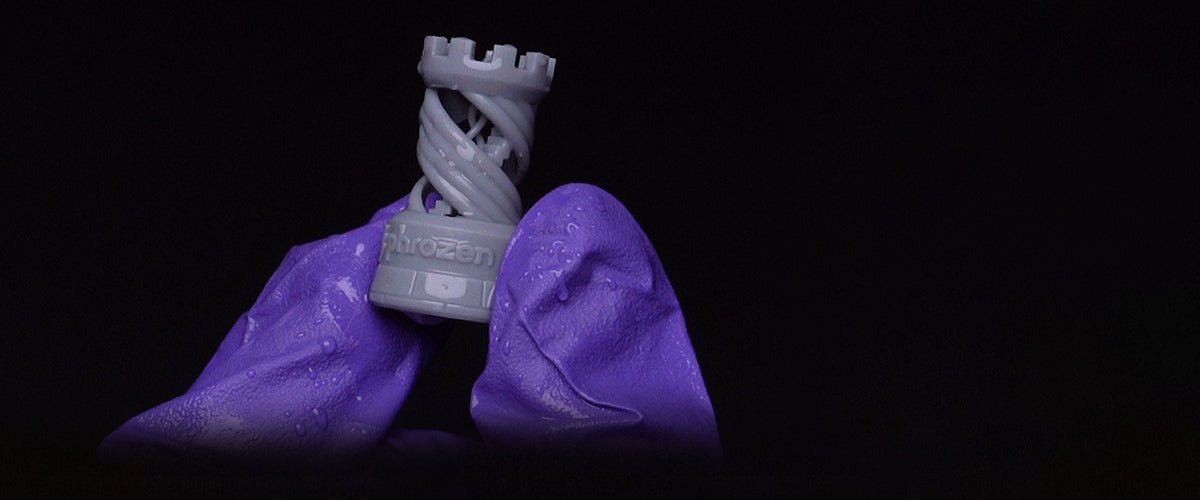
Z 軸を正しく調整したら、 Sonic Mighty 4Kで最初のプリントをテストしてみましょう。 アクアグレー 4K 樹脂を使用した LCD 3D プリンタをテストするためのテスト ファイルが含まれています。 Phrozen rookを使って最初のプリントを気軽にテストしてください。
ステップ 1: スーツを整える

樹脂に直接接触するとアレルギー反応を引き起こす可能性があるため、印刷中は PPE (個人用保護具) マスク、ゴーグル、手袋を着用することをお勧めします。
ステップ 2: バットに樹脂を充填します。

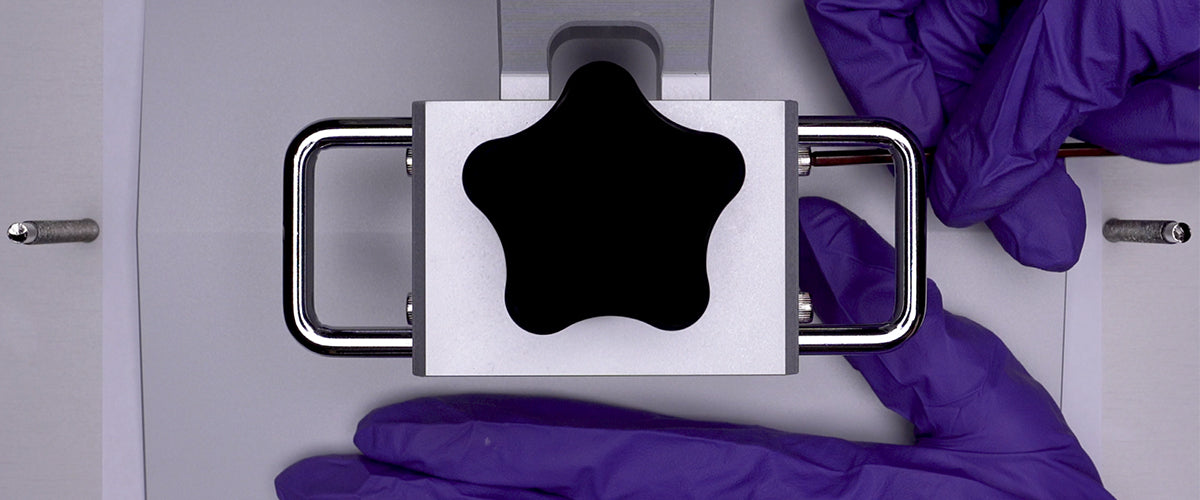
樹脂バットを固定し、ネジをしっかり締めてください。次に、 アクアグレー 4K レジンを約 1 分間均一に振ってから、レジンバットに注ぎます。レジンを流し込む際は、レジンバットの高さの半分を超えないように注意してください。
ステップ 3: ファイルを転送する

現在、Sonic Mighty 4K は USB データ転送方法のみを提供しています。 Phrozen rook .ctb ファイルをダウンロードして、USB ドライブに保存してください。 USB を樹脂 3D プリンタの左側にある USB ポータルに差し込み、印刷を開始します。
ステップ 4: 印刷を開始する


タッチ パネルで[印刷]をクリックし、.ctb ファイルを選択します。印刷プロセスには約 2 時間かかります。
*注意: 各プリント セッションの前に、レジン バットにレジンがすでに充填されているかどうかを確認してください。バット内に残った硬化樹脂を探すには、工具箱に同梱されているプラスチックスクレーパーを使用してください。スクレーパーを使用して樹脂をかき混ぜます。
機械のプラットフォームを点検し、ゴミが残っていないか確認してください。不要なものを取り除くと、印刷を開始できます。
ステップ 5: 印刷を終了する

印刷プロセスが完了すると、建築プレートは上部に引っ込みます。樹脂が完全に排出されるまで待ってから、次のステップである後処理に進みます。



4 コメント
arturo
hello.!
hello.! I bought my first 3D printer, but after using the exam piece, now it doesn’t appear and I’ve been told that before each print I must try my exam piece. I would like to know if I can download it on your page, and how.?
———
Phrozen Technology replied:
Hello Arturo, Thank you for commenting.
The testing models are tools help you to dial in the resin setting, for example, use the XPFinder to determine the optimal exposure timing for your current setup and working environment. You don’t need to print the testing model each time before you start a new print, you only need to do that when you finished calibrating the Z axis, and when getting a new type of resin. You can keep using the same setting once you’ve optimized your resin setting, and only need to dial it in again when there’s changes to your working environment such as room temperature changes which might appear printing flaws or failures when it’s happening.
You can find the STL files for our testing models including XPFinder, and the tutorial on how to read the print result on this page: https://phrozen3d.com/pages/phrozens-xp-finder-and-rp-tester-test-model-download-and-tutorials
Hope this helps.
Best, Phrozen Team
>
Chris Cardinal
Is it possible to print at a resolution other than 52 microns? Perhaps 26 micron for increased details?
Thank you.
———
Phrozen Technology replied:
Hi Chris,
The Sonic Mighty 4K is developed with 52 microns resolution on its XY-axis. You can increase the details of the Z-axis by reducing the layer height to 0.03 mm. Please remember that when you reduce layer height, other parameters would also need to be adjusted accordingly and printing time would increase. As XY resolution on each printer is fixed, we recommend you to look at Mini 8K (22 µm) and Mighty 8K (28 µm) instead if you are looking for higher XY resolutions.
Thank you for your questions and hope this helps!
Cheers, Phrozen Team
>
Phrozen Team
Hi there,
Could you please fill out this form: https://phrozen3d.com/pages/technical-issue-form. Our customer support team will get back to you soon.
Hi there,
Could you please fill out this form: https://phrozen3d.com/pages/technical-issue-form. Our customer support team will get back to you soon.
Ryan
I went through this tutorial with a brand new Mighty 4k out-of-the-box and received the error “Different resolution with projector I-3840”. Very little information about this error online relating to this printer.
I went through this tutorial with a brand new Mighty 4k out-of-the-box and received the error “Different resolution with projector I-3840”. Very little information about this error online relating to this printer.