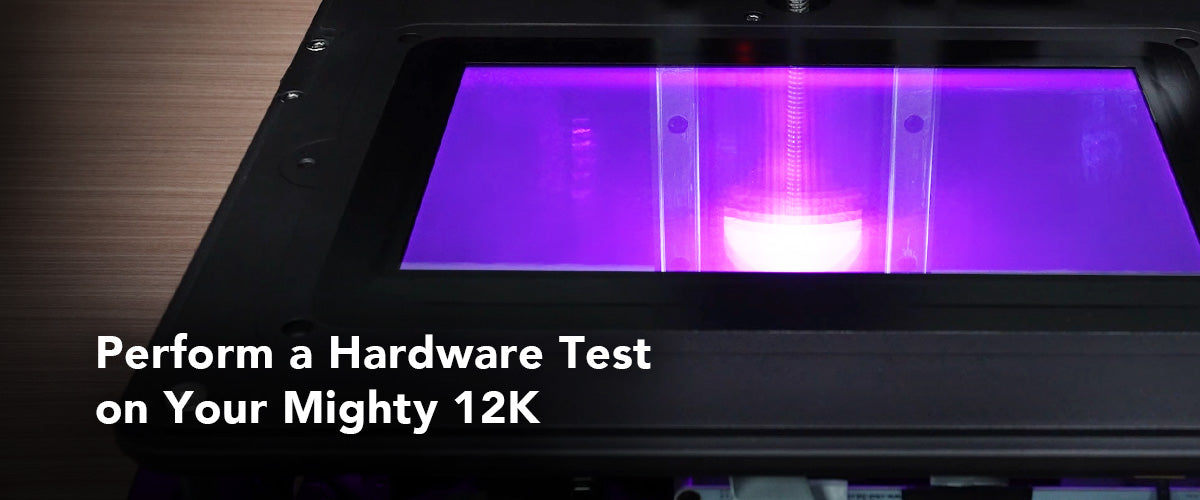
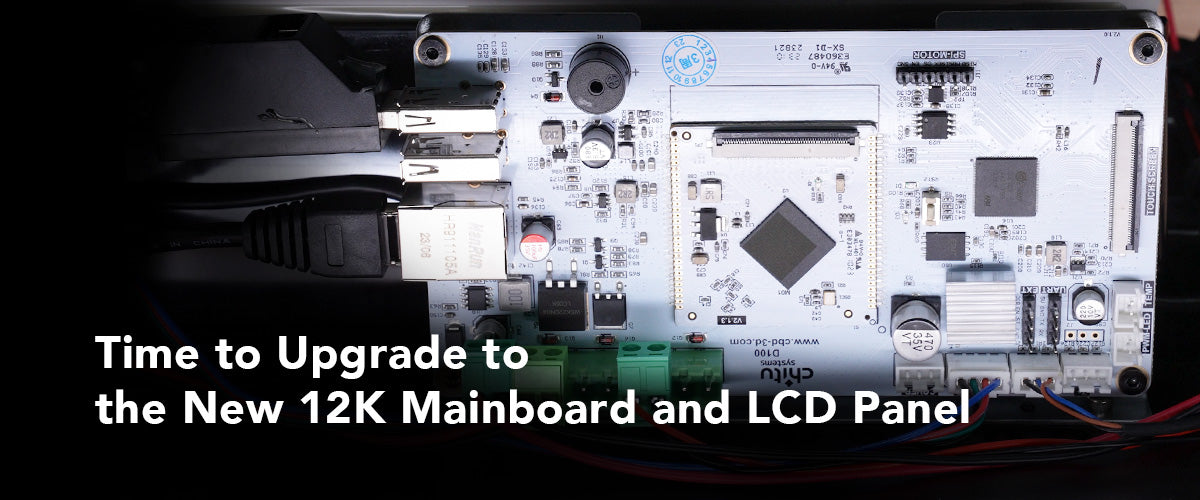
新しい LCD パネルを取り付けた後、フロント ケースのタッチ パネルを接続してハードウェア テストを実行できます。このアクションは、 12K アップグレード キットをインストールした後にSonic Mighty 8K が正常に動作するかどうかを確認するためのものです。
ハードウェア テストには、冷却ファン、 LCD テスト、 Z 軸センサー、 Z 軸制御、およびカメラ テストが含まれます。
この記事では、 12K アップグレード キットをインストールした後にSonic Mighty 8Kで完全なハードウェア テストを実行する方法を説明します。
ハードウェアテストを実行する前に
ハードウェア テストを開始する前に、行う必要があることがいくつかあります。
ステップ 1: LCD パネルを取り付けた後、USB ケーブルを接続します。

ステップ 2:タッチパネルのバックルを外し、リボンケーブルを挿入します。次にバックルを元に戻し、アセテート布テープをバックルに貼り付けます。

ステップ 3:タッチ パネルのリボン ケーブルを穴に押し込み、フロント ケースを固定します。

ステップ 4:マシンの電源を入れて、ハードウェア テストの実行を開始できます。 Sonic Mighty 8Kのファームウェアを再度更新しないでください。代わりに、 Phrozen の公式 Web サイトから最新の Mighty 12K ファームウェアをダウンロードしてください。
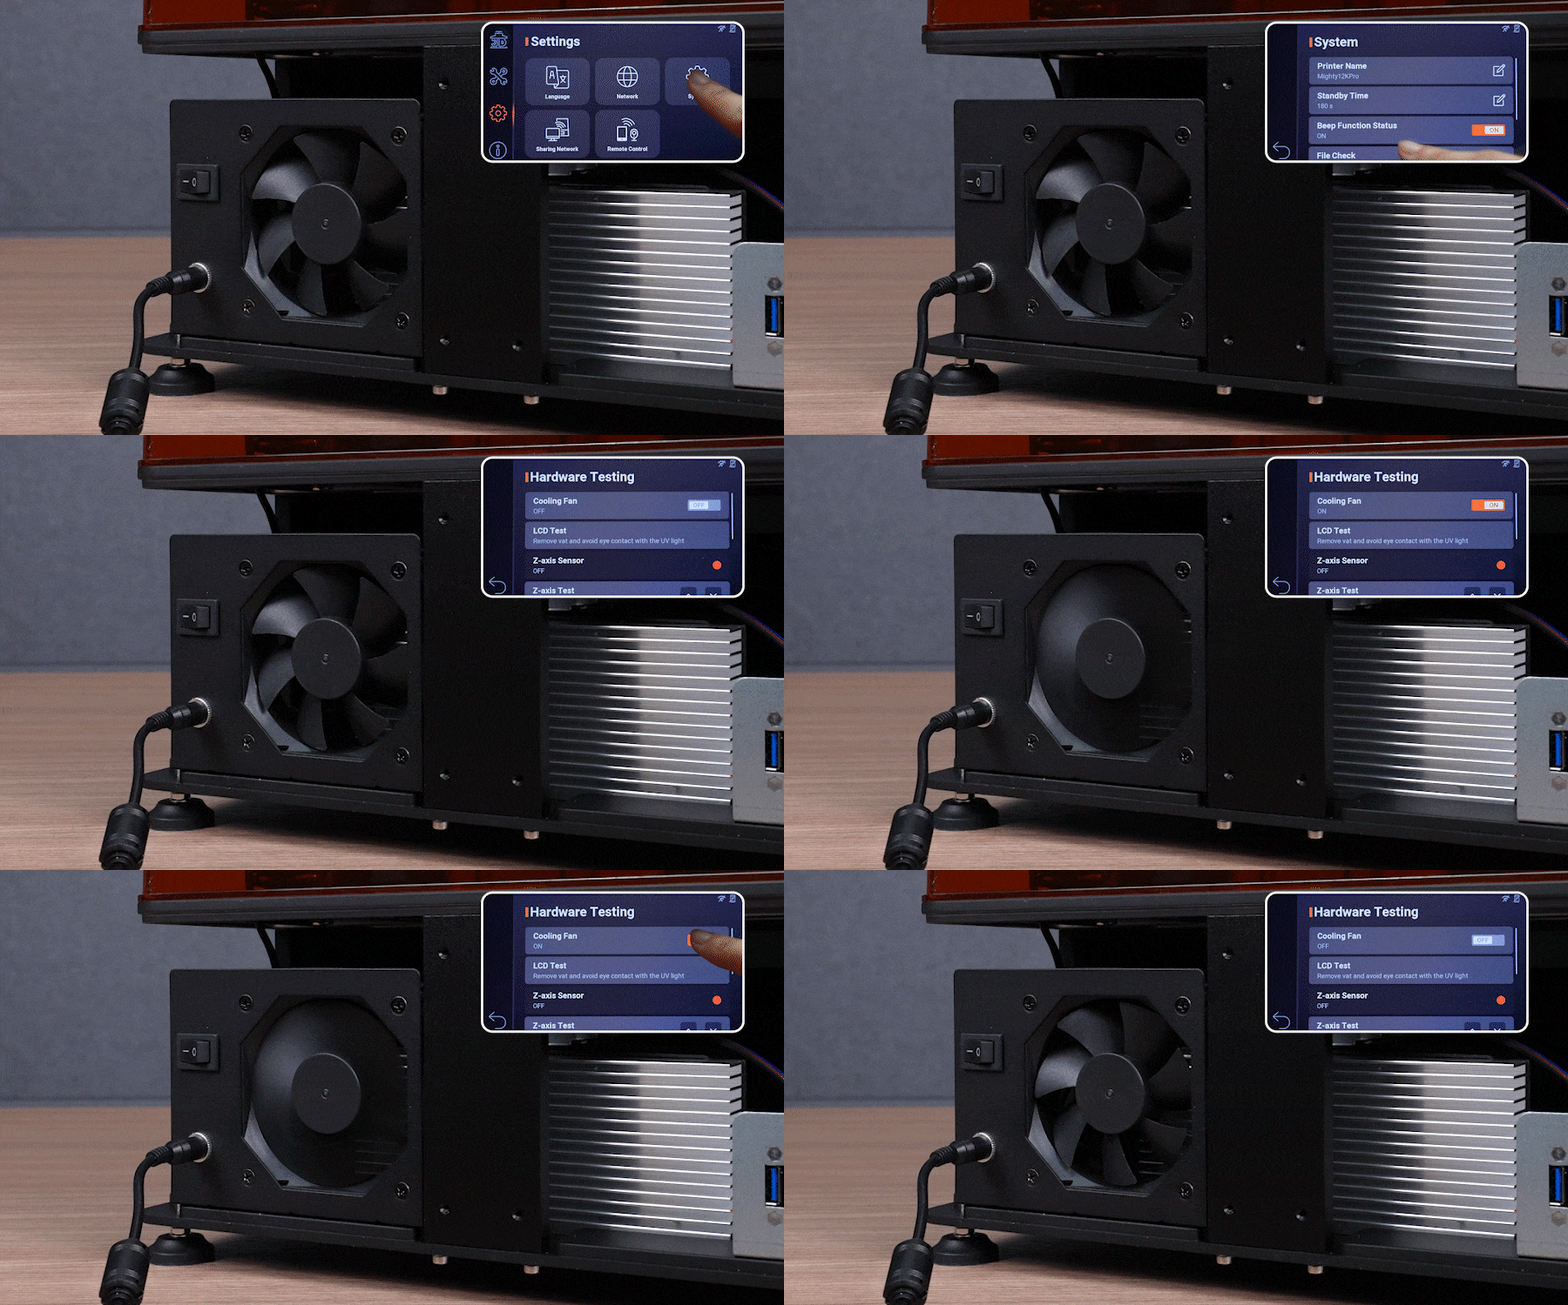
ステップ 5: [設定]タブに移動し、[システム] を選択してハードウェア テストを開始します。次に、一番下までスクロールして[Hardware Testing]を選択します。
ハードウェアテストの実行
ファン
冷却ファンをタップし、ファンが適切に動作していることを確認します。
液晶画面
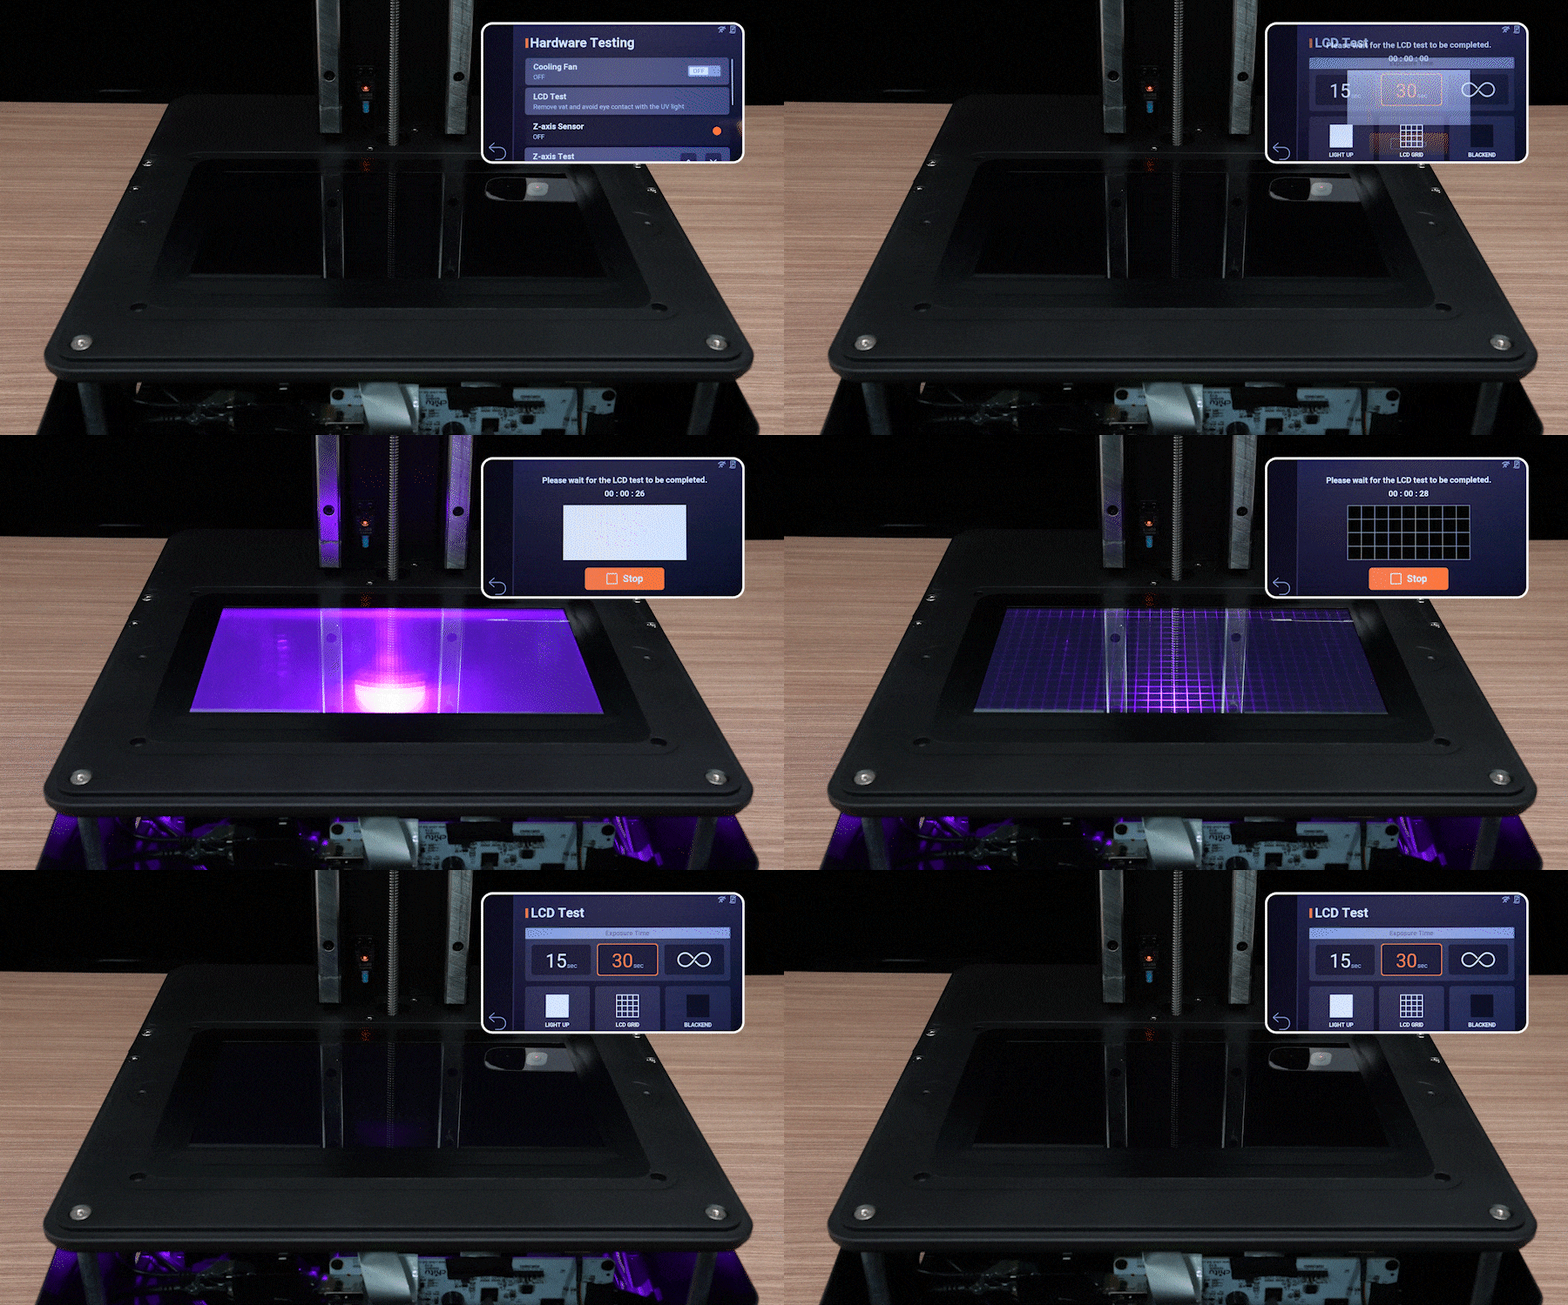
LCD が適切に動作していることを確認するには、 [LCD Test]を選択します。
Sonic Mighty 8Kの LCD テストは、Light Up、LCD Grid、Blackened の3 つの部分に分かれています。各テストが完了するまでに 10 秒かかります。 [次へ]をクリックして、LCD 画面がタッチ パネルに表示されている画像と一致することを確認し、LCD テストが完了しました。
このチュートリアル ビデオの LCD テストでは、デモンストレーション目的で Mighty 8K を使用します。 Mighty 12K アップグレード キットをインストールした後、LCD テストの結果が実際のパフォーマンスと異なる場合があります。テスト機能が正常に完了している限り、インストールは成功したことになります。
LCD テスト中は必ず目の保護具を着用し、紫外線に不適切にさらされると痛みを伴う目や皮膚の損傷を引き起こす可能性があるため、3D プリンターの LCD から放射される光を直接見ないでください。
Z軸センサー
Z 軸センサーを選択し、センサーの近くに六角レンチを置きます。レンチを検出するとライトが緑色に変わる場合、センサーは正常に動作しています。

Z軸制御
Z 軸テストの上下の矢印を軽く押して、それに応じて Z 軸が動くことを確認します。

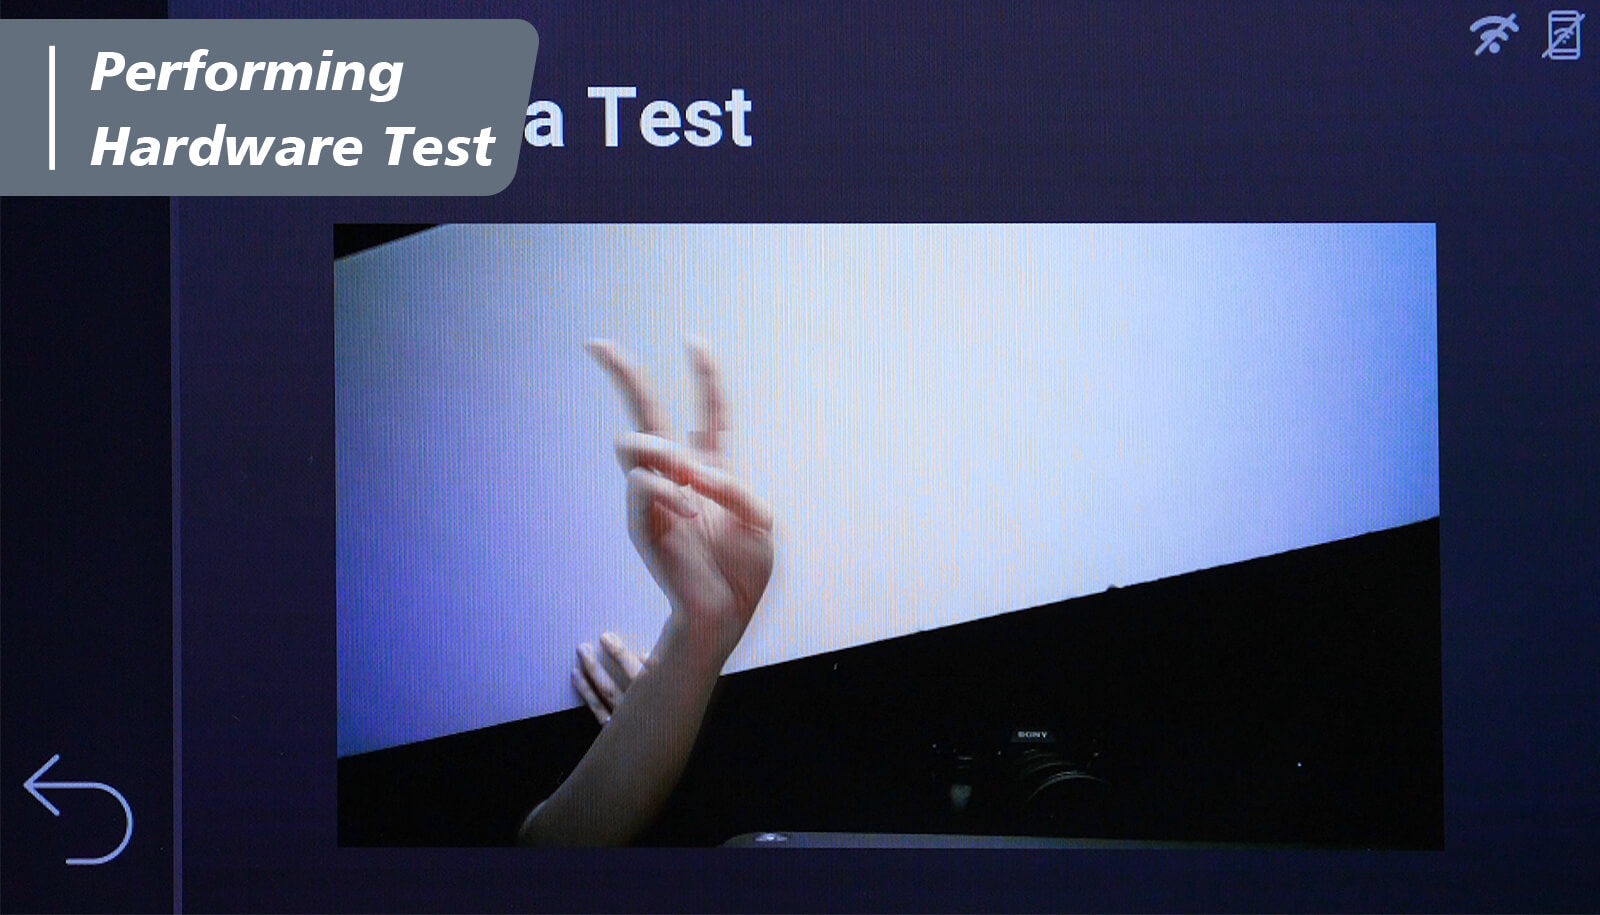
カメラテスト
「カメラテスト」を選択して、カメラが正しく動作するかどうかを確認します。
リマインダー
ハードウェア テスト中に問題が発生した場合は、インストールを再確認する前にプリンタの電源をオフにしてください。すべてのテストが正常に実行されたら、フロント ケースとリア ケースのネジを締めて取り付けを完了します。
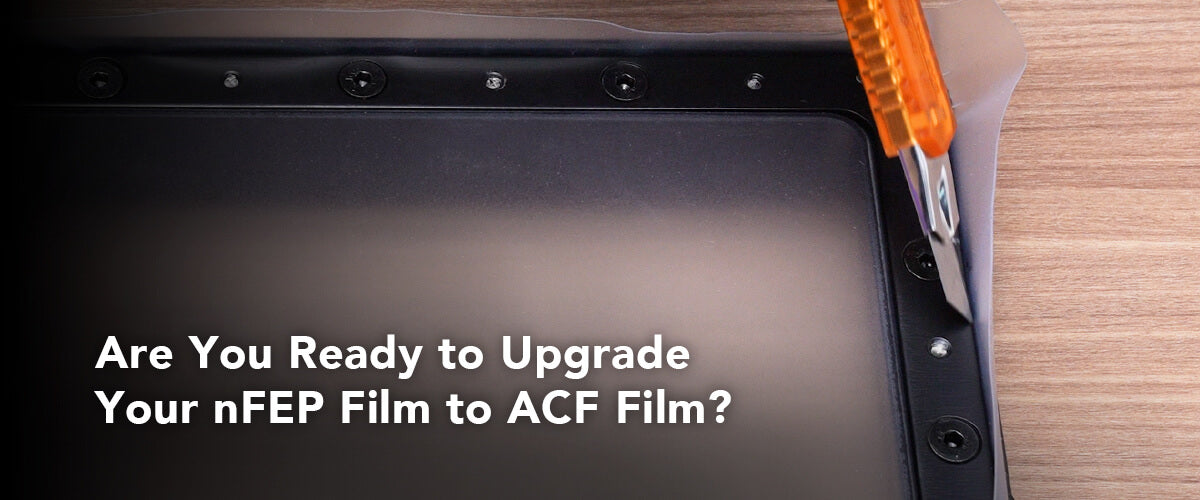
次に、 樹脂バットの離型フィルムをnFEPフィルムからACFフィルムに変更してみましょう。



2 コメント
HaveBounce
My mistake. The upgrade video needs to be watched and followed closely. The z-axis selection is only active when the the sensor is triggered. Surprisingly we did right the first time and our lack of attention to detail had us checking everything three times before we caught our error.
———
Phrozen Technology replied:
Hello HaveBounce, Thank you for commenting.
We’re glad to know that your printer has been working properly. If you have any questions or assistance needed, please don’t hesitate to contact us by submitting a request to our customer support team.
Thank you!
Best, Phrozen Team
>
Enio Falagan
I recently made a purchase of one of the phrozen 8k printers and I have only been able to print 1 good full model I have been battleting with this machine buying resin bottle after resin bottle trying to figure out what is wrong, what can I do to get it replaced?
———
Phrozen Technology replied:
Hello Enio, Thank you for commenting.
Before you start to print, you will need to calibrate your building plate in order to have the printer to be able to print properly. Second, you will need to print the test files to decide whether your resin setting is optimal or not. For how to calibrate your building plate, please see this article: https://helpcenter.phrozen3d.com/hc/en-us/articles/6453760521113—Sonic-Mighty-8K-Z-axis-Calibration And this article for knowing how to read the XP Finder to decide how to adjust your setting: https://phrozen3d.com/blogs/tutorials/resin-3d-print-test-model-xp-finder-secrets-you-missed
If you need any help during this process, please don’t hesitate to contact our customer support team via this page: https://helpcenter.phrozen3d.com/hc/en-us/requests/new
Hope this helps.
Best, Phrozen Team
>