この記事では、最初のデザインを印刷する前に、 Sonic Mighty 4K LCD 3D プリンターをセットアップする手順を説明します。

ステップ 1:プラスチックケースを取り外します。

ステップ 2:樹脂 3D プリンターの背面にある電源ケーブルを差し込みます。

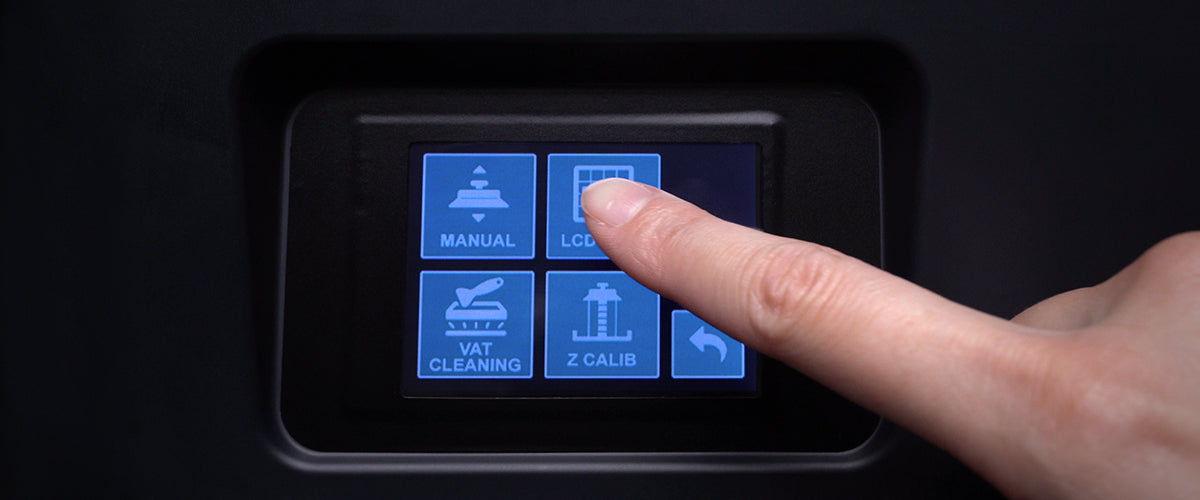
ステップ 3:スイッチをオンにします。タッチパネルが点灯するまでに最大 2 秒ほどかかる場合があります。大きなビープ音が聞こえたら、デバイスが使用できる状態になったことを意味します。
ここをクリックして次のステップ、Sonic Mighty 4K で LCD テストを実行します。



1 コメント
steve
This is clearly incomplete instructions. Thank you for a worthless video to find when i am searching for real information.
———
Phrozen Technology replied:
Hello Steve, Thank you for commenting.
This is a short unboxing introduction to the product. In the end of the article, there’s a link to the next step after this one. Please take a look and follow the steps which linked at the end of each article.
If you are looking for the solution to a specific problem, please let me know or use the search function in the helpcentre page ( https://helpcenter.phrozen3d.com/).
Hope this helps.
Best, Phrozen Team
>