
Did you know that cute and quirky stamps can now easily be created with resin 3D printing? Bringing your designs to life has never been this fun. Use Phrozen LCD 3D printers to create unique stamps that represent you.
Follow the steps down below so that you too can experience the joy of creating your very own 3D printed stamps:
Materials You Will Need
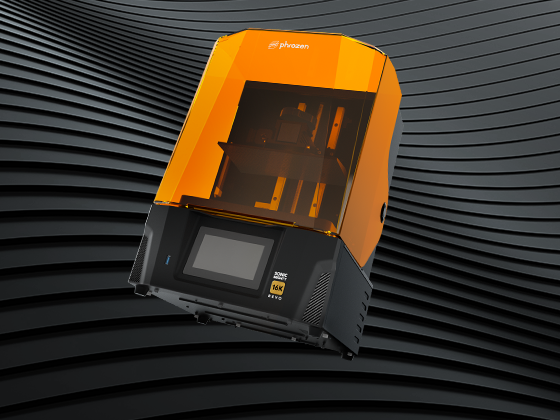
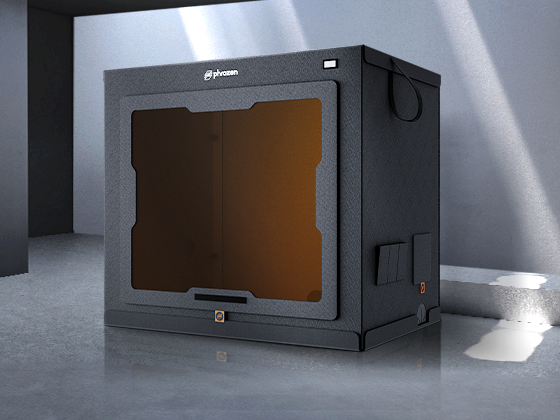
- Sonic Mini 4K, Sonic Mighty, or any other Phrozen LCD 3D Printer
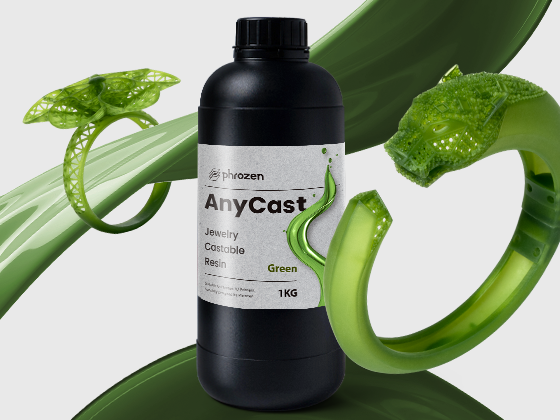
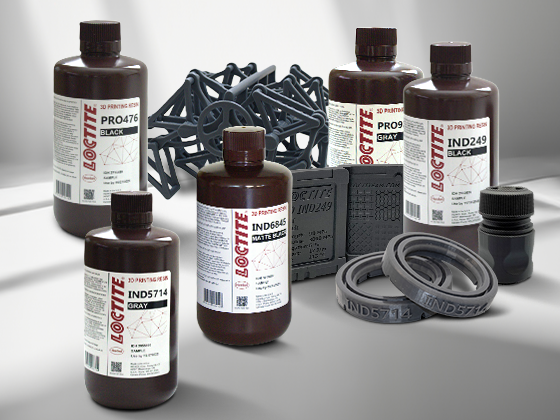
- Use Phrozen Aqua-Gray 4K for best results
- Adobe Illustrator - Design Software
- Blender - 3D Modeling CAD Software
Step 1: Design the Stamp

First, we’ll be using Adobe Illustrator to draw out and design the text. For this piece, we’ll be using the text “Have a Nice Day” as an example.
Feel free to design your stamp according to your preferences.
After the design has been created, make sure to mirror the image either on Adobe Illustrator or on Blender 3D Modeling CAD Software. This is to ensure that the surface of the stamp will be inverted after being printed out.
Once that’s been taken care of, save the file as an .SVG file, or Scalable Vector Graphic file.
Step 2: Convert the Stamp into a 3D File


Now, it’s time to convert your design into a 3D file. For that, we’ll be using Blender, which is a free CAD software that anyone can download and use.
Import your .SVG file into Blender. On the upper right-hand corner, select all the files that are part of your design.

Then, on the Blender window, highlight the phrase. Click select Convert to Mesh. Then click on Object, and choose Join. This will attach the phrase together.
To bring the text to the center, click Object → Set Origin → Geometry to Origin.
Click on S to enlarge your design.
Click on Tab to shift to Edit Mode on Blender.

Select the text.

Then click CTRL + L to thoroughly select every part of your text.

To increase the height of the text, after selecting your design, click E and drag the text upwards to get a 3D effect.
Step 3: Create the Stamp Base
Once your design has been turned into a 3D model, it’s time to create the base. This can easily be created in Blender as well.
Let’s start by changing the mode to Object Mode.
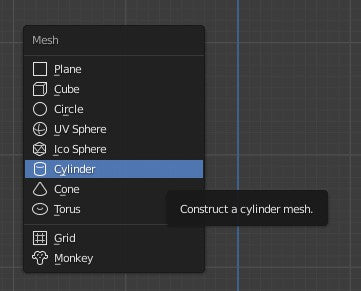
Click on 1 to view the text from the side. Then click on the Shift key + A → Mesh → Cylinder.

Click on S to adjust the size of the cylinder then click on G to move the base on top of the text.

Now, it’s time to change back to Edit Mode. Make sure the Face select option is chosen on the upper left-hand corner. Click on S to resize the shape of the cylinder to turn it into an oval shape.

Adjust the values on the Y according to your desired shape.

Then click on I to insert a flat surface underneath the text.

Click ALT and left-click on your mouse right on the edge to select the side of the stamp.

Click on 1 to get a side view of your stamp. Then click on E to raise the side just a bit.
To move upwards in Blender, you’ll need to click on Z. To adjust the base so that it fits the text, click on G and Z on the keyboard.

There you have it! The stamp base is now complete. To print out a stamp handle, please click here to select a stamp handle of your choice.
Step 4: Export Your File
Export the file as an .STL file and open up CHITUBOX Slicer Software to adjust your print parameters and set your supports.
Step 5: Adjusting Print Parameters on CHITUBOX
Import the .STL file into CHITUBOX. We’ll start by adjusting the print parameters. If you’re using a Phrozen device for the first time, please click “Settings” and “Add New Printer” to add your device into the Slicer Software. Watch the video tutorial above for the entire process.
In this example, we’ll be using Sonic Mini 4K. Follow Phrozen’s recommended resin profiles for a general idea on how to set your resin profiles. Make sure to also click on the Resin tab and choose Aqua-Gray 4K resin.
Step 6: Setting Supports on CHITUBOX
As we’ll be printing out a stamp handle as well, we’ll have to tilt the 3D model onto its side and add supports.
Step 7: Print out the Stamp
Once you’re done setting the supports, slice your file and save it as a .ctb file. Plug it into your Sonic Mini 4K and you’re good to go!
Step 8: Start Stamping Away!

Now all you need to do is get a hold of an ink pad and you can start stamping away!
Want to 3D print stamps without the hassle of using Adobe Illustrator or Blender? Click here to download an STL file of the stamp used in this tutorial or click here to view other 3D stamps that are available online FOR FREE!
Need more 3D printing ideas? Click here!