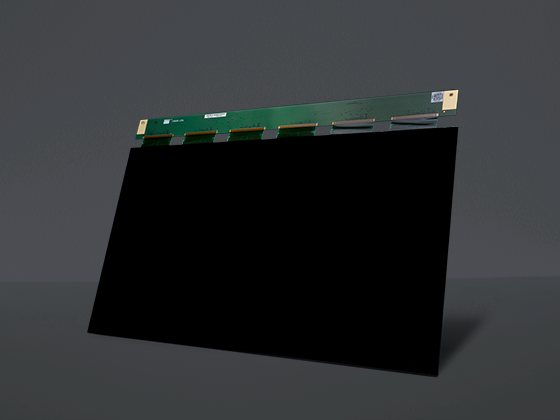
安裝新的液晶面板後,您可以連接前殼上的觸控面板來執行硬體測試。此操作是為了檢查您的Sonic Mighty 8K在安裝12K 升級套件後是否可以正常運作。
硬體測試包括散熱風扇、 LCD測試、 Z軸感測器、 Z軸控制和攝影機測試。
在本文中,我們將向您展示如何在安裝12K 升級套件後對Sonic Mighty 8K進行完整的硬體測試。
執行硬體測試之前
在開始硬體測試之前,您需要做一些事情:
步驟 1:安裝 LCD 面板後連接 USB 線。

步驟 2:鬆開觸控螢幕上的卡扣,插入排線。然後將扣環扣回,並將醋酸布膠帶黏在扣環上。

步驟 3:將觸控螢幕排線穿過孔,然後固定前殼。

第四步:我們現在可以打開機器並開始進行硬體測試。請記住不要再次刷新Sonic Mighty 8K的韌體。相反,請在 Phrozen 官方網站下載最新的 Mighty 12K 韌體。
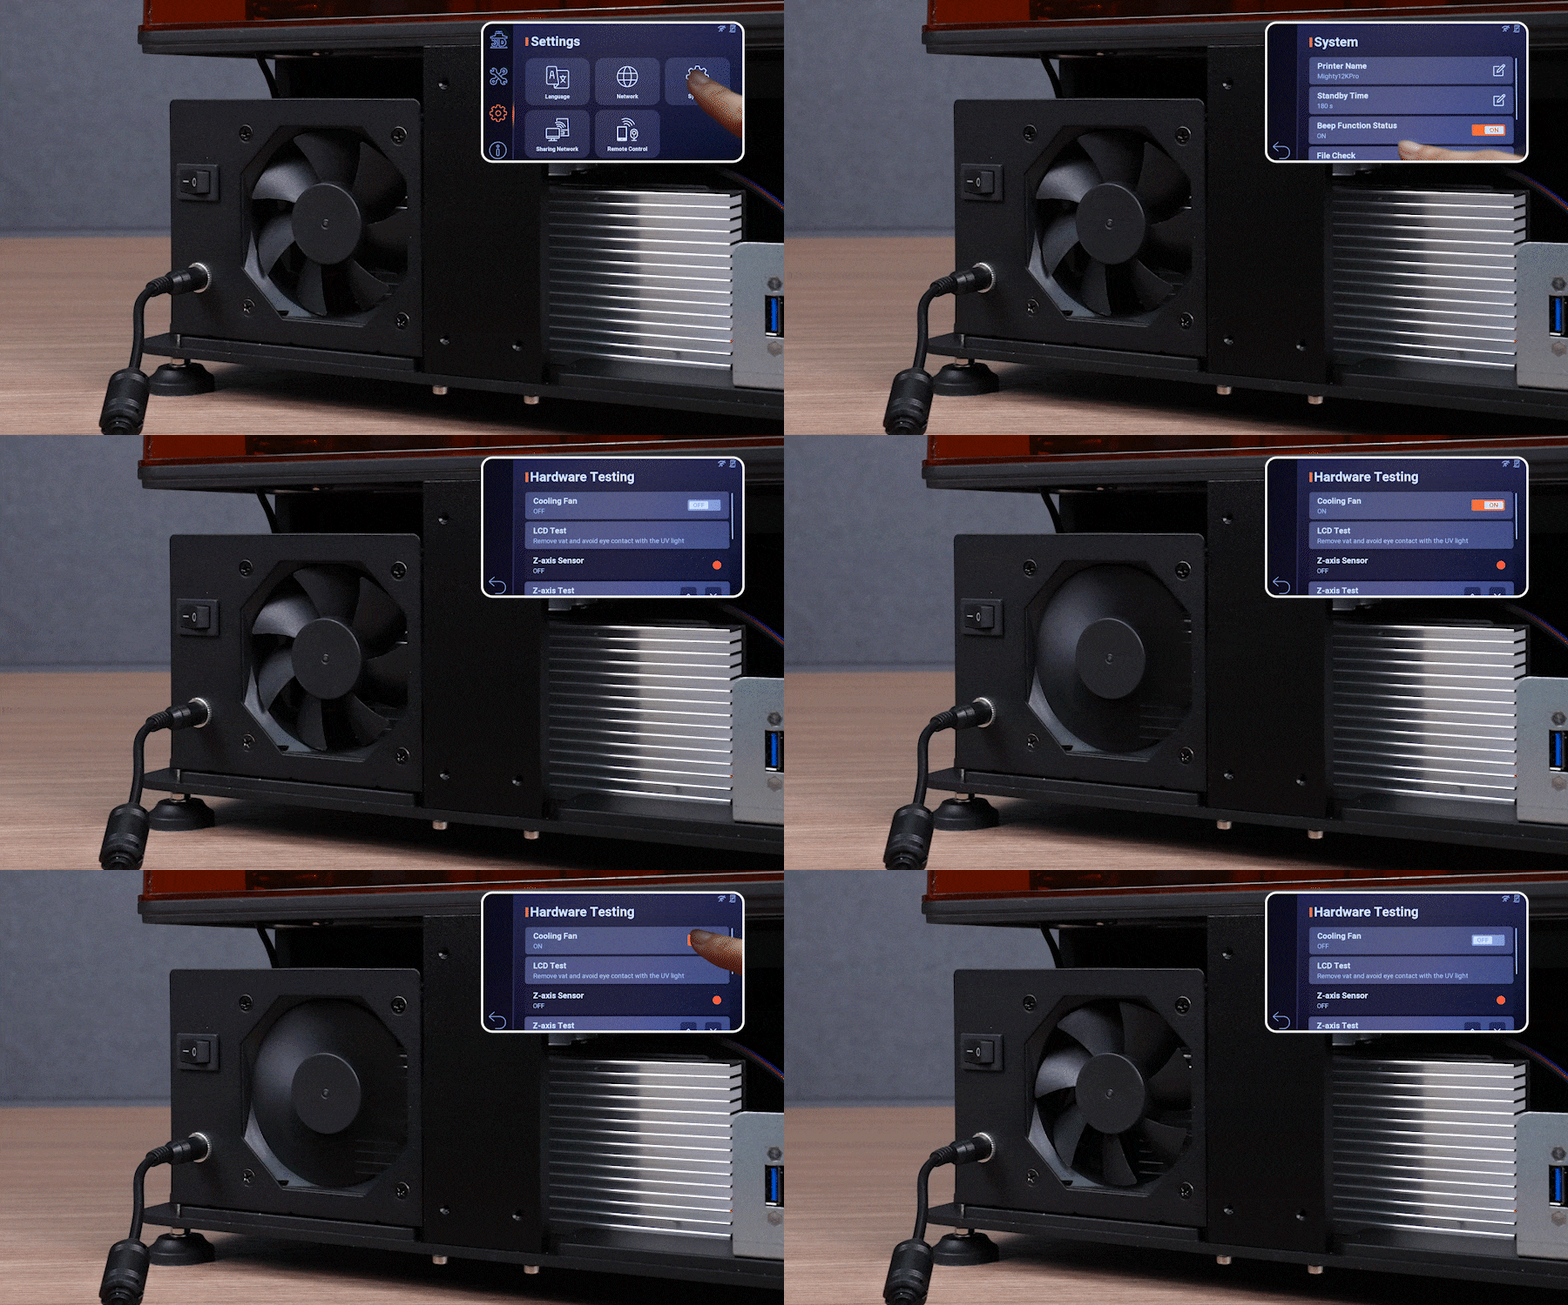
步驟5:進入“設定”標籤並選擇“系統”以開始硬體測試。然後捲動到底部並選擇“硬體測試” 。
執行硬體測試
扇子
點擊冷卻風扇並確保風扇正常運作。
液晶螢幕
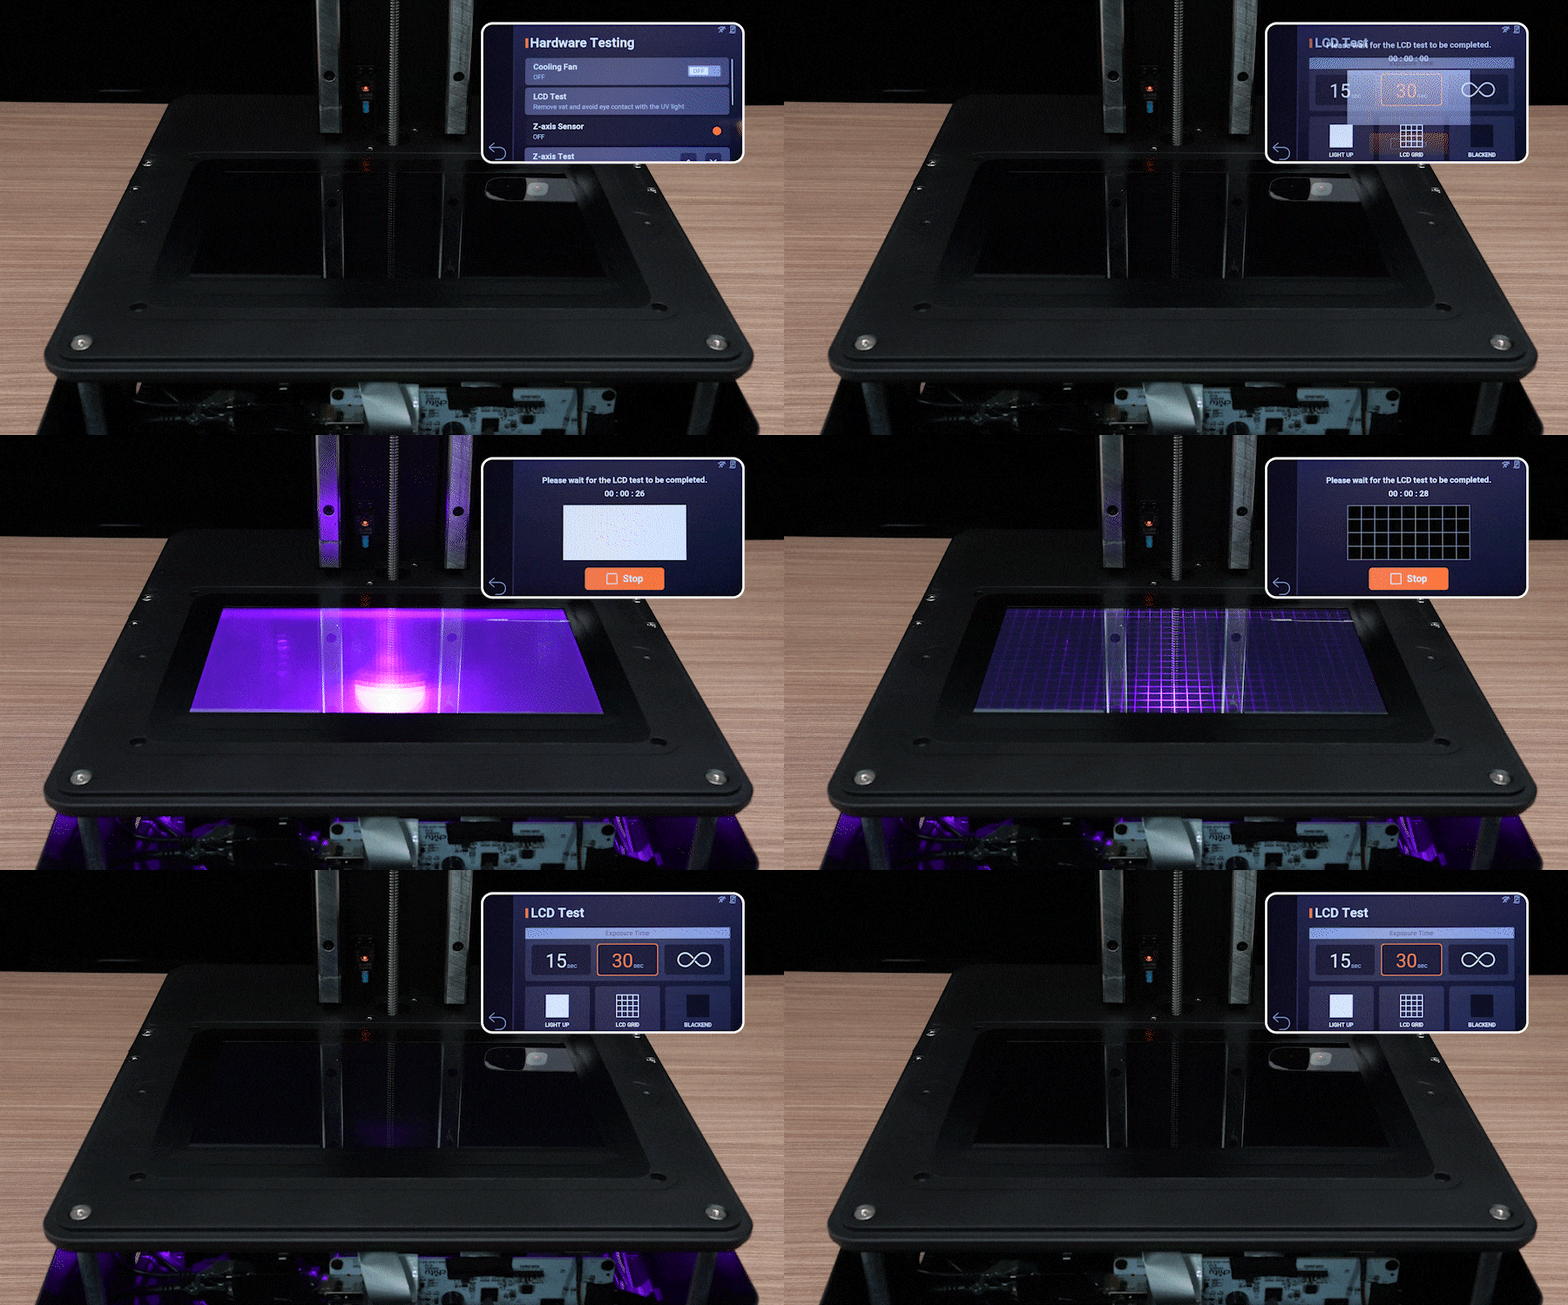
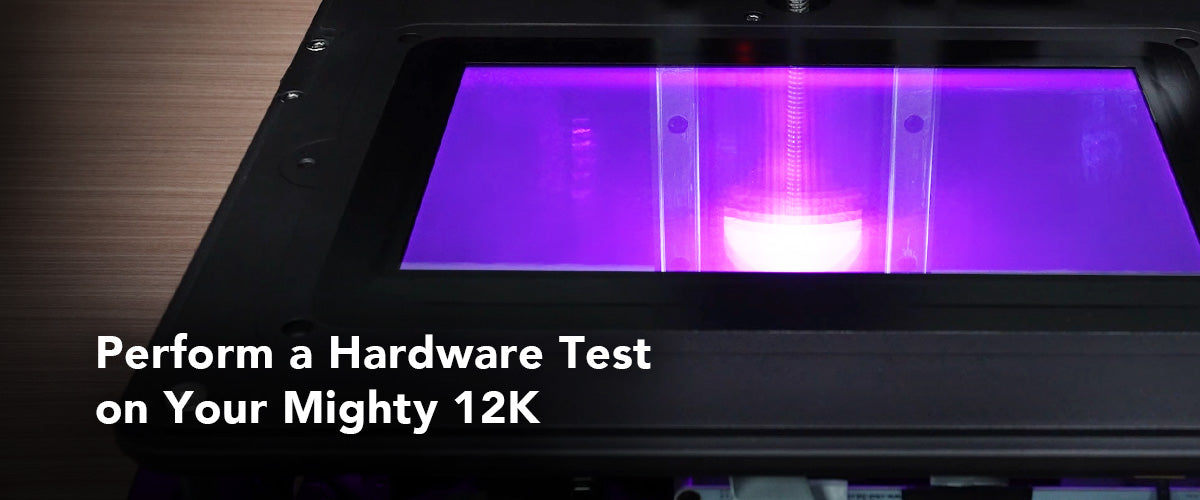
若要確保 LCD 正常運作,請選擇LCD 測試。
Sonic Mighty 8K的 LCD 測試將分為三個部分: Light Up、LCD Grid 和 Blackened 。每個測試需要十秒鐘才能完成。按一下下一步並確保 LCD 螢幕與觸控面板中顯示的影像匹配,LCD 測試現已完成。
本教學影片中的 LCD 測試使用 Mighty 8K 進行示範。安裝Mighty 12K升級套件後,LCD測試結果可能與實際效能不同。只要測試功能順利完成,就表示安裝成功。
請確保在 LCD 測試期間佩戴護目鏡,並且不要直視 3D 列印機 LCD 發出的光線,因為不當暴露於紫外線可能會導致眼睛疼痛和/或皮膚受傷。
Z軸感知器
選擇Z 軸感應器,然後將內六角扳手靠近感應器。如果偵測到扳手後燈變綠,表示感測器運作正常。

Z軸控制
輕輕按住Z 軸測試的上下箭頭,確保 z 軸會相應移動。

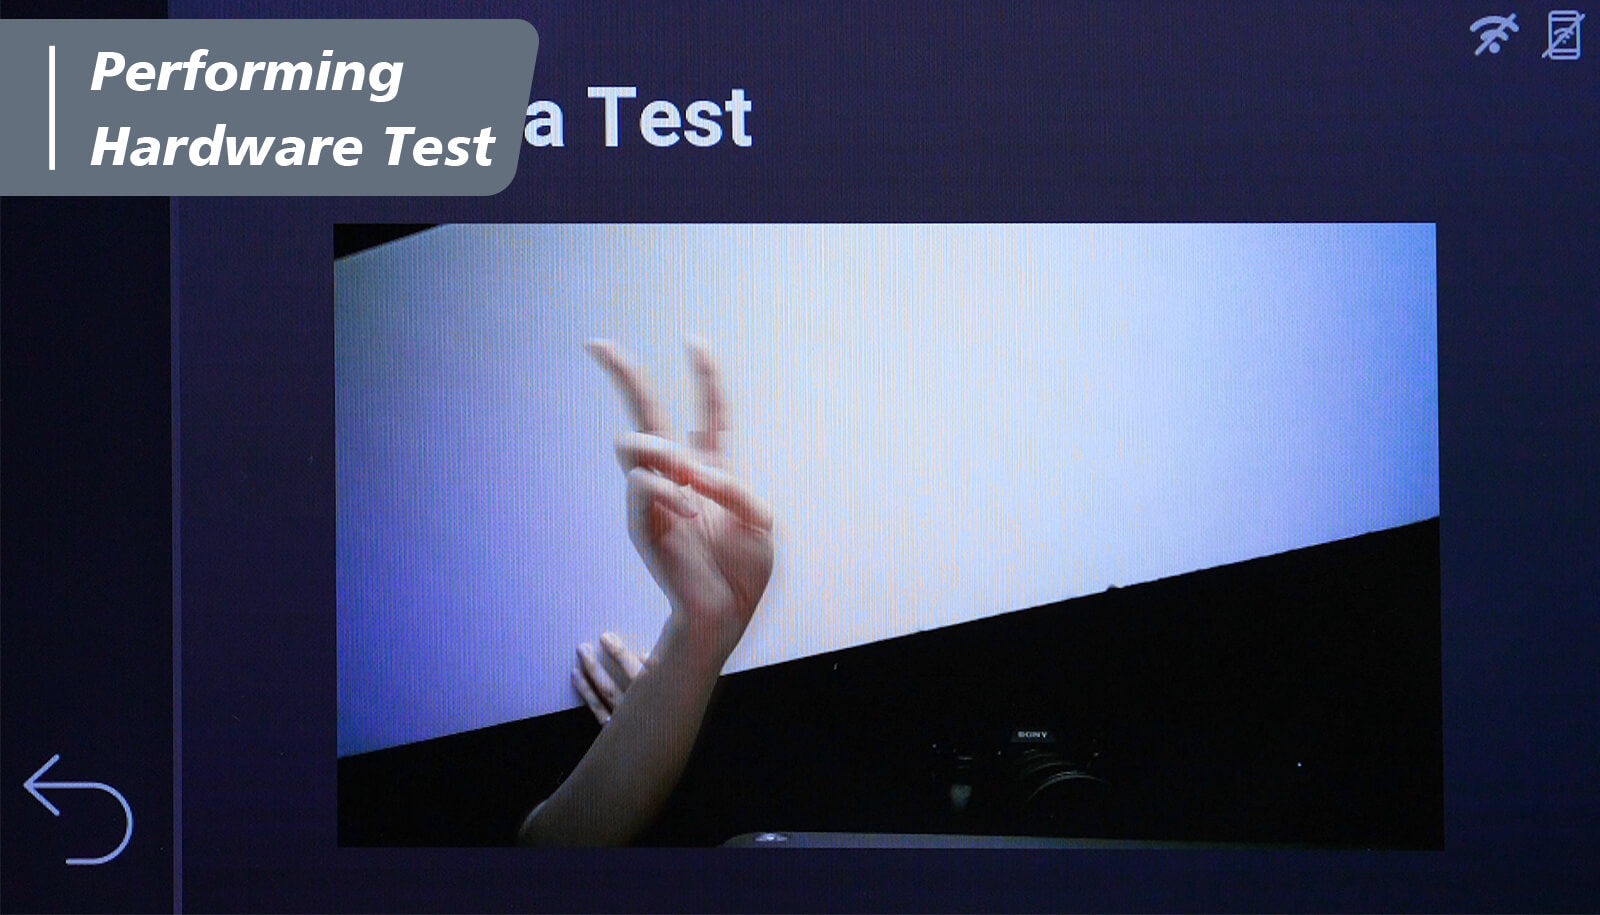
相機測試
選擇“相機測試”,檢查相機是否可以正常工作。
提醒
如果在硬體測試過程中遇到任何問題,請先關閉印表機,然後再重新檢查安裝。每次測試成功後,現在可以擰緊前後殼的螺絲並完成安裝!
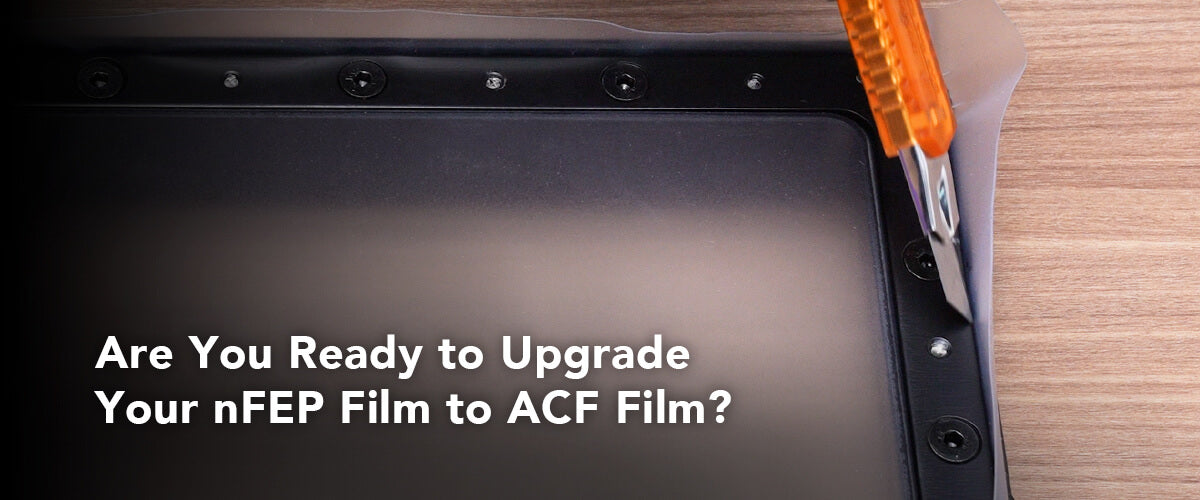
接下來,我們將樹脂桶上的離型薄膜從 nFEP 薄膜改為 ACF 薄膜。



2條評論
HaveBounce
My mistake. The upgrade video needs to be watched and followed closely. The z-axis selection is only active when the the sensor is triggered. Surprisingly we did right the first time and our lack of attention to detail had us checking everything three times before we caught our error.
———
Phrozen Technology replied:
Hello HaveBounce, Thank you for commenting.
We’re glad to know that your printer has been working properly. If you have any questions or assistance needed, please don’t hesitate to contact us by submitting a request to our customer support team.
Thank you!
Best, Phrozen Team
>
Enio Falagan
I recently made a purchase of one of the phrozen 8k printers and I have only been able to print 1 good full model I have been battleting with this machine buying resin bottle after resin bottle trying to figure out what is wrong, what can I do to get it replaced?
———
Phrozen Technology replied:
Hello Enio, Thank you for commenting.
Before you start to print, you will need to calibrate your building plate in order to have the printer to be able to print properly. Second, you will need to print the test files to decide whether your resin setting is optimal or not. For how to calibrate your building plate, please see this article: https://helpcenter.phrozen3d.com/hc/en-us/articles/6453760521113—Sonic-Mighty-8K-Z-axis-Calibration And this article for knowing how to read the XP Finder to decide how to adjust your setting: https://phrozen3d.com/blogs/tutorials/resin-3d-print-test-model-xp-finder-secrets-you-missed
If you need any help during this process, please don’t hesitate to contact our customer support team via this page: https://helpcenter.phrozen3d.com/hc/en-us/requests/new
Hope this helps.
Best, Phrozen Team
>