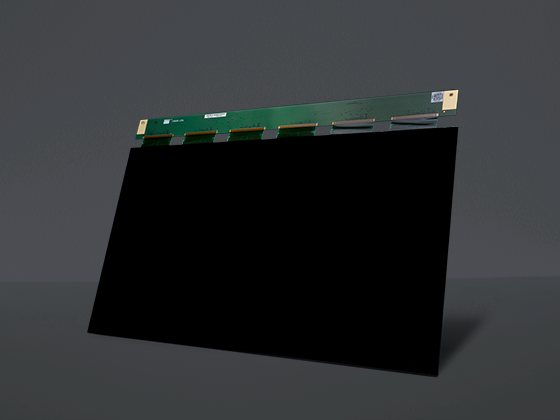
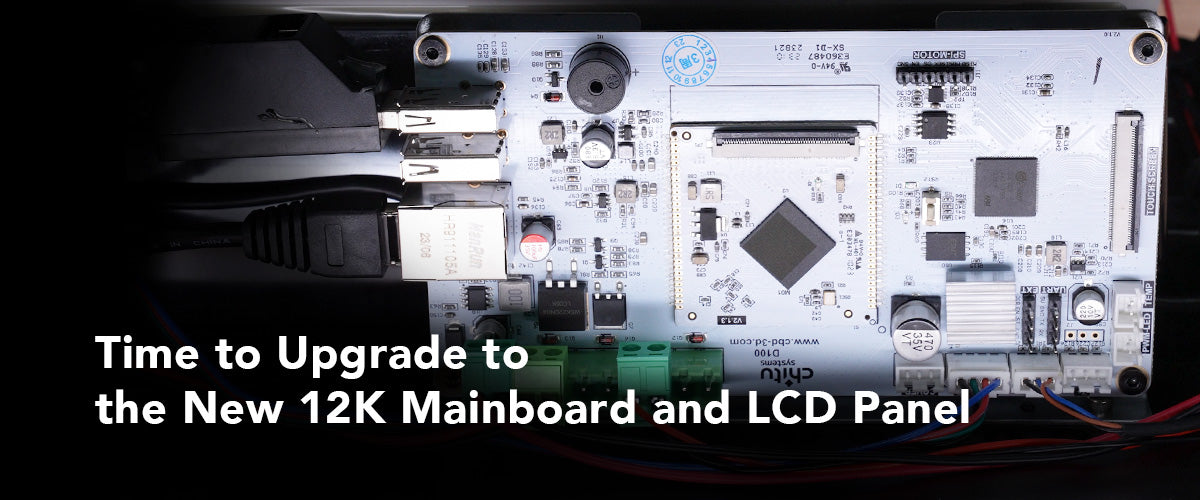
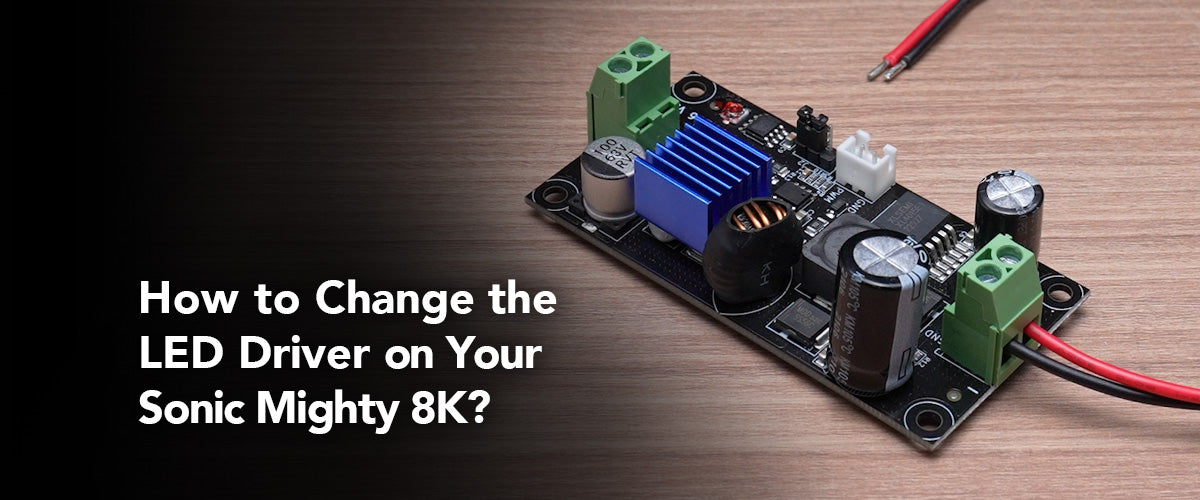
更換新的12K LED驅動器後,終於到了升級新的12K主機板和液晶面板的時候了。在這一步中,我們將經歷:
在本文中,我們將指導您將 Sonic Mighty 8K 的主機板和 LCD 面板變更為 12K。
在進行下一步之前,請先註意主機板的這些關鍵部分,以免安裝過程中出現混亂。
請注意,Mighty 12K 升級套件的序號是D100 。
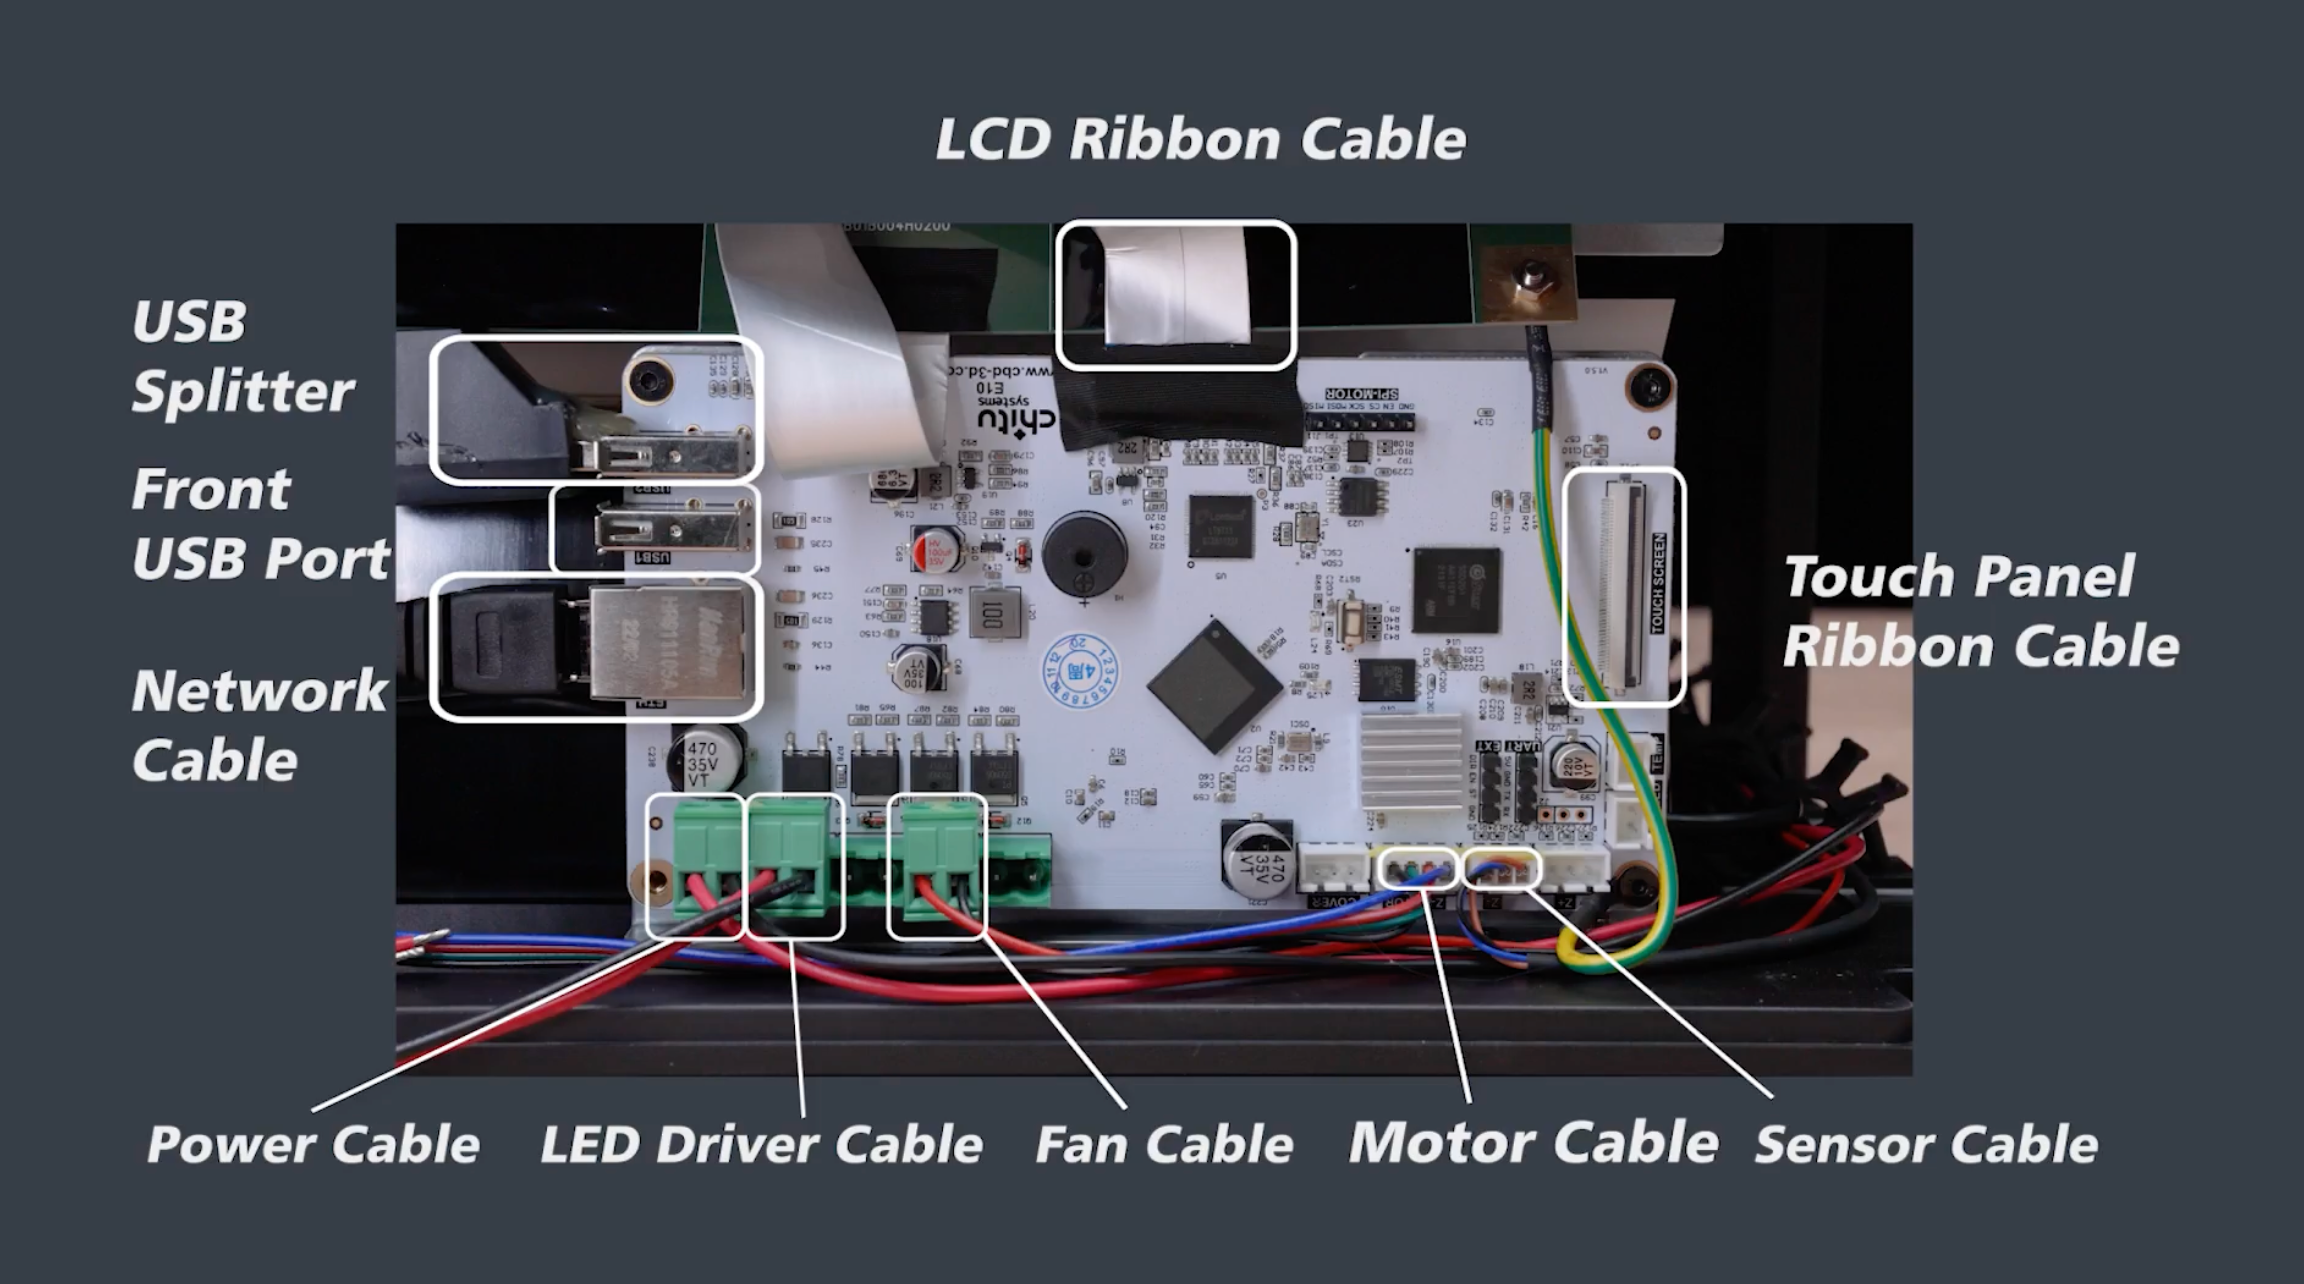
移除舊的 8K 零件
拆卸主機板
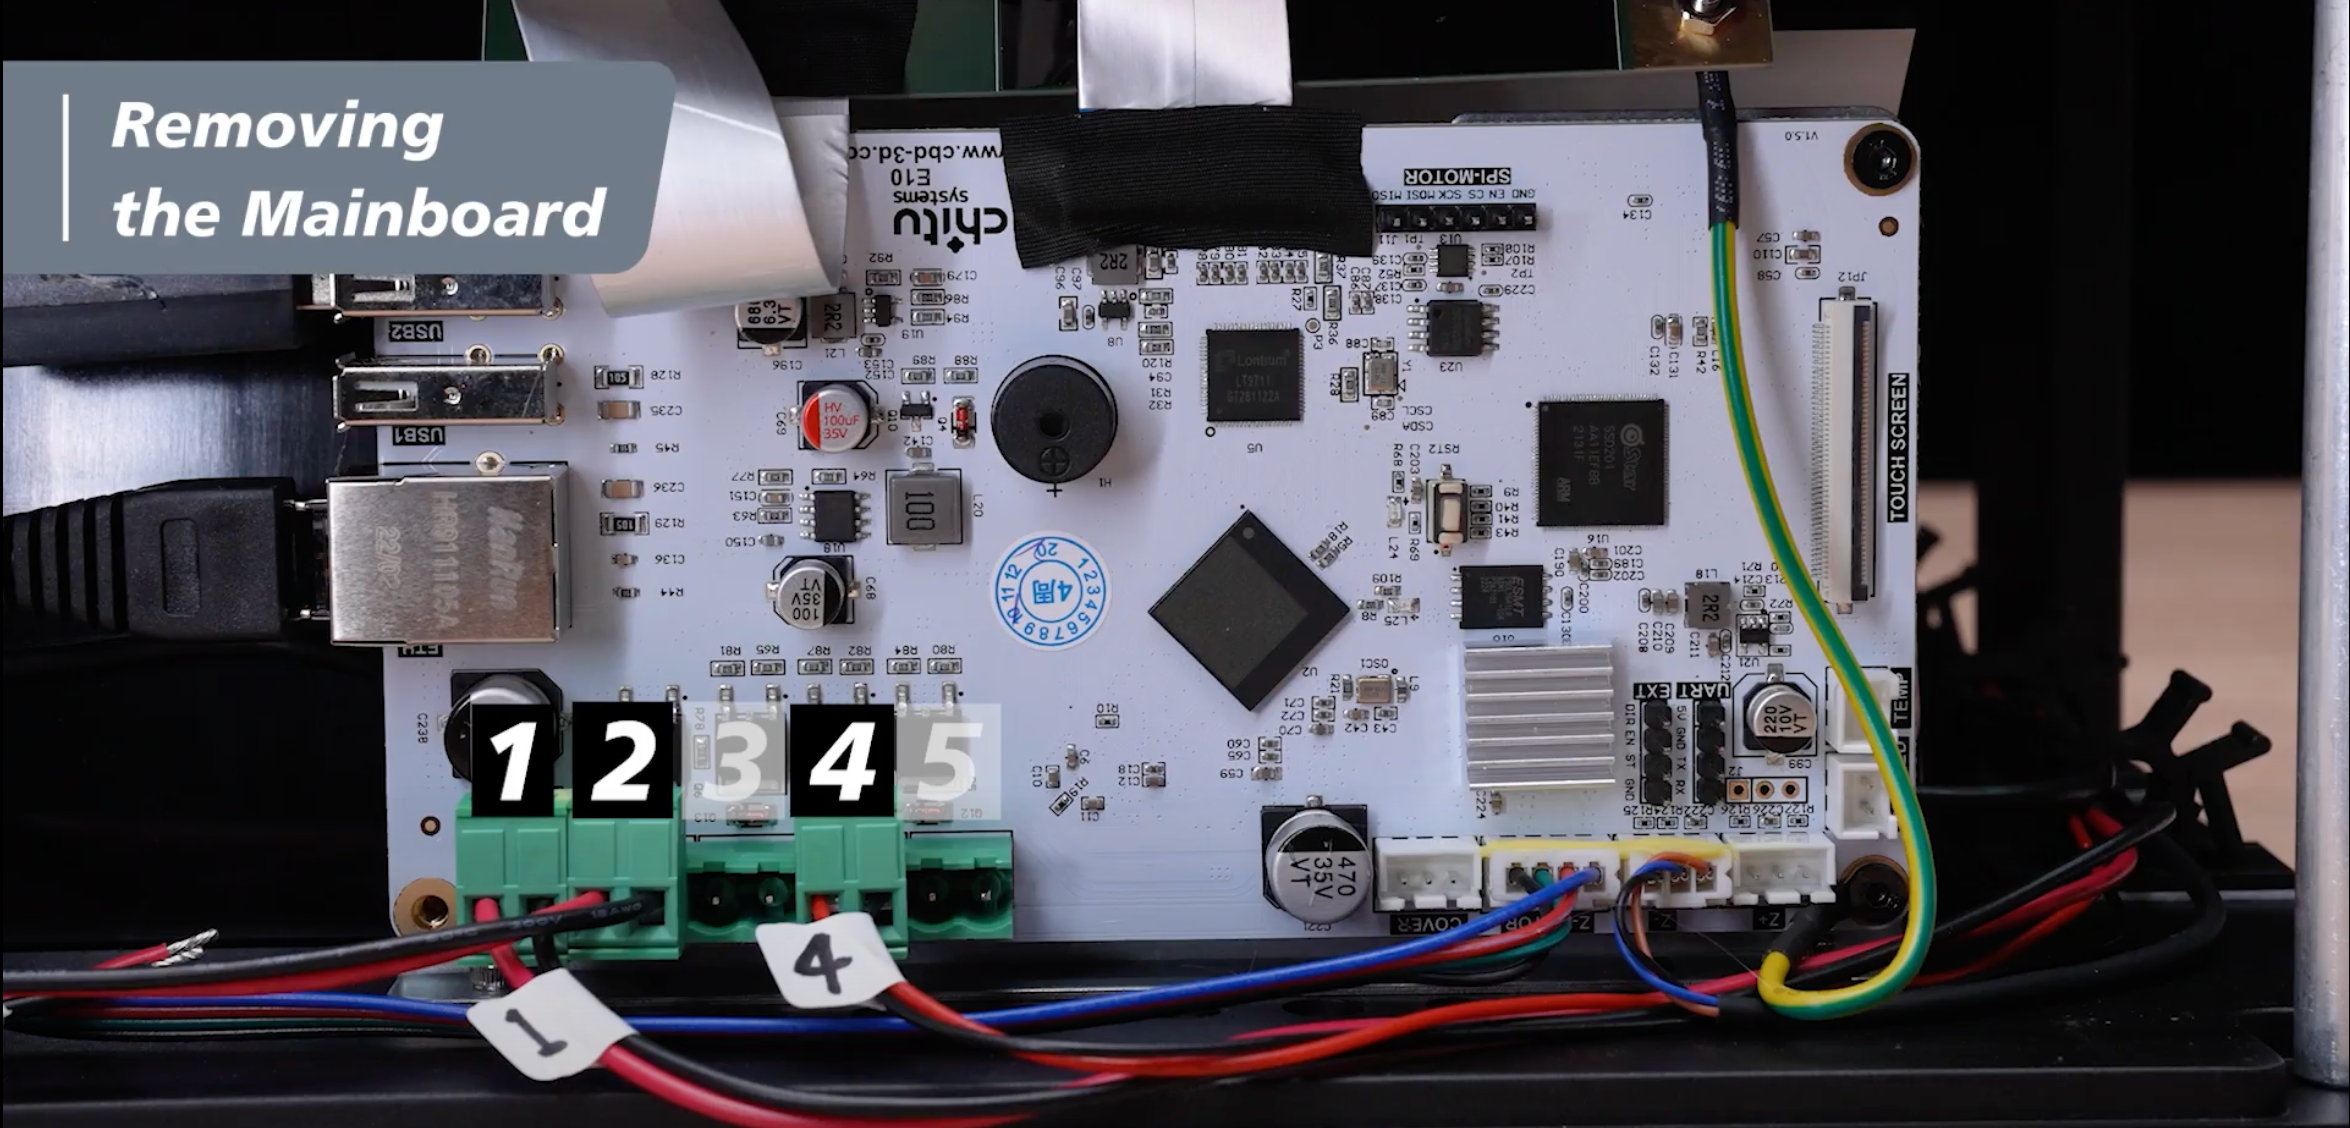
步驟1:主機板底部有5個綠色端子。使用先前準備好的標籤貼紙,將第一塊電源和第四塊LED驅動板分別標示為No.1和No.4。
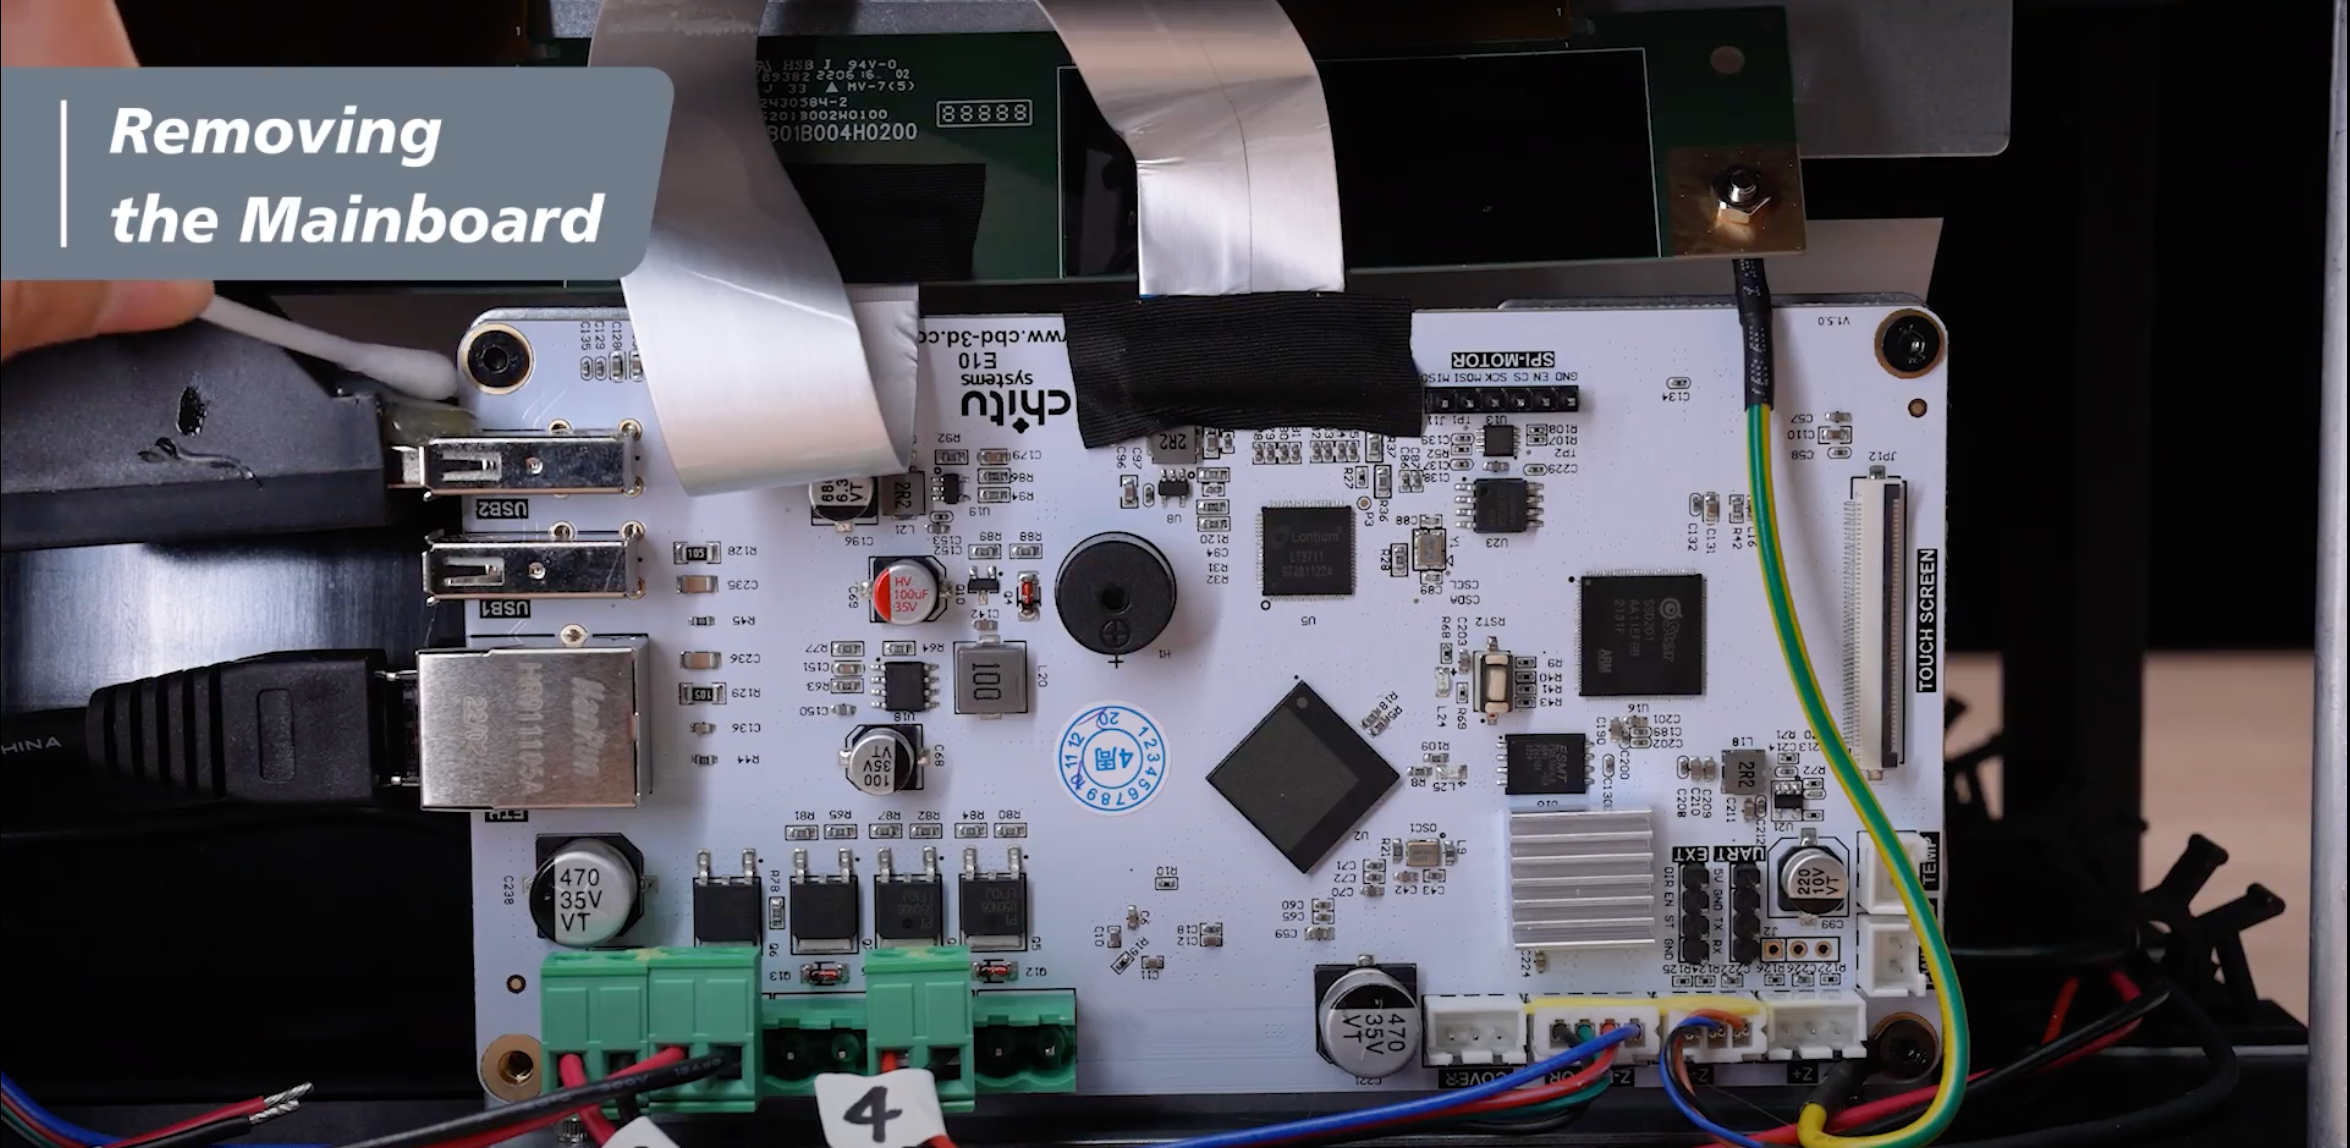
步驟 2:移除 USB 分離器上的熱熔膠。如果發現膠水很難去除,也可以用酒精軟化。如果熱膠仍然難以去除,請重複此步驟幾次。
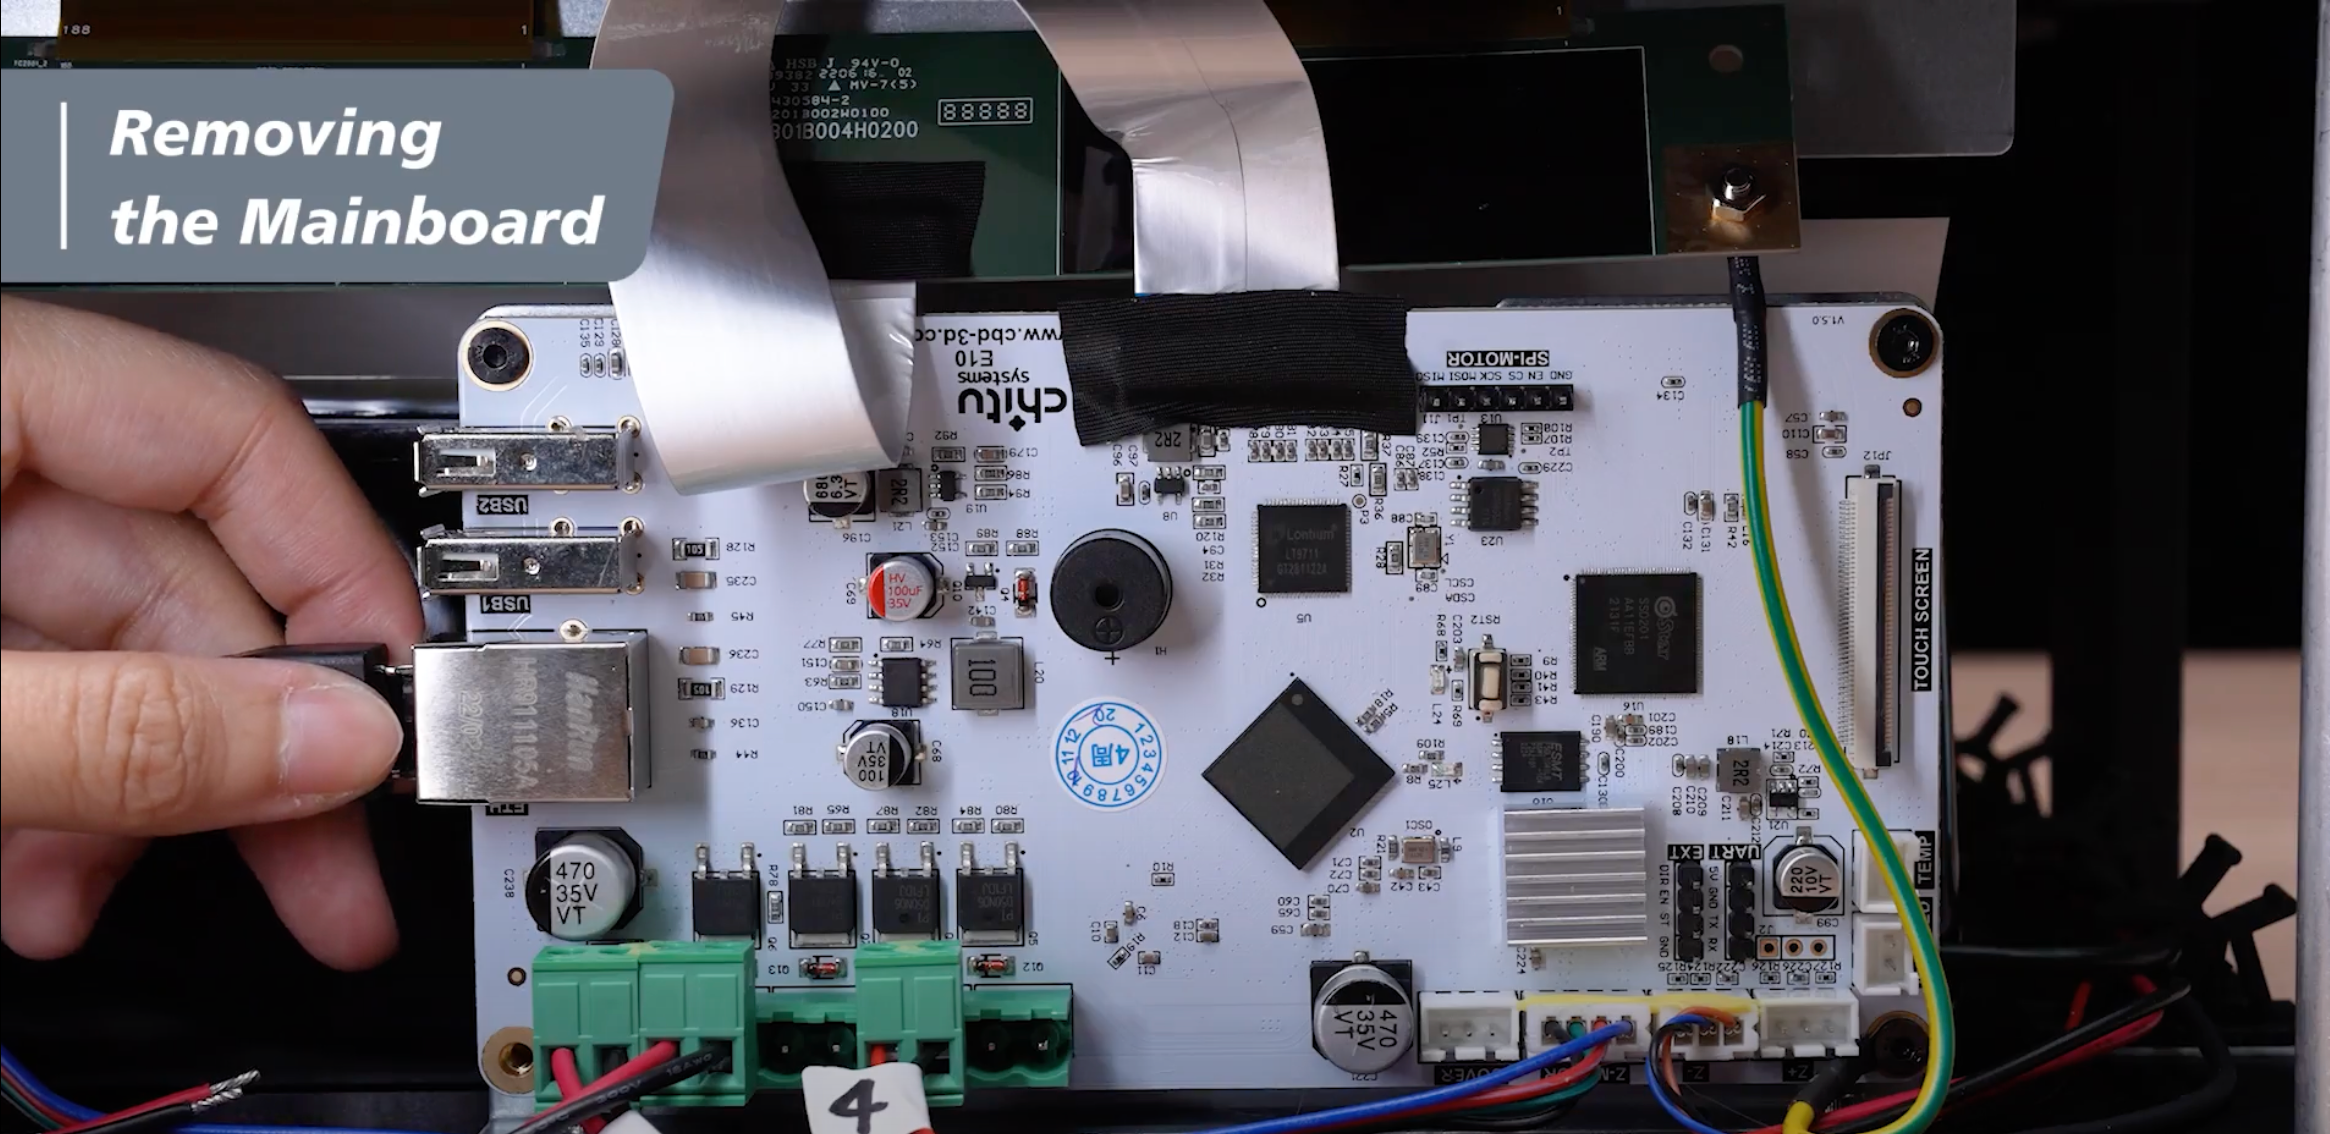
第三步:按下網線背面的卡扣將其拔出。
第四步:拆下主機板兩側的螺絲,然後稍微拉出。

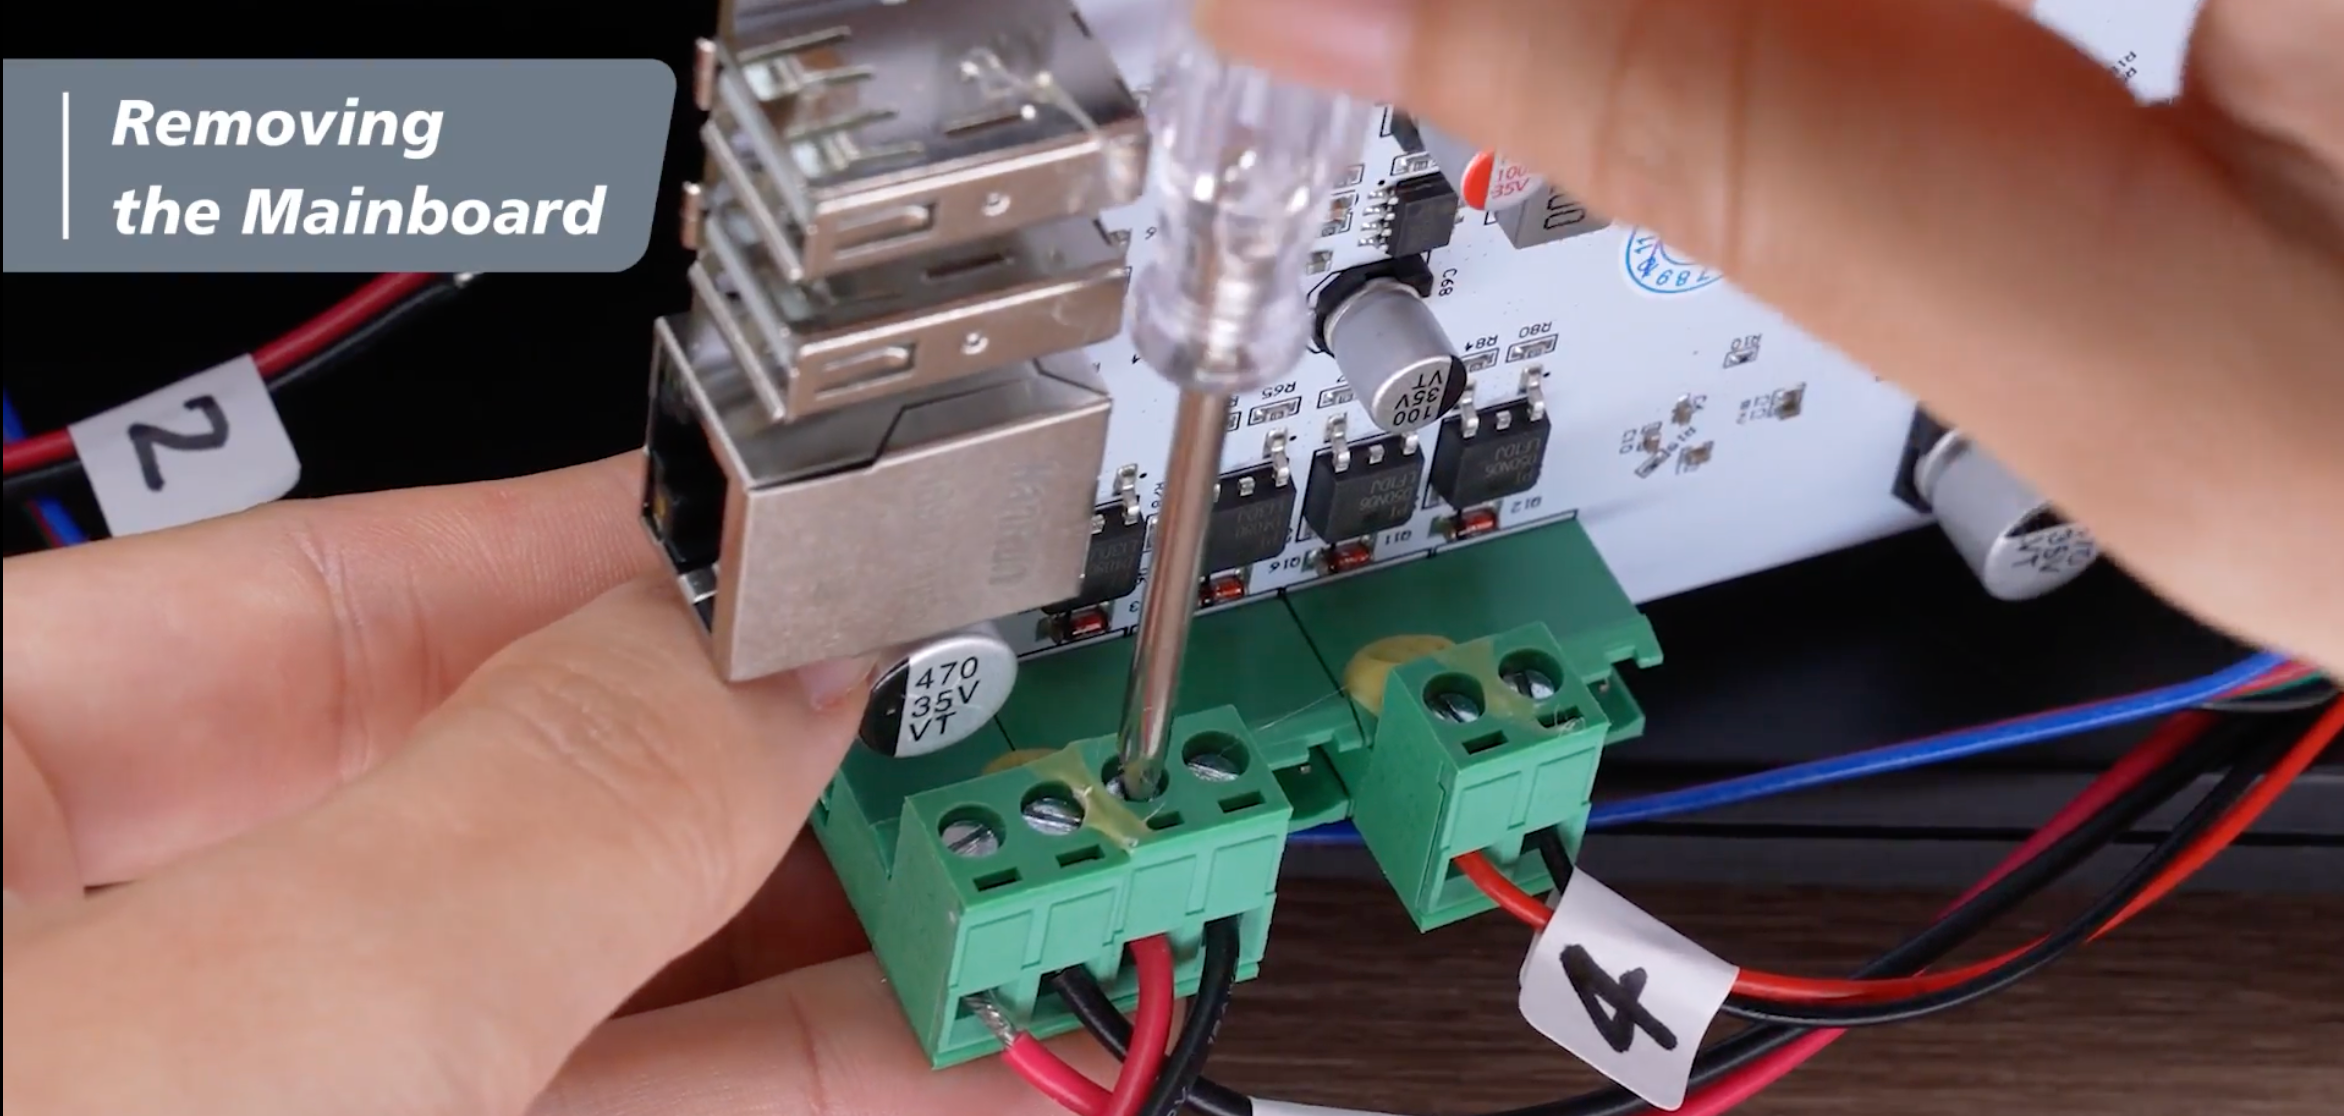
步驟5:用一字螺絲起子從左到右鬆開綠色接線端子。
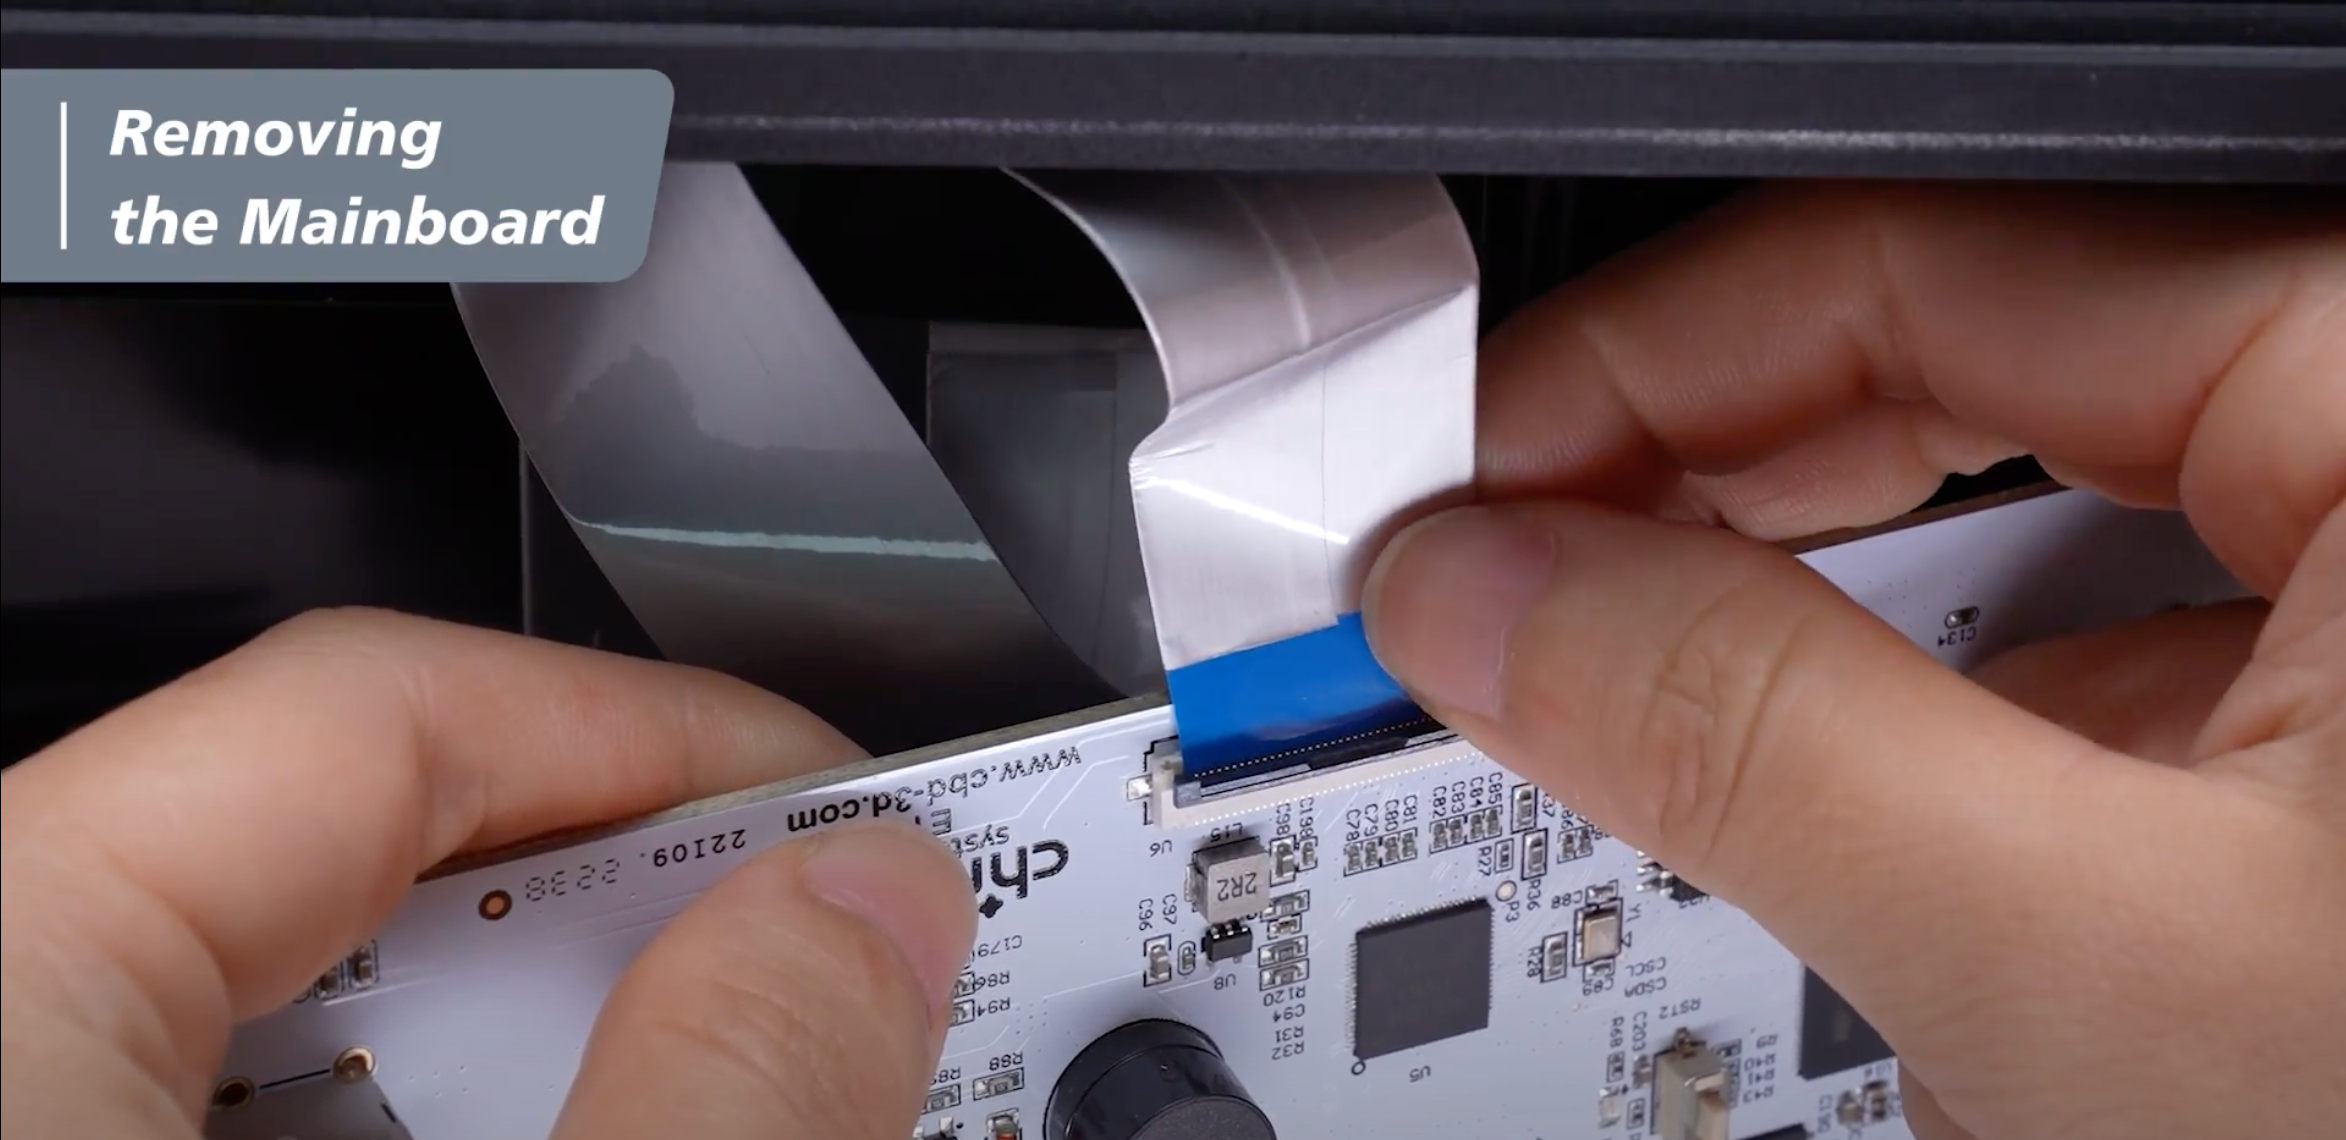
 步驟 6:撕下醋酸布膠帶,鬆開扣,然後取下 LCD 帶狀電纜。
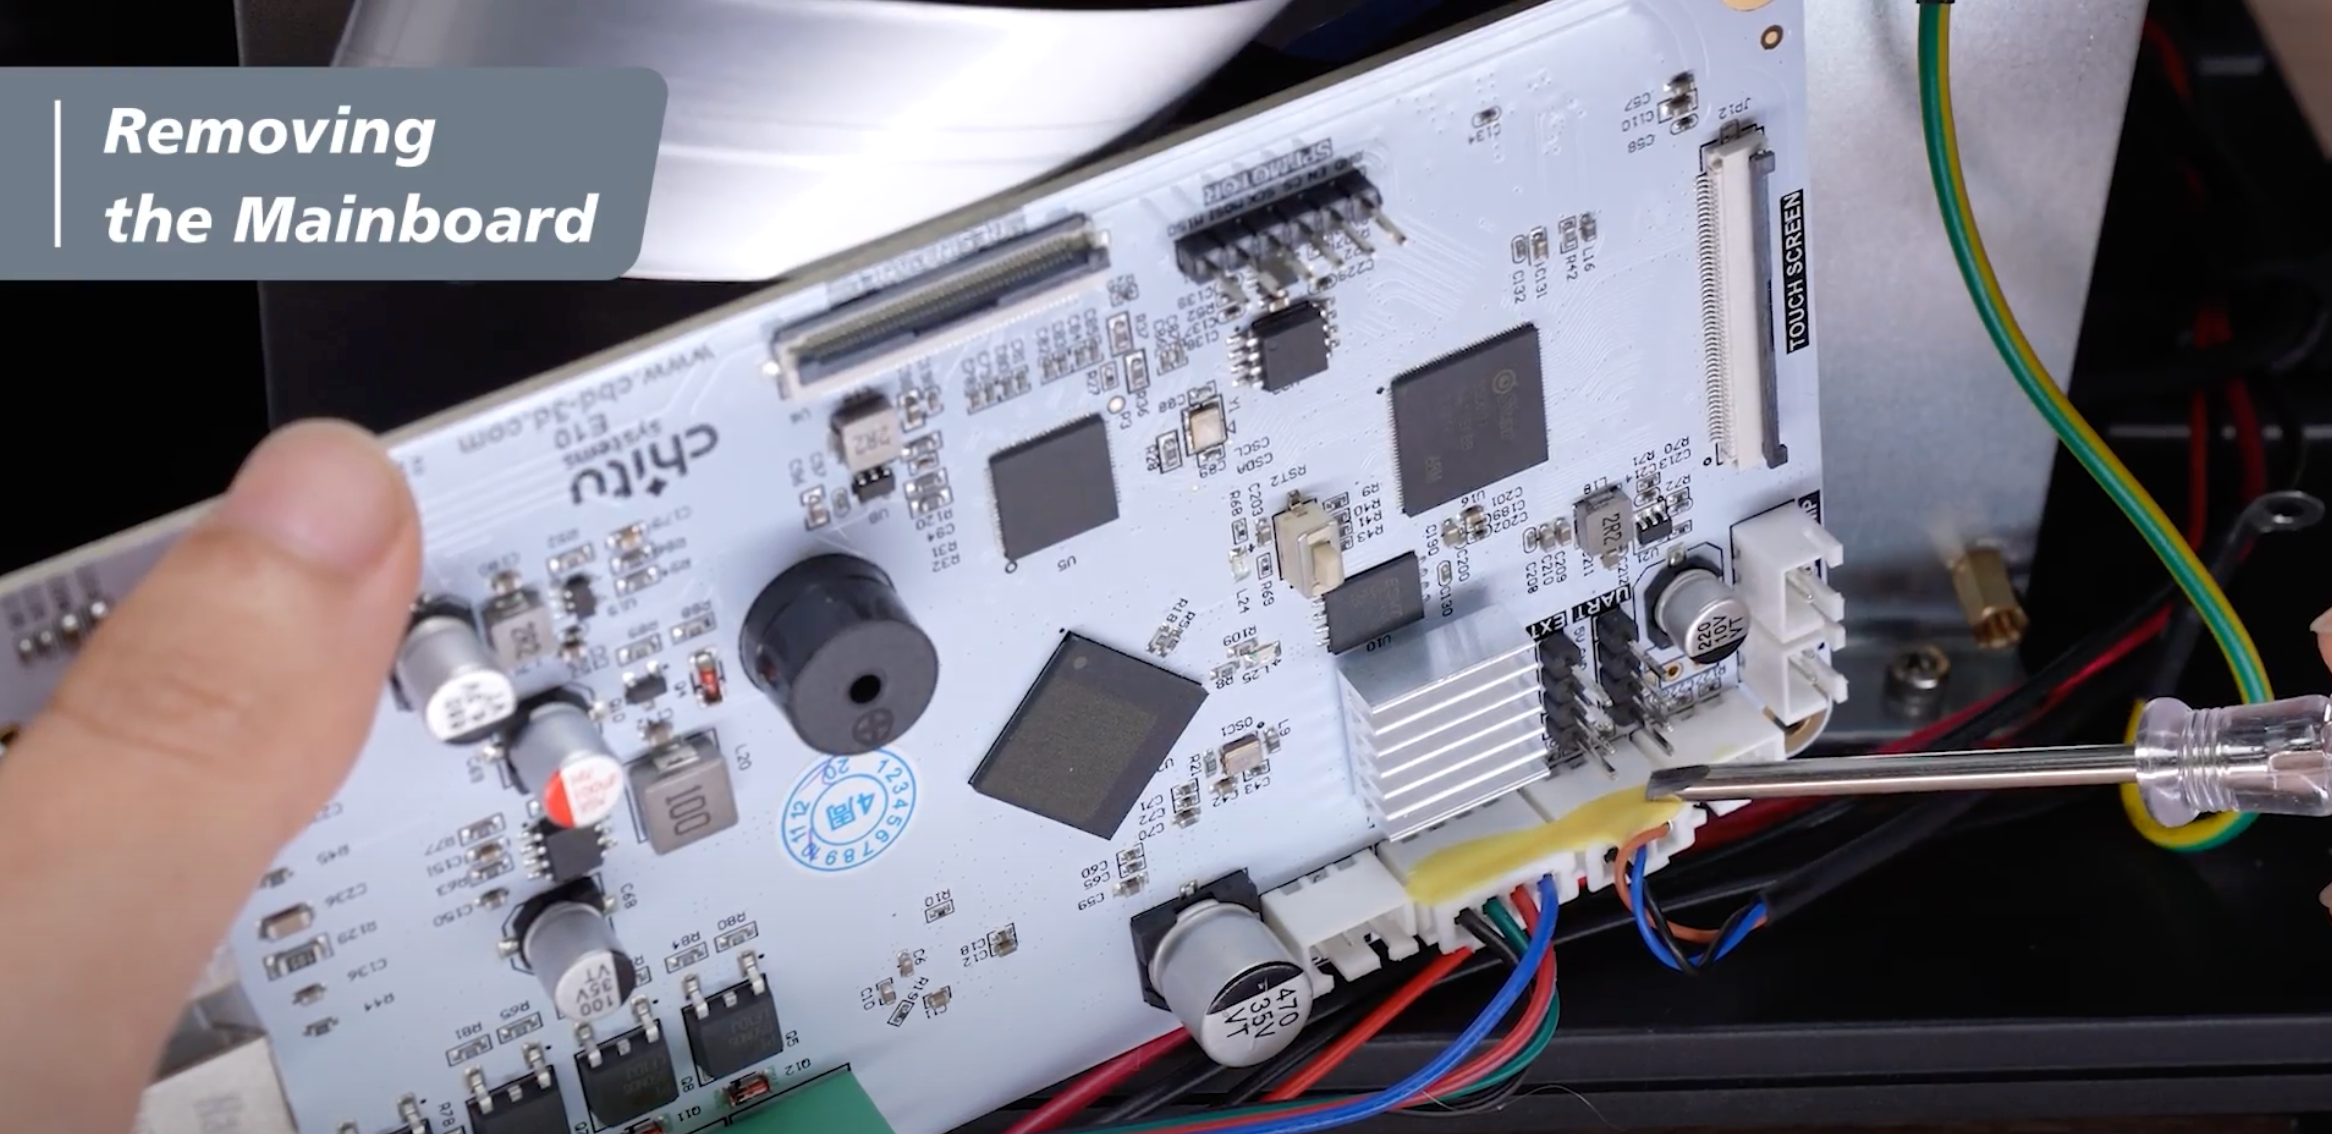
步驟7:拉出主機板並將其翻轉過來。電纜上有黃色膠水,防止運輸時脫落。
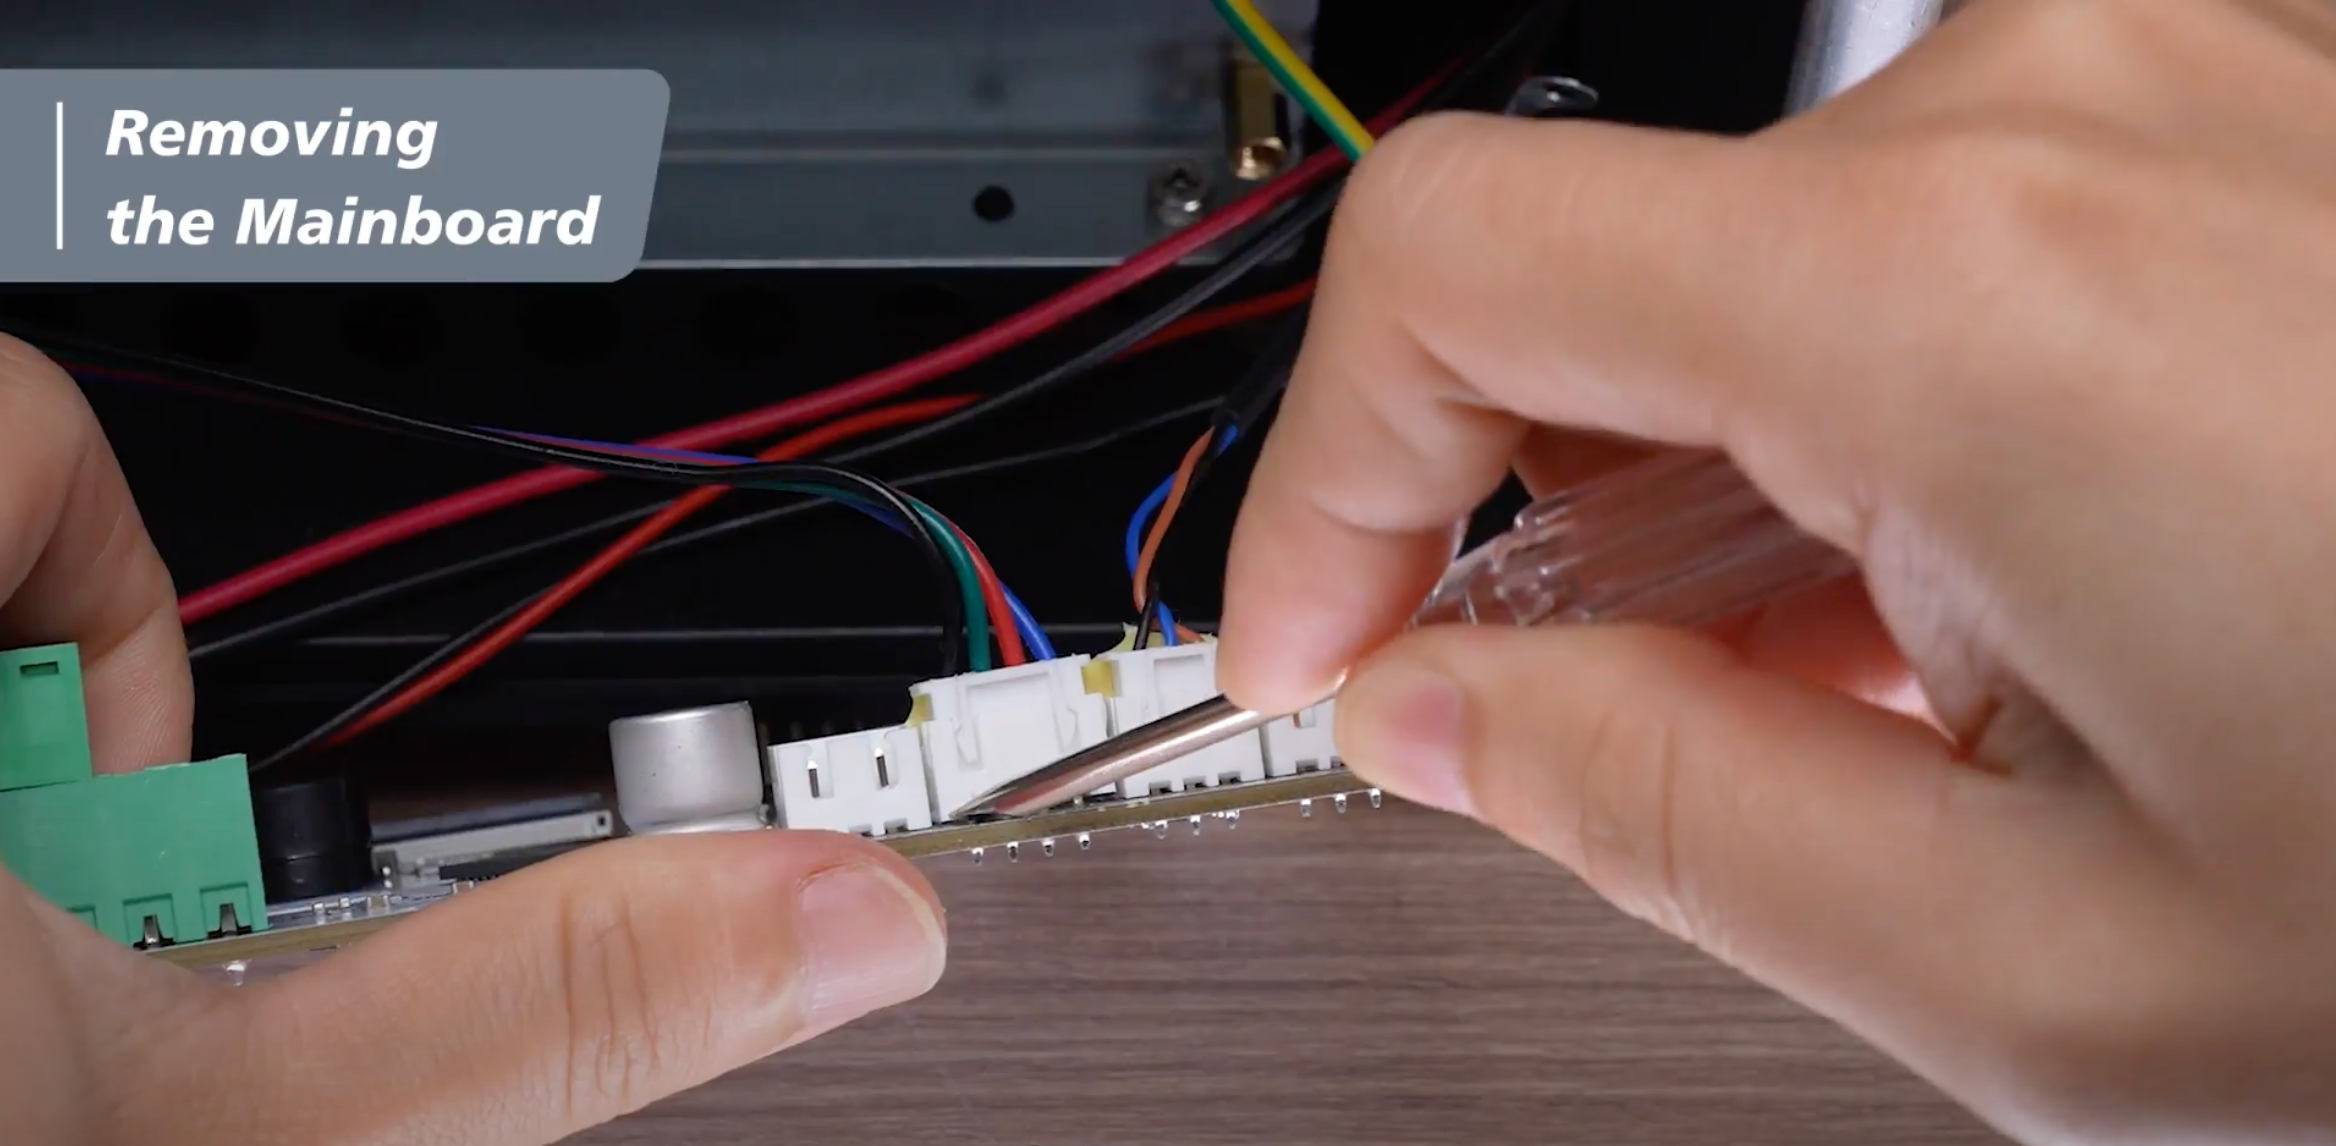
步驟8:用平頭螺絲起子小心地從縫隙中撬開中間的兩個白色接線端子。以防萬一您遺失任何白色接線端子,升級套件中還有額外的零件。
現在主機板已完全拆除。
卸下液晶顯示器面板
現在,我們準備拆除液晶面板。
步驟一:用一隻手壓住接地線螺絲背面,另一手鬆開螺絲,取下接地線。升級到12K後就不需要地線了。

步驟 2:撕下LCD 邊框膠帶。
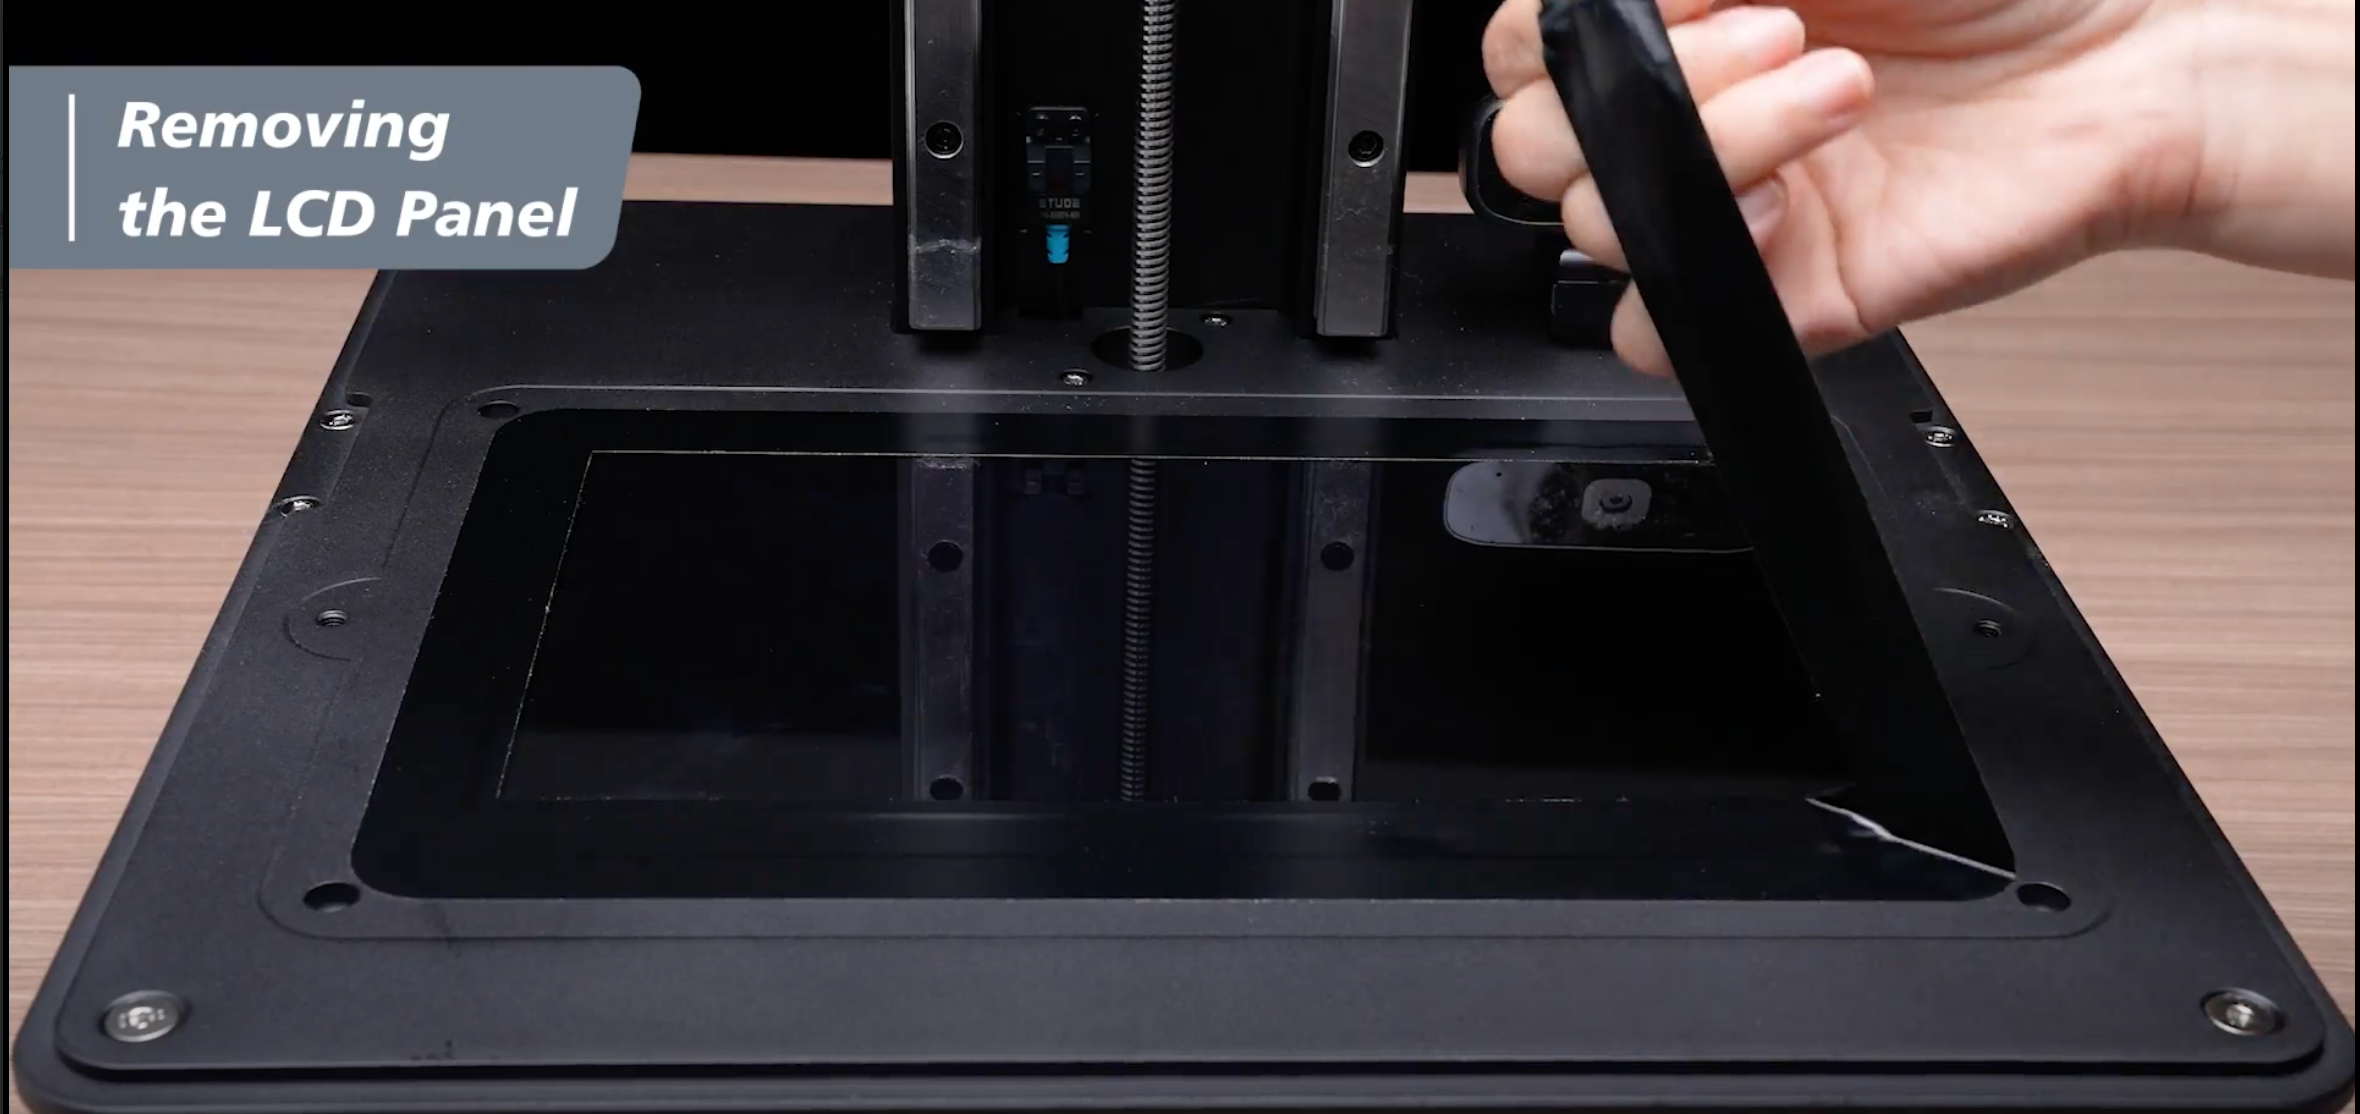
步驟 3:從機器上拆下液晶顯示器。
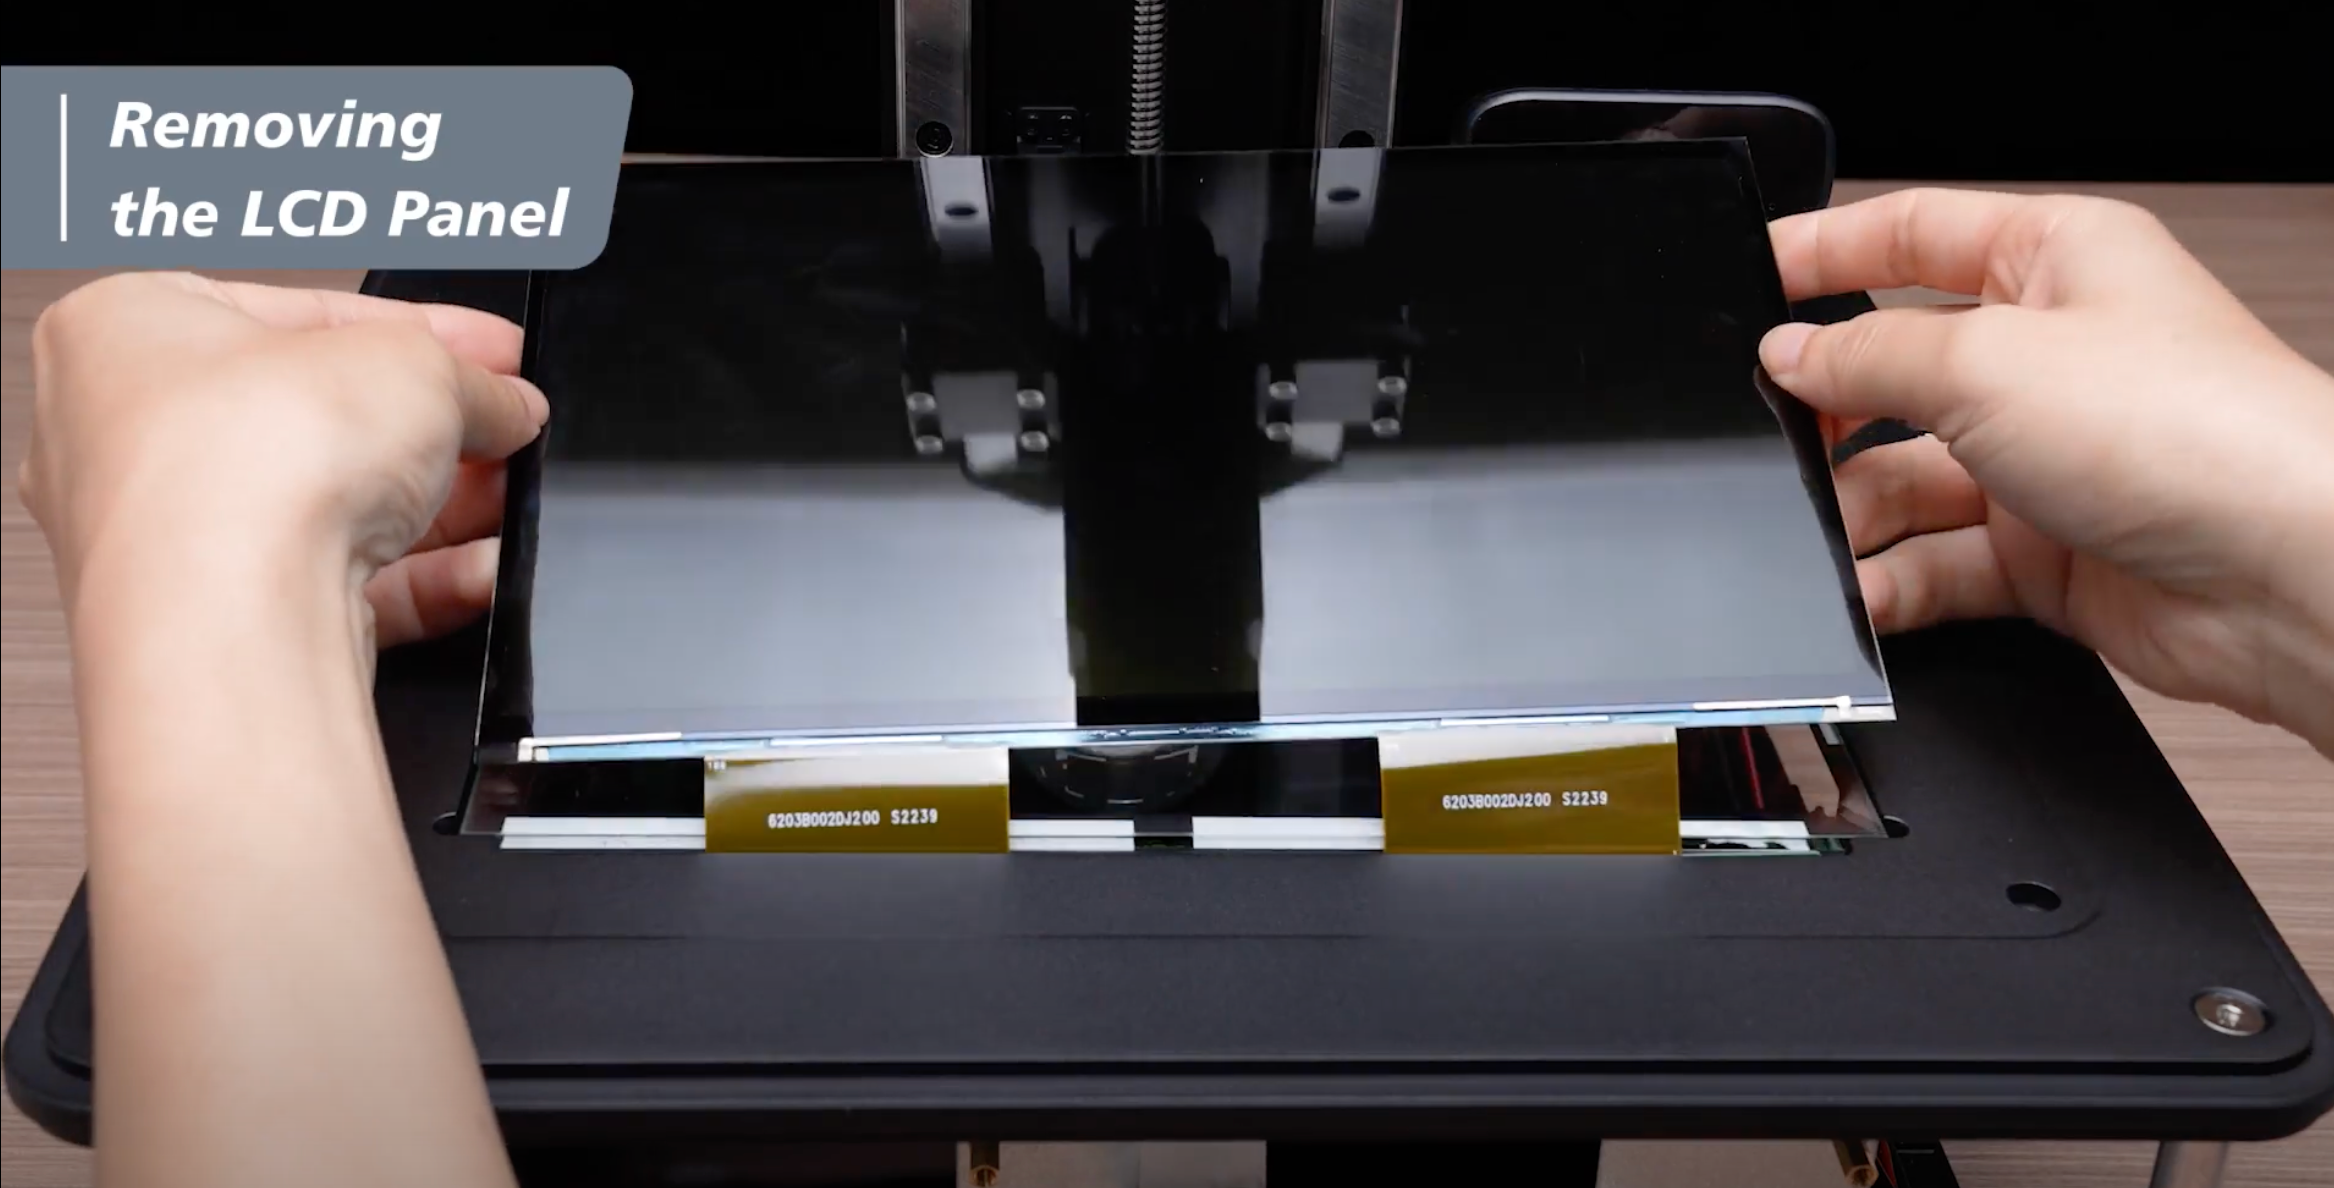
液晶面板現已拆除。
 現在8K液晶面板和主機板都已拆除,我們可以開始安裝新的12K液晶螢幕和主機板。
安裝12K主機板和液晶面板
安裝主機板
步驟1:用雙手將白色大接線端子插入新的12K主機板上。確保按下白色端子時,其凹槽面向您。
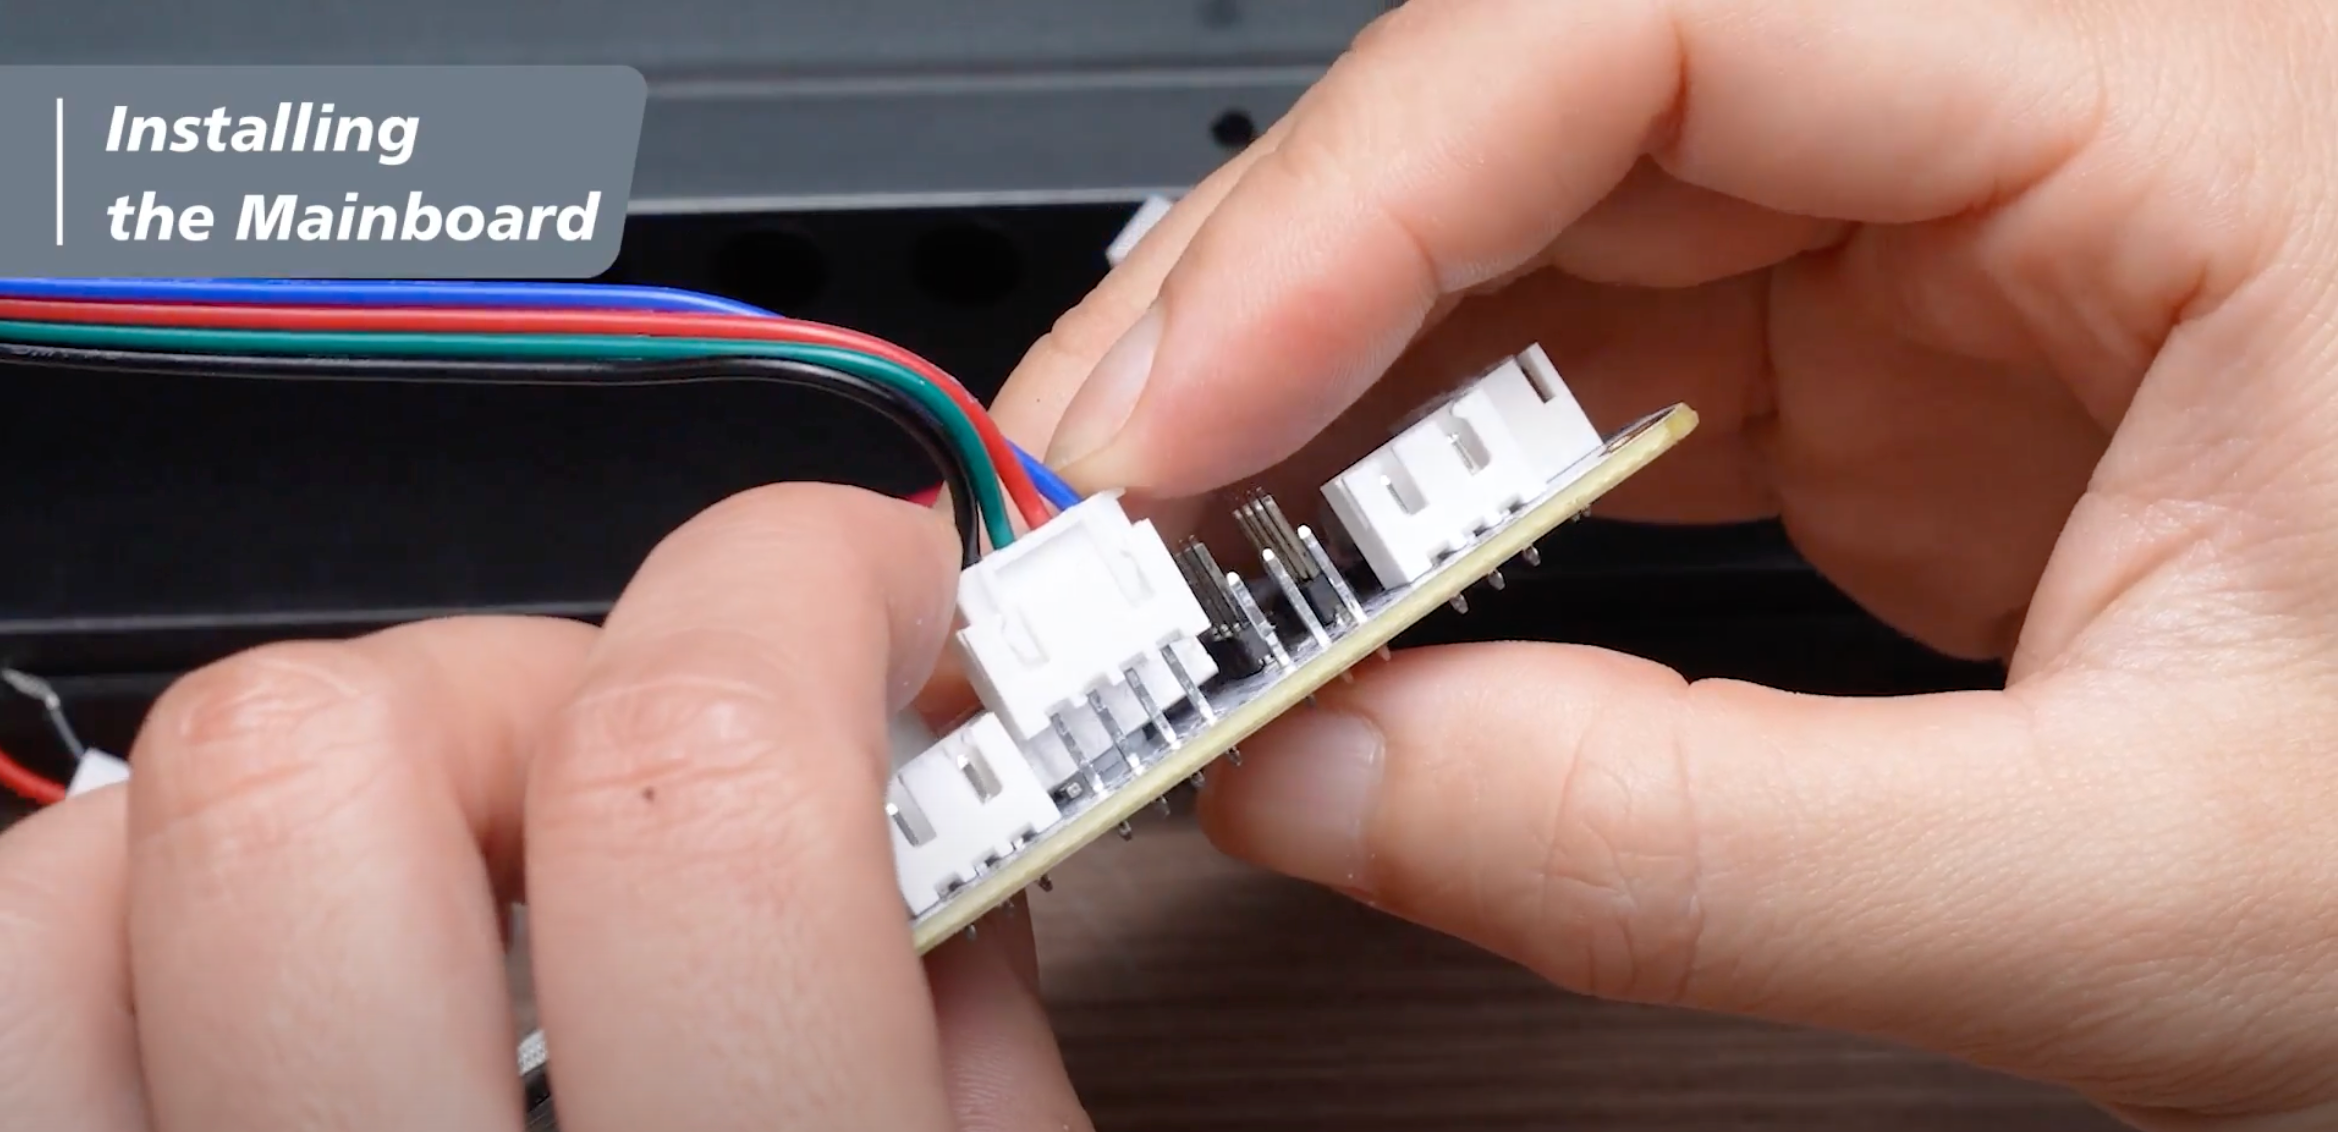
步驟 2:插入小的白色端子塊。
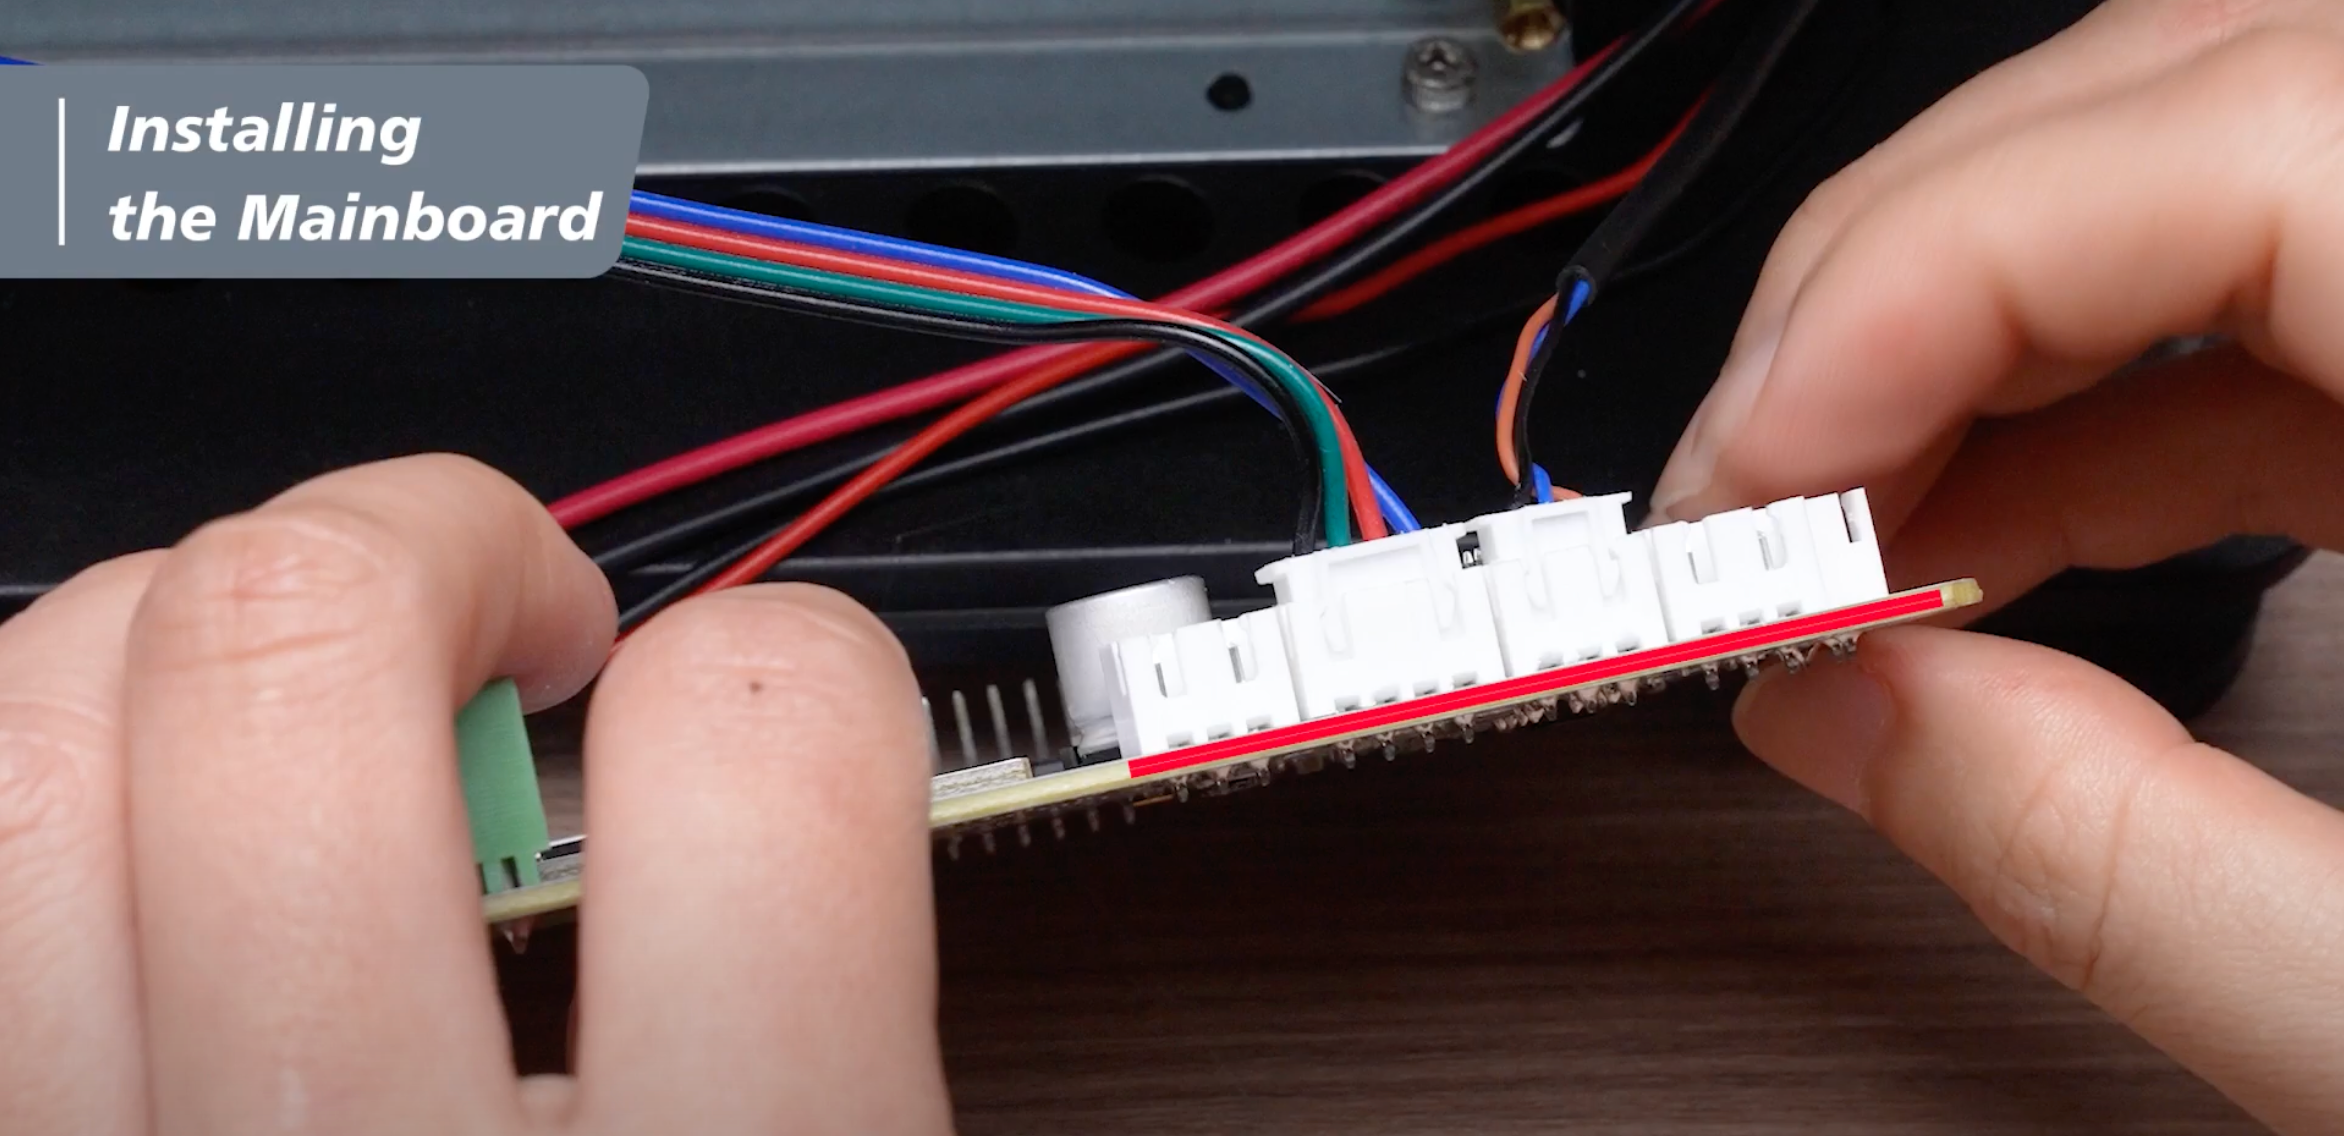
步驟3:將液晶面板裝回機器,然後用2.5毫米內六角扳手鎖緊主機板四個側面的螺絲。
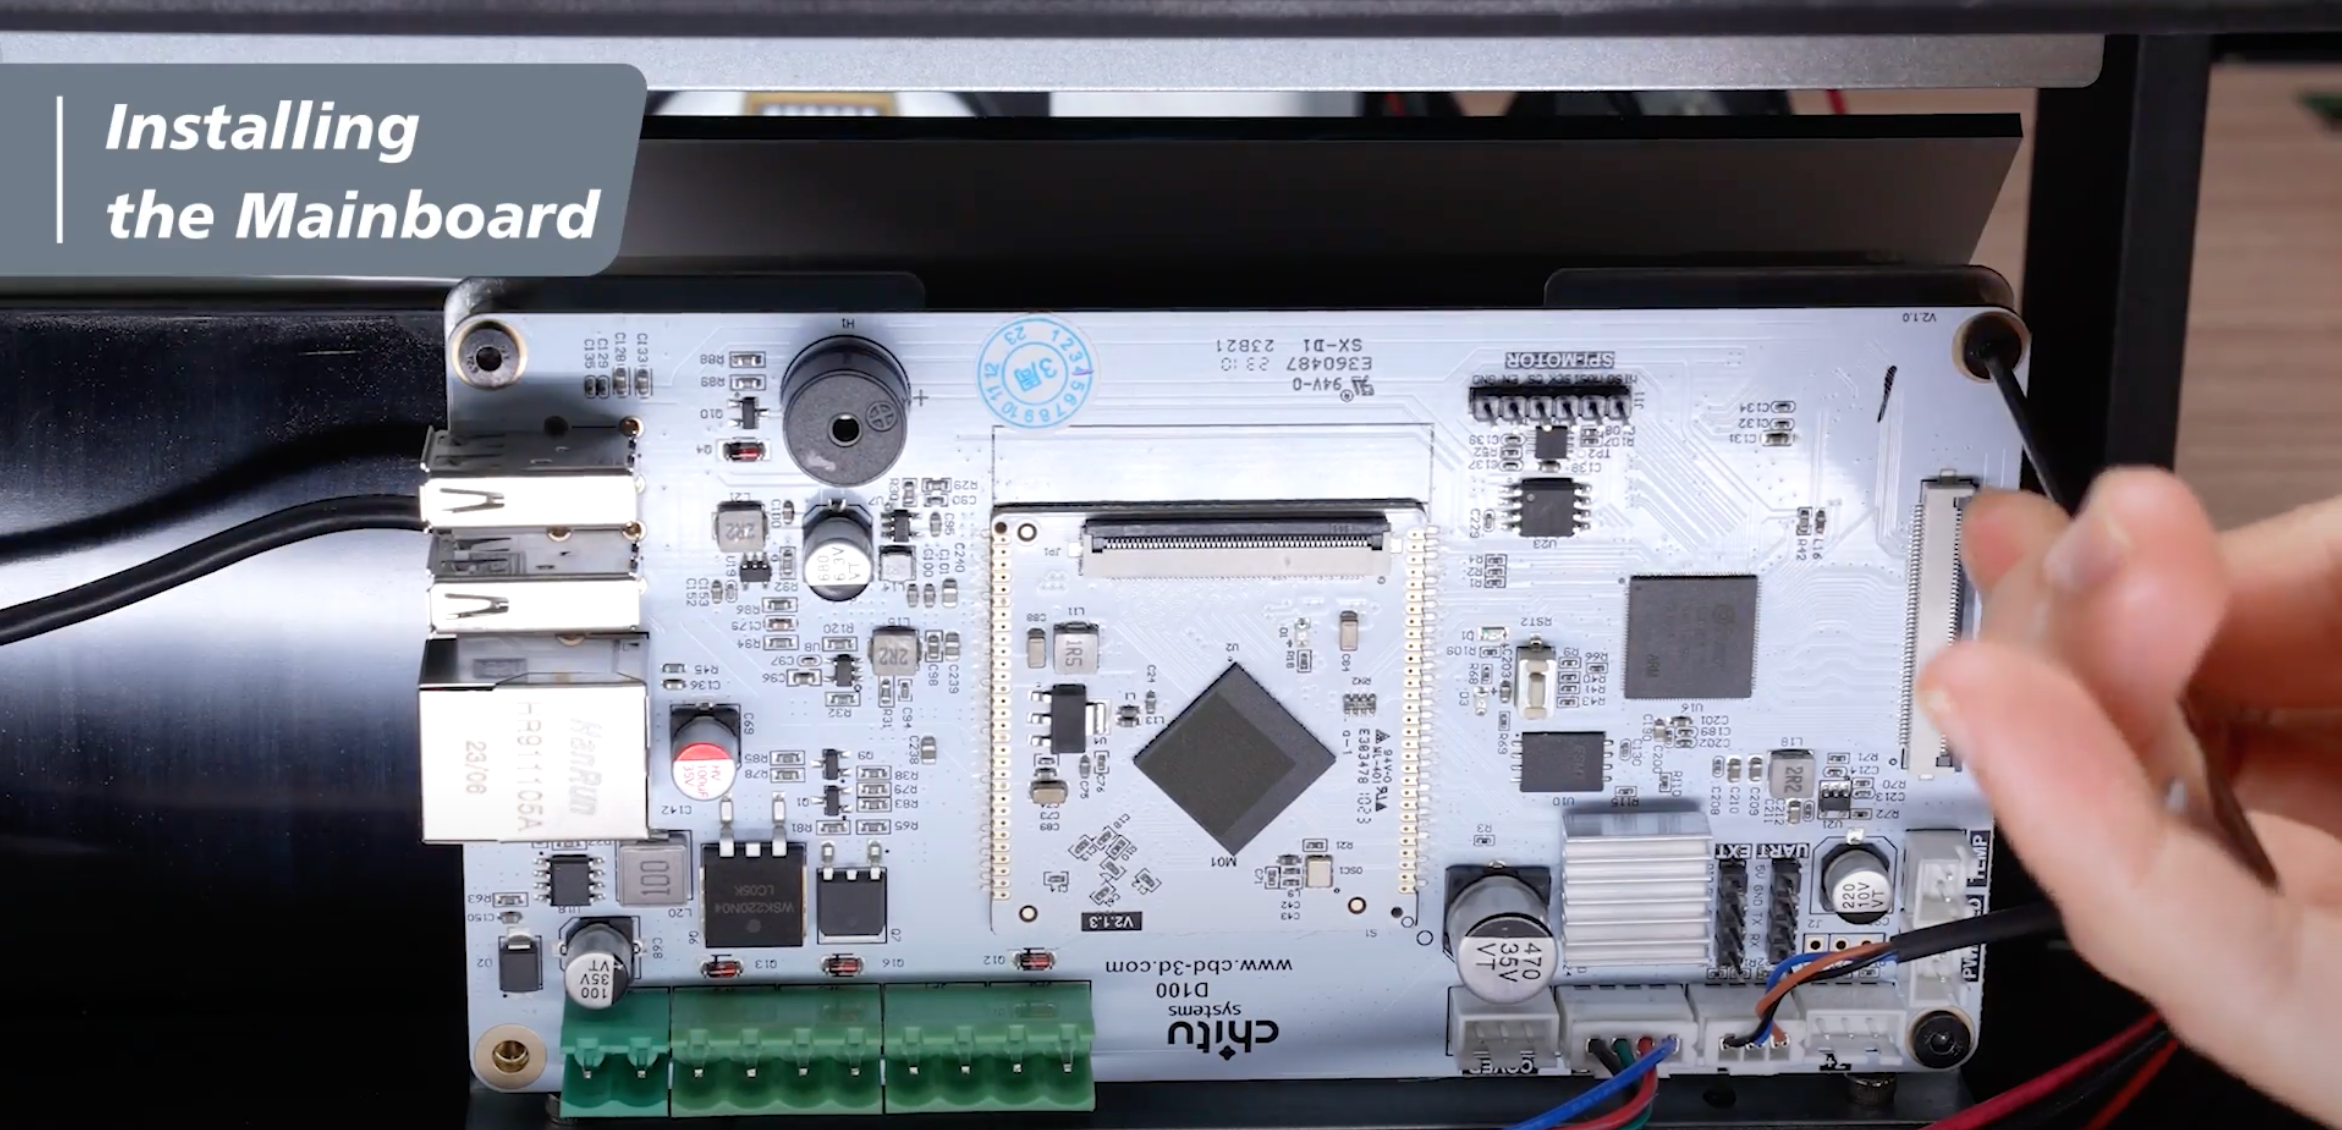
步驟 4:鬆開 12K 升級套件中提供的 3 個綠色接線端子上的所有螺絲。將電纜連接至 3 個綠色接線端子。紅色電纜應位於左側,黑色電纜應位於右側。
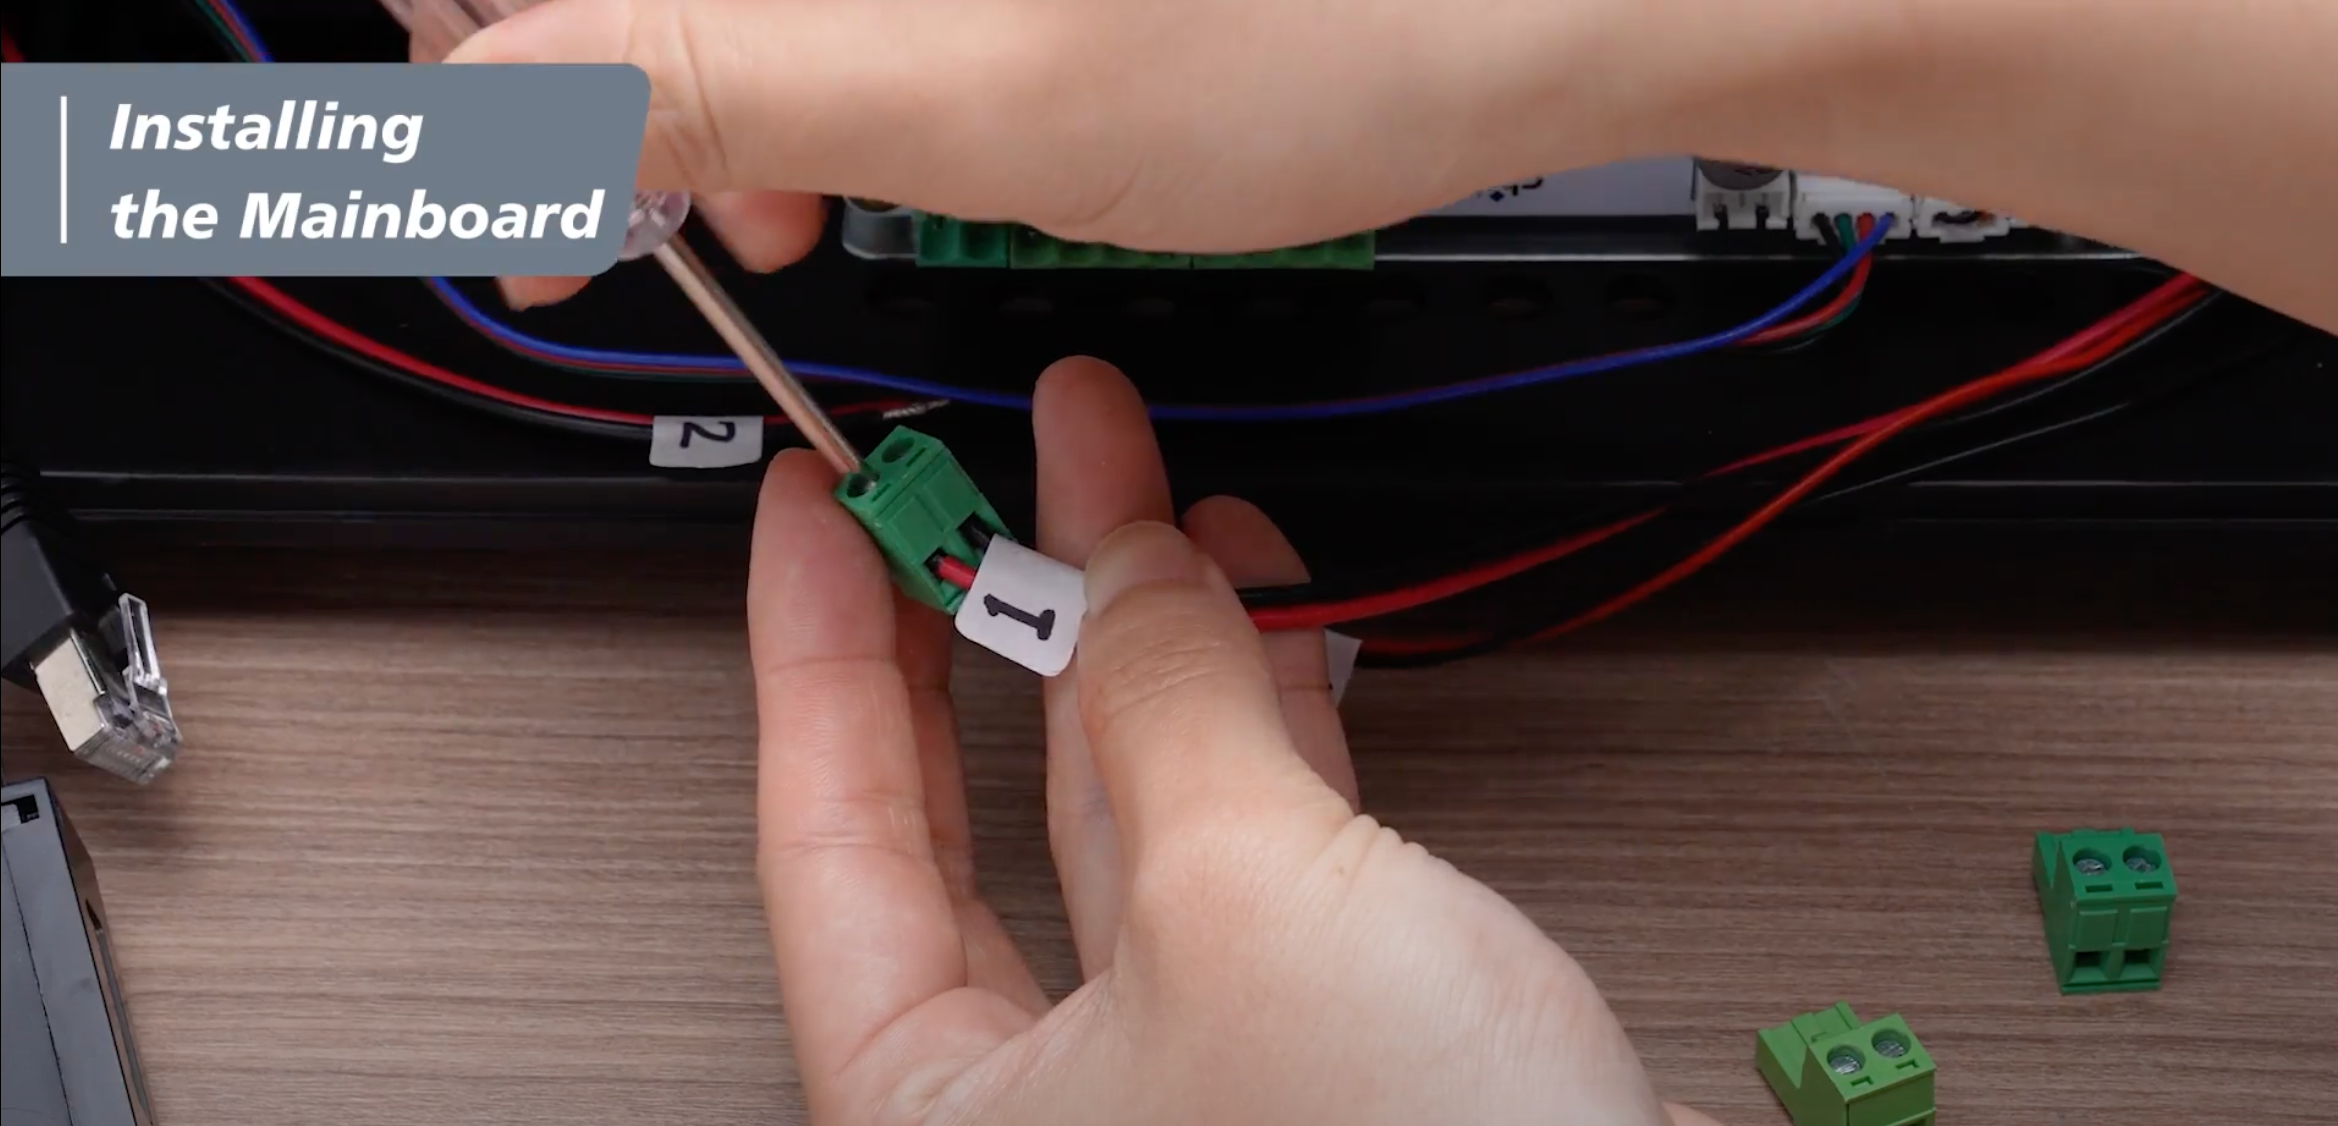
步驟 5:插入 2 號綠色接線端子,然後插入 1 號和 4 號。成功安裝所有綠色端子後,現在可以撕掉我們用來標記電纜的標籤貼紙。
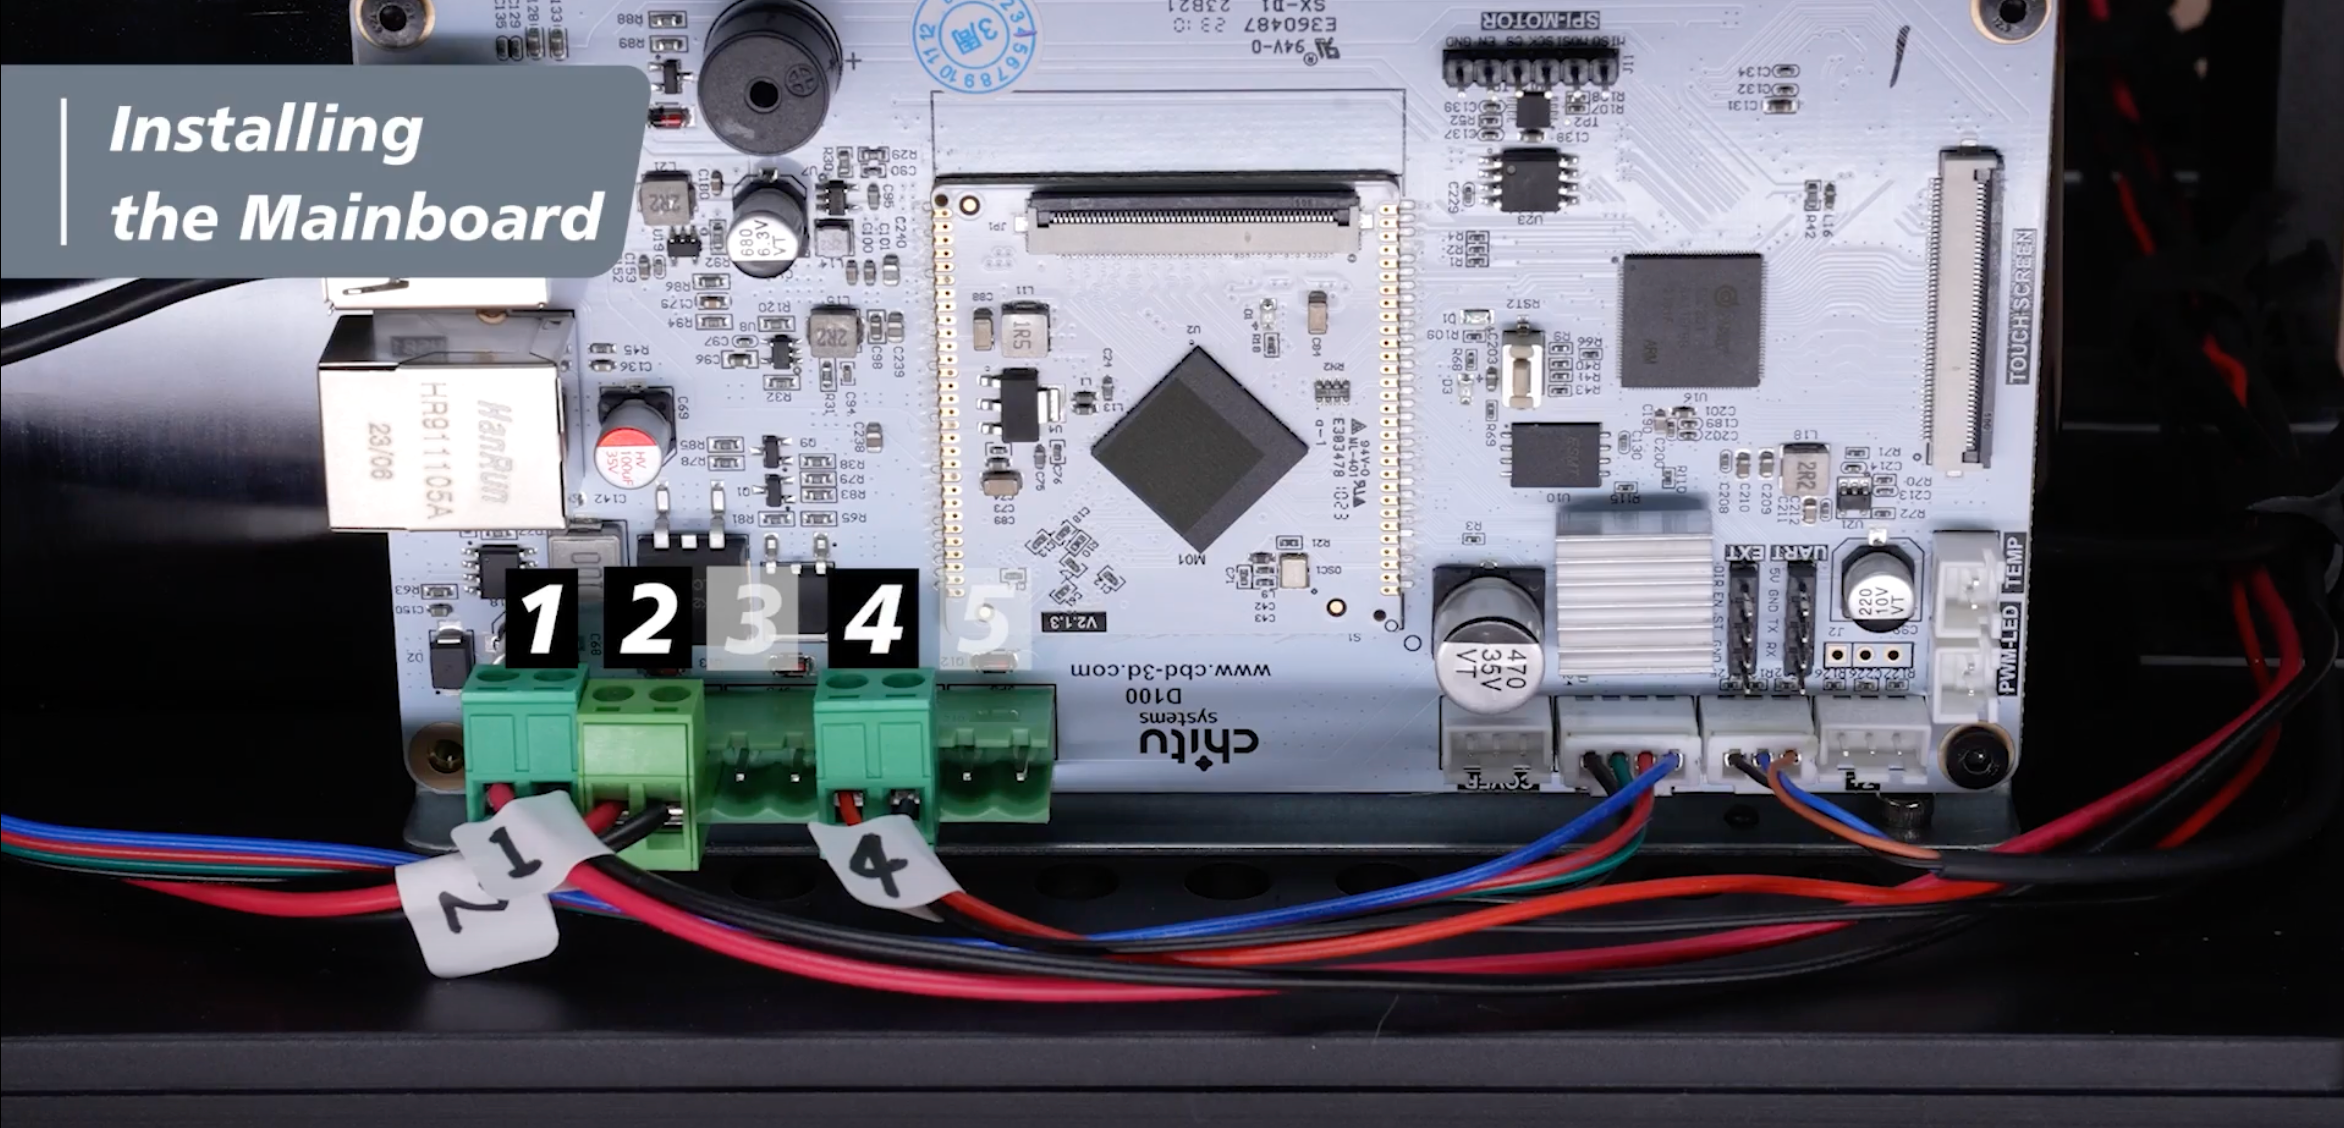
步驟 6:將 USB 分線器和網路線連接回主機板。
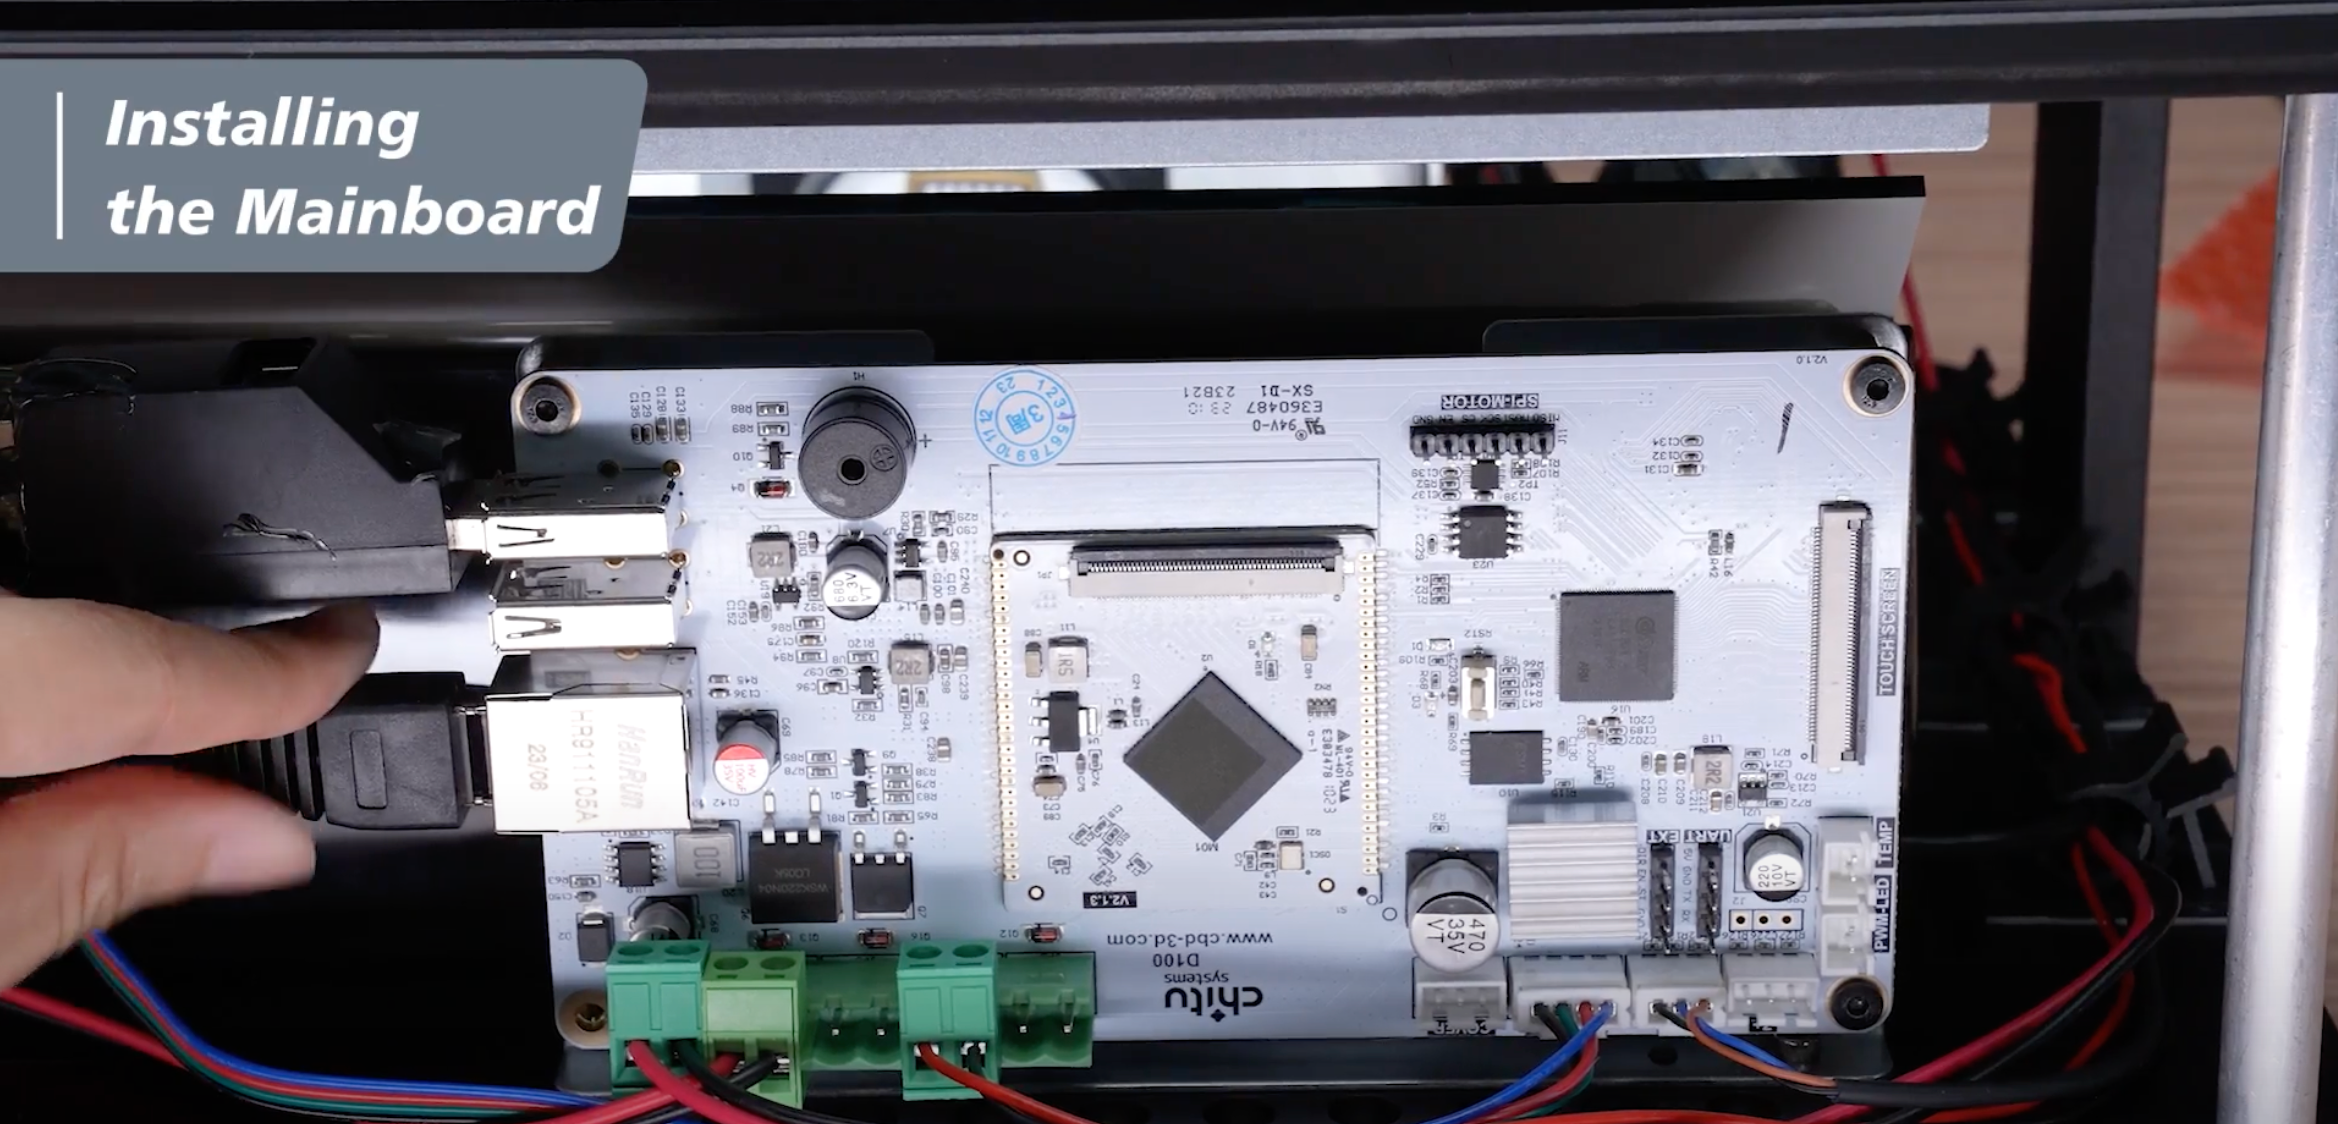
最後,請記住將電纜重新佈置到集線器上,使其看起來整潔乾淨。就這樣,主機板的安裝就完成了。
安裝液晶面板
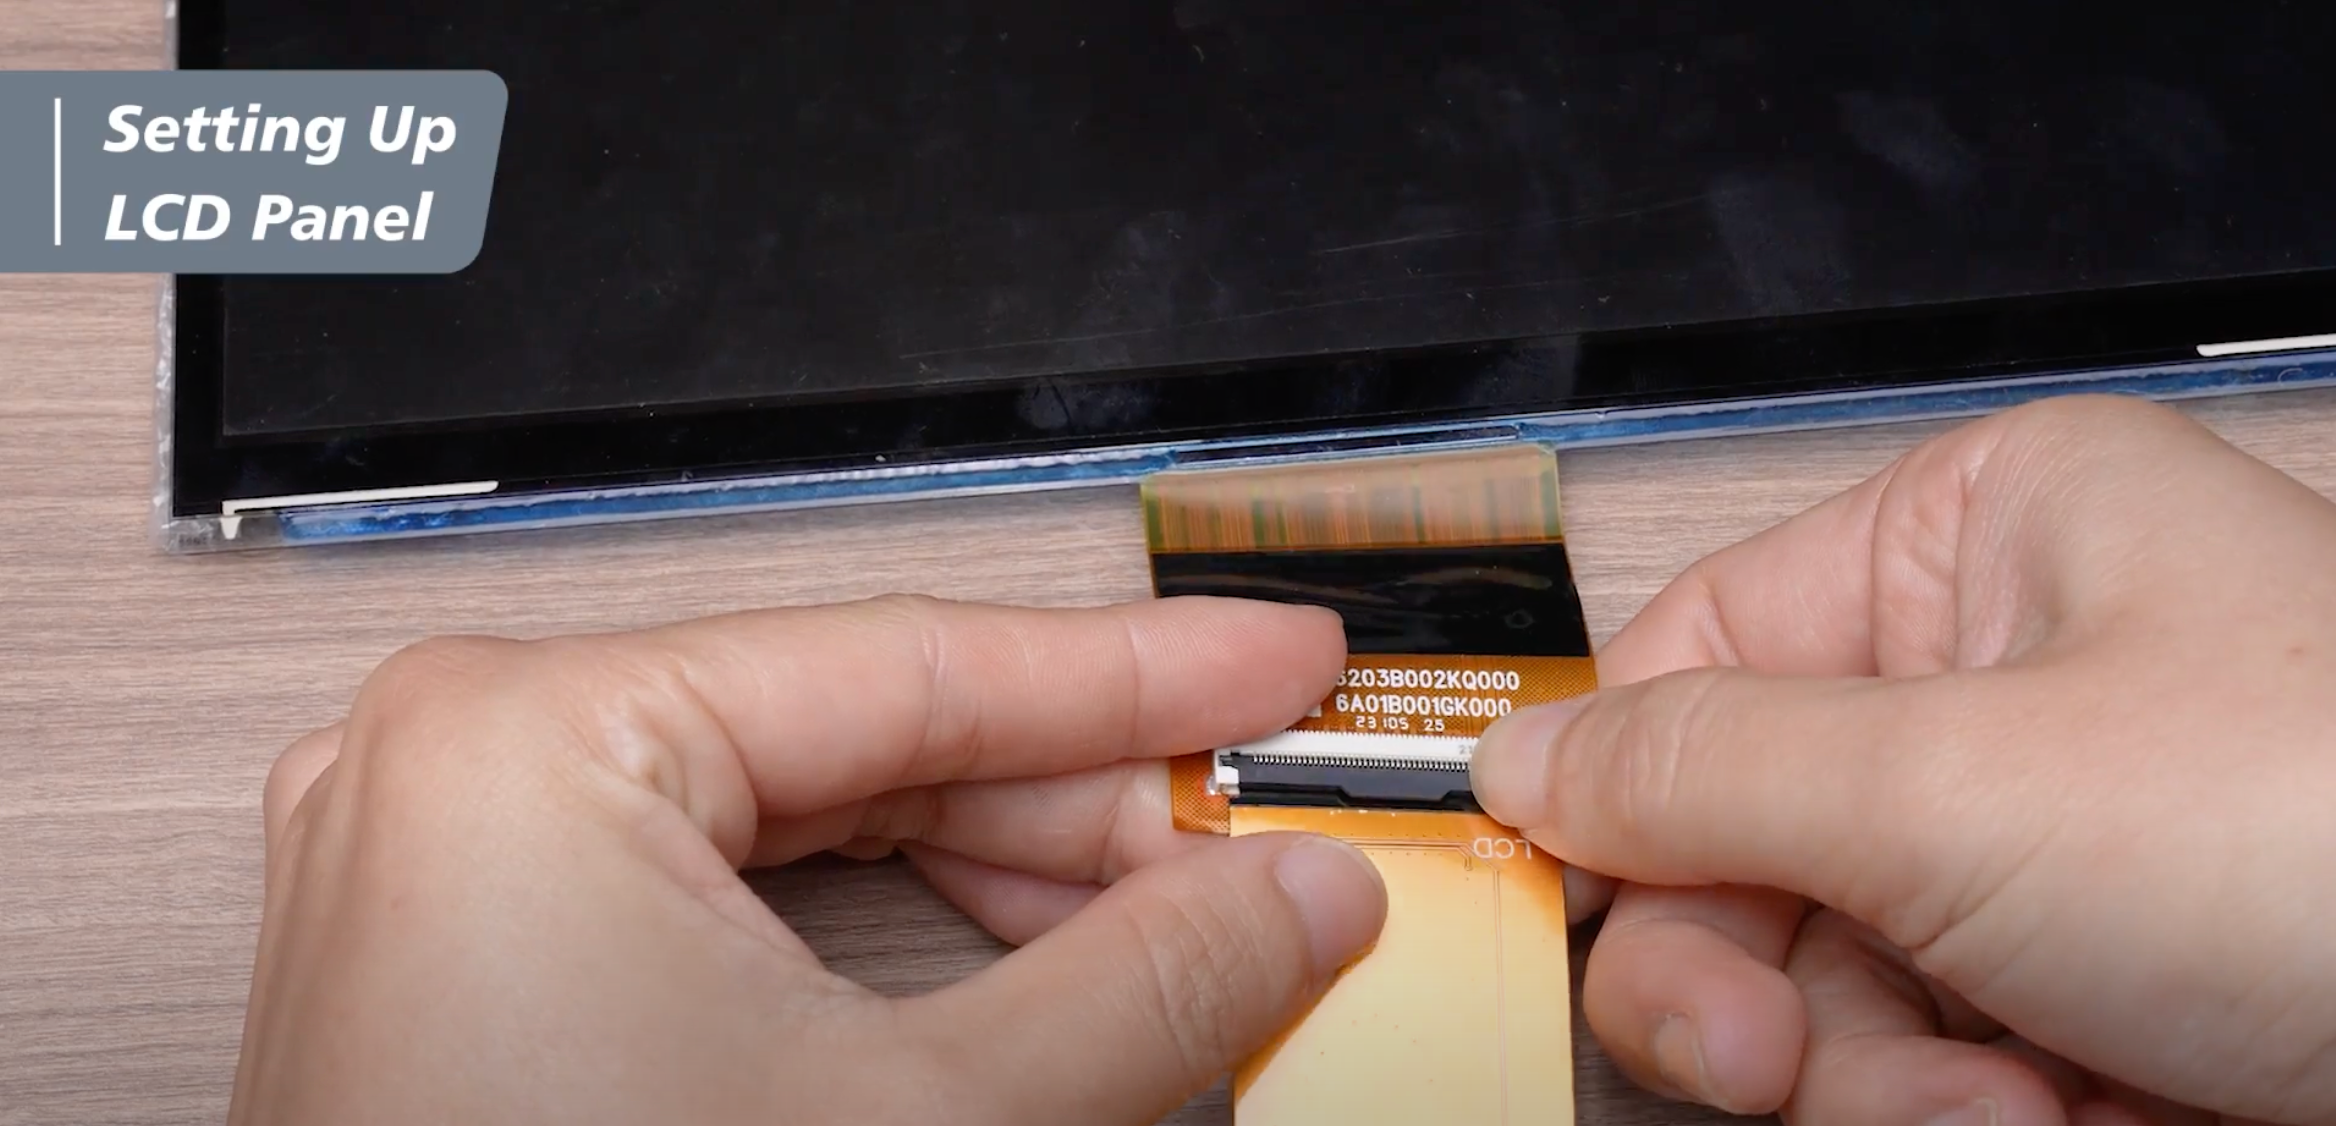
步驟 1:在將 LCD 帶狀電纜連接到 LCD 螢幕之前,請確保有襯裡的表面位於 LCD 帶狀電纜的背面。鬆開液晶螢幕上的卡扣,插入液晶螢幕帶狀電纜,正面刻有「LCD」字樣。然後用醋酸布膠帶將其固定。
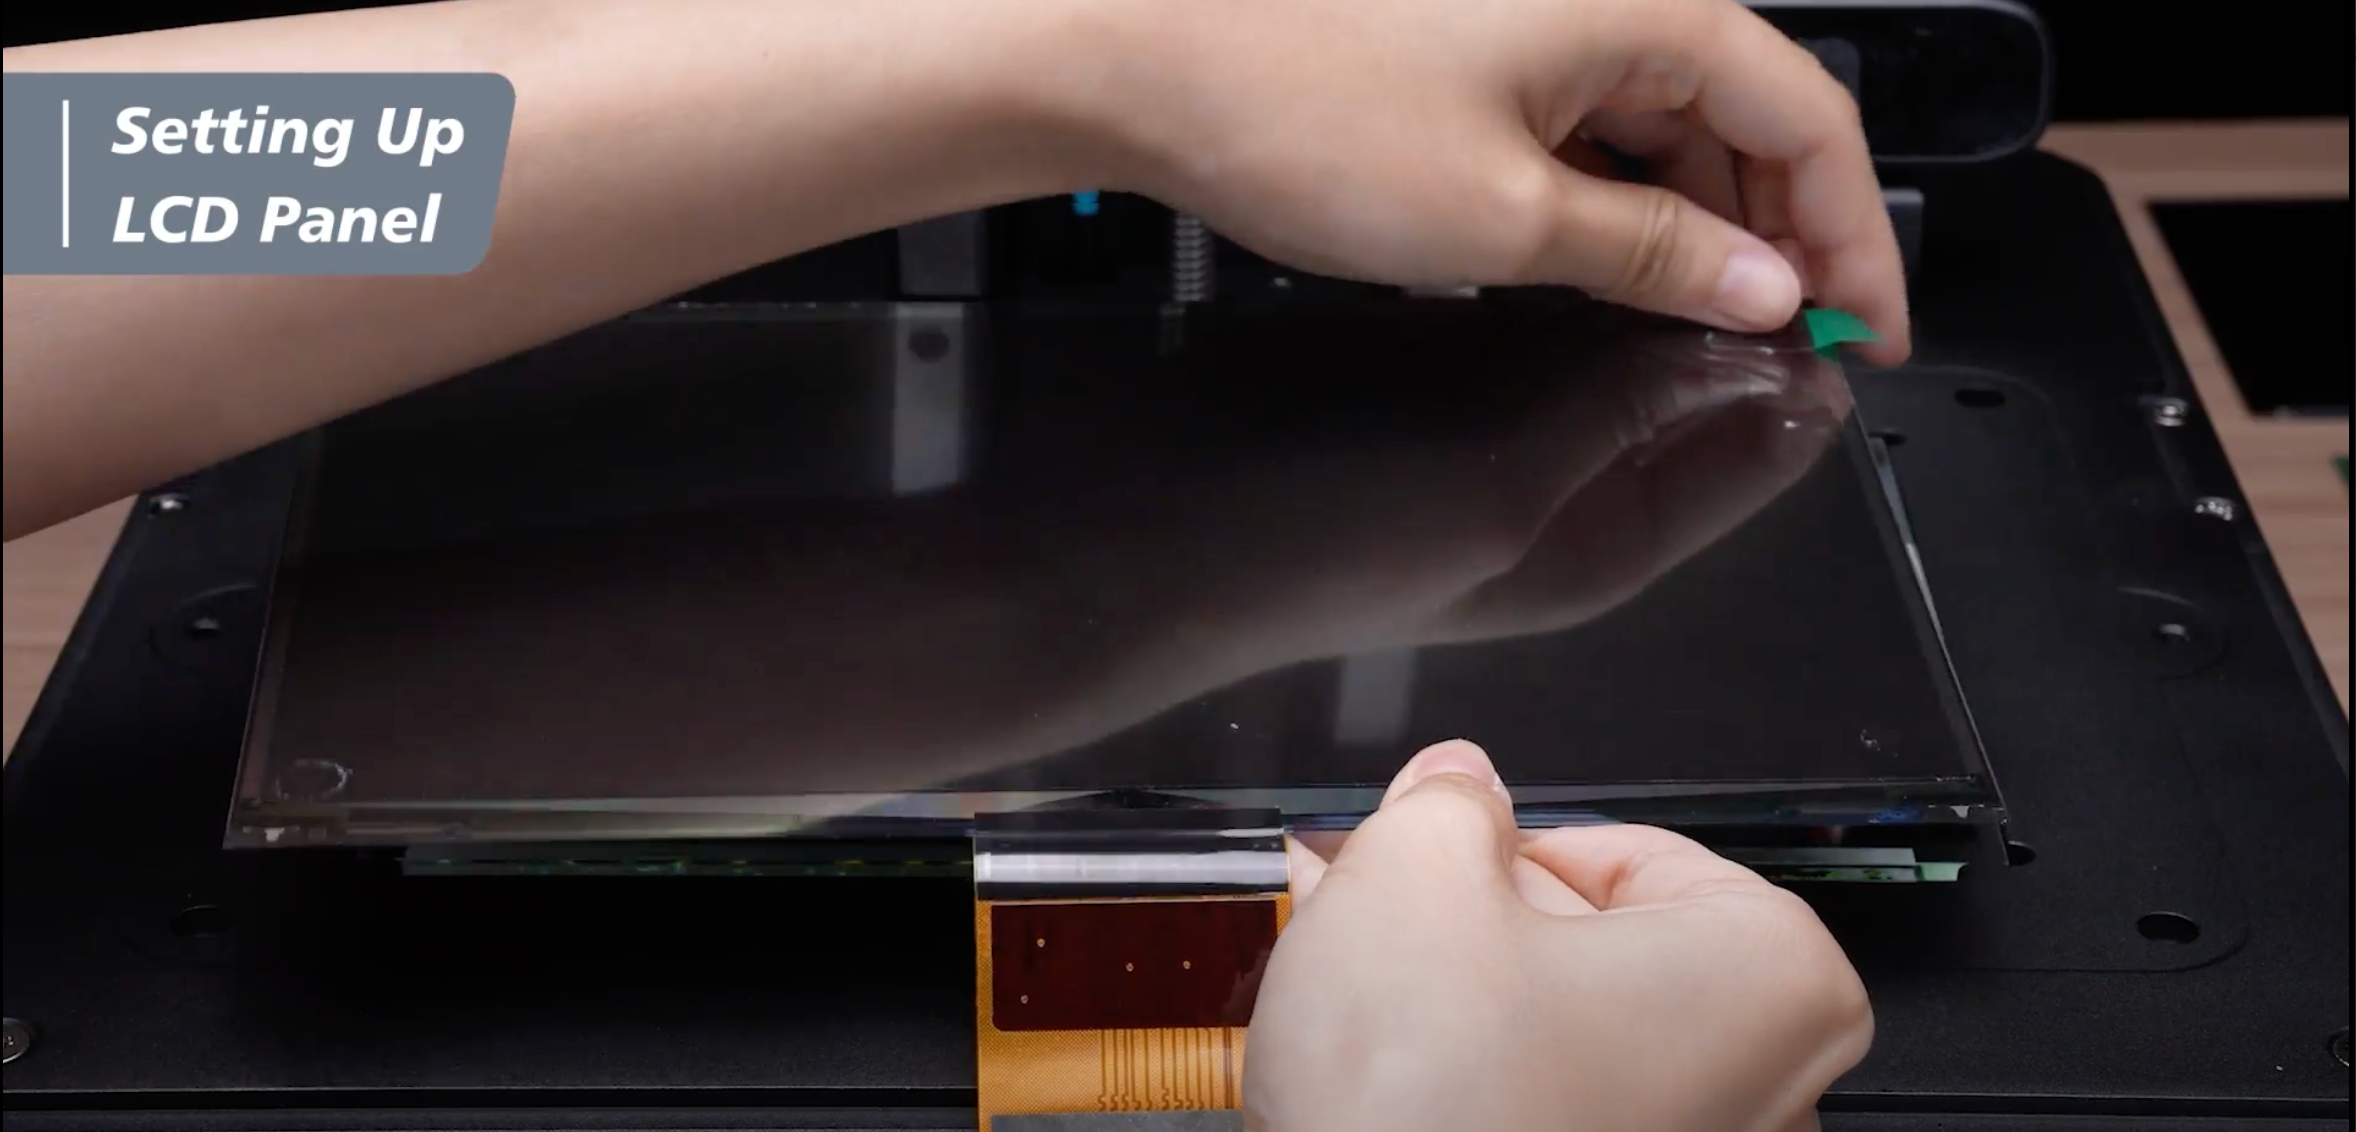
步驟2: 撕下標有綠色標籤貼紙的螢幕保護貼。
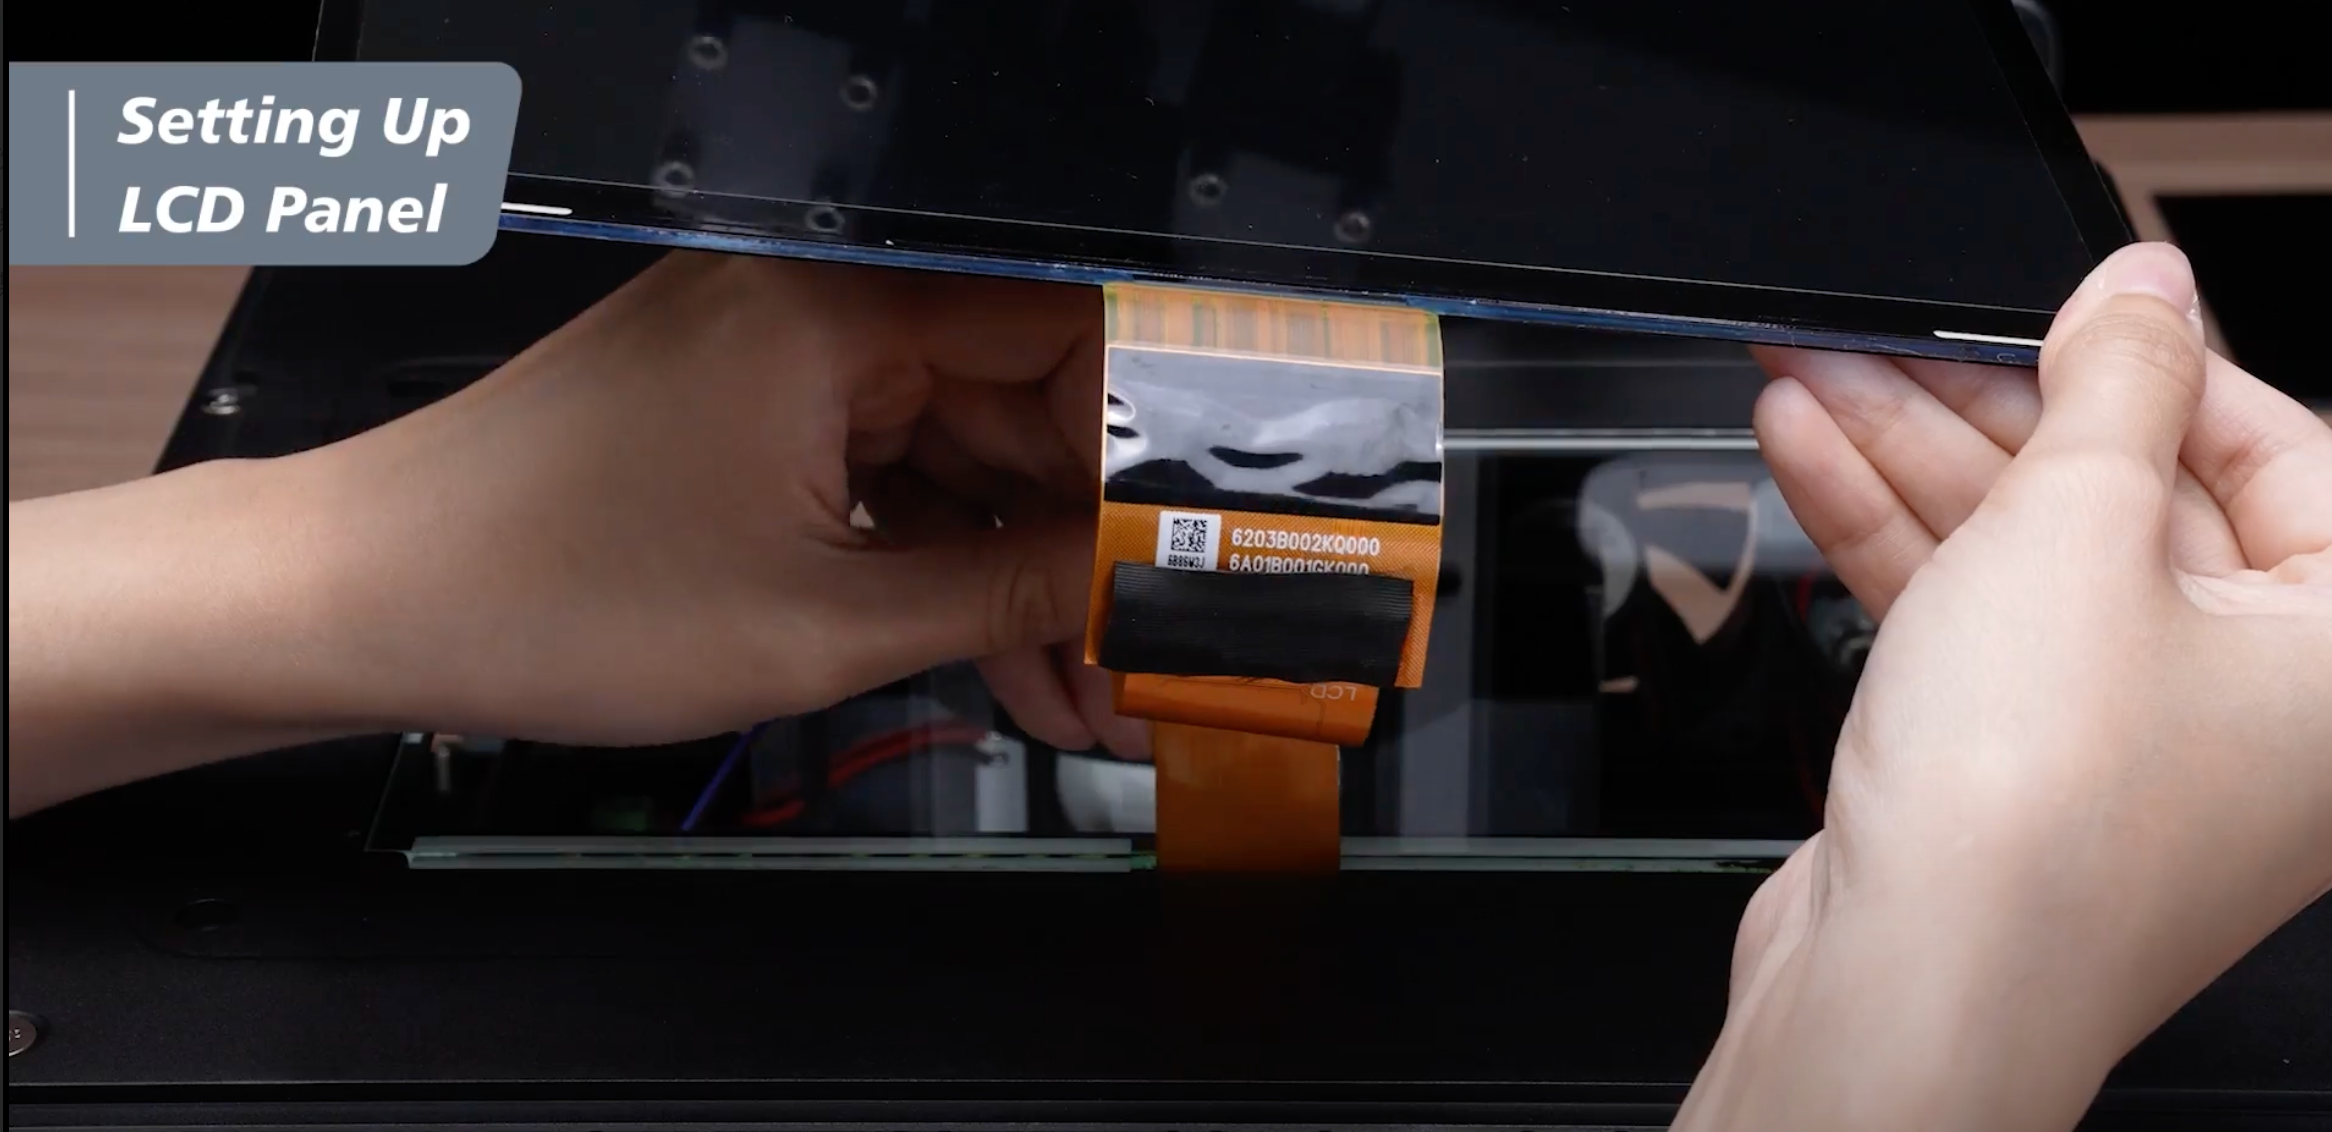
步驟 3:將 LCD 帶狀電纜穿過凹槽。
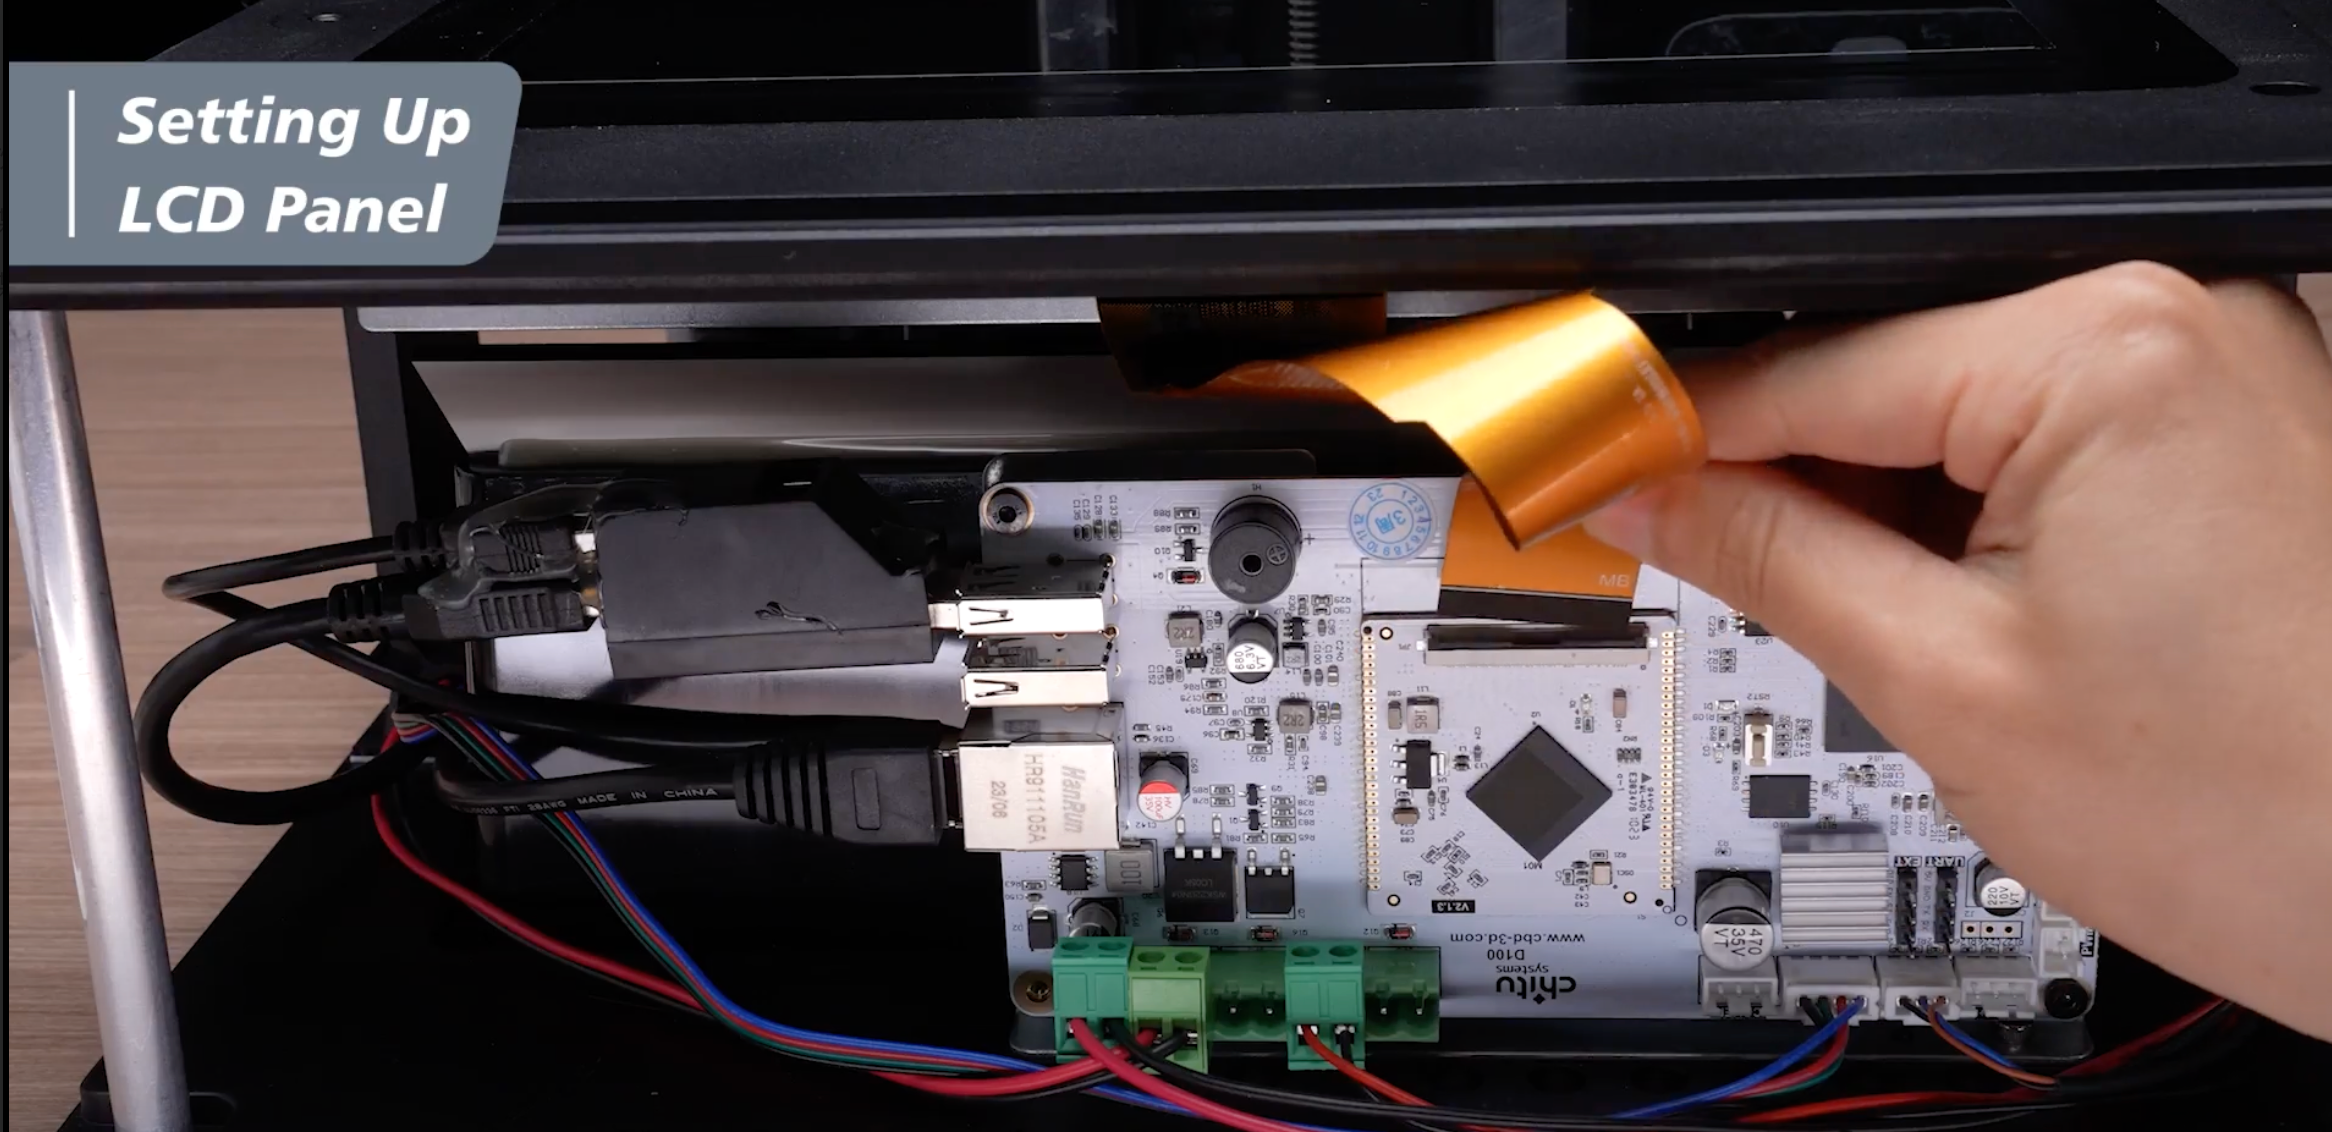
第四步:鬆開主機板上的液晶螢幕卡扣,插入液晶螢幕排線並固定。然後將醋酸布膠帶黏回其上。連接 LCD 帶狀電纜後,請記住將剩餘的電纜推回到主機板中,以整理剩餘的電纜。
步驟5:使用液晶框膠帶固定液晶螢幕。首先剝掉膠帶左側的黏合劑,然後將其輕輕地黏在液晶顯示器上。小心不要意外覆蓋樹脂槽的凹槽。
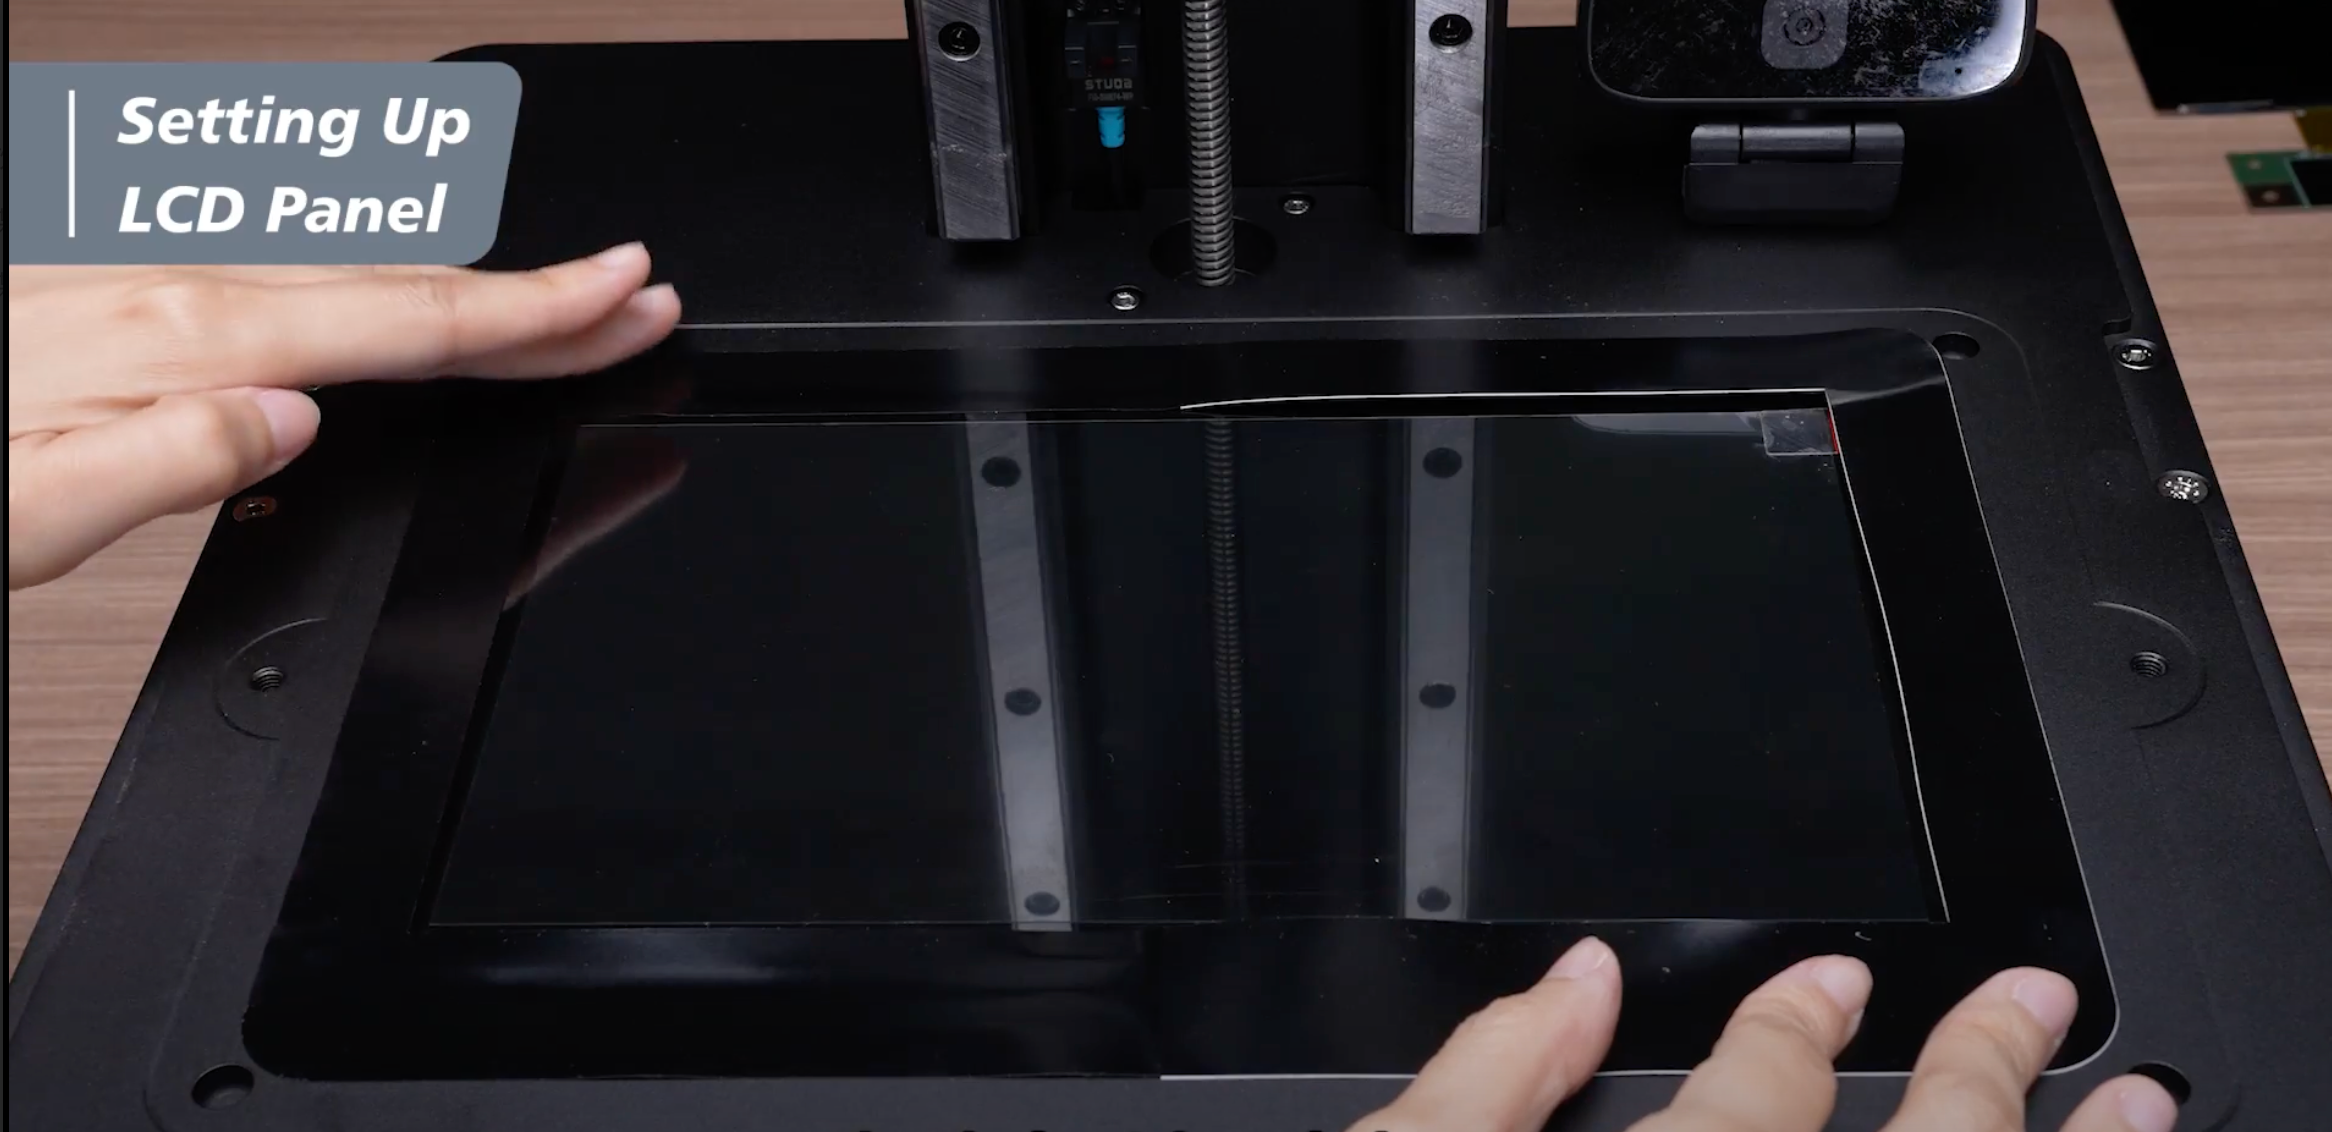 步驟7:撕下帶有紅色標籤貼紙的保護膜。
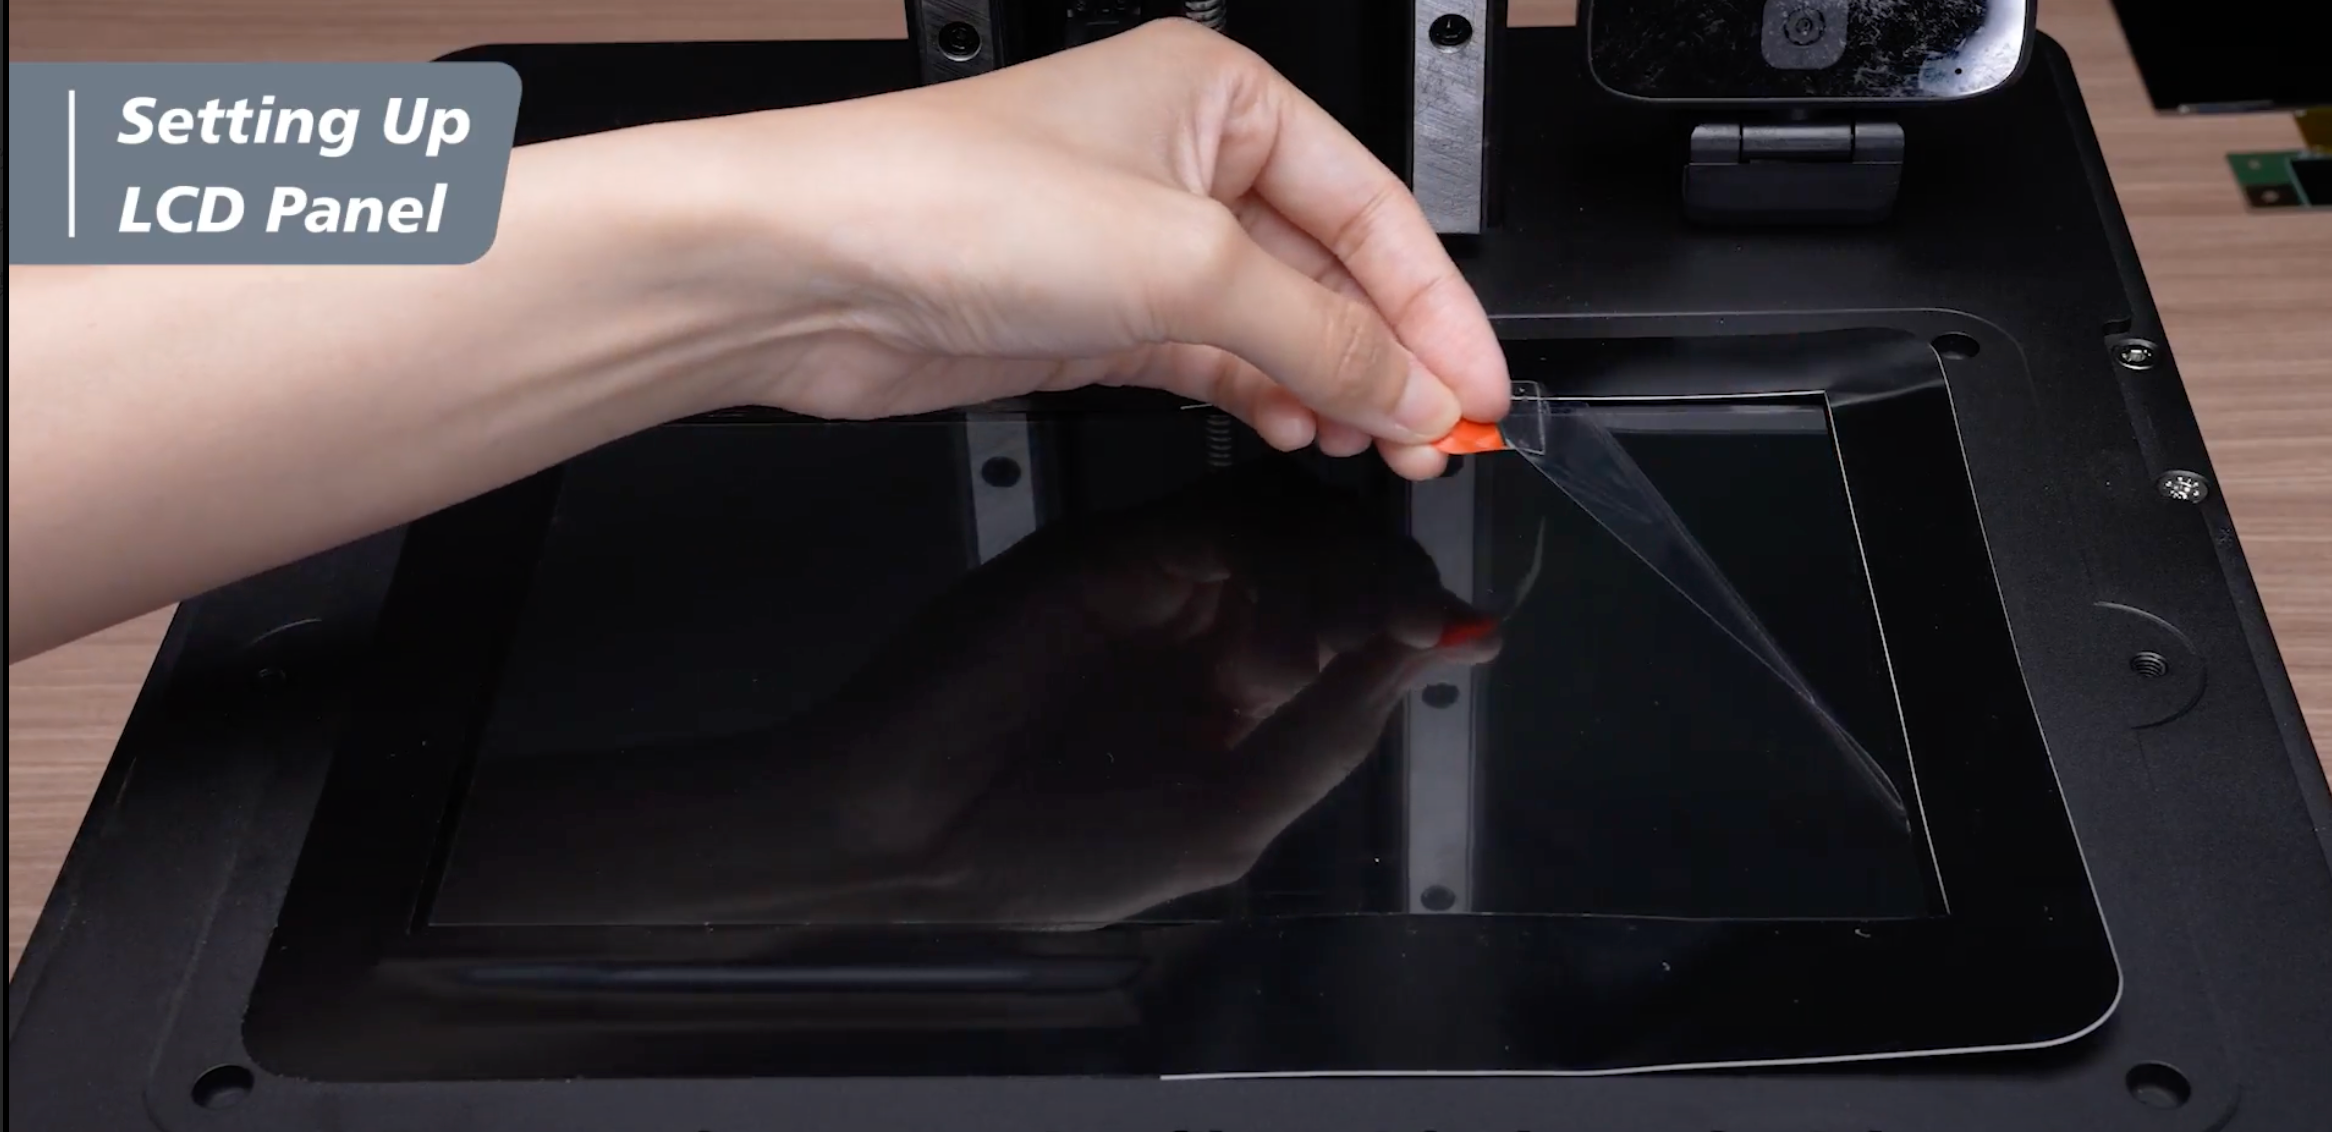
步驟8:撕下液晶邊框膠帶右側的黏合劑,並將其輕輕貼在液晶螢幕周圍。為了更容易,我們建議同時撕下和黏貼黏合劑。
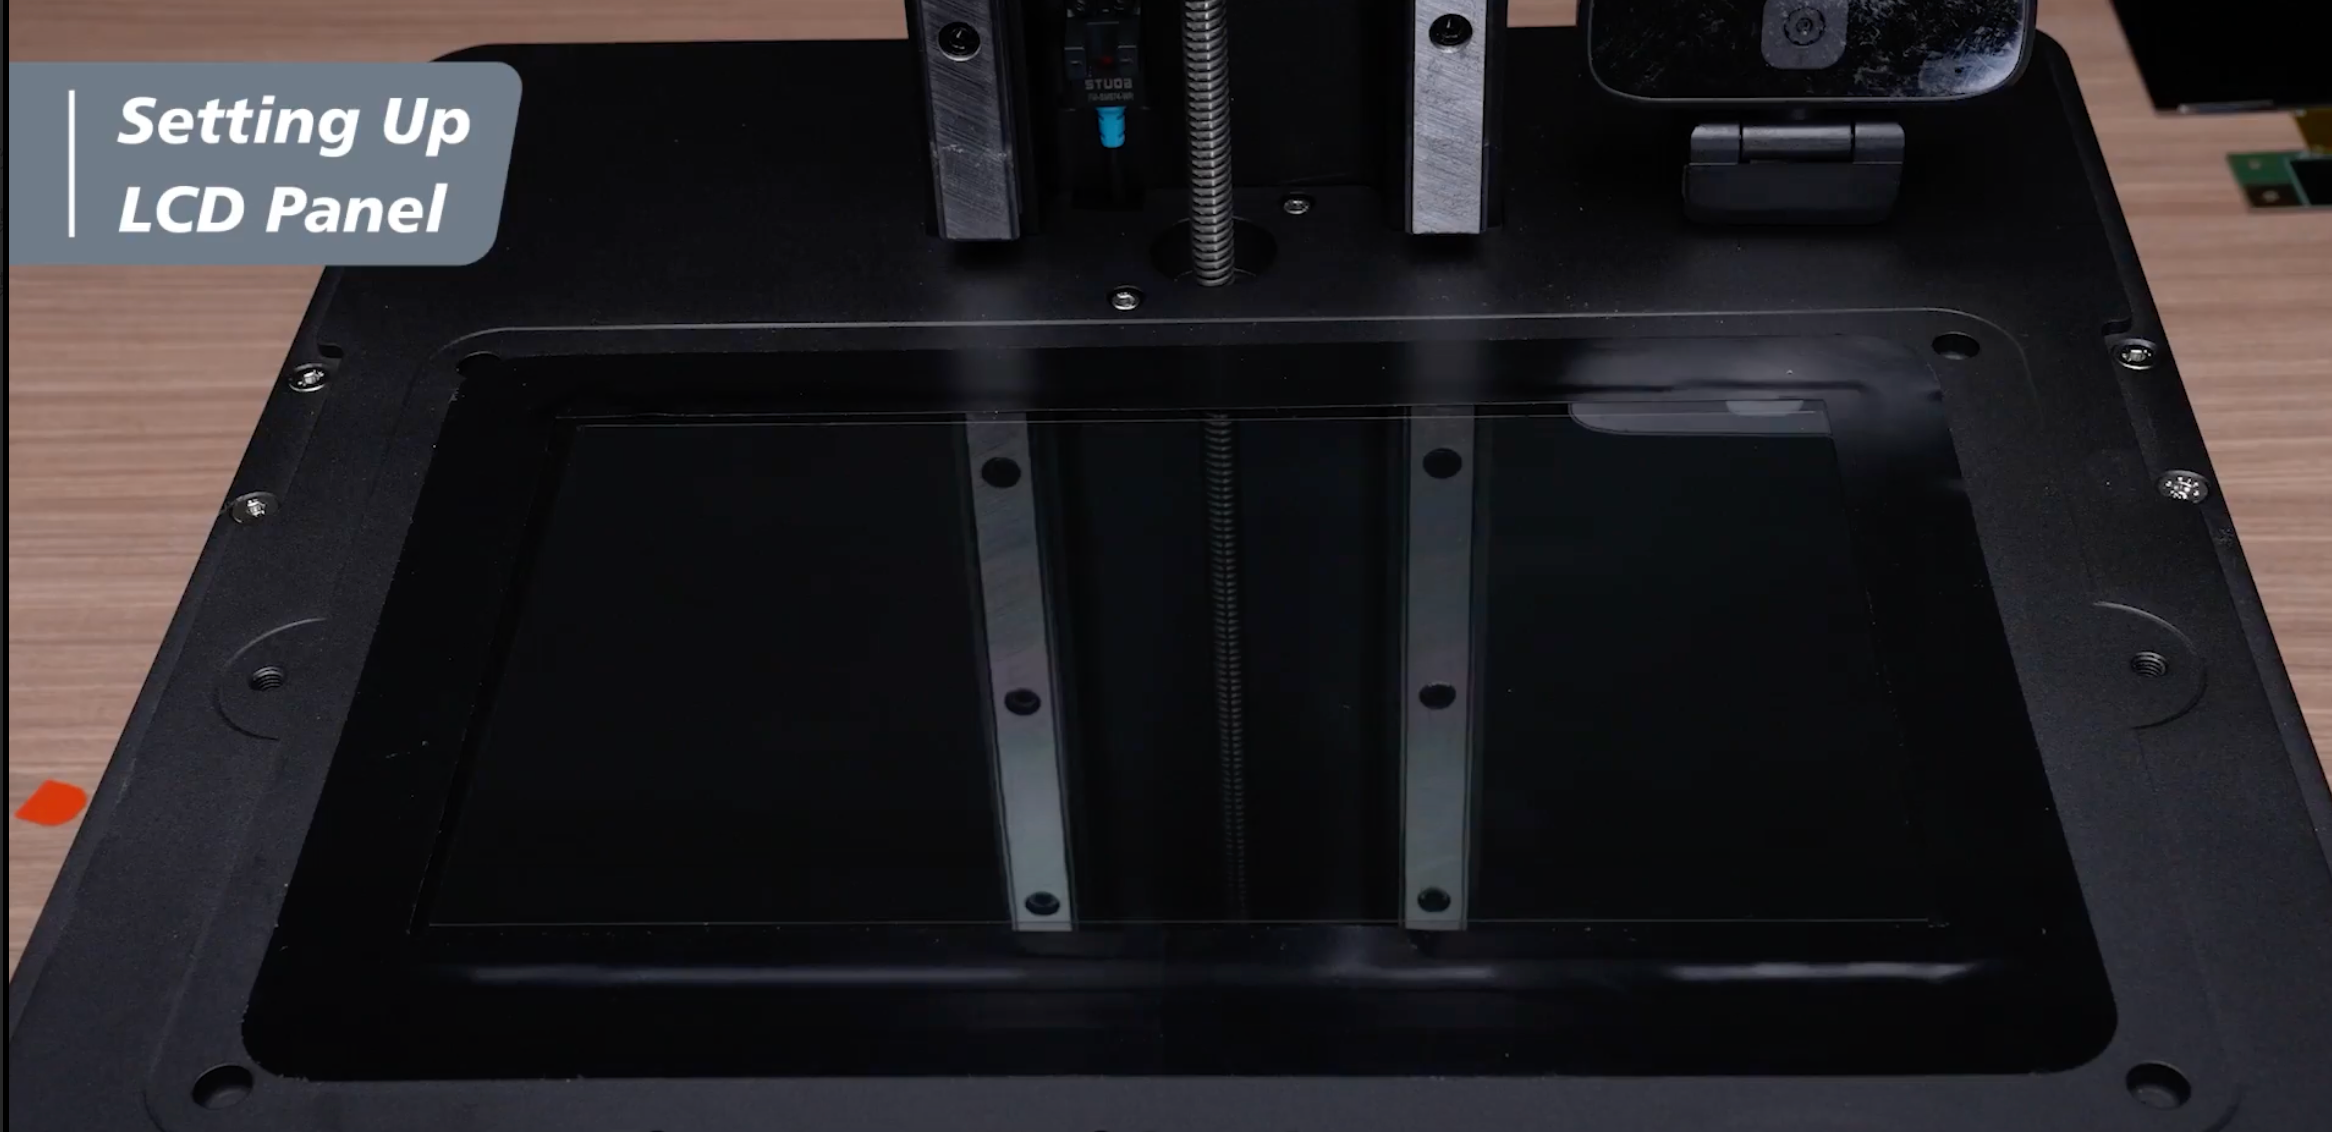
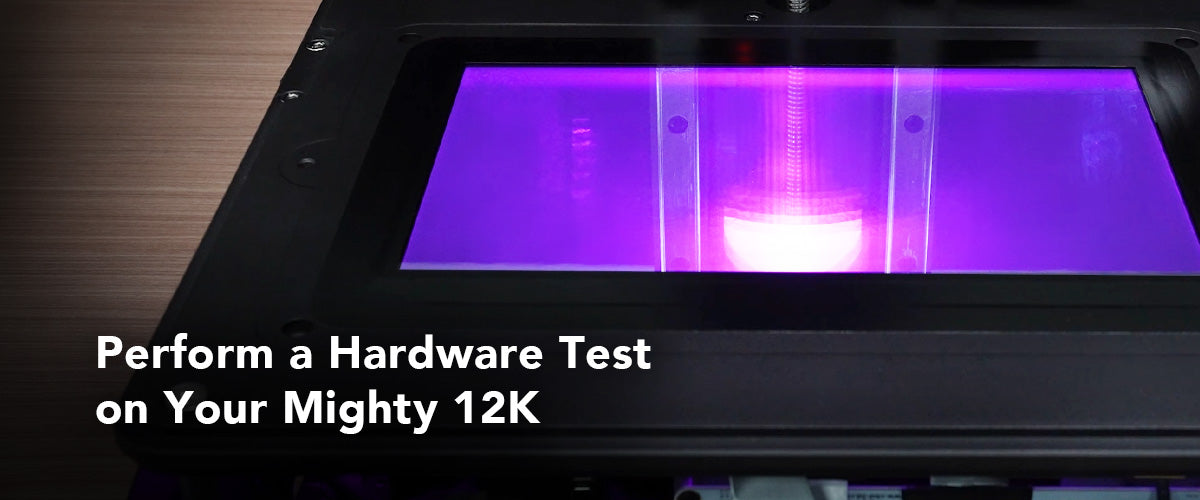
您的 Mighty 8K 現已升級至 12K,您可以在安裝12K 升級套件後開始執行完整的硬體測試,以檢查您的 Sonic Mighty 8K 是否運作良好。





1條評論
Charles F Lamb III
I finally spent the day doing the upgrade to my Sonic mighty 8K to 12 K.
Unfortunately, nothing happens.
I left the front cover slightly open, and when I power it up I can see three yellow lights on the main board.
I checked and rechecked all the steps I went through and can’t figure what went wrong.
———
Phrozen Technology replied:
Hello Charles, Thank you for commenting.
The lights on the motherboard lit up after powering it up, which should mean that you’ve connected your motherboard to the power correctly and the motherboard is working fine. If you see nothing showing up on the touchscreen after powering it up, please check if the connection of the touchscreen and to the motherboard has been done correctly. Some common issue is that people will place the connector of the flat flexible cable upside down, which the connector has pins on only one side so that it won’t transfer any single if doing so.
Please refer to this article on how to replace the touchscreen on the Mighty 8K/12K: https://helpcenter.phrozen3d.com/hc/en-us/articles/6453770031257—Sonic-Mighty-8K-Replacing-the-LCD
If you need further assistance, please contact our customer support team where we have expertise ready to assist you diagnose the problem. You can submit our customer support team a request by filling in the form on this page: https://helpcenter.phrozen3d.com/hc/en-us/requests/new
Hope this helps.
Best, Phrozen Team
>