We’ve all been there—you’ve got an exciting new project, you hit “print,” and then…you wait. And wait. 3D printing can sometimes feel like it takes forever, especially when you’re printing large or complex designs.
But what if you knew the secrets to 3D printing faster without compromising the quality of your final product?
Whether you're a hobbyist eager to finish your next model or a professional looking to increase productivity, this guide is packed with actionable tips to help you 3D print fast.
We'll walk you through everything from hardware upgrades to slicer settings, ensuring you get the most out of your 3D printer faster. So, let's dive in!
Why Does 3D Printing Take So Long? Understanding the Basics
Before we can speed up 3D printing, it’s essential to understand why 3D printers tend to be slow in the first place.
The core reason is the layer-by-layer process that defines 3D printing. Each layer needs to be meticulously laid down, cooled, and adhered before the next can be applied.
Factors That Influence Print Time:
Printer Type: Different printers have different inherent speed capabilities. For example, FDM (Fused Deposition Modeling) printers are generally slower than SLA (Stereolithography) or DLP (Digital Light Processing) resin printers. If speed is your priority, choosing the right printer is crucial.
Motion System: The printer's motion system, such as Cartesian, CoreXY, or Delta, significantly impacts speed. CoreXY and Delta systems are designed for faster movements due to their unique geometry and mechanics, making them ideal for 3D printing fast.Selecting the Right Hardware to Speed Up 3D Printing
The type of hardware you use plays a fundamental role in how fast you can complete a print. Let’s explore some key hardware considerations that can help you make your 3D printer faster.
Upgrade Your Printer
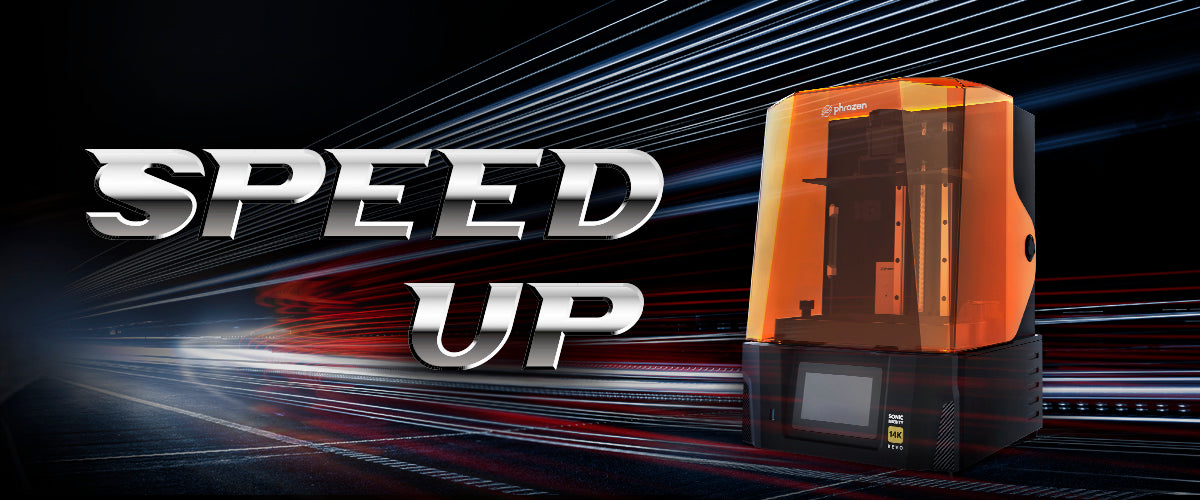
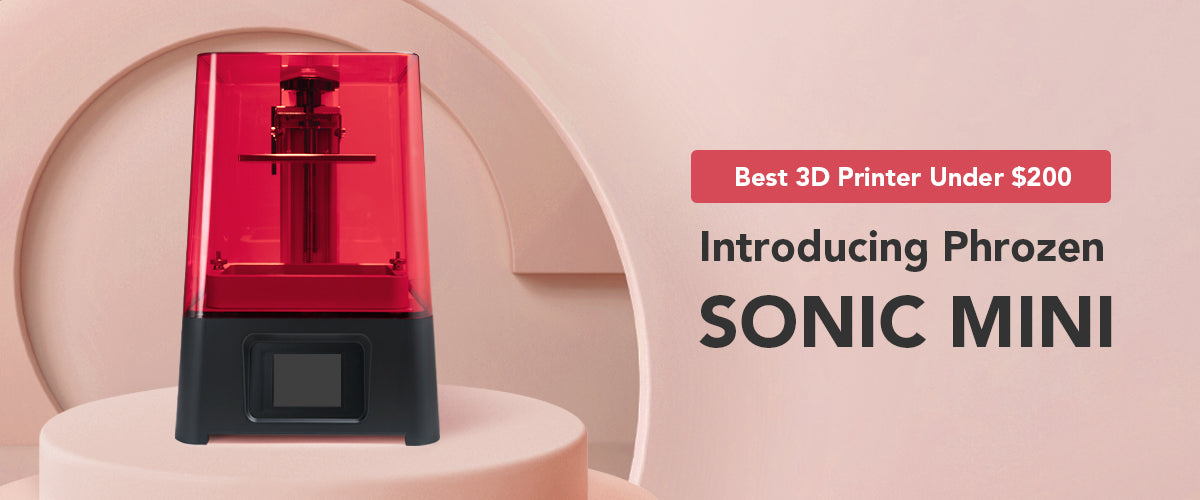
One of the most straightforward ways to speed up 3D printing is to invest in a printer designed for speed. If you're looking to upgrade, consider models like the Phrozen Sonic Mighty Revo or the Phrozen Sonic Mini 8K S. Both of these printers are engineered with speed in mind, offering features like smart failure detection, built-in heaters, and optimized motion systems to reduce print times.
- Phrozen Sonic Mighty Revo: This printer is designed for large, fast prints with its built-in heater and auto-leveling capabilities. The smart sensors detect potential failures early, saving you from wasted time and materials. Plus, the integrated air purifier and exhaust vent create a cleaner, more enjoyable printing environment, ideal for those long print sessions.

- Phrozen Sonic Mega 8K V2: Known for its incredibly high resolution, the Sonic Mega 8K V2 also excels in speed. It’s perfect for those who need to balance fine detail with rapid production, making it a versatile choice for hobbyists and professionals alike.
Invest in High-Speed Resins
That's not all, there are also speed resins like the Phrozen Speed 3D Printing Resin that are formulated to print up to 8 times faster than most commercial resins, making it an excellent choice for large-scale projects. With this resin, you can print massive models within 6 hours, which would typically take much longer with standard resins.
Consider the Motion System
The motion system in your 3D printer determines how the print head moves across the build plate. CoreXY and Delta printers are known for their speed because they minimize the inertia that slows down traditional Cartesian printers. Here's a breakdown:
CoreXY Printers: These printers use a belt system that moves the print head in the X and Y axes simultaneously, reducing the inertia and allowing for faster movement. The result is quicker prints with less risk of vibrations that can affect quality.Delta Printers: With their unique triangular design, Delta printers keep the print bed stationary and move the print head using three arms. This design is particularly effective for tall, slender prints and offers high-speed printing with smooth curves.
Nozzle Size Matters

Large 3D printer nozzles can reduce print speed.
The size of the nozzle you use can significantly impact the speed of your prints. While a standard 0.4mm nozzle provides a good balance between speed and detail, using a larger nozzle (0.6mm, 0.8mm, or even 1.0mm) can dramatically reduce print times.
When to Use Larger Nozzles: Large nozzles are ideal for printing big, robust parts where fine detail isn’t as critical. They’re also perfect for rapid prototyping, where the goal is to quickly produce a model to test form and function before refining the design.Optimizing Slicer Settings for Speedier 3D Prints
Your slicer settings are where you can make significant gains in print speed. By tweaking these settings, you can optimize your printer to 3D print faster without sacrificing too much on quality.
Adjust Print Speed Settings
Print speed is a critical setting in your slicer software. Most slicers, like Chitubox allow you to adjust this parameter to control how fast the print head moves while laying down material.
Starting Point: Typically, default print speeds are set between 40-60 mm/s. For faster prints, try increasing this to 80-100 mm/s. If your printer can handle it, you might even push beyond 100 mm/s for certain parts of the print, like infill.Fine-Tuning Acceleration and Jerk
Acceleration and jerk settings control how quickly your printer reaches its set speed and how it handles changes in direction. Optimizing these settings can reduce print times, especially for models with lots of sharp corners or intricate details.
Acceleration: This setting controls how quickly the printer accelerates to its set speed. Higher acceleration settings (1000-3000 mm/s²) can reduce print time, but may also introduce artifacts like ghosting or ringing. Start at the lower end and gradually increase to find the sweet spot for your printer.Optimizing Layer Height

Model with tall layers will require longer printing time.
Layer height is one of the most impactful settings when it comes to print speed. The taller the layer, the fewer layers needed, and the faster the print.
Standard vs. Tall Layers: While a 0.2mm layer height is standard for most prints, increasing it to 0.3mm or even 0.4mm can significantly reduce print time. This is especially useful for large models where fine detail isn’t as critical.Maximum Layer Height: The rule of thumb is that your layer height should not exceed 80% of your nozzle diameter. For a 0.4mm nozzle, this means a maximum layer height of 0.32mm. If you're using a 0.6mm nozzle, you could go up to 0.48mm, allowing for very rapid prints.
Maximize Your Infill for Speed
Infill density and pattern also play a crucial role in how long your print will take. Lowering the infill density and selecting a faster pattern can drastically reduce print times.
Lower Density: For non-structural parts or models where internal strength isn’t a priority, reducing the infill density to 10-15% can shave significant time off your print. For parts that do need some strength, stick to 20-30%.Fast Patterns: Infill patterns like lines or zig-zag are the quickest to print. Avoid complex patterns like cubic or gyroid unless necessary, as they take longer and offer more structural integrity, which may not always be required.
Minimizing Support Structures

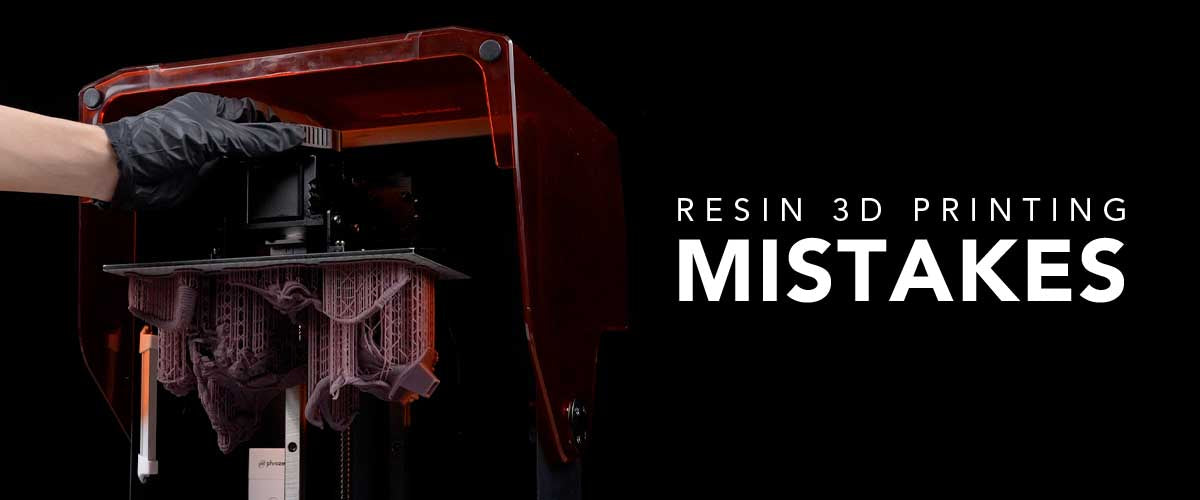
Support structures are essential for printing overhangs, but they can add a lot of time to your print. Here’s how to optimize supports to speed up 3D printing:
Adjust Overhang Angle: By increasing the overhang angle in your slicer settings from 45° to 50° or even 60°, you can reduce the number of supports required. Fewer supports mean less print time and less post-processing.Refining Skirt, Brim, and Raft Usage
Skirts, brims, and rafts help with bed adhesion, but they can also add unnecessary time to your print if not used wisely.
Skirts: A skirt is a single-layer outline around your model that helps prime the extruder. It doesn’t add much to the print time but can be useful to ensure smooth extrusion before the main print starts.Brims: Brims add extra material around the base of your model to improve bed adhesion. They are quicker to print than a raft and are easier to remove, making them a good middle-ground if you’re having adhesion issues.

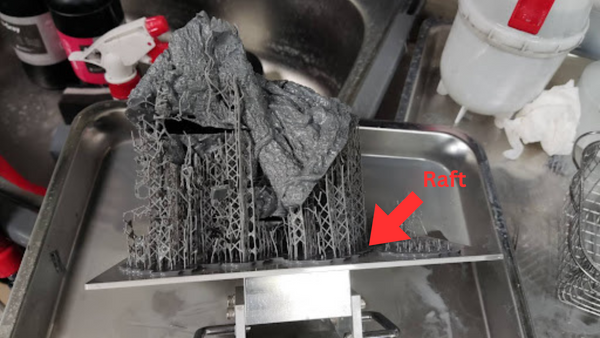
Rafts: Rafts create a foundation under your model, ensuring it adheres well to the bed. However, they use a lot of material and increase print time significantly. Only use rafts when absolutely necessary, such as with models that have a small footprint or challenging first layers.
Don't Overlook Your Graphics Card Settings
One often overlooked factor in speeding up your 3D printing process is your computer's graphics card settings. Many slicer programs, such as Lychee and Bambu Studio, default to using the lower-end, integrated graphics card on your machine. This can significantly slow down slicing performance, especially when handling larger or more complex models.
To fix this, you can manually force your slicer software to use the higher-end graphics card. By going into your computer's graphics settings and adding your slicer program (usually found in the .exe file of your installation), you can set it to use the dedicated GPU.
After making this change, users often report a dramatic improvement in slicing speed, with some seeing up to a 10x faster performance. This simple tweak can save you considerable time in the preparation phase of 3D printing, especially when working with large designs.
So, before you dive into any print, check your graphics card settings—you might be sitting on an easy speed boost without even realizing it!
Design Tips to Make Your 3D Printer Faster
The way you design your model can have a significant impact on print time. By making smart design choices, you can speed up 3D prints while maintaining the necessary quality.
Optimize Model Orientation
The orientation of your model on the build plate can greatly influence print speed. Here are some tips:

3D models oriented flat require less supports.
Lay It Flat: Models that are oriented flat on the bed usually print faster because they require fewer layers. Reducing the Z-axis height of your model will minimize the number of layers and thus reduce print time.Avoid Tall, Thin Orientations: Tall, narrow parts are more prone to wobbling and require more layers, which increases print time. If possible, orient these parts horizontally to reduce height and improve stability during printing.
Use Larger Nozzles for Faster Printing
If detail isn’t critical, switching to a larger nozzle can dramatically speed up your prints.
Ideal for Prototyping: Larger nozzles are perfect for rapid prototyping, where the goal is to quickly produce a model to test form and function. You can then refine the design and print a final version with a smaller nozzle if needed.Break Down Complex Models

Breaking down a 3D model makes it more manageable (3D model: Sanix 3D)
Complex models with lots of intricate details can take a long time to print. One way to make 3D printing faster is to break down these models into smaller, more manageable parts.
Sub-Assemblies: By breaking a complex model into sub-assemblies, you can print each part faster and with less need for supports. After printing, the parts can be assembled into the final model, saving you time during the printing process.Design for Speed
When designing your models, consider the following tips to reduce print times:
Teardrop Holes: Instead of designing round holes, use teardrop-shaped holes. This design reduces overhangs, eliminating the need for supports and speeding up the print.Advanced Techniques to Speed Up 3D Printing
If you’re looking to speed up 3D printing further, consider these advanced techniques and technologies.
Input Shaping
Input shaping is a technique used to reduce vibrations during high-speed printing, which can cause print defects like ringing or ghosting. This technology is available in some advanced 3D printers and can be enabled through firmware updates.
Firmware Requirements: Input shaping is supported by firmware like Klipper and Marlin 2.0. If your printer supports it, enabling this feature can allow you to print at higher speeds without compromising quality.High-Flow Hotends
Upgrading to a high-flow hotend allows you to extrude more material at faster speeds, making it an excellent option for speeding up 3D prints.
When to Upgrade: Consider upgrading to a high-flow hotend if you frequently print large models or use a larger nozzle. This upgrade will allow you to push your printer to higher speeds without running into issues like under-extrusion.Regular Maintenance for a Faster 3D Printer
Even the best printer won’t perform well if it’s not properly maintained. Regular maintenance is key to ensuring your printer can handle faster speeds consistently.
Calibrate Regularly
Calibration is crucial for maintaining the quality and speed of your prints. Here’s what you need to check:
E-Steps Calibration: Ensure that your extruder is feeding the correct amount of filament by calibrating the E-steps. This is particularly important when switching to a high-flow hotend or changing your nozzle size.Keep Nozzles Clean and Replace When Needed
Nozzles wear out over time, especially if you’re printing at high speeds or using abrasive filaments. Regularly cleaning or replacing your nozzle ensures that your 3D printer stays fast and efficient.
Cleaning: Use a nozzle cleaning kit or perform a cold pull to remove debris from your nozzle regularly. This prevents clogs and ensures smooth extrusion.If you want to know more tips on maintaining your precious 3D printer, check out our blog, 'How to Maintain a 3D printer?', for detailed insights and inputs.
Conclusion
Speeding up your 3D printing doesn’t have to mean sacrificing quality. By optimizing your printer’s hardware, tweaking slicer settings, and following smart design principles, you can speed up 3D printing and get the results you want in less time.
Whether you’re a hobbyist looking to complete your next project or a professional under tight deadlines, these tips will help you make your 3D printer faster without compromising the quality of your prints.Once you've mastered the art of 3D printing faster, you might want to know how to improve the print quality. For that, our blog,' How to Improve 3D Print Quality for Resin Printing: Proven Techniques,' for detailed insights and techniques.
FAQ
Why do 3D printers take so long?
3D printers take time because they build objects layer by layer, a process that inherently requires precision and patience. Factors like print speed settings, layer height, nozzle size, and the complexity of the design all contribute to the overall print time.
How to make your 3D printer faster?
To make your 3D printer faster, start by optimizing slicer settings such as print speed, layer height, and infill density. Consider upgrading your hardware, using larger nozzles, and reducing the need for support structures. Regular maintenance and calibration also play a crucial role in maintaining speed.
Are resin printers faster?
Yes, resin printers like the Phrozen Sonic Mighty Revo are generally faster than FDM printers for producing highly detailed prints. They use UV light to cure layers almost instantly, making them ideal for projects that require both speed and precision.
How long does resin printing take?
The time it takes to complete a resin print varies depending on the model size and layer height, but resin printers can often complete prints faster than FDM printers, especially when printing small, detailed models.
Why does 3D printing take so long?
The process of printing layer by layer is inherently time-consuming. Each layer must be extruded, cooled, and adhered before the next one can be applied. Additionally, factors like the speed settings, the complexity of the model, and the type of printer being used all contribute to the length of time required to complete a print.


