Z 軸のキャリブレーションは、すべての 3D プリンターにとって不可欠です。このテストを実行して、ビルディング プレートが LCD 画面と同じ高さになっていることを確認します。これは、モデルと印刷物が建築プレートに確実に接着するようにするためです。
A4 紙を使用してSonic Mini 4K LCD 3D プリンタを調整する手順を説明します。
ステップ 1: 設定
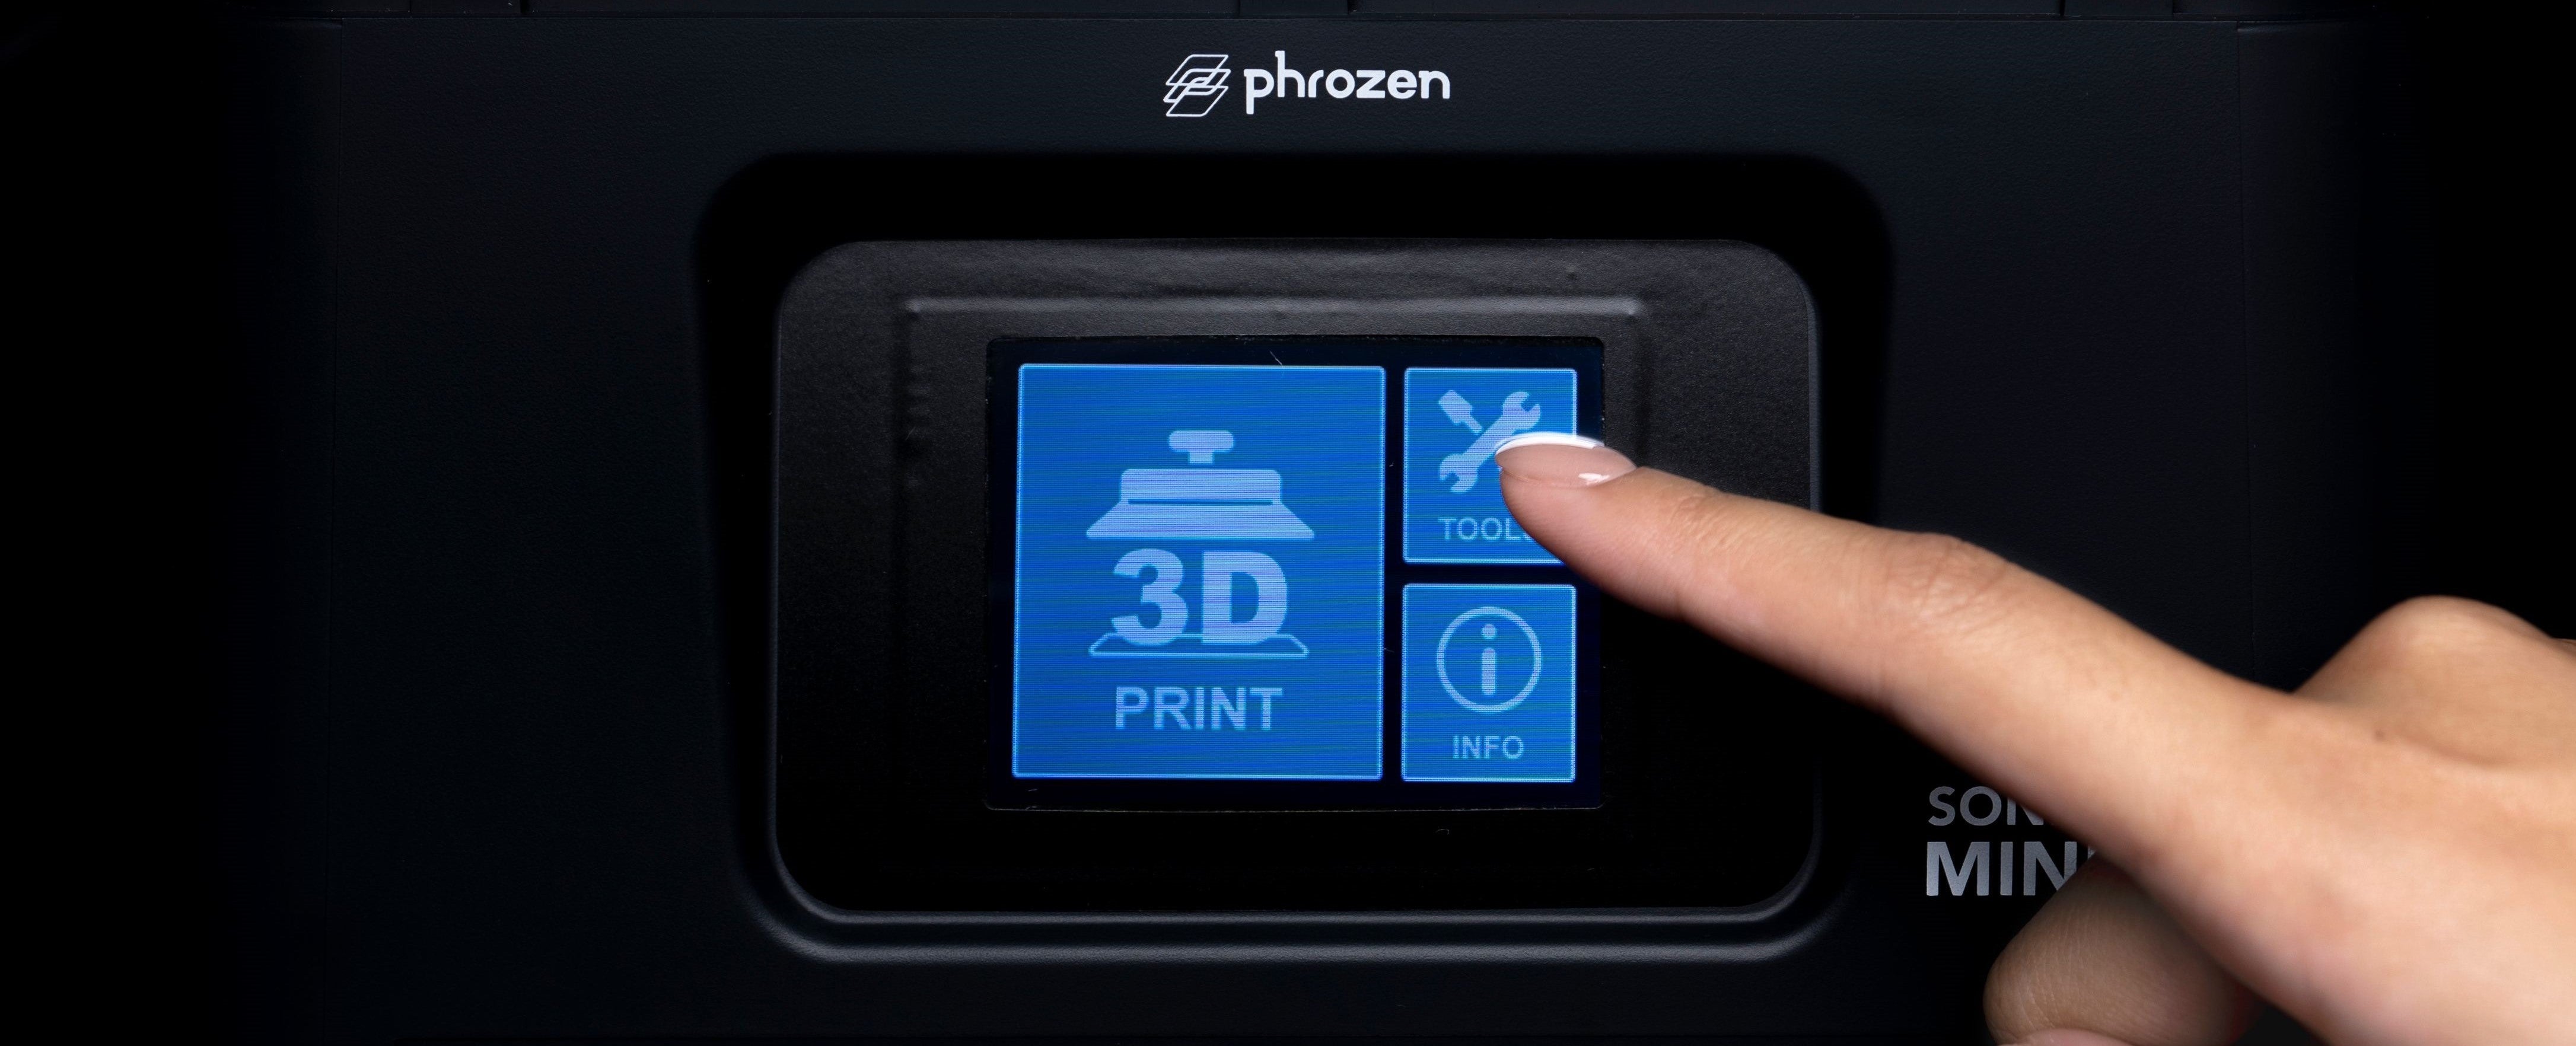
タッチ パネルで[ツール]をクリックし、次にタッチ パネルの[Z CALIB]をクリックしてキャリブレーション プロセスを開始します。
[次へ]をクリックする前に、手順 2 ~ 4 を完了してください。

ステップ2: レジンバットを取り出す
レジンバットを取り外し、マシンのプラットフォーム上にある物体を必ず取り除きます。
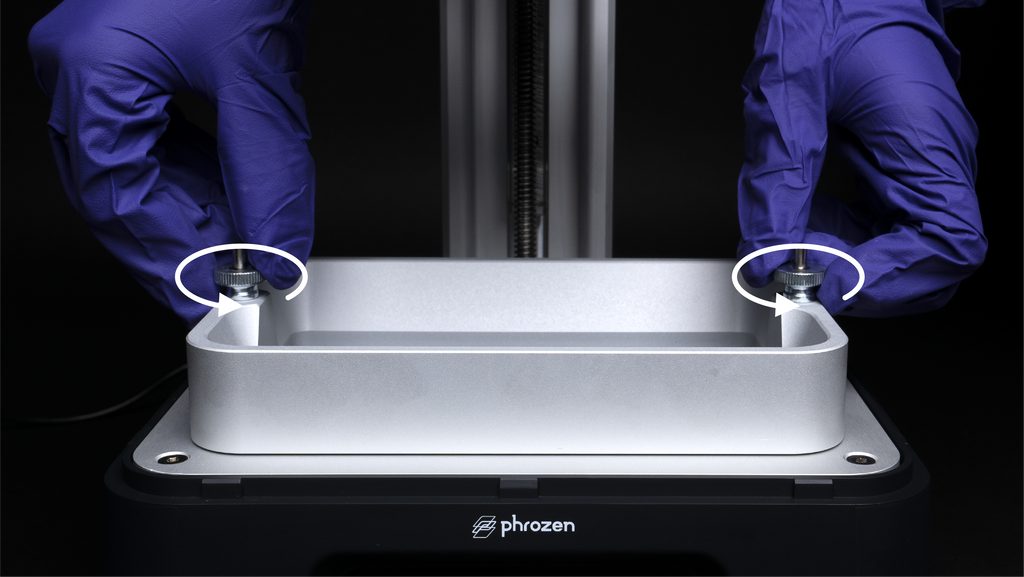

ステップ 3: ビルディング プレートを取り付ける
ビルディング プレート ノブをプリンターに取り付け、ピンの位置に合わせます。建物プレートをねじ込んで締めます。
※注意:締め付け時に建築プレートがずれないよう注意してください。


ステップ 4: ネジを緩める
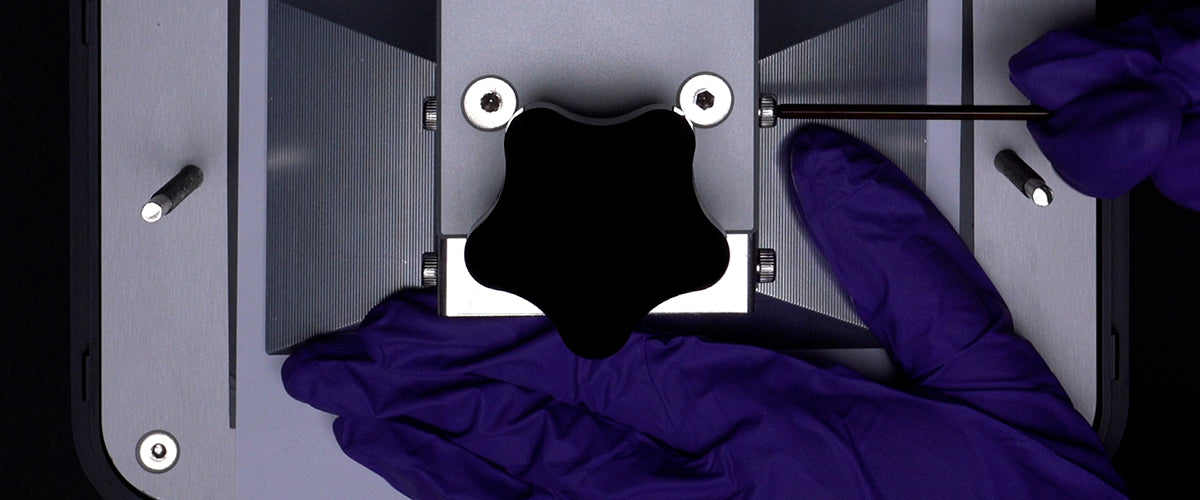
ツールボックスに含まれている六角レンチを使用して、ビルディング プレートの側面にある 4 本のネジをすべて反時計回りに緩めます。緩めた後、プレートが緩んで動くかどうかを再確認してください。

ステップ 5: ビルディング プレートを引き下げます
ビルディング プレートのネジが完全に引き下げられるまで、ビルディング プレートを下方向に引っ張ります。
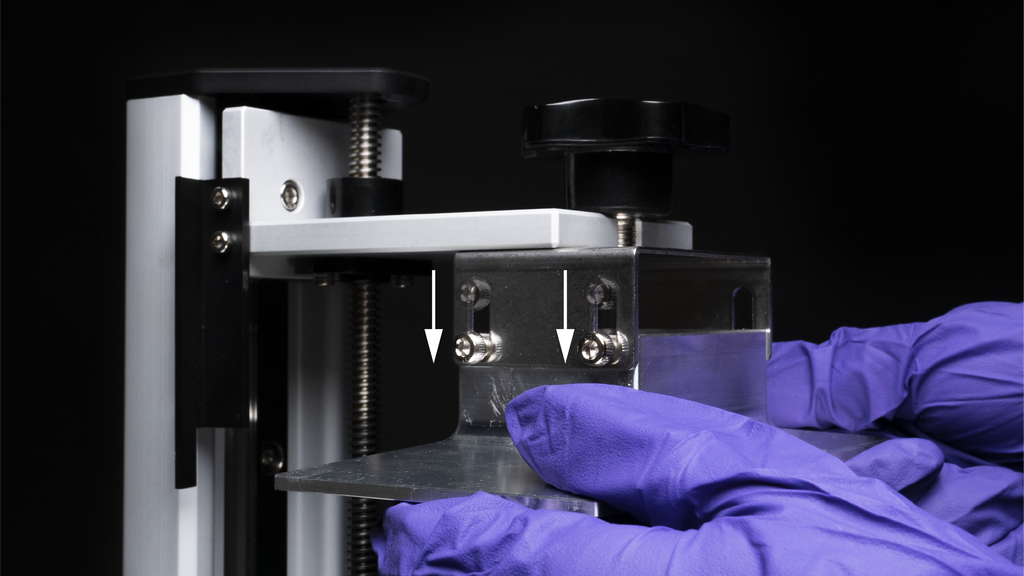
ステップ 6: LCD の上に紙を置きます。
A4用紙(0.07~0.10mm程度)を用意し、液晶画面上に平らに置きます。この紙は建築プレートを水平にするために使用されます。 [次へ] をクリックし、ビルディング プレートが LCD 画面まで広がるまで 1 ~ 2 分間待ちます。


ステップ 7: ビルディング プレートに圧力を加える
建築プレートが接地したら、圧力を加えて建築プレートの側面をしっかりと押し下げます。紙を引っ張って、建築プレートがしっかりと紙に密着していることを確認します。

ステップ 8: 十字パターンの順序でネジを締めます
ビルディング プレートの調整が完了したら、もう一方の手でビルディング プレートを押しながら、ビルディング プレートの側面にある 4 本のネジをすべて時計回りに締めます。たとえば、右上、下、などの十字パターンの順序です。左、左上、右下。

ステップ 9: Z 軸キャリブレーションを再確認する
A4用紙の四隅を引っ張って、圧力の強さを確認します。きつい場合は次のステップに進んでください。そうでない場合は、再度 Z 軸校正テストを実行してください。
数回試しても紙がまだ緩んでいる場合は、樹脂バット上で直接 Z 軸キャリブレーション テストを実行してください。 FEP の厚さは約 0.14 ~ 0.15 mm です。

ステップ 10: 完了
タッチ パネルで [完了] をクリックし、ビルディング プレートが引っ込むまで待ちます。


プレートが引っ込んだら、A4用紙を取り除きます。
これで 3D プリントの旅を始める準備が整いました。 Phrozen のテスト ファイルを印刷するチュートリアルについては、ここをクリックしてください。



2 コメント
Dave Adams
Needed to replace out z axis motor bearings, due to a resin spill. How do I reset the maximum distance the z axis will move in the upward direction? Thanks in advance, Dave.
———
Phrozen Technology replied:
Hi Dave,
To lift build plate, select TOOLS, then MANUAL after you’ve boot up your Sonic Mini 4K, where you can lift or lower the build plate manually.
If you need to replace your z-axis motor, please contact your local dealer or submit a request from the helpcentre or using the link down below. https://reurl.cc/lvd5kq
Regards, Phrozen Team.
>
Amaury
Do I have te recalibrate the Z-axis every time I turn the printer on?
———
Phrozen Technology replied:
Hi Amaury,
No, you don’t need to recalibrate the Z-axis every time you turn the printer on. However, here are some conditions in which recalibration might be required: 1. When you just installed an LCD screen protector 2. When the building plate is not level and unstable 3. When you change to a thicker resin than the one you normally use. Hope this helps.
Cheers, Phrozen Team
>