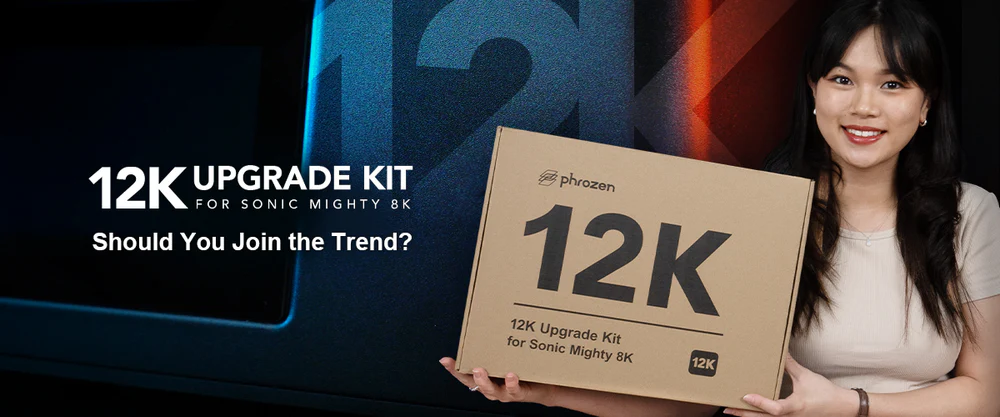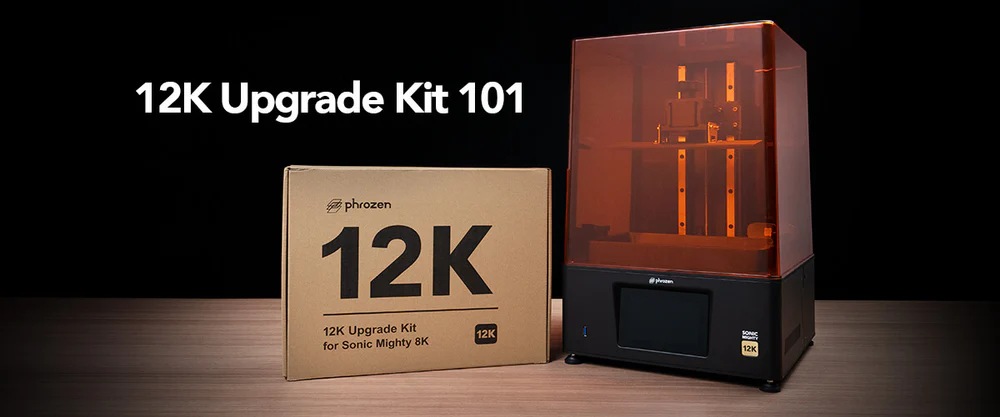
So you've received the new 12K Kit to upgrade your Sonic Mighty 8K, and you are thinking to yourself.. now what?
In this series of tutorials, we'll guide you step-by-step so you'll be fully equipped and ready with everything you need to know before you unlock the full potential of your Sonic Mighty 8K with the Phrozen 12K Upgrade Kit. Get the quality of a 12K printer and achieve effortless higher printing quality just by replacing a few key components from your old and beloved 3D printer.
In addition, the 12K upgrade kit also includes the new Phrozen ACF Film, which paired with the new firmware from the new 12K mainboard, will reduce your printing time and increase printing efficiency to achieve successful prints each time.
Step-by-Step Tutorials
In this article, we will show you how to upgrade your Sonic Mighty 8K printer parts into 12K and change your release film to the new ACF film.
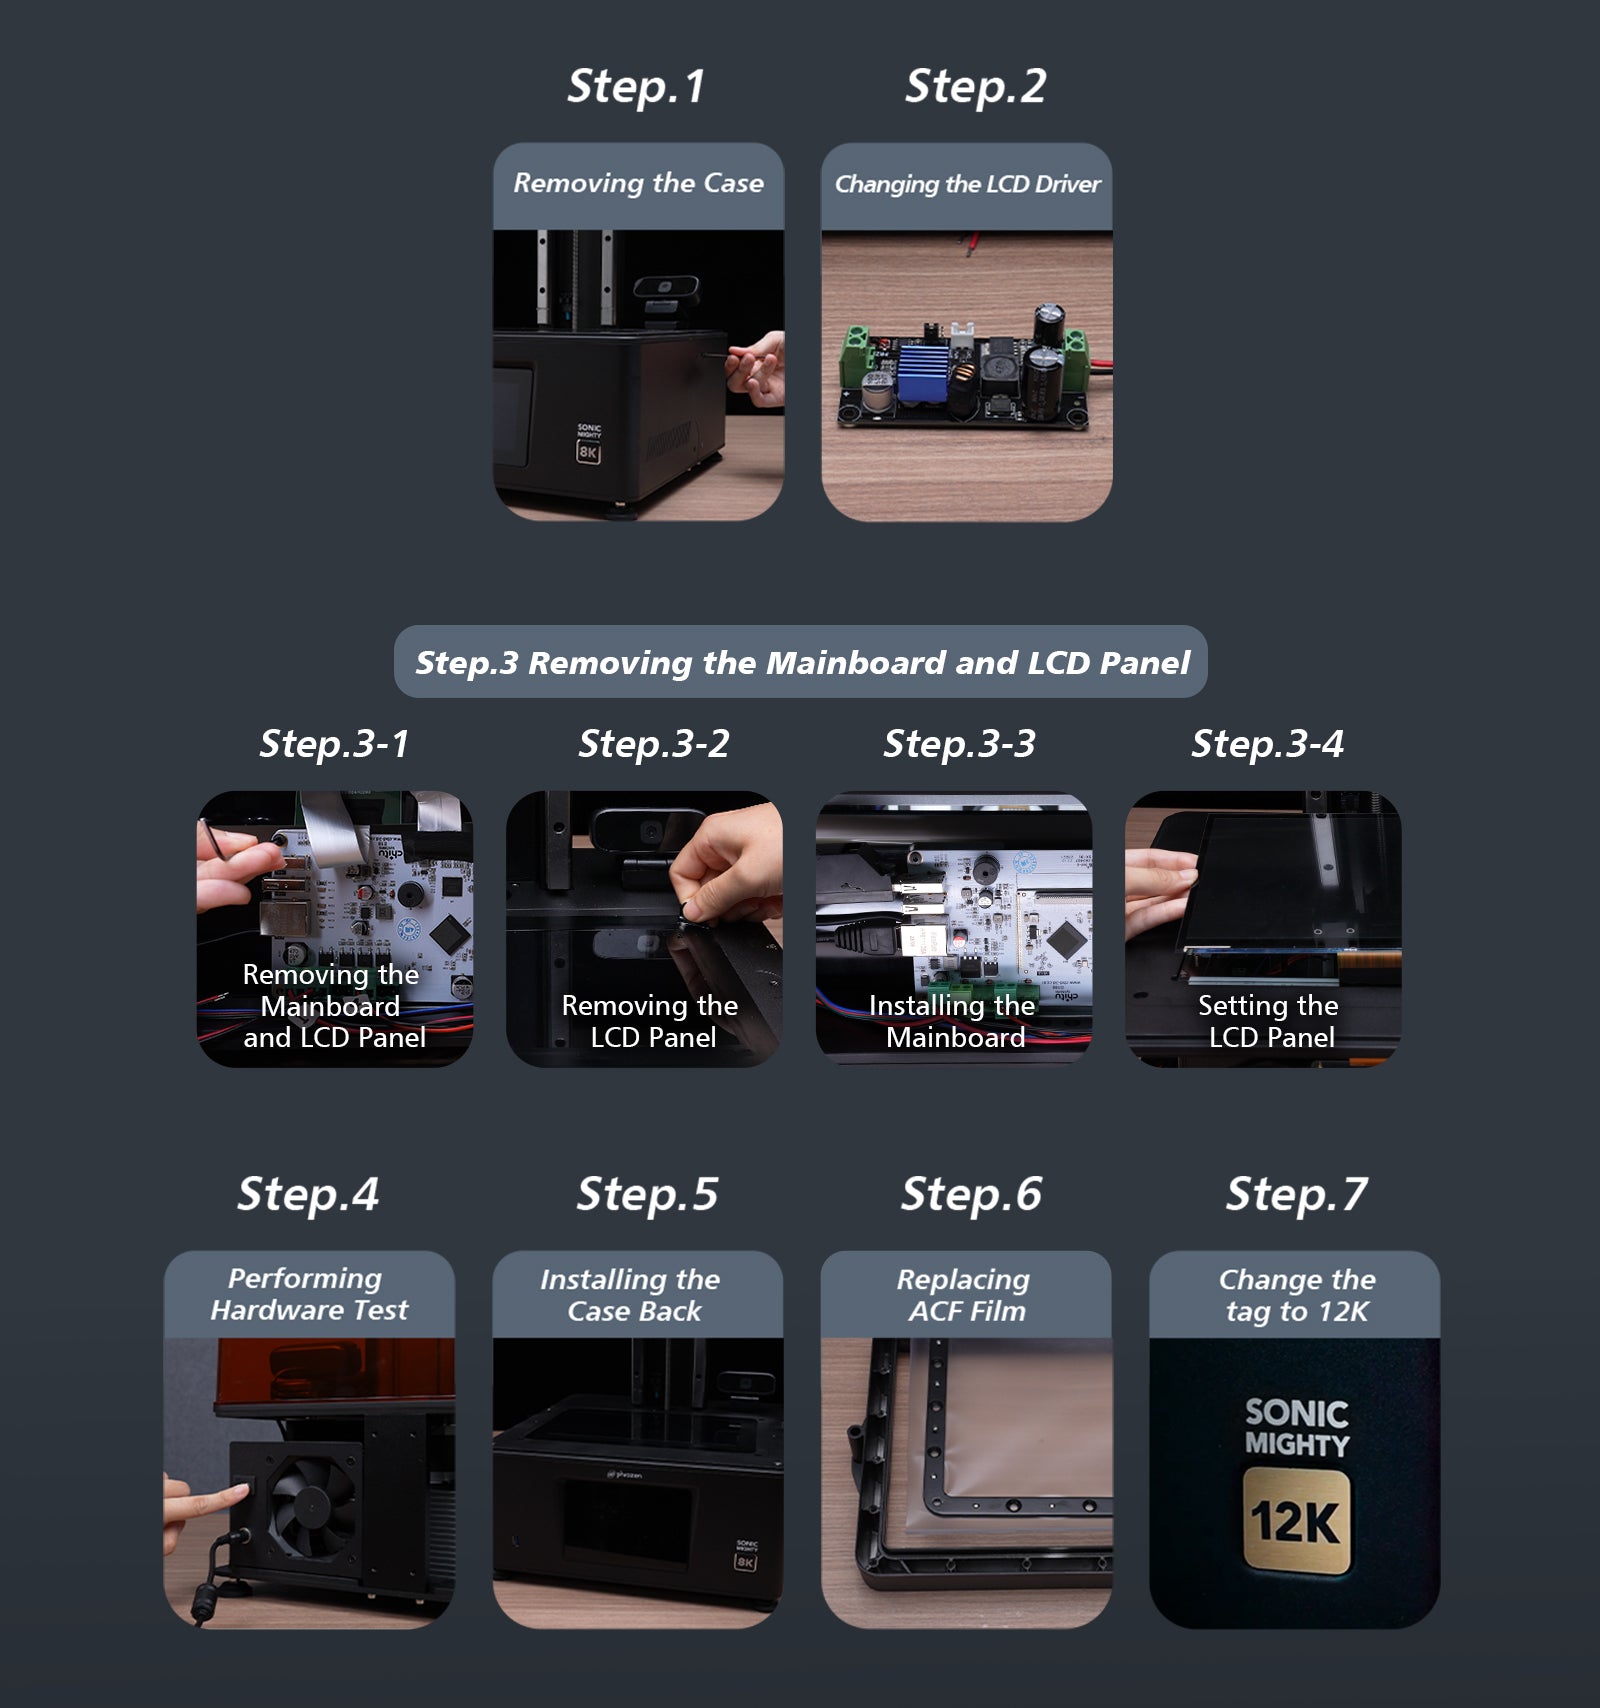
Click on the articles below to see the step-by-step tutorials:
- What’s Inside Your 12K Upgrade Kit
- How to Remove the Case of Your Mighty 8K?
- How to Change the LED Driver?
- Time to Upgrade to the New 12K Mainboard and LCD Panel
- How to Perform a Complete Hardware Test on Sonic Mighty 8K?
- Are You Ready to Upgrade Your nFEP Film to ACF Film?
Tutorial Video
Watch this video to learn how to upgrade your Sonic Mighty 8K printer parts into 12K and how to change your release film to the new ACF film.
We hope you have an incredible 3D printing journey with your new 12K printer!