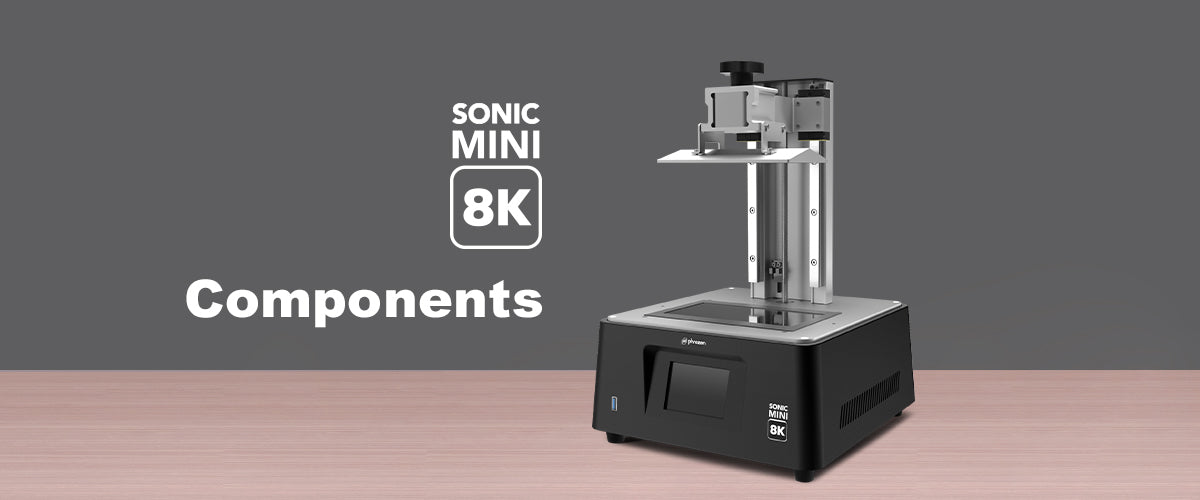


In this article, we will guide you through the steps of setting up your Phrozen Sonic Mini 8K LCD 3D printer before you start 3D printing.

Remove the plastic cover and then remove the resin vat.

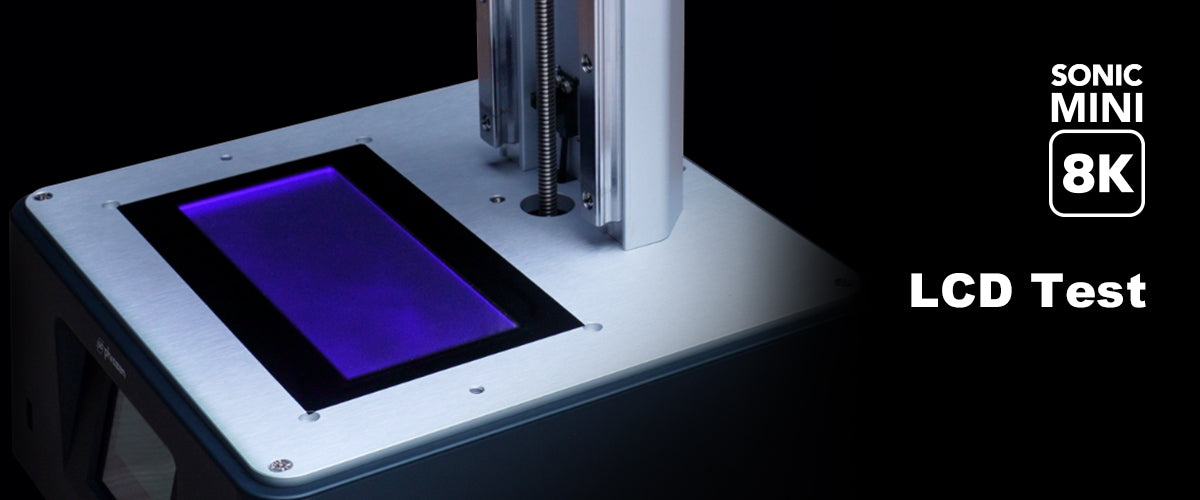
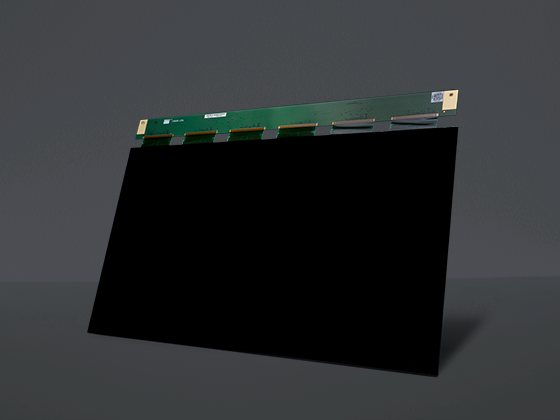
Then peel off the protective film on the LCD before printing with the Sonic Mini 8K.

Plug in the power cable located at the back of the Sonic Mini 8K.

Turn the switch on. It may take up a few seconds for the touch panel to light up. Once you hear a loud beep, it means the device is ready for use.
Click here for the next step: performing an LCD Test on your Sonic Mini 8K.