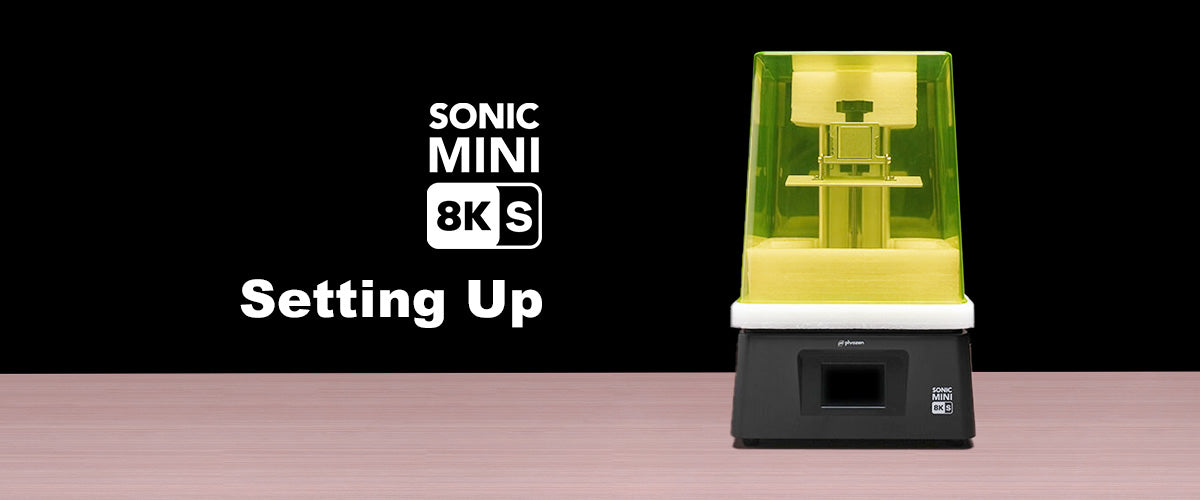
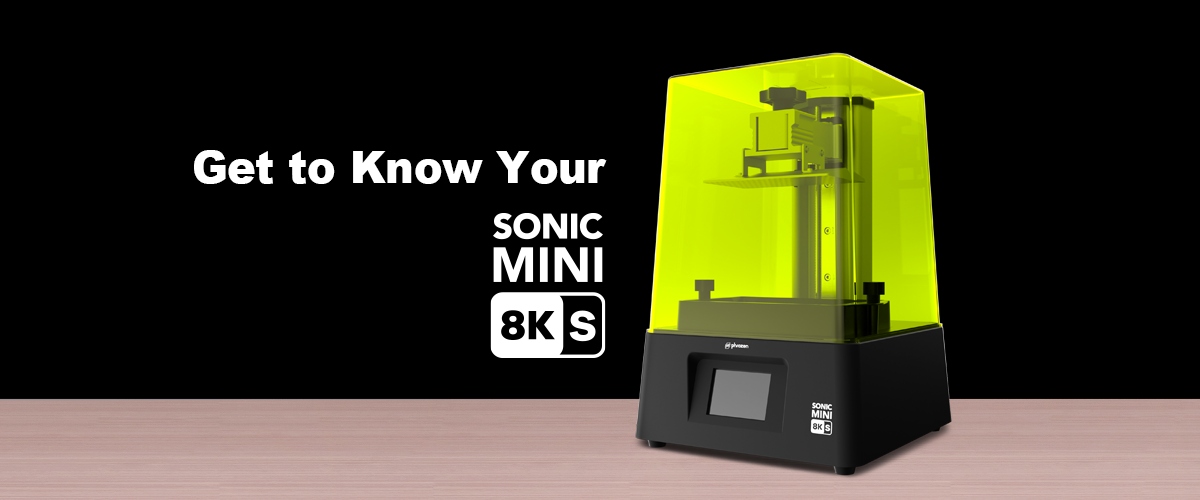
在熟悉了 Sonic Mini 8K S 的組件後,我們現在準備好設定您的Phrozen Sonic Mini 8K S 3D 列印機並開始愉快的 3D 列印之旅。
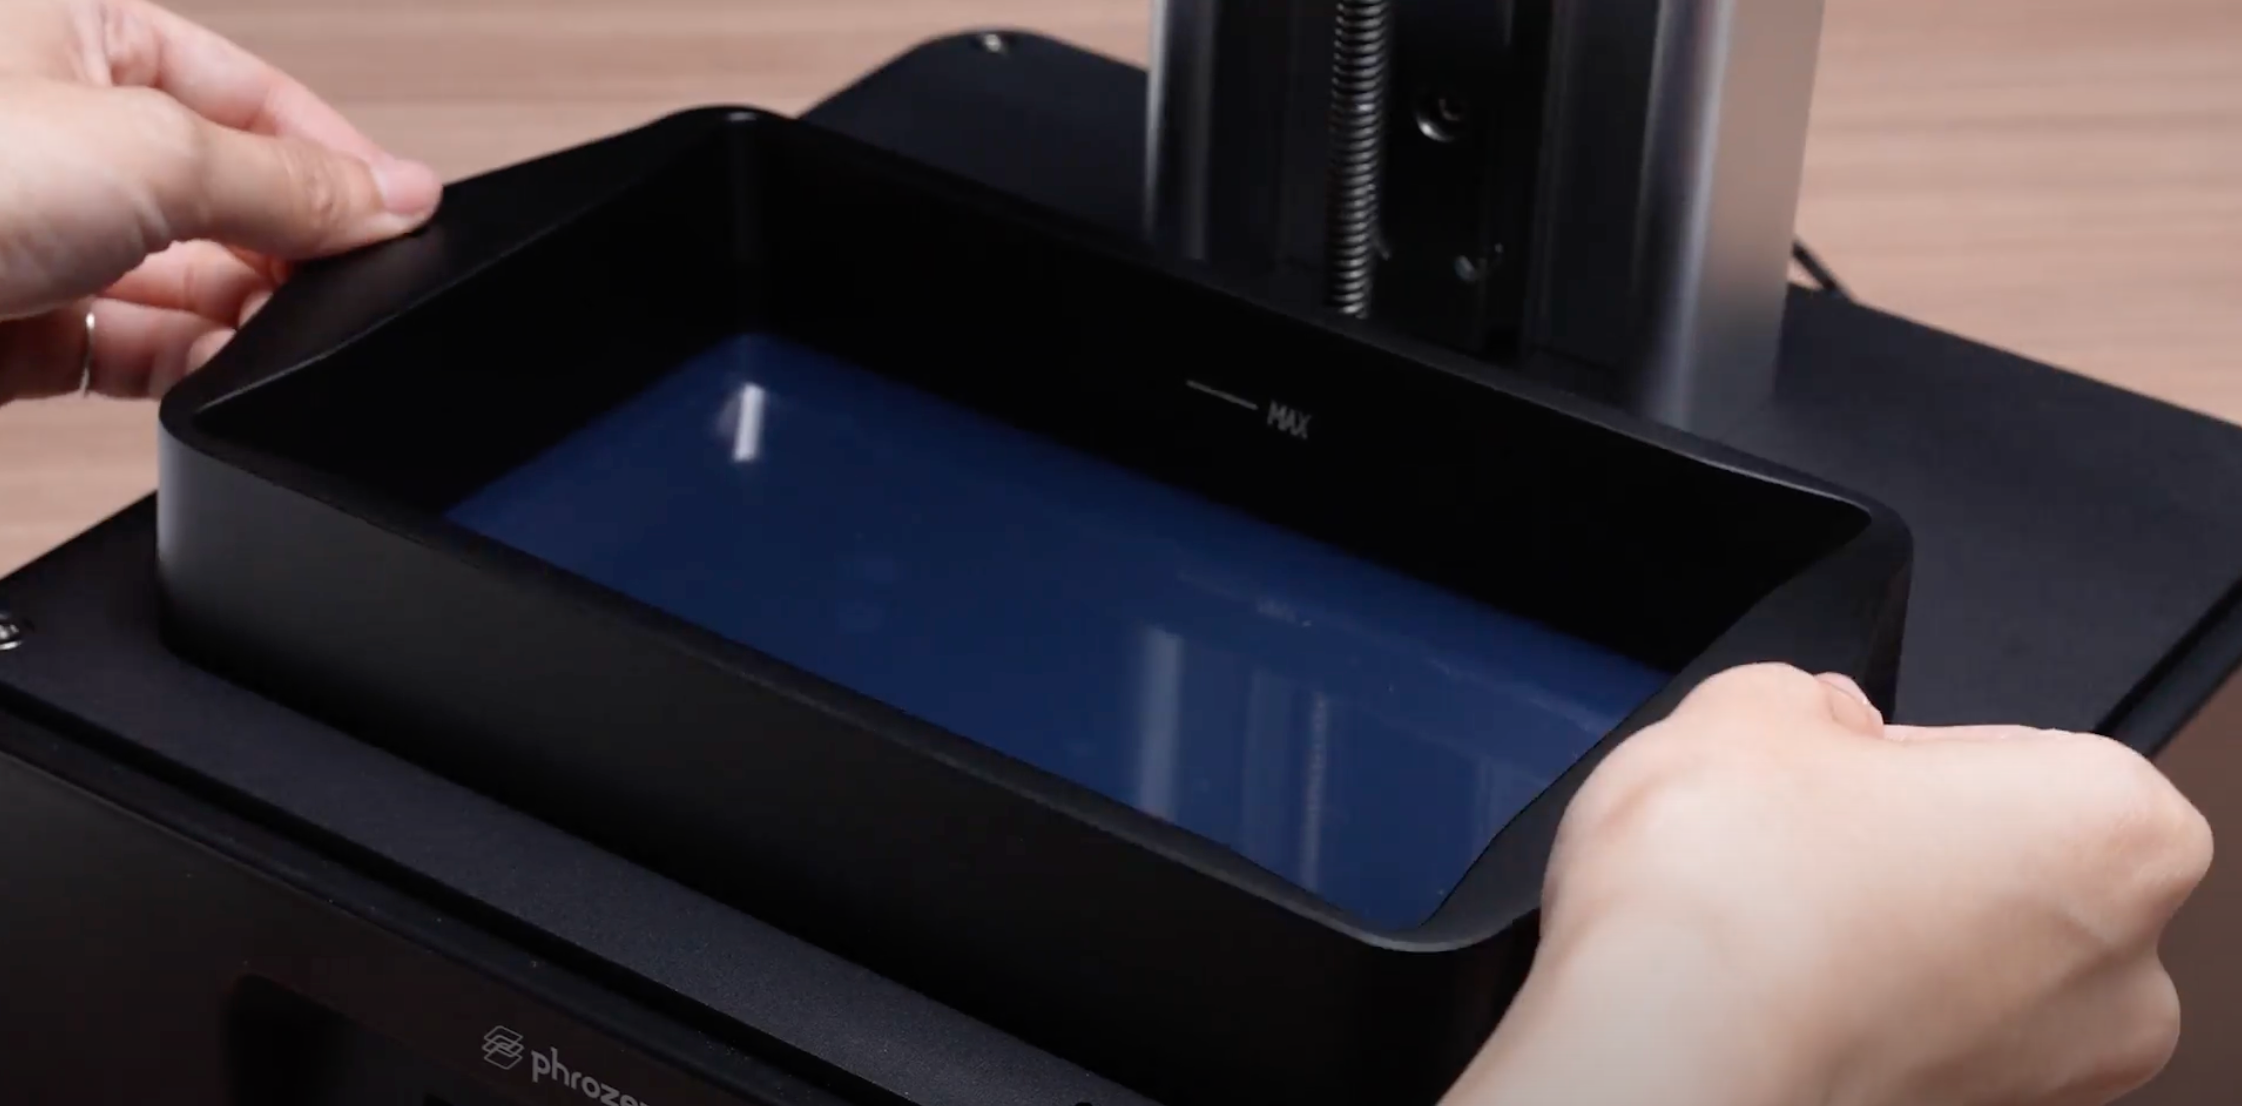
步驟1:先鬆開樹脂桶旁的螺絲,然後取出。
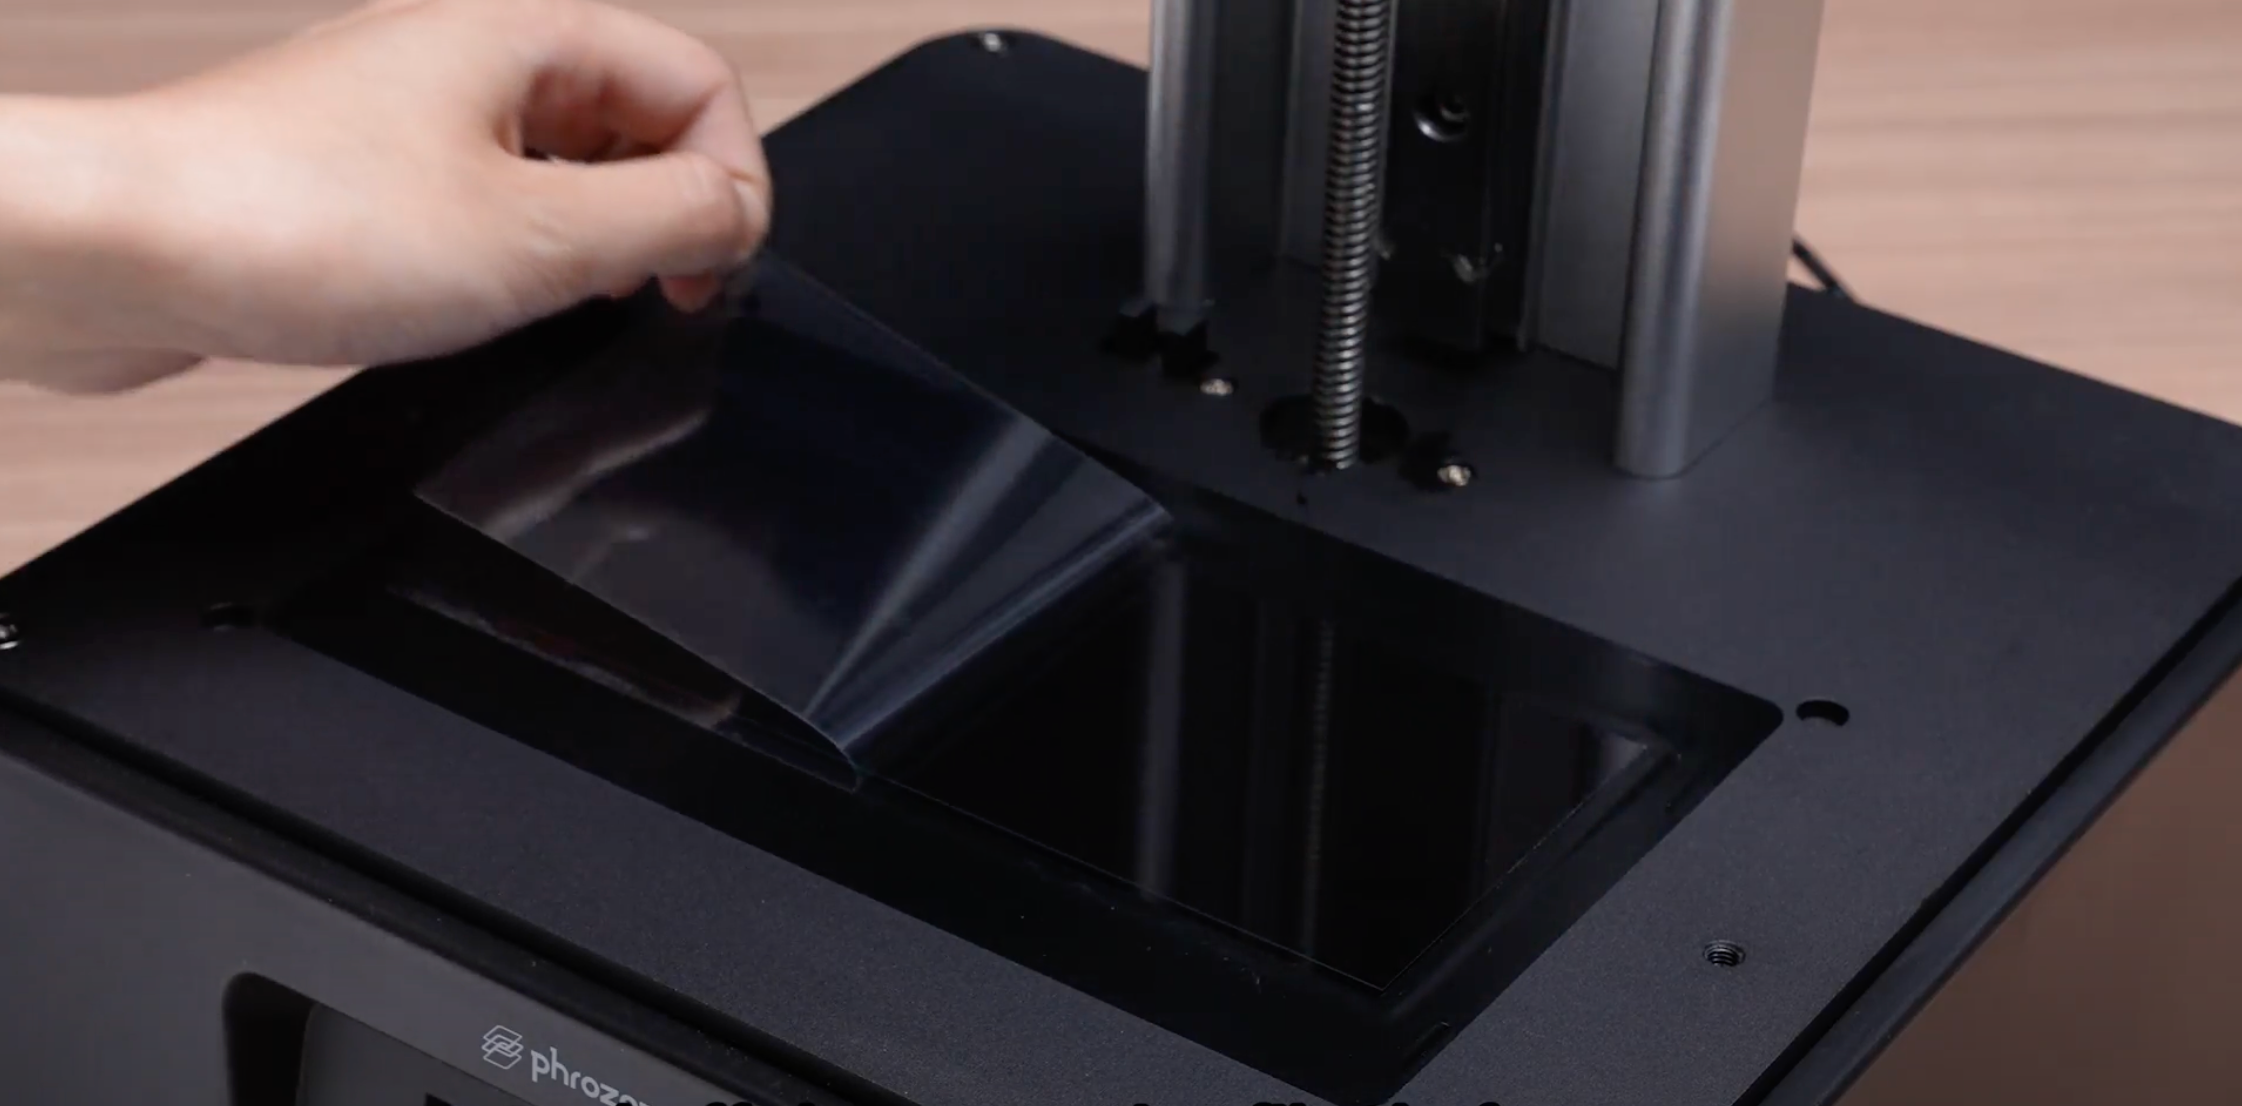
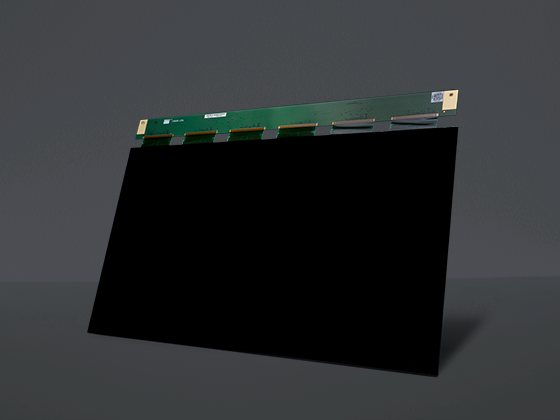
步驟 2:接下來,在開始使用Sonic Mini 8K S進行列印之前,先撕掉LCD上的保護膜。
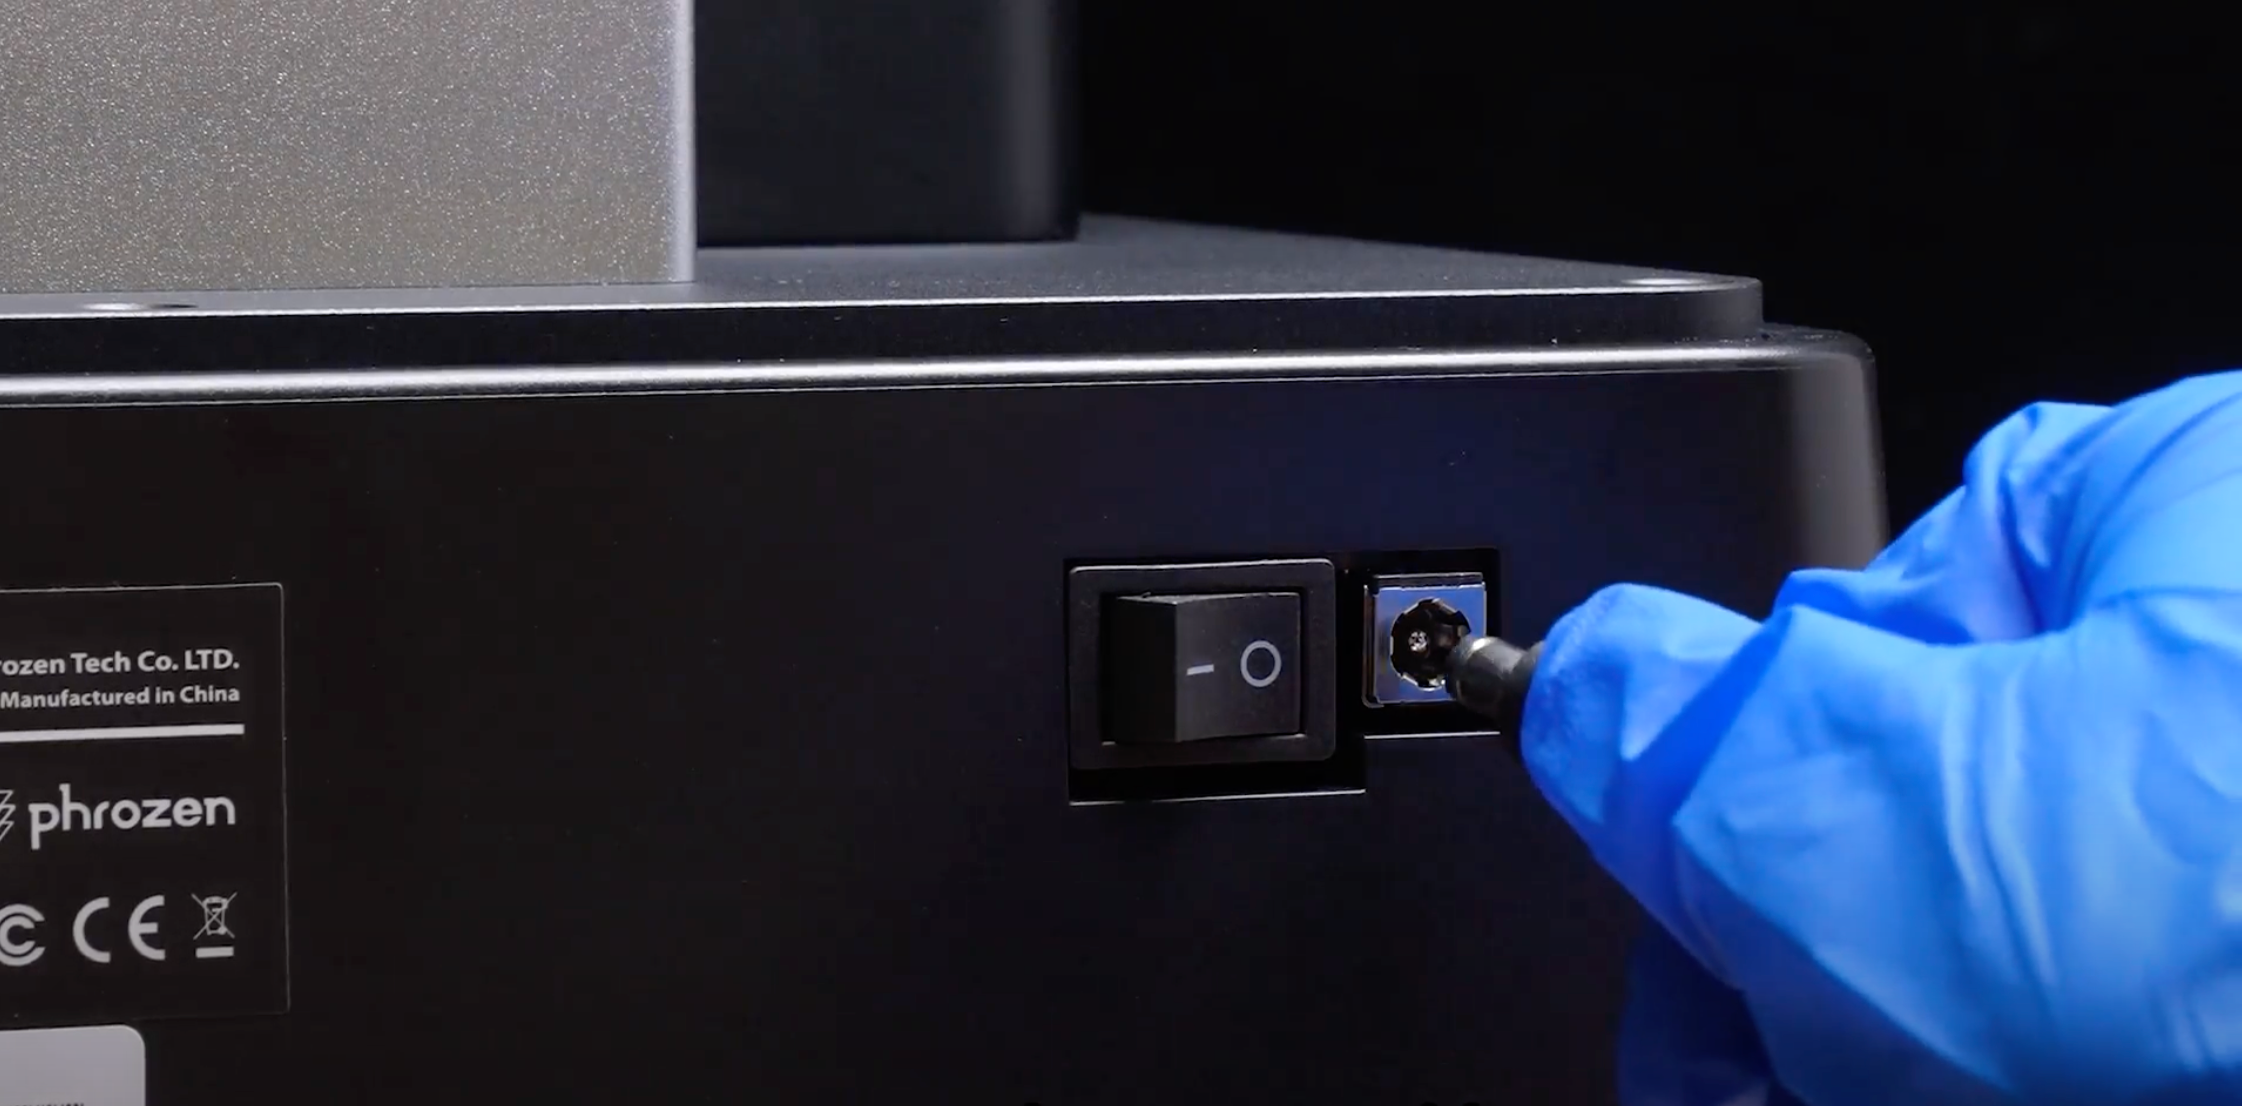
 步驟 3:將電源線插入Sonic Mini 8K S背面的連接埠。
第四步:打開開關。觸控面板可能需要幾秒鐘才會亮起。一旦聽到蜂鳴聲,即表示設備已準備好使用。 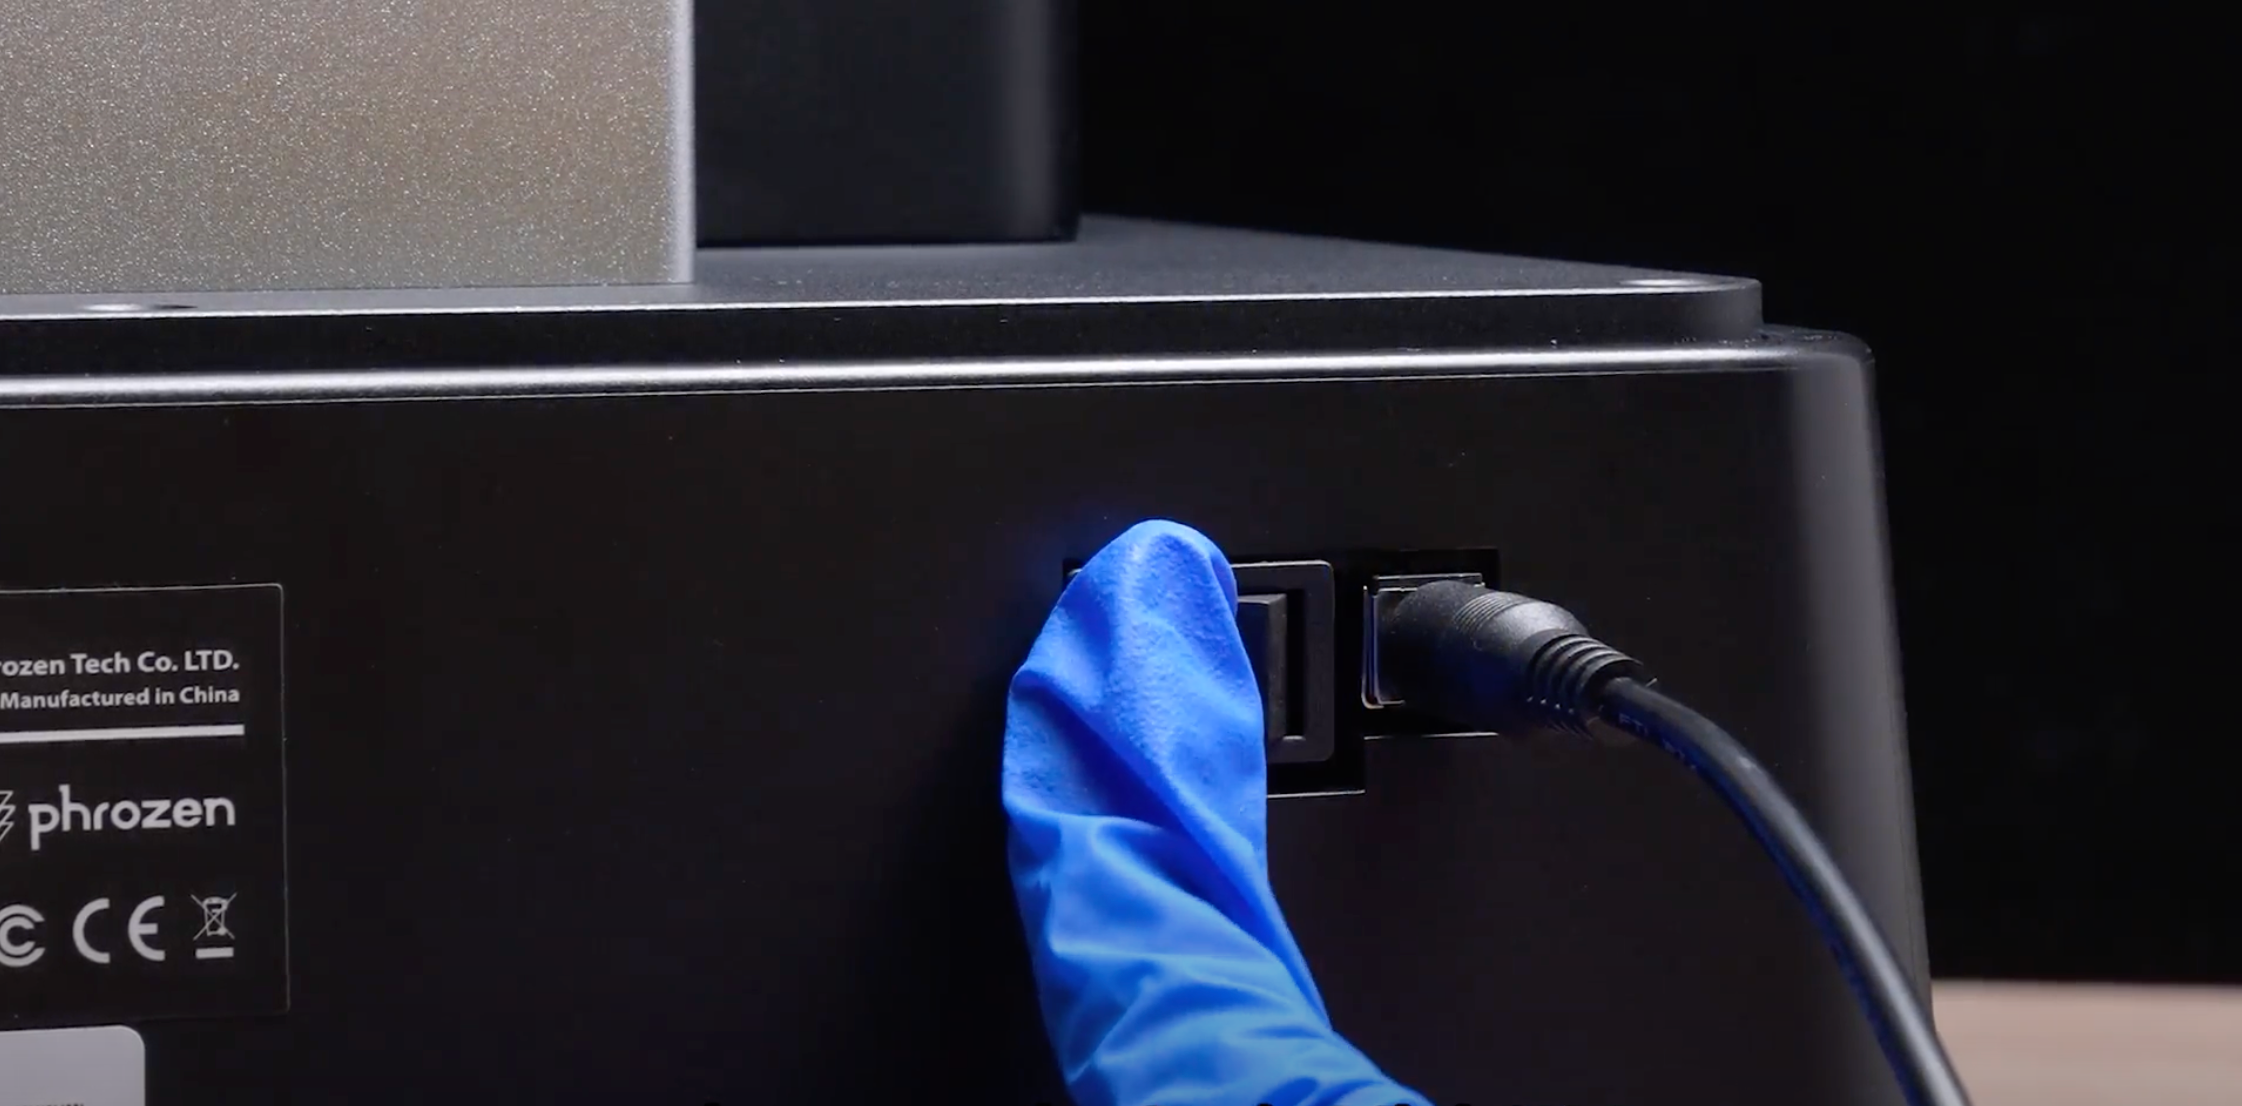
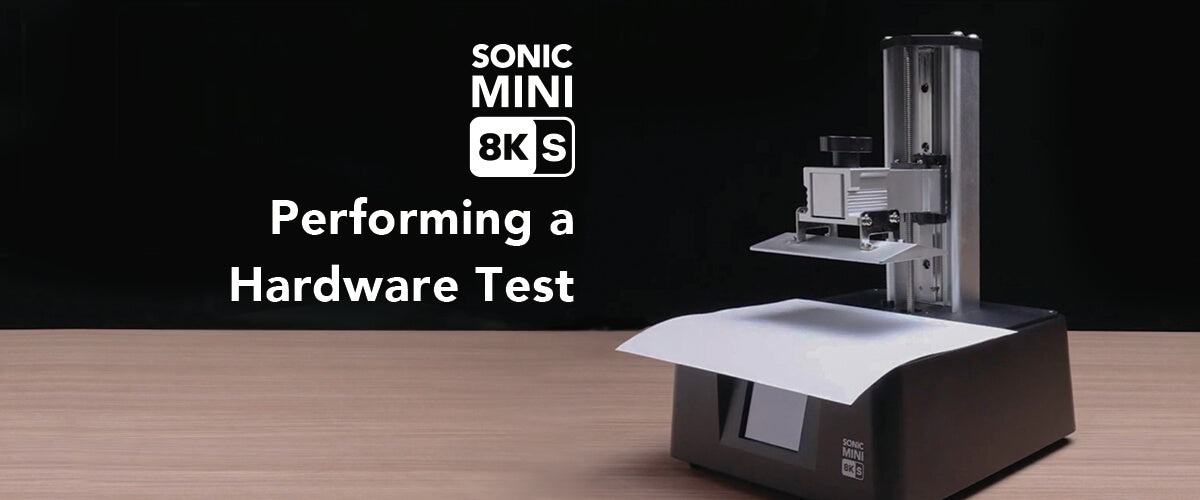
現在我們可以繼續對您的 Sonic Mini 8K S 進行 LCD 測試。



1條評論
sovann
I have trouble printing because when I print the bottom thickness is thick. Can you help me with this solution, what settings to choose, do not let it matter. Thank you
———
Phrozen Technology replied:
Hello Sovann, Thank you for commenting.
You will have to print the testing models such as XPFinder to determine the optimal resin setting for your setup. If you are using a Phrozen branded resin, we’ve provided resin profiles for our customers to use as a starting point when they are dial in the resin, which you can find on this page: https://phrozen3d.com/pages/resin-profile
And here’s an article on how to dial in the resin by reading results from the XPFinder, which you might want to take a look: https://helpcenter.phrozen3d.com/hc/en-us/articles/6324821843993-How-to-Dial-in-Resin-for-Optimal-Results
Hope this helps.
Best, Phrozen Team
>