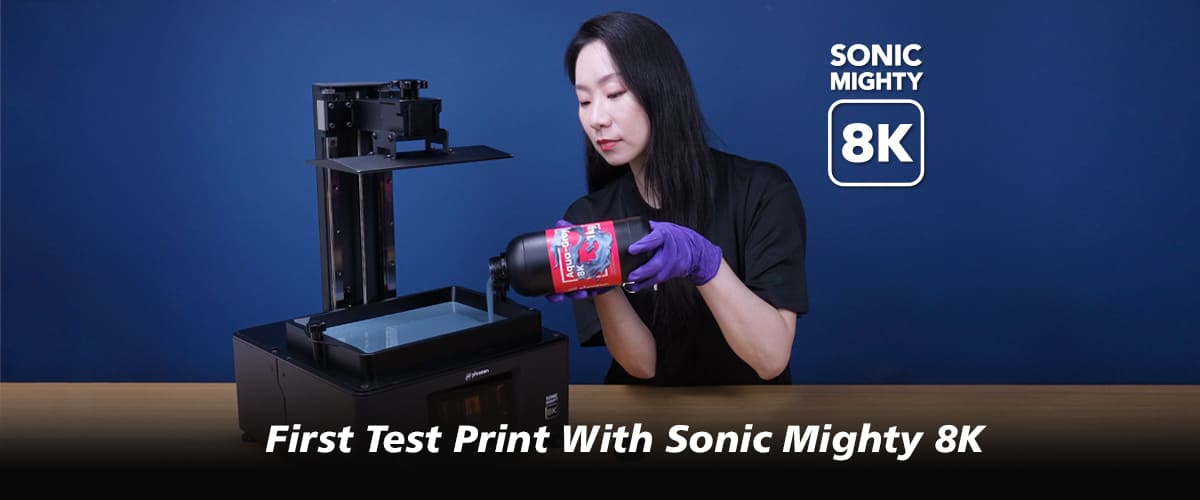
Even if this is your first ever 3D printer with no prior 3D printing experience, we can assure you that you have nothing to worry about. Sonic Mighty 8K is equipped with an intuitive and user-friendly touch panel interface to ensure that both beginners and experienced users will have no difficulty operating the machine.
First, let’s get through the initial setup and tests of the printer to prepare you for your first print with the Sonic Mighty 8K LCD 3D Printer. In this article, we will guide you to perform the LCD Test and Z-Axis Calibration.
LCD Test
After completing all the basic setups, the system will automatically guide you to perform the initial setup. Please make sure to wear eye protection and DO NOT look directly into the light radiating from the 3D printer’s LCD as improper exposure to UV light may cause painful eye and/or skin injuries.

Then click Next to proceed with the LCD test.

The LCD test on Sonic Mighty 8K will be separated into three different parts: Light Up, LCD Grid, and Blackened. Each test will take ten seconds to complete. Click Next and make sure that the LCD screen matched the image shown in the touch panel and the LCD test is now complete.
Z-Axis Calibration
After completing the LCD test, the system will automatically lead you to perform the next task: Z-axis Calibration settings. You can simply follow the instructions on the touch panel screen to calibrate the Z-axis.
Step 1: Remove the resin vat and place one sheet of A4 paper on the LCD screen.

Step 2: Loosen all four screws on the sides of the building plate.
Step 3: Wait for the Z-axis to lower the building plate all the way to the bottom, then tighten the screws on the sides of the building plate.

After all the processes are completed, the Z-axis will automatically rise the building plate to return to its original position.
Now that you’ve learned how to perform the LCD test and Z-axis calibration, you can continue your 3D printing journey with your first test print on the Sonic Mighty 8K.


1條評論
Jim
in your setup if you dont have Aqua 8k the menu takes you back and tells you to scan a QRcode for other resins. That goes to a broken page on this site… please fix.
———
Phrozen Technology replied:
Hi Jim, thank you for letting us know, and we are sorry for this inconvenience. We are currently in the process of fixing this. In the meantime, please refer to the Sonic Mighty 8K User Manual (p.8) https://phrozen3d.net/tkoCO, and scan the third QR code to get to the correct link.
Cheers, Phrozen Team
>