Whenever you are getting a new 3D printer, whether it’s LCD or FDM, it’s always recommended to start every new 3D printer with a test piece so you can first see the printer performance, and how different parameters would affect your printing results. Experienced 3D printing hobbyists know very well how different environmental conditions could significantly affect their printing results. Therefore, printing a test piece is a must with every new 3D printer you get your hands on.
After you complete the initial setup process, your Sonic Mighty 8K will automatically guide you to perform your first test print. Each Sonic Mighty 8K printer is equipped with a sliced ready-to-print file of XP Finder, specifically sliced with Aqua-Gray 8K resin to ensure the finest printing quality.
PS: If you choose to use other resins, simply slice the XP Finder with other parameter settings suitable for your preferred resin.
Prepare all the tools and equipment you will need near your 3D printing workspace before starting so it's easy to grab when you need them later.

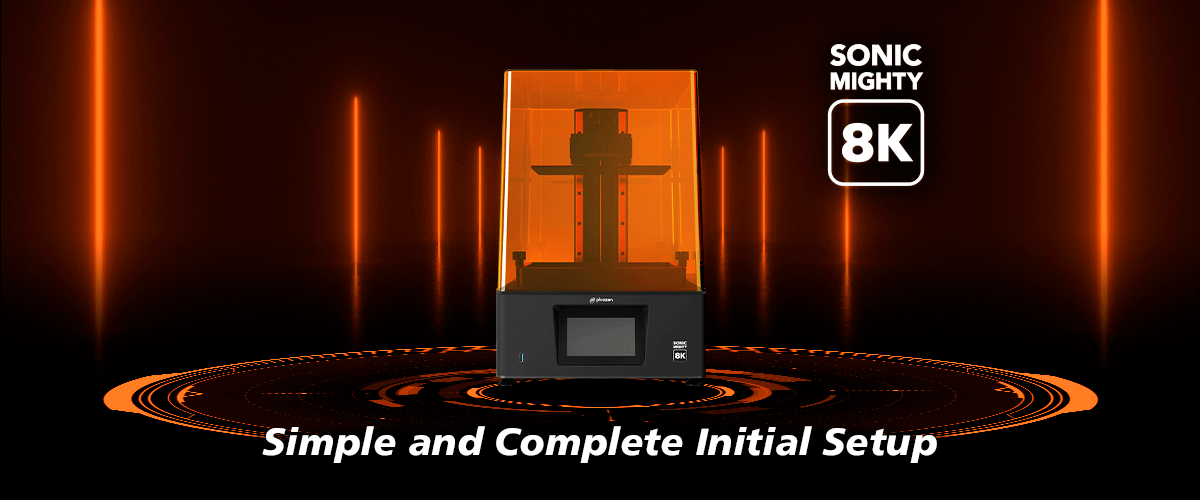
Now, let’s start with the XP Finder print test in your brand new Sonic Mighty 8K LCD 3D Printer.

After pressing Next, the system will automatically lead you to prepare the vat and resin for printing. If you are not using the Aqua-Gray 8K Resin, select Back and choose your preferred resin option.
Before proceeding to print, it is advisable to wear PPE (Personal Protective Equipment) masks, goggles, and gloves as direct contact with resin may cause allergic reactions.
First, install the resin vat. Please make sure that the bottom screws of the resin vat are perfectly aligned with the platform grooves. Then tighten the screws on both sides.

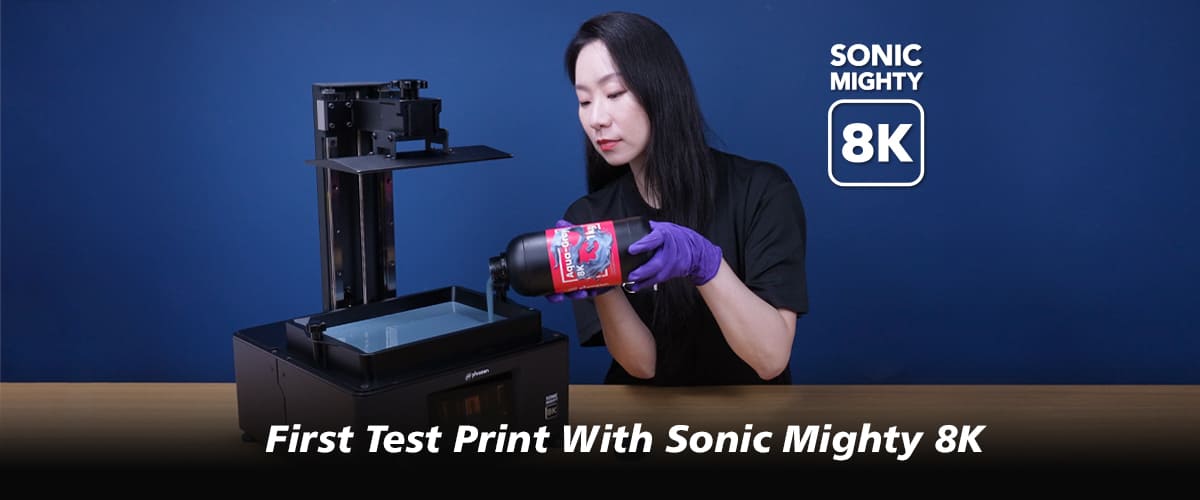
Shake well your Aqua-Gray 8K Resin and gently pour into the vat. Make sure to not exceed the MAX limit to avoid overfilling.

Then, press Print.

The touch panel screen on the 3D printer will show you the printing progress of your model along with the time required and its specifications.
By tapping on the image, you can switch the view into the slice view to see the layer that was being printed. Now, all you need to do is just wait for the machine to finish your first XP Finder test print.

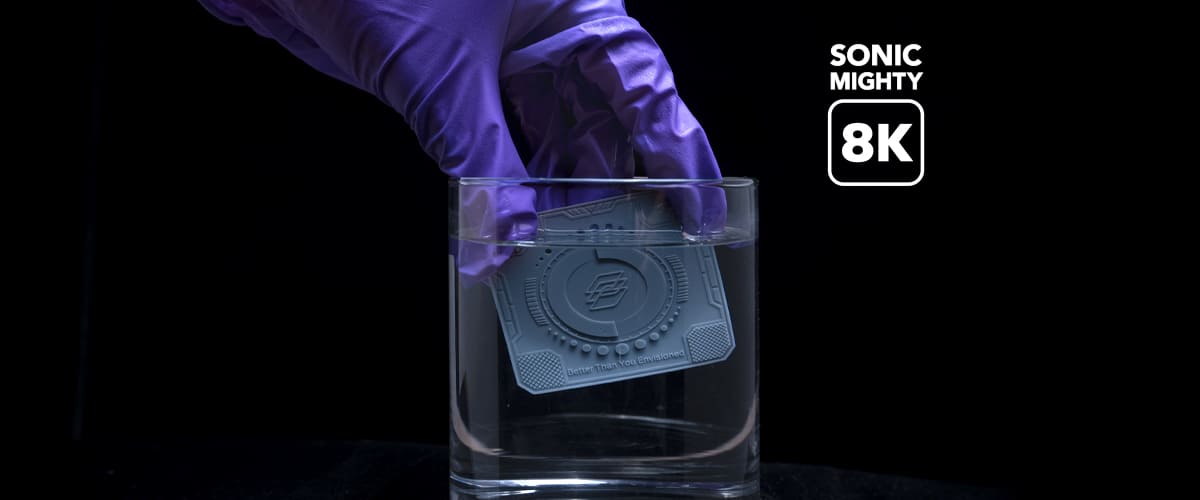
After your print is completed, detach the building plate from the 3D printer and remove the printed model. Make sure to thoroughly wash and cure the model so it’ll be safe for handling.

Click here to learn more about the Phrozen XP Finder and click here to learn more about the post-processing procedures.


