Before printing, you may need to check the status of your Sonic Mighty 4K's LCD screen. This is to ensure that both the UV lights and the 9.3” Mono-LCD screen are functioning properly. We will guide you through the steps of performing an LCD test and how you can read it:
*Caution! DO NOT look directly into the light. Improper exposure to UV light may cause painful eye and/or skin injuries.
Step 1: LCD TEST
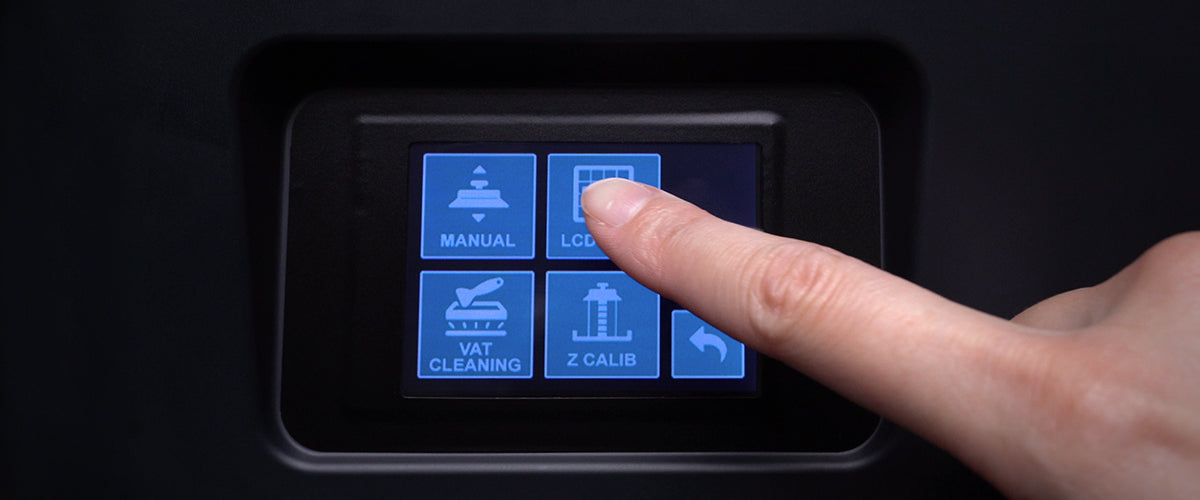
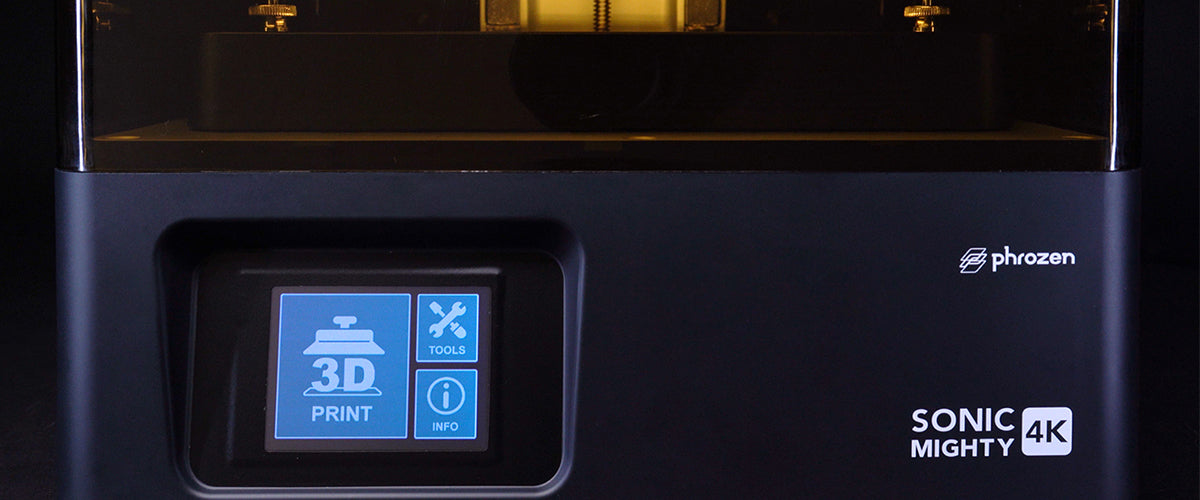
1. On the touch panel, click TOOLS, then click LCD TEST


2. A white rectangle with black sides will appear on the touch panel.

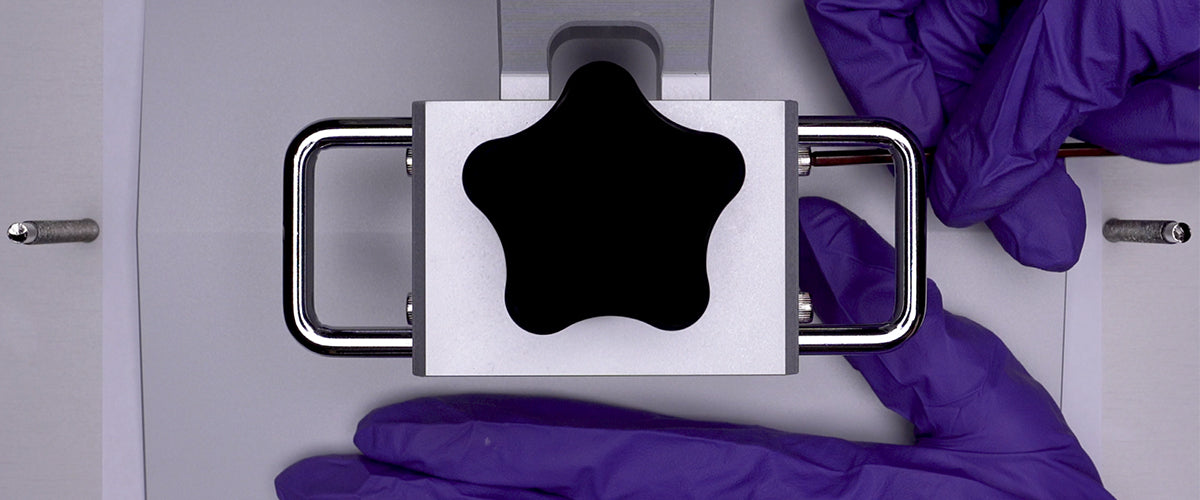
3. On the LCD screen, a 15.5 cm x 10 cm bright blue square will appear. Run this test to make sure that the image shown on the LCD screen matches the one shown on the touch panel.

Step 2: VAT CLEANING
1. Click TOOLS, then click VAT CLEANING.

2. On the touch panel, a white rectangle will appear.

3. On the LCD screen, an approximately 20 cm x 12.5 cm bright blue square will appear, while the entire screen is illuminated. Run this test to make sure the UV lights are distributed evenly.

Step 3:
After making sure everything is functioning correctly, you’re all set to proceed to the next step: Z-axis Calibration.


1條評論
Kara Lauterbach
My screen shows a dark rectangle with lighted outline
———
Phrozen Technology replied:
Hi there,
Please send us an email at support@phrozen3d.com and we will get back to you as soon as possible.
My screen shows a dark rectangle with lighted outline
———
Phrozen Technology replied:
Hi there,
Please send us an email at support@phrozen3d.com and we will get back to you as soon as possible.