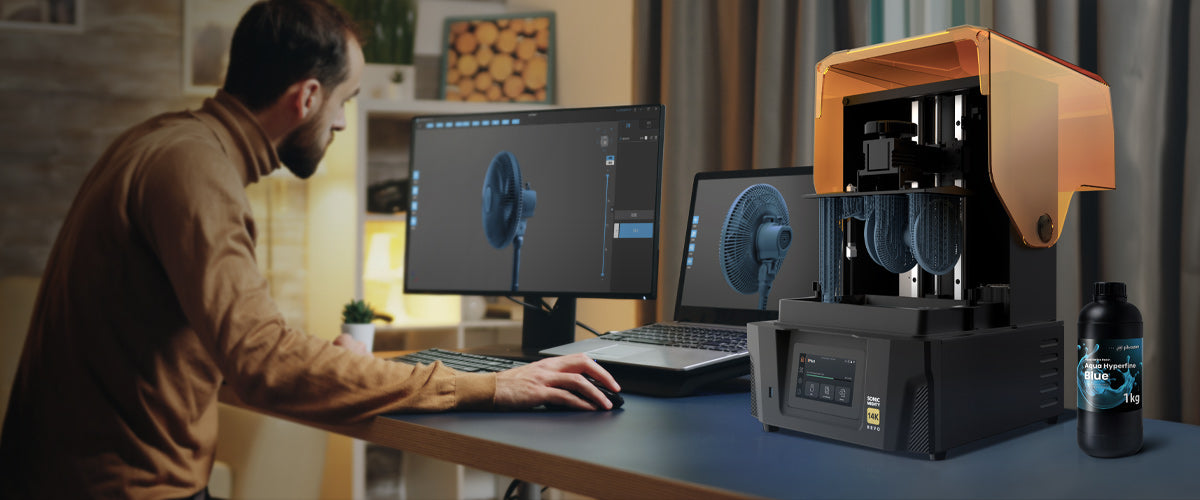
Are you tired of spending hours on a resin 3D print, only to end up with a model that’s flawed or lacking detail? Many users face the frustration of poor print quality despite following basic guidelines.
But there’s good news! By understanding and implementing a few key techniques, you can significantly improve 3D print quality and achieve those high-detail, smooth finishes you’re aiming for.
Let’s dive into some practical tips that will help you master your resin 3D printing.
Best Ways to Improve 3D Print Quality
Understand Layer Height
Layer height is the height of each cured layer in your print. It impacts both the print speed and quality. A smaller layer height (e.g., 50 microns) will produce smoother surfaces and finer details but will take longer to print. Conversely, a larger layer height (e.g., 100 microns) prints faster but may lose some detail.
Tip: Start with a layer height of 50 microns for a balance between speed and detail. This adjustment can significantly enhance 3D printing quality.
Optimize Exposure Time
Exposure time is the duration each layer is exposed to UV light to cure the resin. Incorrect exposure times can cause issues such as poor adhesion to the build plate or loss of detail. Longer exposure times can lead to over-curing, while shorter times can result in under-cured layers.
Tip: Experiment with different exposure times. For many resins, a standard exposure time of 6 seconds works well, but adjust based on your specific resin and printer to achieve high-quality 3D print results. Using a quality printer can also help optimize this process.
If you're working with Phrozen resins, we've made it easier for you. You can check out our detailed resin profile for the right parameters, ensuring that you get perfect prints every time.
Calibrate Your Lift Speed
Lift speed is how fast the build plate moves between layers. Too fast, and your print might detach from the plate or damage the supports; too slow, and it increases the print time unnecessarily.
Tip: A default lift speed of 65 mm/min works for most setups. Adjust if you notice issues with layer adhesion or print time to maintain 3D printer print quality.
Proper Part Orientation
The orientation of your model on the build plate significantly affects the print quality. Sudden changes in the cross-sectional area of your print can lead to visible layer lines and warping.
Tip: Orient your parts at an angle. Avoid printing flat surfaces directly on the build plate. For example, print thin, flat objects like swords vertically to prevent warping, which enhances 3D print quality.
Ensure Adequate Supports
Supports are crucial in resin printing to maintain the integrity of your model. Insufficient supports can cause your print to fail or deform during the process.
Tip: Use supports generously, especially for complex geometries. Light supports can save resin but might not hold the print well; heavy supports ensure stability but may leave marks. This practice is essential for improving 3D print quality.
For precise support removal, consider using tools like the Phrozen Sonic Saber, which makes removing supports hassle-free with the power of ultrasonic cutting. With over 35,000 blade vibrations per second, this ultrasonic cutter helps you trim and finish 3D prints with high-precision margins, ensuring that intricate parts remain intact.
Plus, we have a detailed blog on supports for 3D printing that covers everything from using, adding, and removing supports. Once you've read it, you'll have comprehensive knowledge about the usage of supports.
Use Anti-Aliasing
Anti-aliasing reduces the stair-stepping effect that occurs on the edges of your print, making curves and diagonal lines appear smoother.
Tip: Enable anti-aliasing in your slicer software. ChiTuBox offers levels of 2, 4, and 8. Higher levels provide smoother results but may increase print time, contributing to high-quality 3D print outcomes.
Clean and Level Your Bed
A clean and level build plate is essential for good adhesion and quality prints. Resin residue can cause print failures or defects.
Tip: Regularly clean your build plate with isopropyl alcohol. Ensure it is level before starting a new print to avoid adhesion issues, which is a key factor in improving 3D print quality. Also, utilizing a wash and cure set can streamline the post-processing phase and ensure better print outcomes.
Maintain Optimal Room Temperature
Resin printers operate best in a stable temperature environment. Fluctuating temperatures can affect the resin's curing process and print quality.
Tip: Keep your printer in a room with a stable temperature, ideally around 20-25°C (68-77°F). Avoid placing it near vents or windows where temperature can fluctuate. This consistency helps in improving 3D print quality.
Regularly Check and Replace Your FEP Film
The FEP film at the bottom of the resin vat is crucial for allowing UV light to pass through and cure the resin. Over time, it can get scratched or cloudy, affecting print quality.
Tip: Inspect your FEP film regularly. Replace it if you notice scratches, cloudiness, or if prints start to fail frequently. This maintenance step is essential for maintaining 3D printing quality.
Use the Right Amount of Resin
Having enough resin in the vat is essential to avoid print failures. Running out of resin mid-print can ruin your model.
Tip: Check the resin level before starting a print. Most slicer software, like ChiTuBox, can estimate the amount of resin needed for a print. Avoid adding resin mid-print to prevent temperature shifts and other issues, which is critical for 3D printer print quality.
There are various kinds of resins for different purposes. For the best quality and details, our Aqua 8K and Aqua Hyperfine resins produces life-like details and our Speed Plus Resin is the top choice if you want quicker results without compromising your print quality.
Agitate Your Print in Alcohol
After printing, your model needs to be cleaned of excess resin. Simply soaking it in isopropyl alcohol might not remove all the uncured resin.
Tip: Use an old toothbrush to gently scrub your print while it's in the alcohol bath. This helps remove any remaining resin and ensures a cleaner finish, contributing to high-quality 3D print results.
Lubricate Moving Parts
The moving parts of your printer, especially the z-axis and linear rails, can wear out and cause print quality issues if not properly lubricated.
Tip: Apply grease or lubricant to the z-axis and linear rails regularly. If you hear grinding noises, it's a sign that lubrication is needed. This maintenance helps in improving 3D print quality.
Print Conjoining Pieces Flat Side Up
When printing parts that will be joined together, ensure that the flat surfaces are facing up. This reduces the need for excessive sanding and ensures a better fit.
Tip: Avoid using supports on the flat surfaces that will join together. Print them flat side up to minimize divots and uneven surfaces, enhancing 3D print quality.
Avoid Letting Resin Sit in the Vat
Leaving resin in the vat for extended periods can lead to sedimentation and issues with future prints.
Tip: If you won't be using your printer for a while, pour the resin back into its bottle. This keeps the resin fresh and your vat clean, which is vital for maintaining high-quality 3D print results.
Ensure Proper Drain Holes
When printing hollow objects, adding drain holes prevents suction and ensures uncured resin can escape.
Tip: Place multiple drain holes in hidden areas of your model. This prevents trapped resin and reduces the chance of print failures, crucial for improving 3D print quality.
Clean Your Printer
A clean printer is a happy printer. Resin spills and dust can affect print quality and the lifespan of your machine.
Tip: Wipe down your printer regularly, clean up any resin spills immediately, and keep the build plate and vat clean. This practice ensures consistent 3D printer print quality.
For a more comprehensive guide, check out our blog on maintaining a 3D printer. Moreover, you can also read our blog on 3D printing tools to know about all the tools you'll be needing for your 3D printing projects.
Use a Wash and Cure Kit
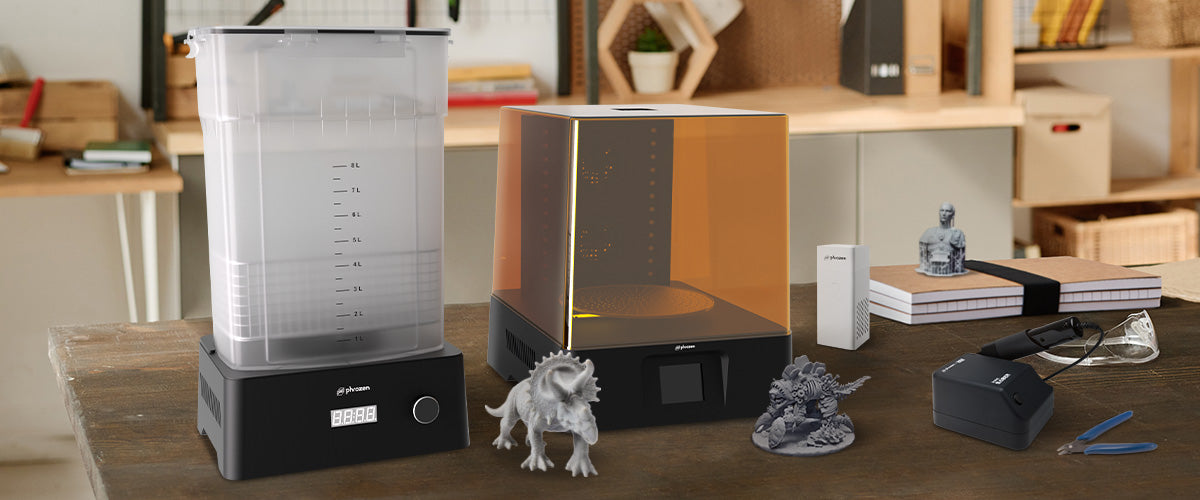
Proper post-processing is critical to achieving high-quality 3D prints. The Phrozen Wash & Cure Kit provides an efficient and effective solution for cleaning and curing your resin prints.
The washing station features a powerful vortex that delicately cleans models without damaging details, while the curing station uses 405nm UV lights for thorough curing.
This combination helps prevent soft, sticky, and unevenly cured models, ensuring your prints come out perfect every time. The convenience and efficiency of this kit make it an invaluable tool for improving print quality and saving time in your 3D printing workflow.
Conclusion
Improving your resin 3D print quality involves a combination of proper settings, regular maintenance, and careful handling of your printer and materials. By following these tips, you can achieve high-quality, detailed prints every time. Experiment with your settings, keep your equipment in top condition, and don’t be afraid to try new techniques.
You can also read our blog on 3D printing faster to learn proven techniques to speed up your 3D printing process without compromising your print quality. You can combine these techniques for great results every time.
FAQ
What layer height should I use for resin printing?
A layer height of 50 microns (0.05 mm) is recommended for a balance between detail and print time. For finer details, you can go as low as 25 microns, but this will increase the print time.
How do I determine the correct exposure time for my resin?
Start with the manufacturer's recommended exposure time and make small adjustments based on the results. Too long exposure can over-cure, and too short can under-cure the resin. Test prints are useful for fine-tuning this setting.
Why are supports important in resin printing?
Supports provide stability to your print, especially for overhanging or intricate parts. Insufficient supports can cause the model to collapse or warp during printing.
How often should I replace the FEP film?
Check the FEP film regularly for scratches, cloudiness, or wear. If you notice frequent print failures or visible damage, it’s time to replace it.
Can I reuse leftover resin in the vat?
Yes, you can reuse leftover resin, but make sure to filter it to remove any cured particles. Store it in an opaque, airtight container to avoid contamination and light exposure.
How do I avoid print failures due to low resin levels?
Always check the resin level before starting a print. Use slicer software to estimate the required amount of resin, and avoid adding resin mid-print to maintain consistent print quality.


