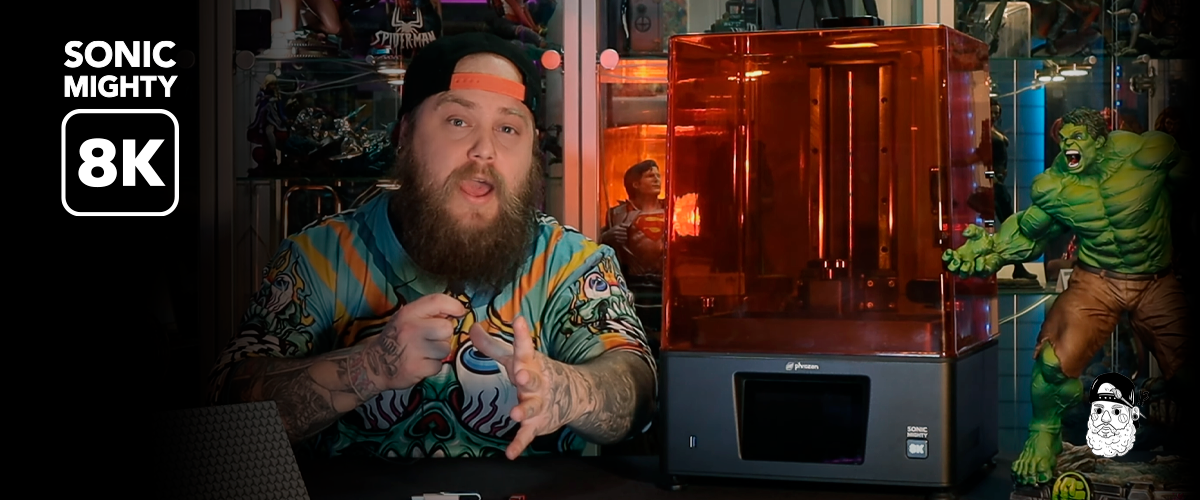
If you are even just slightly interested in resin 3D printing, you should know about Phrozen. Among all the fantastic and popular resin 3D printers, one that shook the followers was Sonic Mighty 8K. Due to its hype, Groundeffected was eagerly waiting for the arrival of the 8K printer.
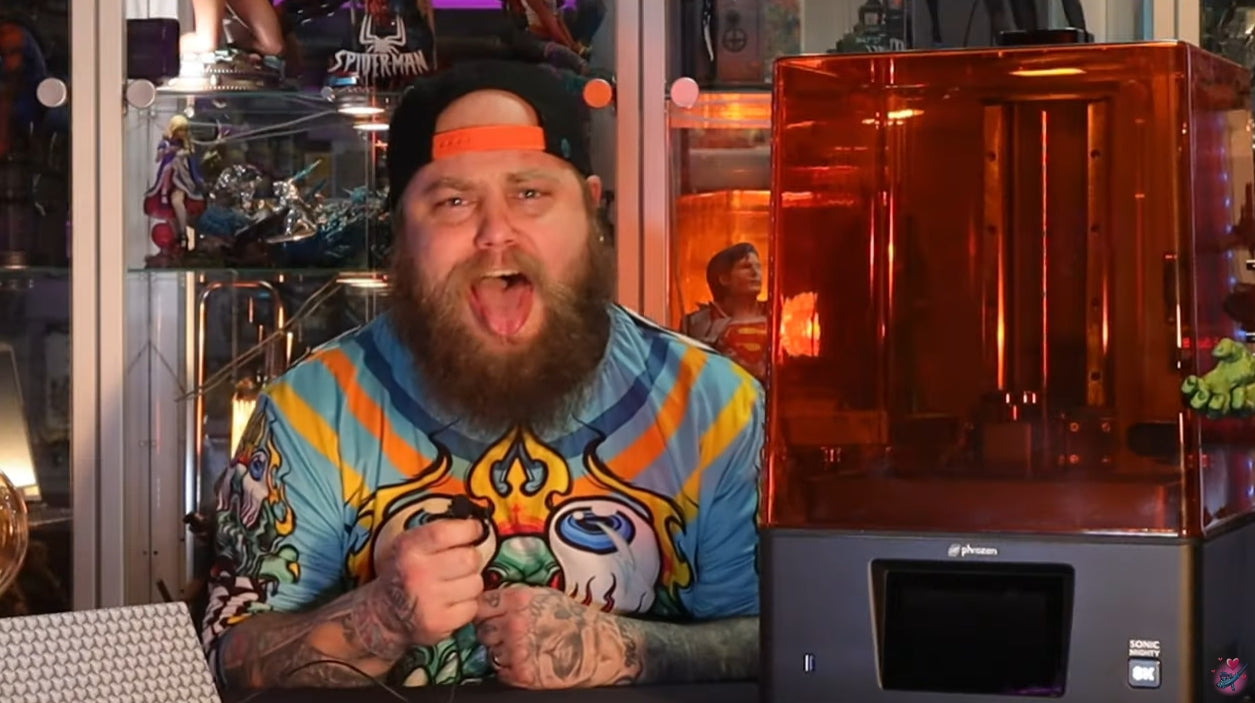
As soon as he received this glorious resin 3D printing device, he wasted no time doing a review about it. Groundeffected was very truthful and honest about the Sonic Mighty 8K in his video. This article will have a detailed review of Groundeffected thoughts on the Sonic Mighty 8K. Here you will find everything about this 8K resolution printer and what you need to do when you set up a 3D printer for the first time, including:
- Unboxing the high resolution resin 3D printer—Sonic Mighty 8K.
- How to set up a 3D printer for the first time
- Make your own 3D models using the Sonic Mighty 8K
- Why you should get this resin 3D printer.
Unboxing the Sonic Mighty 8K:
Groundeffected starts his unboxing by removing the plastic cover from the Sonic Mighty 8K. This shows that this 8K printer was packed safely, and there were no chances of damage. He then continued laying out all the pieces and equipment that came with this 8K resolution printer.
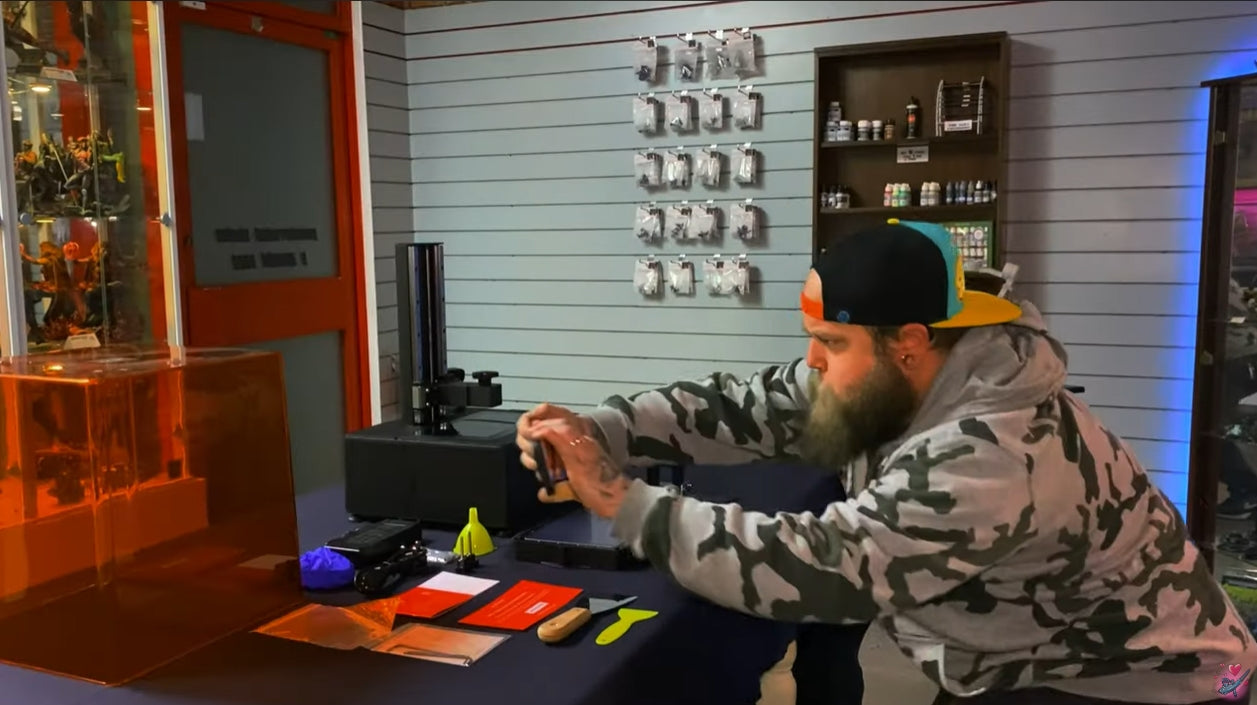
These bits and pieces include the built plate, USB, Allen wrenches, a Wi-Fi dongle, and other necessary things that would be helpful when someone wants to start with their first resin printer.
Setting Up Your Printer for the First Time
During the next phase of Groundeffected best first resin printer review, he tells in detail how you need to set up a 3D printer for the first time. The very first step of setting up the 8K printer is to set up and level the build plate. By leveling the build plate, we show the machine where to start the printing and what is the level zero position of this high resolution resin 3D printer is. Level zero is basically the first layer when the resin 3D printer starts printing.
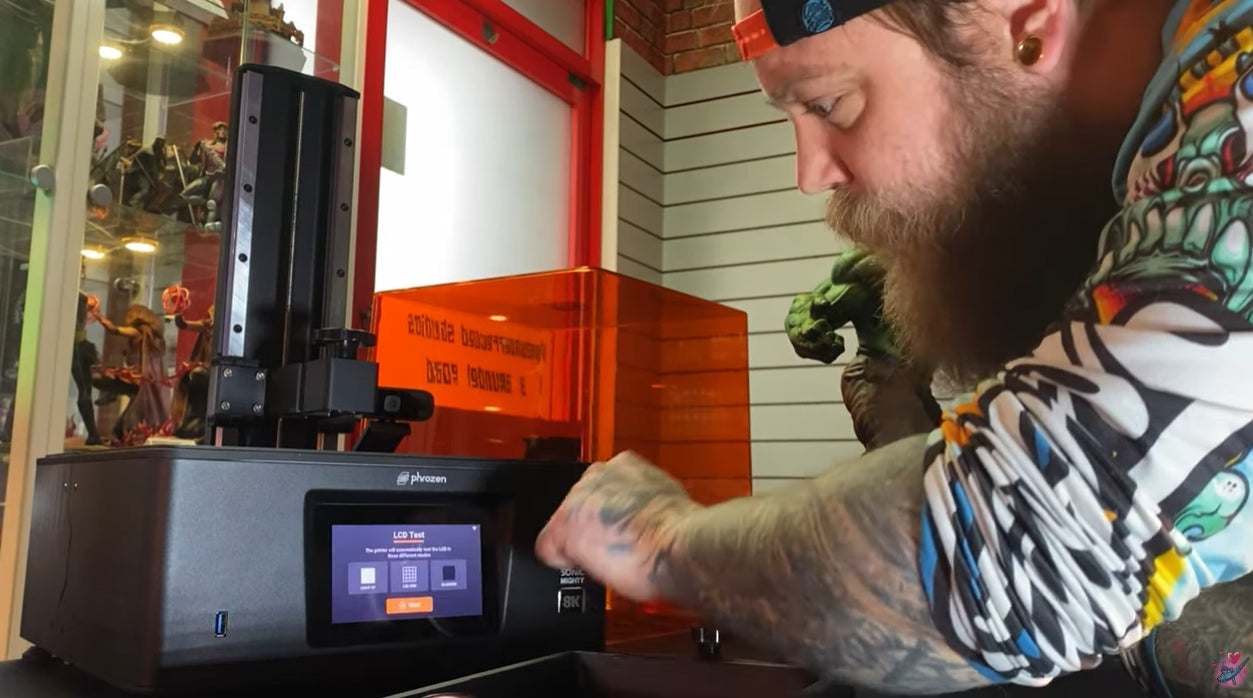
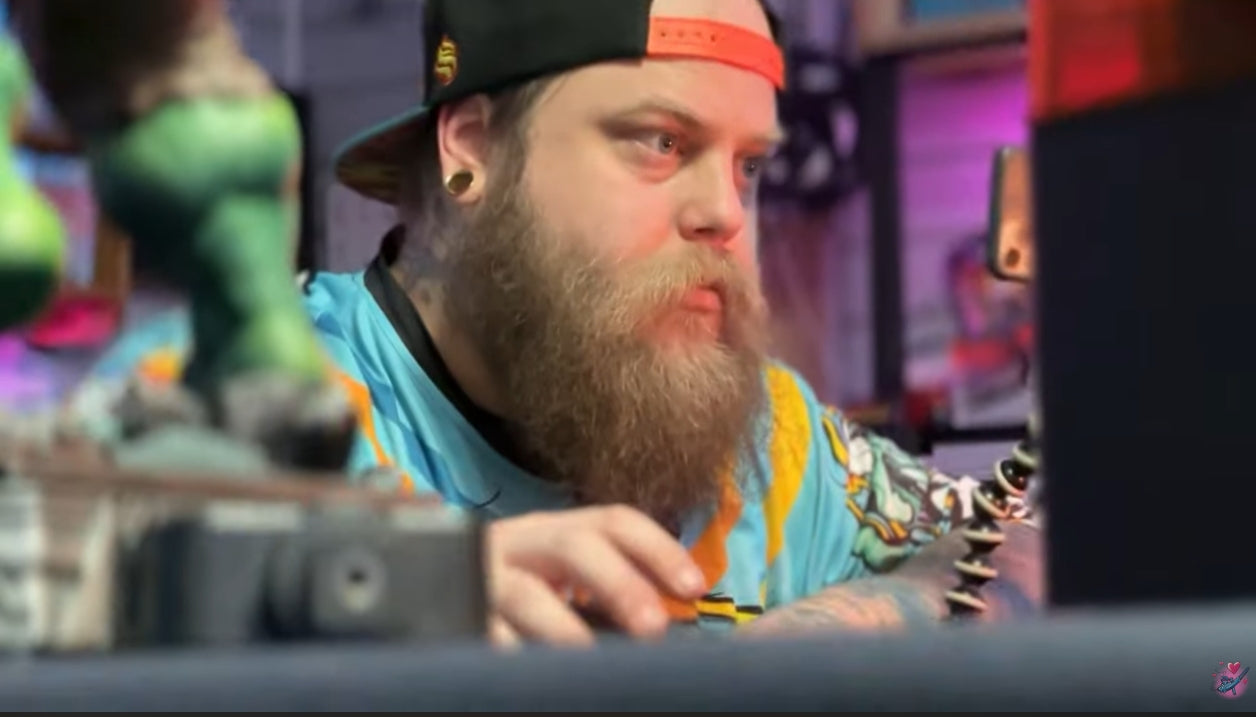
When setting up the Sonic Mighty 8K, Groundeffected starts with turning on the printer. He was later presented by a cool-looking qwerty keyboard to name the printer. The best thing that Groundeffected likes about this Sonic Mighty 8K is that it has all the instructions that anyone will need to set up a 3D printer for the first time presented clearly on the screen. It will take you through every step, and the user will be able to use this printer very easily.
During the entire setup process, the Sonic Mighty 8K will lead you through different tests and calibrations. This feature of this high resolution resin 3D printer impressed Groundeffected as it will help the user identify if there is any fault in the printer or not, way before you start 3D printing, so it can avoid any future issues.
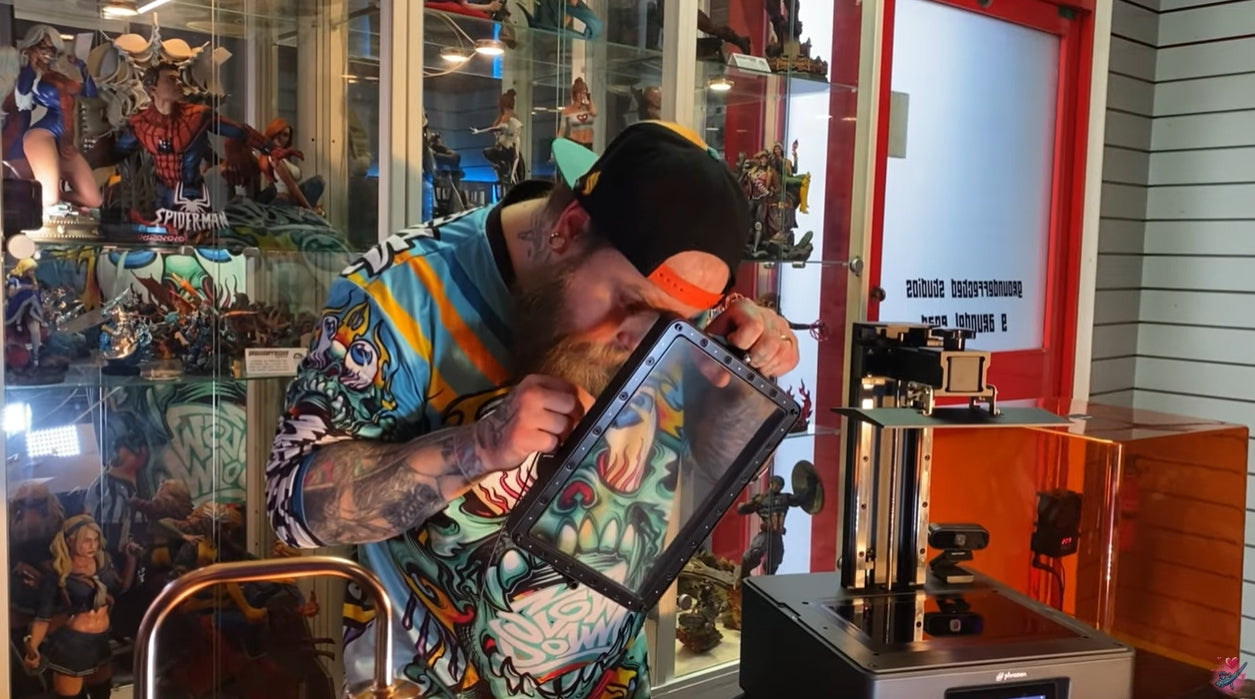
The next step in setting this 8K resolution printer is the z-axis calibration. In this step, you need to take your built plate and loosen up all the screws that are present at the side of the plate. Gently fix the build plate to the arm of the printer and put an A4-size paper on top of the LCD screen to simulate a resin vat. The machine will then move its arm of the printer to find the zero level, from where the models or figurine will start printing. Next, he retightens the screws that were previously loosened on the build plate while keeping a slight pressure over it.
Once the screws are tightened, the z-axis will rise, allowing Groundeffected to put the vat back in the machine before he can pour on the resin. The vat has small screws that are supposed to go in the indents present on the Sonic Mighty 8K to ensure that the lineup of vat is perfect and nothing goes sideways. Next, Groundeffected ensures that the vat is properly screwed and does not move when the resin is in it.
Making the First 3D Prints:
The next part was the most exciting part for Groundeffected. This was when he was able to make fun 3D models using this high resolution resin 3D printer, the Sonic Mighty 8K. Now you need to install slicing software on your computer and slice the model that you want to print using the right resin and printer parameters.
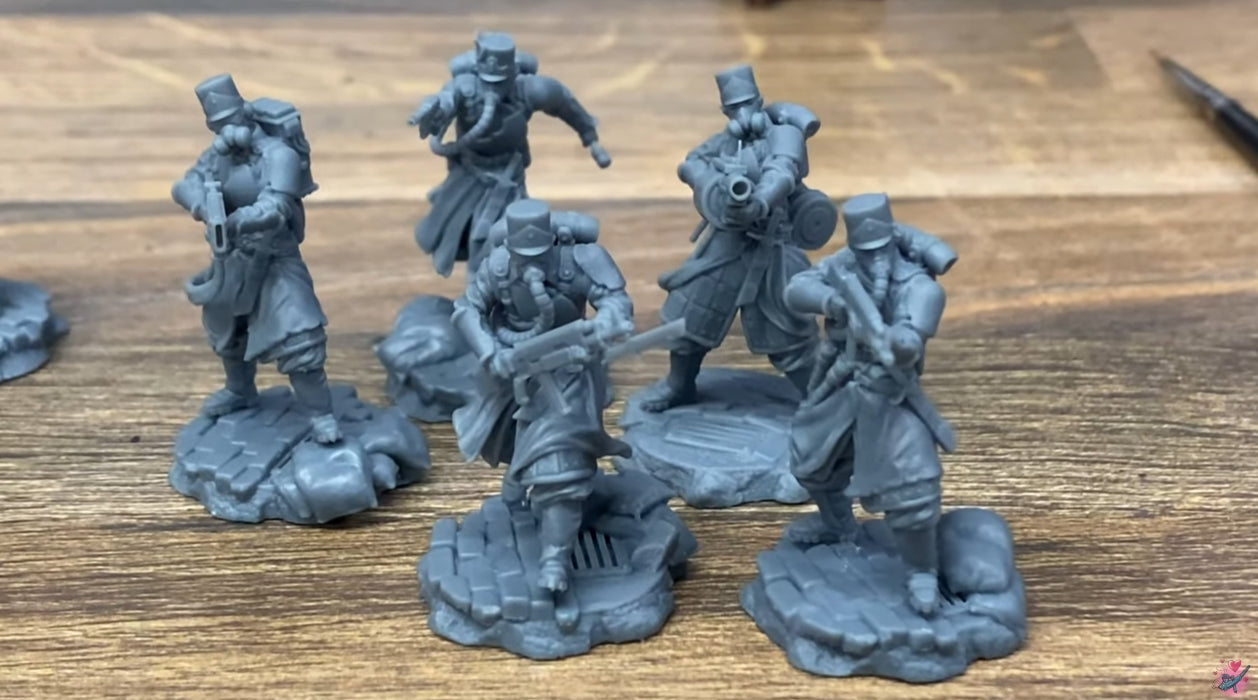
Then use the USB to transfer it from the computer into your Sonic Mighty 8K. Fill the vat with the Aqua-Gray 8K and let Sonic Mighty 8K do its magic. When Groundeffected started his first printing, he printed his test prints a couple of times to find the perfect exposure for all his future prints. He changed the exposure settings and adjusted the parameters before he had the ideal parameters for his environment for this best first resin printer.
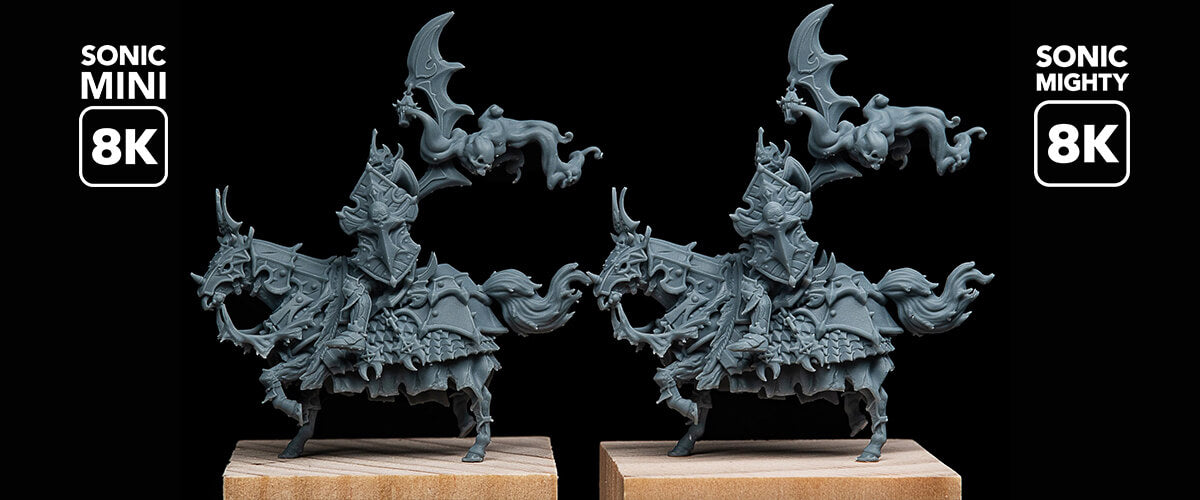
According to him, with the help of Sonic Mighty 8K printers, he was able to 3D print a lot of figurines in just one build plate. He was very impressed by the details this Phrozen Sonic Mighty 8K could print. This was because of the perfect combination of large-scale and high-precision resin 3D printing capabilities. Every little detail of the state was present, and this is what the best thing was for Groundeffected about this 8K printer.
So, Are You Getting the Sonic Mighty 8K?
Sonic Mighty 8K scored a lot of points for Groundeffected. He was genuinely impressed with the quality of the resin 3D printer and how smoothly it worked. What amazed him was the quality of the models. Every little feature was present in them, making them look realistic.
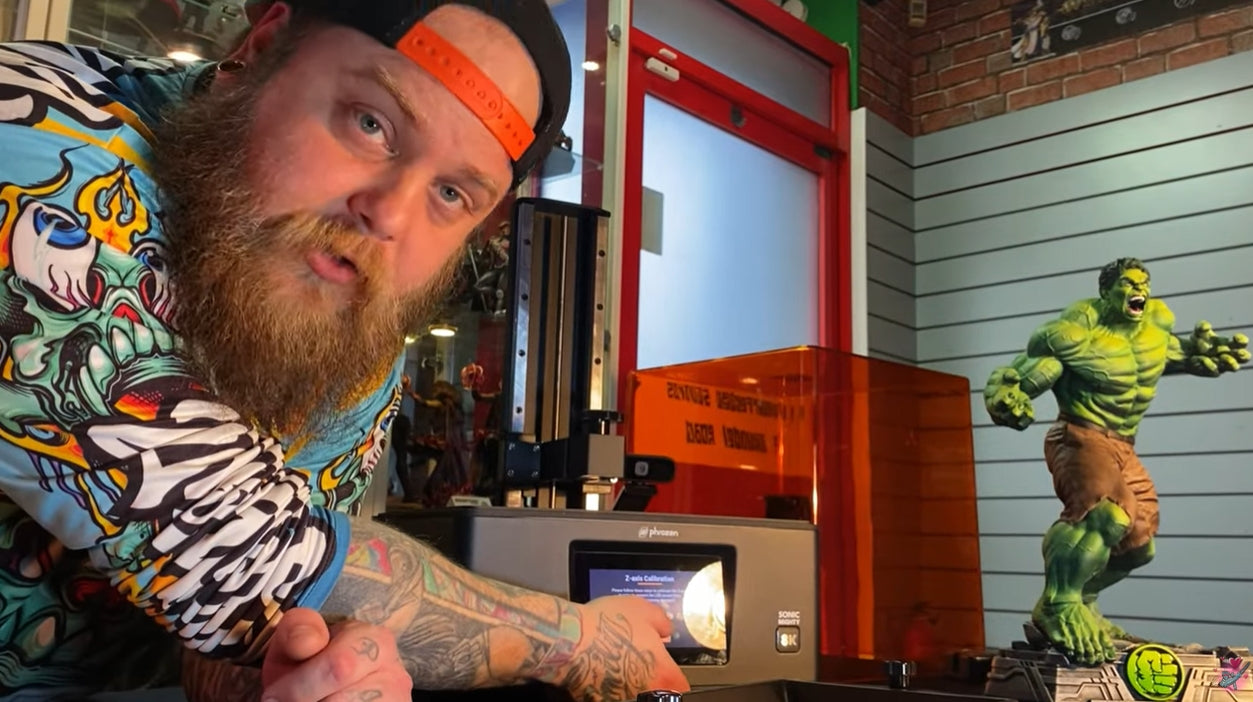
As the most beginner-friendly 3D printer in its class, the Sonic Mighty 8K is equipped with all the features you'd wish to have in any 3D printer. Apart from its 10" LCD screen and 8K resolution, you'd also love its fully on-screen complete tutorial setup, its wonderful user interface, and its camera feature.
You can have fun with resin 3D printing, making cute little miniatures using the almighty Sonic Mighty 8K. So what are you waiting for? Make sure you are getting your first resin 3D printer from Phrozen now!
Want to see his full review? Watch now!

1條評論
Sean
Love his videos. Made me decide to buy a printer as soon as I am able to.
Love his videos. Made me decide to buy a printer as soon as I am able to.