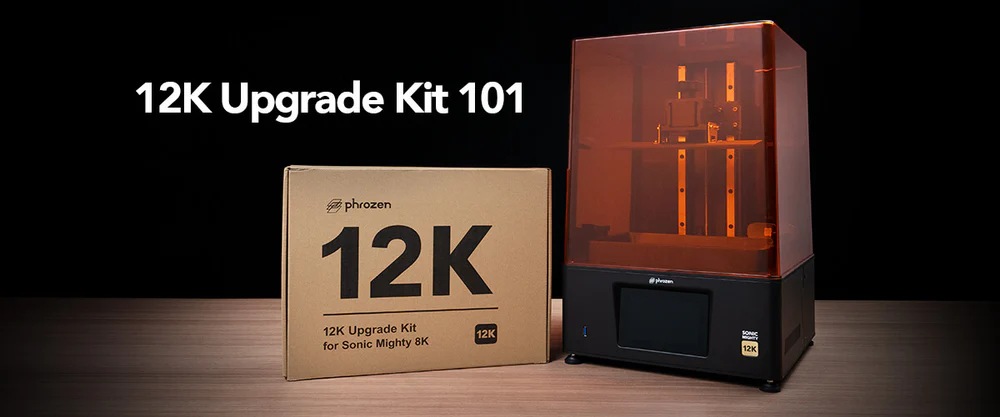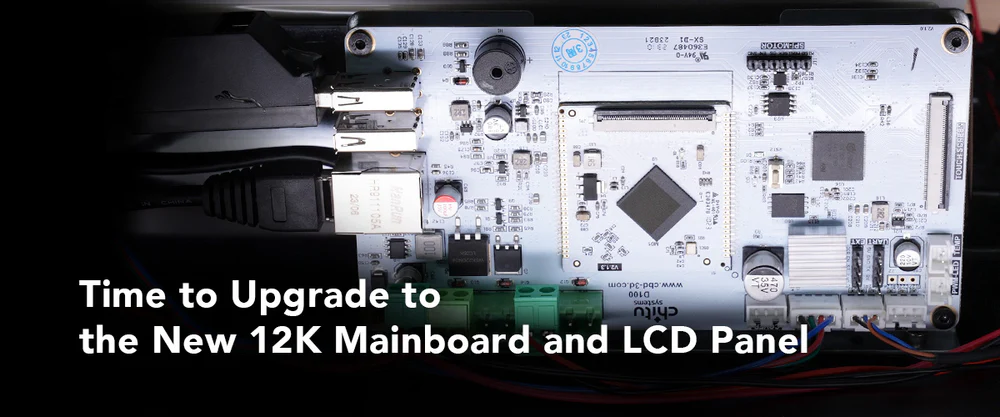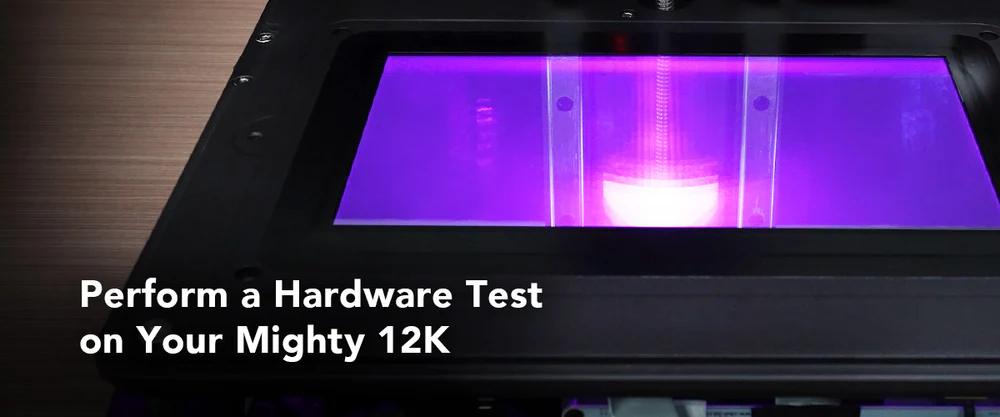
After installing your new LCD panel, you can connect the touch panel on the front case to perform the hardware test. This action is to check if your Sonic Mighty 8K works well after installing the 12K Upgrade Kit.
The hardware test includes the Cooling Fan, LCD Test, Z-axis Sensor, Z-axis Control, and Camera Test.
In this article, we will show you how to perform a complete hardware test on the Sonic Mighty 8K after installing the 12K Upgrade Kit.
Before Performing the Hardware Test
There are a few things you need to do before starting the hardware test:
Step 1: Connect the USB cable after installing the LCD Panel.

Step 2: Unclip the buckle on the touch panel and insert the ribbon cable. Then clip the buckle back, and stick the acetate cloth tape on the buckle.

Step 3: Push the touch panel ribbon cable through the hole, then fasten the front case.

Step 4: We can now turn on the machine and start performing the hardware test. Remember TO NOT refresh your Sonic Mighty 8K’s firmware again. Instead, please download the newest Mighty 12K firmware on Phrozen's official website.
Step 5: Go to the Settings tab and choose System to start the hardware test. Then scroll to the bottom and choose Hardware Testing.
Performing the Hardware Test
Fan
Tap the Cooling Fan and make sure that your fan is working properly.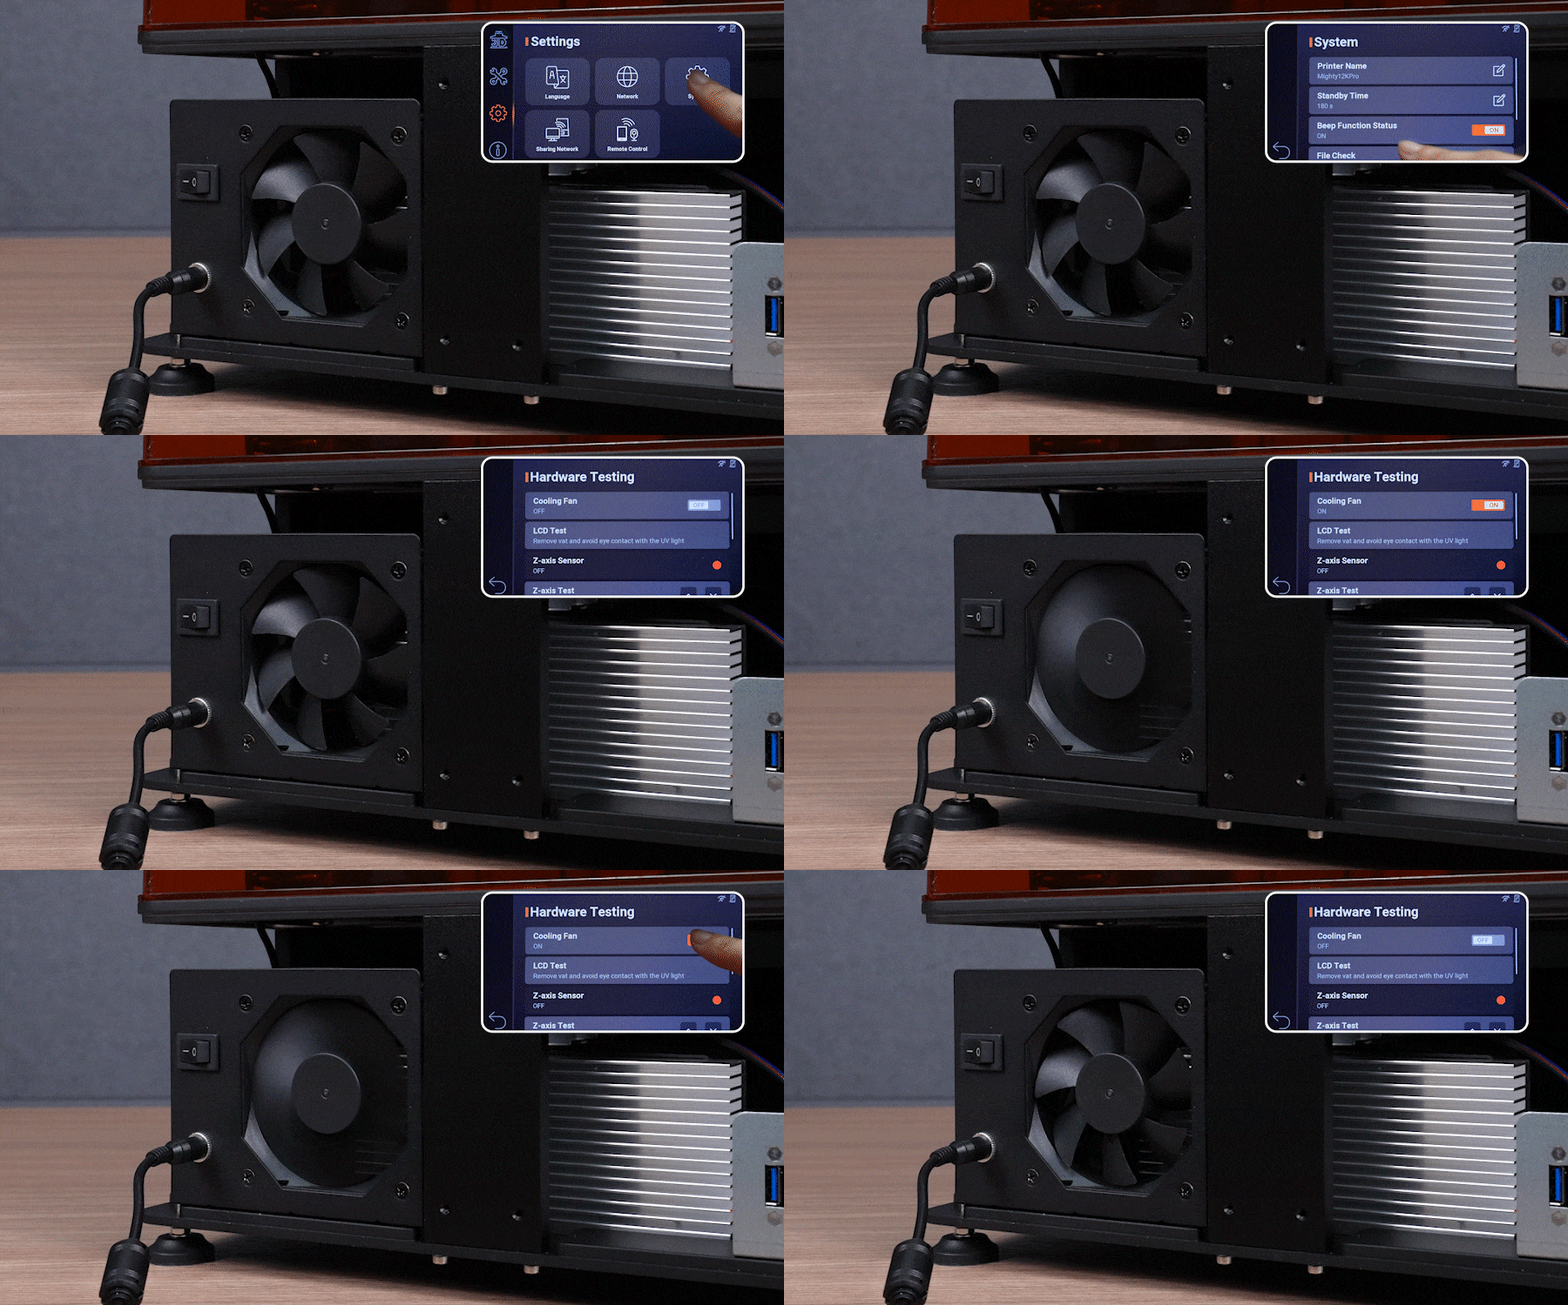
LCD Screen
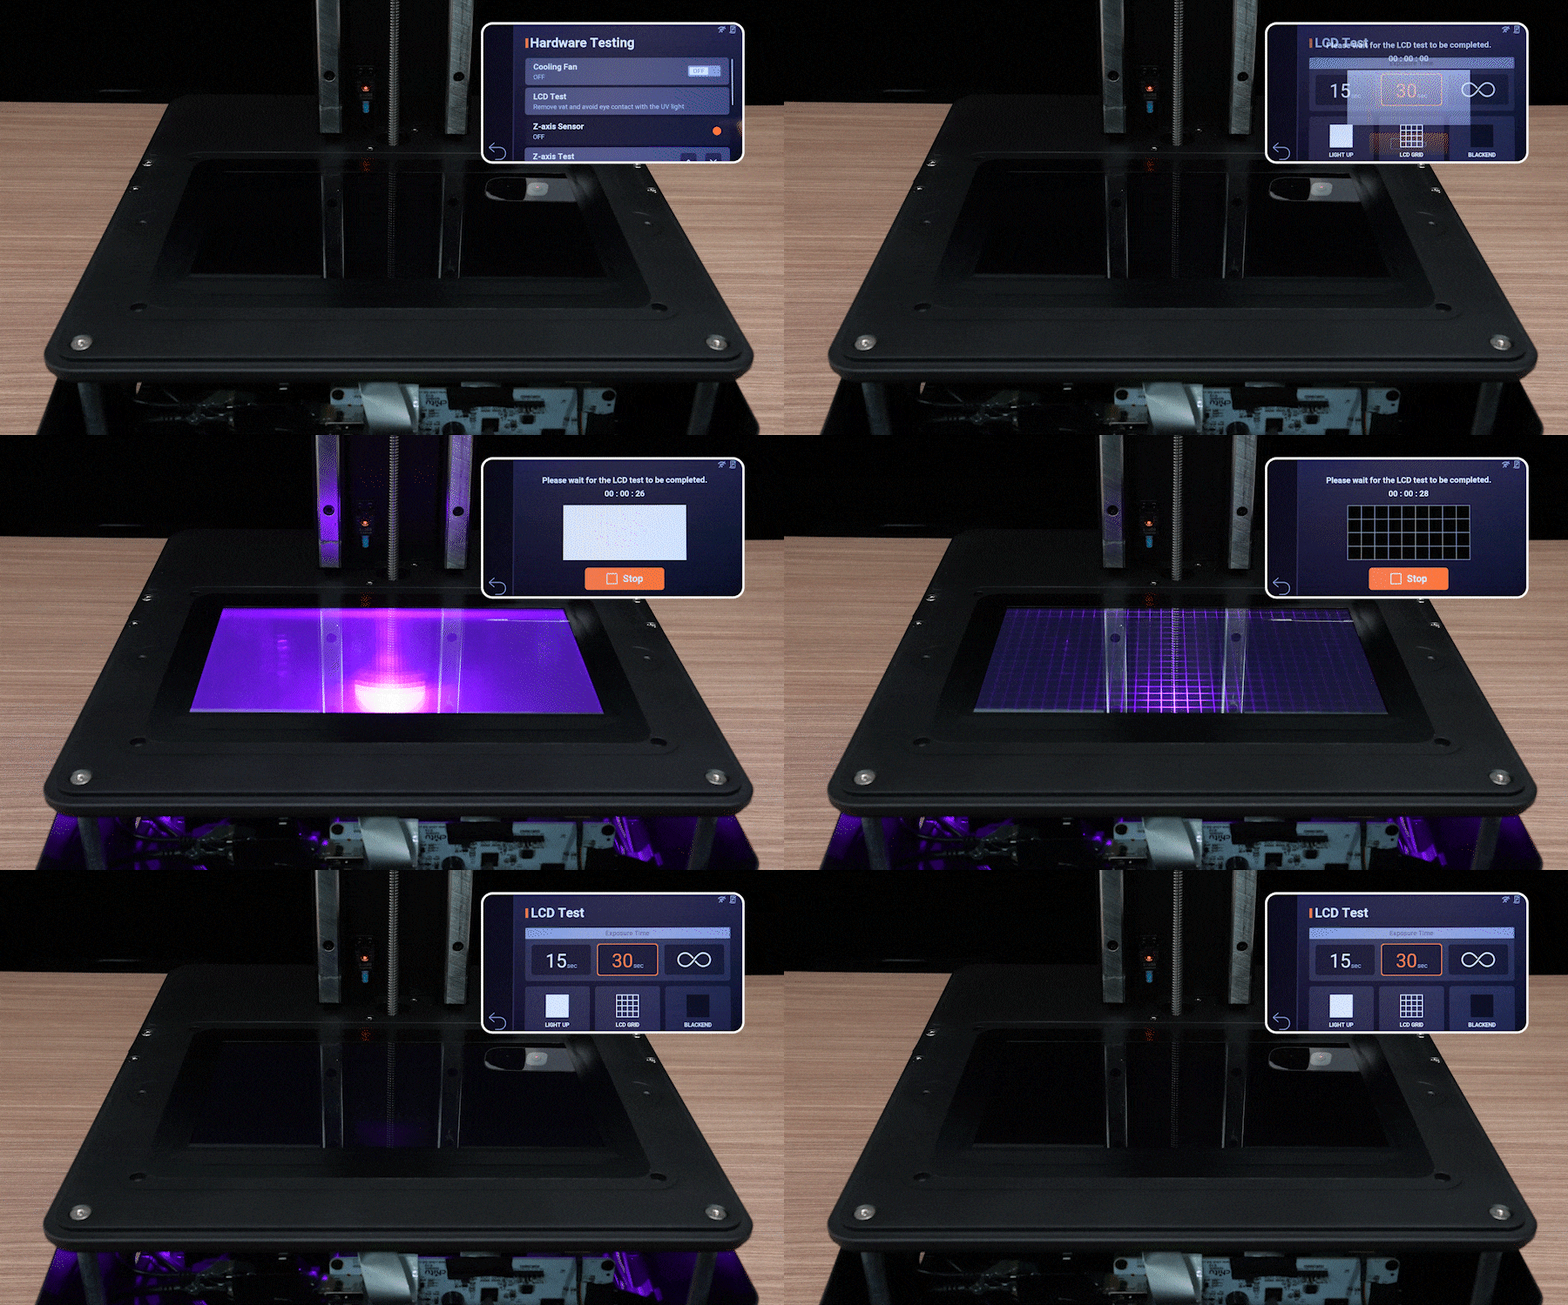
To make sure the LCD is working properly, choose LCD Test.
The LCD test on Sonic Mighty 8K will be separated into three parts: Light Up, LCD Grid, and Blackened. Each test will take ten seconds to complete. Click Next and make sure that the LCD screen matches the image shown in the touch panel and the LCD test is now complete.
The LCD test in this tutorial video uses the Mighty 8K for demonstration purposes. After installing the Mighty 12K Upgrade Kit, the LCD test results may differ from the actual performance. As long as the test functions are successfully completed, it indicates a successful installation.
Please make sure to wear eye protection during the LCD test, and DO NOT look directly into the light radiating from the 3D printer’s LCD as improper exposure to UV light may cause painful eye and/or skin injuries.
Z-Axis Sensor
Select the Z-Axis Sensor, then get an Allen wrench close to the sensor. If the light turns green upon detecting the wrench, your sensor works properly.

Z-Axis Control
Gently hold the up and down arrow of the Z-Axis Test, and make sure that the z-axis is moving accordingly.

Camera Test
Choose Camera Test to check whether the camera can work properly.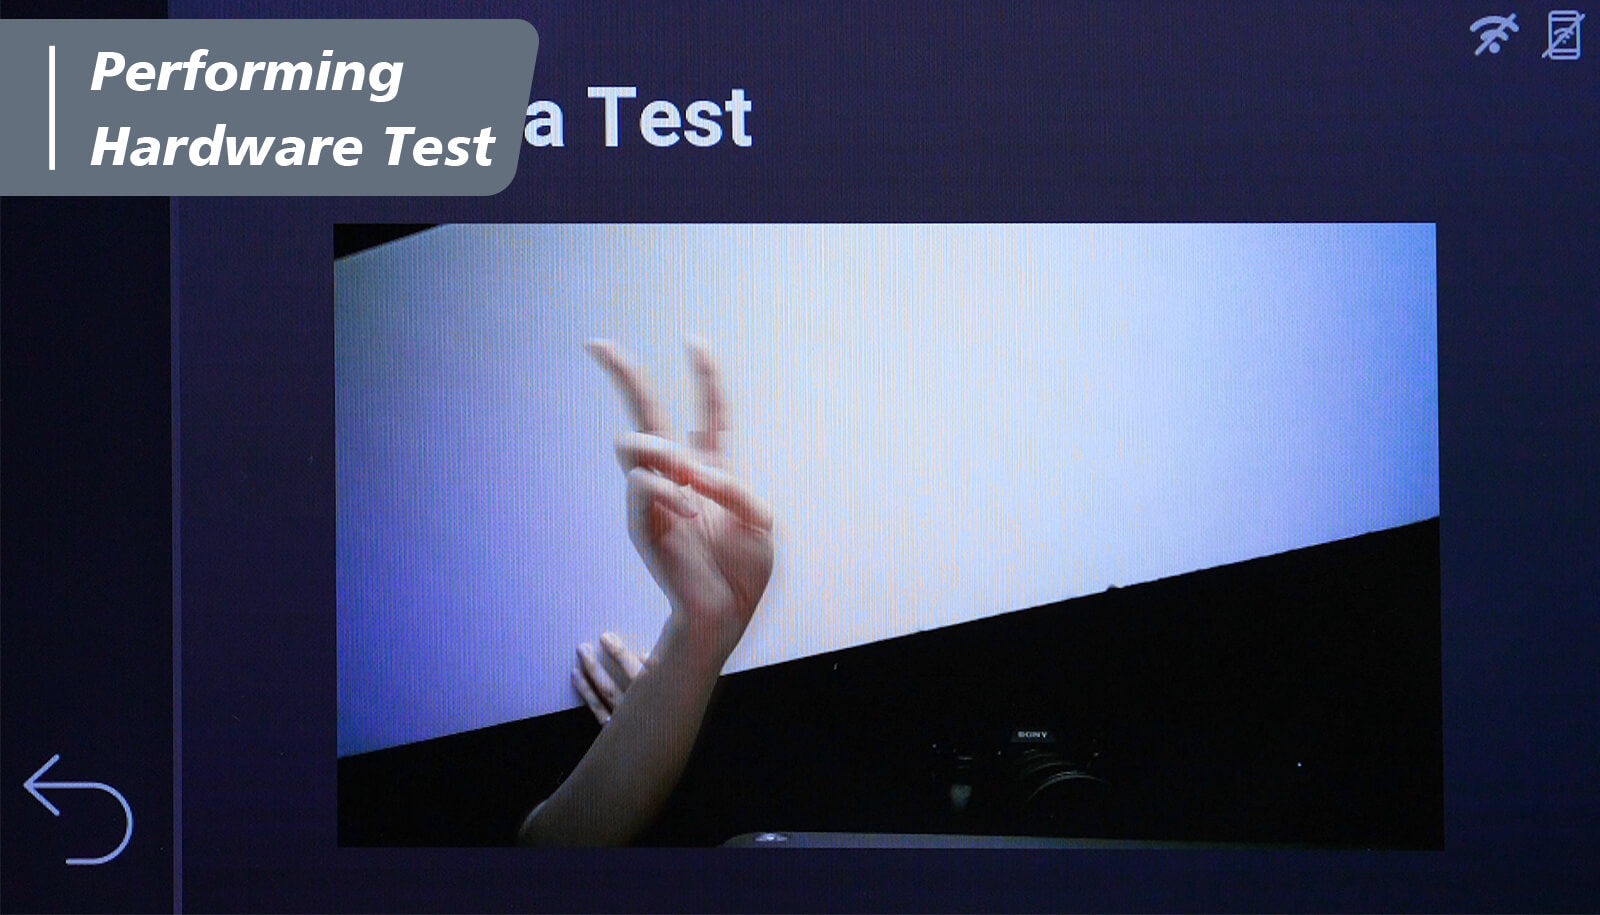
Reminder
If you encounter any issues during the hardware test, turn off your printer before rechecking your installation. After every test is performed successfully, you can now tighten the screws of the front and rear case and complete the installation!.
Next, let’s change the release film on your resin vat from nFEP film to ACF film.