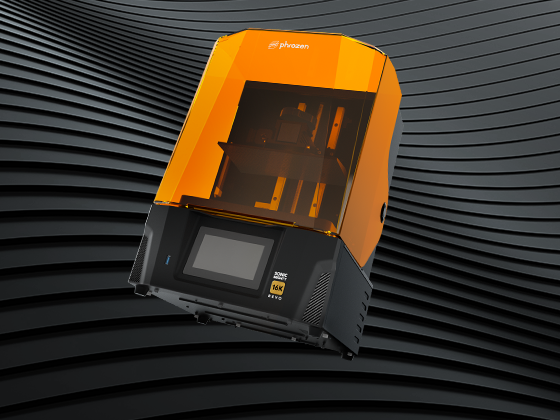
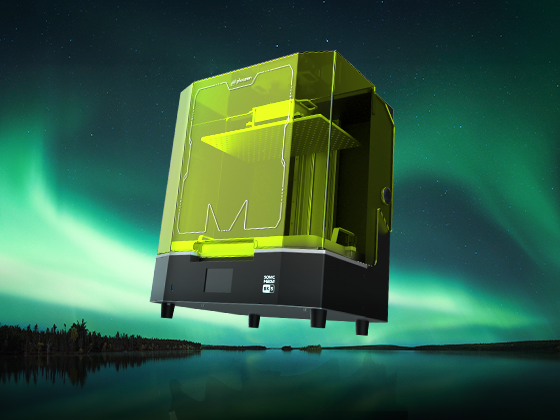
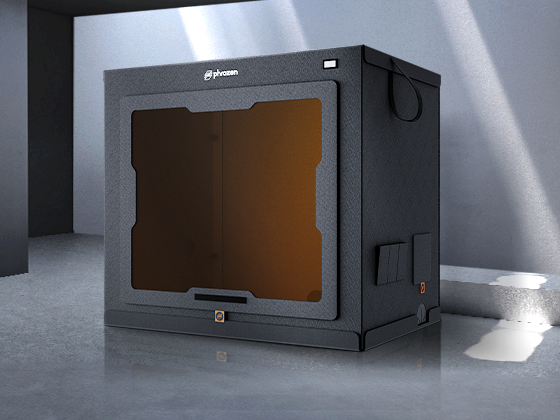
All Phrozen Sonic Mega 8K building plates are calibrated perfectly before being shipped out, which means that you can start printing straight out of the box! However, in case you ever need to re-level Sonic Mega 8K’s building plate, in this article, we will guide you through the steps of calibrating your Sonic Mega 8K:
*Tip:
If your 3D model(s) have failed to attach to the building plate, try increasing the bottom layer exposure time.
Before We Begin
Before we start, there are a few things to do before we start performing the Z-axis Calibration test on the Sonic Mega 8K.
- Remove the Resin Vat
- Remove & Clean the Building Plate
- Remove the Building Plate Handles
Want to know how? Let’s find out:
1) Remove the Resin Vat
Remove the resin vat and make sure there are no objects present on the 3D printer’s platform.
2) Remove & Clean the Building Plate

Remove the building plate and make sure to use 95% sanitizing alcohol to clean any remaining resin present on the building plate as well as the LCD screen.
*Tip: We recommend spraying 95% sanitizing alcohol and waiting for roughly 15 minutes so that the alcohol is able to soak any leftover resin more thoroughly.
3) Remove the Building Plate Handles

Use an Allen wrench to unscrew the building plate handles. Then remove the handles.
Perform the Z-axis Calibration Test on the Sonic Mega 8K
Step 1: Install the Building Plate

Attach the building plate to the printer and align it with the pins. Then screw and tighten the building plate.
*Note: Please ensure that the building plate is not able to shift after tightening.
Step 2: Slightly Loosen the Screws on the Building Plate

Slightly loosen the four larger screws and four smaller screws on the building plate.
Step 3: Loosen the Smaller Screws on the Building Plate

Use an Allen wrench to loosen the four smaller screws on the sides of the building plate in an upwards motion and continue to do so until the screws do not protrude any more.

Use one hand to push the building plate up. Both sides of the building plate should be tightly connected.

Rotate the four bigger screws at a smaller angle and make sure their height is the same.
*Note: Don’t rotate the screws too much as this may cause the building plate to fall and cause damage to the LCD screen.
Step 4: Perform the Calibration Test with an A4 Paper

Please prepare an A4 paper and then split the A4 paper in half. Place it on the LCD screen. The paper will be used for leveling the building plate.
Step 5: Settings

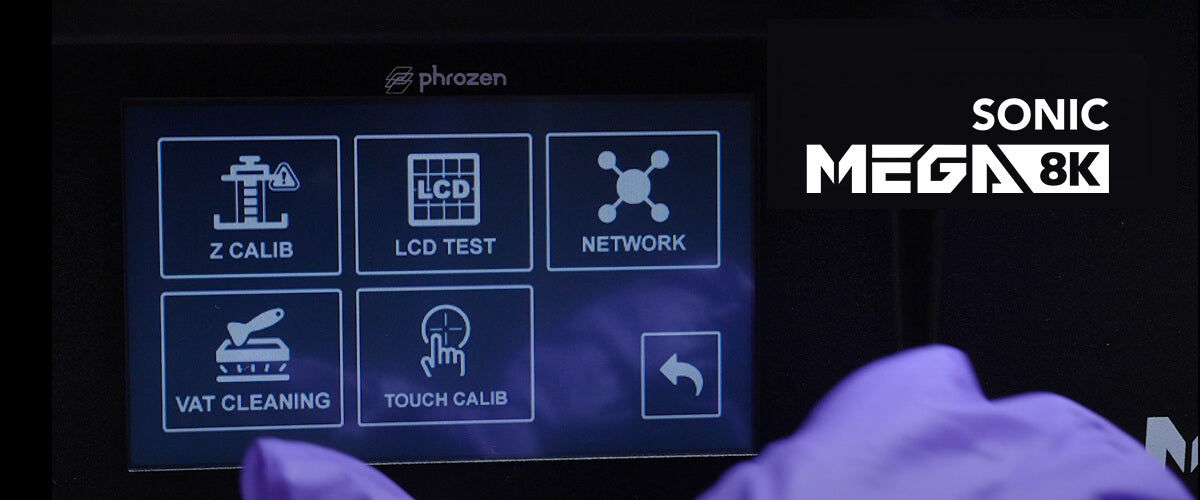
On the touch panel, click on TOOLS, Z-CALIB, then click on START on your touch panel to begin the calibration process.

Please wait for 1-2 minutes as the building plate extends to touch the LCD screen.
Step 6: Adjust the Building Plate

Once the building plate has touched the LCD screen, make sure to stabilize the building plate by holding both the upper and lower platforms with your hands. After calibration, slightly tug on the paper to make sure that the friction force between all four corners are the same.
Step 7: Tighten the Smaller Screws on the Building Plate

Rotate the four smaller screws at a smaller angle until they touch the lower platform.

Then use one hand to rotate the screws, while another tugs on the paper.
*Note:
Do not tighten the screws too tight or else the Z-axis Calibration may become inaccurate.
Step 8: Tighten the Larger Screws on the Building Plate

Once you have successfully tightened all four smaller set screws, it’s time to tighten the four larger screws. We recommend tightening the screws in two rounds. First, use the long side of the Allen wrench to tighten the larger screws. Then in the second round, use the short side to tighten the screws one more time.
*Note:
If not tightened, the calibration of the building plate may become inaccurate after repeated use.
Step 9: Double-Check Z-axis Calibration

After calibration is complete, the friction force between the four corners should be the same as before. Tug on all four corners of the A4 paper to check the pressure intensity.
Step 10: You’re DONE!

Click on the Up arrow on your touch panel to move the building plate up by 30mm. Then remove the building plate and the paper.


Install the building plate handles back on. Then attach the building plate back onto the resin 3D printer and you're good to go!
Click here to view the entire Sonic Mega 8K Starter Guide.

