Starting with how to 3D print can feel overwhelming. There’s a lot to understand—how 3D printing works, how to operate a 3D printer, and all the steps in between.
But don’t worry; with a straightforward approach, you’ll be able to make a 3D print of your favorite designs in no time.
This guide provides a step-by-step resin 3D printing process for beginners, so you can quickly master how to print with a 3D printer and start creating.
What You’ll Need Before You Begin
Before you start learning how to 3D print effectively, make sure you have the following essentials:
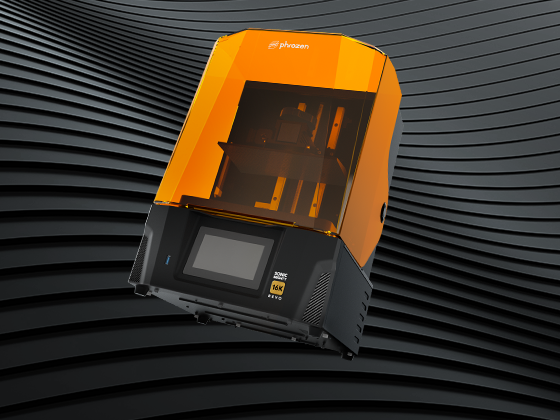
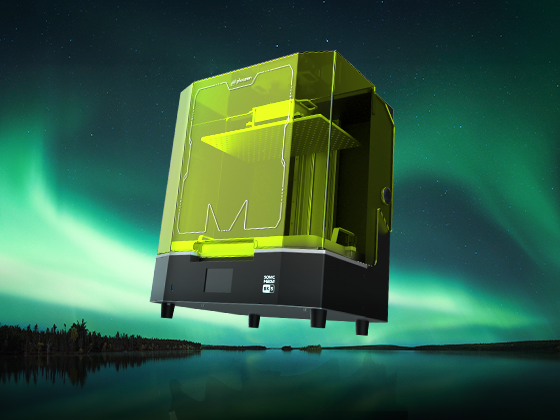
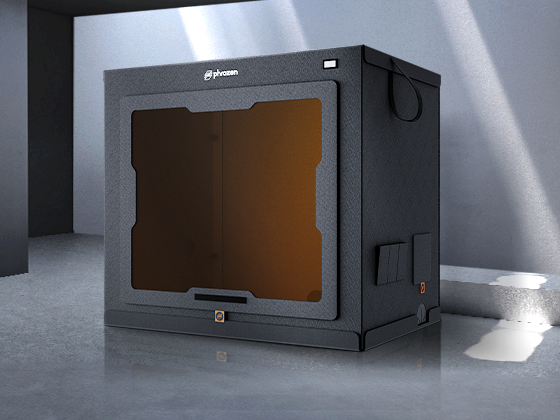
- A 3D Printer: There are various types, like resin or filament printers, each with different strengths. Choose one that’s reliable and suits your needs. Go through our indepth on 3D printer buying guide to know how to find the right 3D printer for your requirements.
- STL File (3D Model File): This is the digital blueprint for your print. You can download these files online or design them with 3D modeling software.
- Slicer Software: The slicer software converts your STL file into layers for the printer to follow. Free slicers like Chitubox (for resin printers) or Cura (for filament printers) are popular beginner-friendly options.
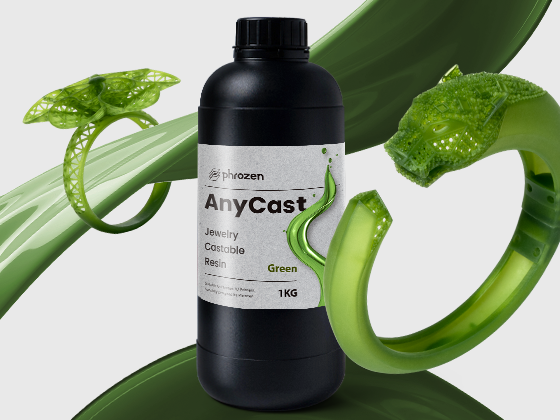
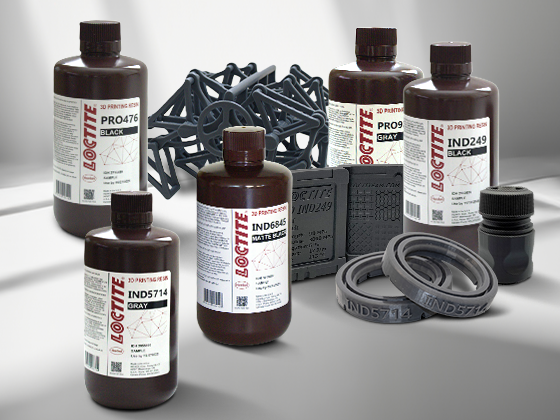
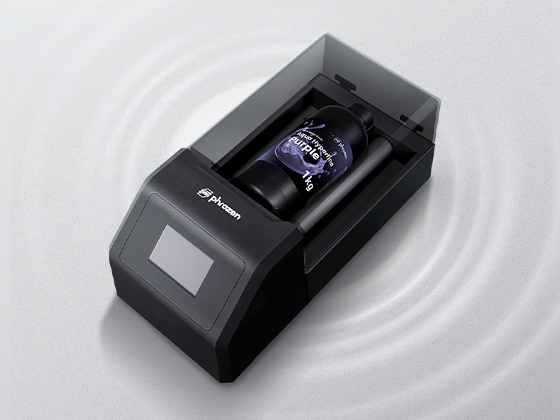
- Resin or Filament: Depending on your printer type, you’ll need either resin (for SLA/LCD printers) or filament (for FDM printers). For beginners, standard materials like PLA filament or Aqua Vanilla resin are easy to work with. For a thorough understanding, read our comprehensive blog on resin vs. filament 3D printing.
- Post-Processing Tools: These include tools for removing supports, curing, and cleaning your print after it’s finished. Examples include isopropyl alcohol for rinsing, support removal tools, and a curing station or UV light for resin prints. Before you start 3D printing, considering going through our tools for 3D printing list to learn about all the tools you’ll need to perfect prints everytime.
With these essentials in place, you’ll be ready to learn how to print 3D models smoothly and efficiently.
Step 1: Find the Right STL File
The first step in 3D printing how to is finding the right STL file to print. Many websites offer free and paid STL files, but as a beginner, choose simpler models that don’t require complex supports or intricate assembly. Knowing how to make 3D prints starts with picking the right model.
Popular sites for STL files include:
If you’re not sure where to start, we’ve created a blog on 3D printing ideas for beginners so that you can make a 3D print without extensive setup. If you fancy something cooler, you can also check out out list of cool 3D prints.
For this guide, I’ll be using two models: Clefable 3D model from SCRAZYONE_SNAPPRINT3D and Sylveon from Guillera—perfect for Pokemon lovers and those learning how to 3D print something for the first time.
Step 2: Download and Set Up a Slicer Program
Once you have your STL file, you need to process it for printing using a slicer program. This software optimizes the file and slices it into printable layers, making it essential for anyone learning how to use 3D printing effectively.
For this project, we’ll use Chitubox version 1.9.5, a free and beginner-friendly slicer perfect for resin printing.
If you’re looking to explore more options, our blog on free STL editors reviews several slicers that might suit your style. But for learning how to 3D printing basics, Chitubox is an excellent, straightforward choice.
Step 3: Slice and Optimize Your 3D Model
Next, you’ll prepare the model for printing by slicing and optimizing it. This step is crucial for anyone aiming to master 3D printer step-by-step.

Load your files onto Chitubox.
Open Chitubox: Load your STL file into the slicer software, where you’ll see a preview of your model.

Select Your Printer: In the slicer settings, choose the printer you’ll be using. For this example, we’re working with the Phrozen Sonic Mini 8K, a popular choice that Chitubox supports by default. Most slicers have presets for popular printers, which makes it easier for beginners learning how do to 3D print something.

Insert resin properties
Input Resin Details: Set the parameters for your chosen material, as each resin or filament has specific requirements that impact quality. For Phrozen resins, we offer resin profiles to help you select the right settings for optimal results. After that, you can orient and resize your 3D models according to your preferences. However, make sure the models stay within the boundaries of the build plate.

Add supports to provide your 3D models overhanging parts with stability.
Add Supports: Supports help stabilize overhanging parts of your model during printing. In Chitubox, you can add supports automatically by clicking ‘+All.’
However, delicate areas (highlighted in red) might need manual support adjustment. Our blog on 3D printing supports provides additional guidance for those learning how to print with a 3D printer and perfect their models.
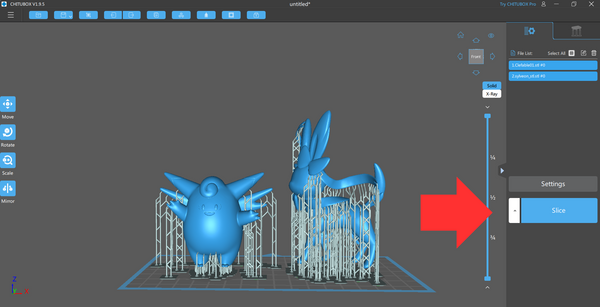
Slice and save your 3D file.
Slice and Save: Once supports are in place, click “Slice” and save your file in CTB format. This sliced file contains all the information your printer needs to create the model.
Step 4: 3D Print Your Models
After slicing, transfer the file to a USB drive and load it onto your 3D printer. Before printing, check that the build plate and resin vat are secure, as alignment is crucial for high-quality prints.

Fill in the tank with your favorite resin.
Pour your chosen resin into the vat, staying within the maximum fill line to avoid spillage.
For this project, standard resins like Phrozen Aqua 8K Vanilla or Phrozen Aqua Hyperfine are excellent options for beginners. Aqua Vanilla’s creamy color enhances detail visibility, while Aqua Hyperfine offers higher resolution for detailed prints. These materials are ideal for learning how to operate a 3D printer effectively.

After preparing the printer, plug in the USB, select your file, and press “Print.” Larger, intricate models will take longer, so be patient and check in occasionally to make sure everything is running smoothly.
Step 5: Post-Process Your 3D Model

Your 3D models are ready for post-processing.
Post-processing is the final step in how to 3D print successfully. Once your print is complete, carefully pour any leftover resin back into its bottle using a funnel and filter to avoid contamination. This leftover resin can be reused for future projects.

Gently remove the supports.
Remove the supports gently, especially around delicate features, using a tool like the Sonic Saber to avoid damage. Next, rinse the model in isopropyl alcohol to remove any remaining resin, then let it dry for about five minutes. To streamline the cleaning, consider tools like the Phrozen Wash Mega S for a thorough clean.

Cure your 3D models with the Cure Mega S for perfect details.
Finally, cure the print using UV light to fully harden the resin. While sunlight can work, a dedicated curing station like the Cure Mega S provides consistent, reliable results. Learning how to make 3D prints look polished and professional involves patience with this step, as it solidifies the model’s shape and structure.

Our Clefable came out perfectly with great details. It’ll look stunning on any collection and will be a perfect addition to your office or study table.

However, our Sylveon 3D model didn’t form completely. This is probably due to improper support placement. Even if you’re a pro at 3D printing, you’ll face these problems every now and then.
That’s why, it’s highly recommended that you go through our in-depth guides on resin print failures, and resin 3D printing troubleshooting to learn how to avoid and fix these mistakes.
Final Words
With these steps, you now know how to make a 3D print from start to finish! As you practice, you’ll become more skilled at managing printer settings, selecting materials, and fine-tuning supports. Remember that how to print using a 3D printer takes some patience and experimentation, but you’ll see improvement with each project.
If you have questions or feedback about how to print 3D models, leave a comment below—we’re here to help you on your 3D printing journey!

