即使這是您之前沒有 3D 列印經驗的第一台 3D 列印機,我們也可以向您保證,您無需擔心。 Sonic Mighty 8K配備了直覺且人性化的觸控螢幕介面,確保無論是初學者還是經驗豐富的用戶都可以毫無困難地操作機器。
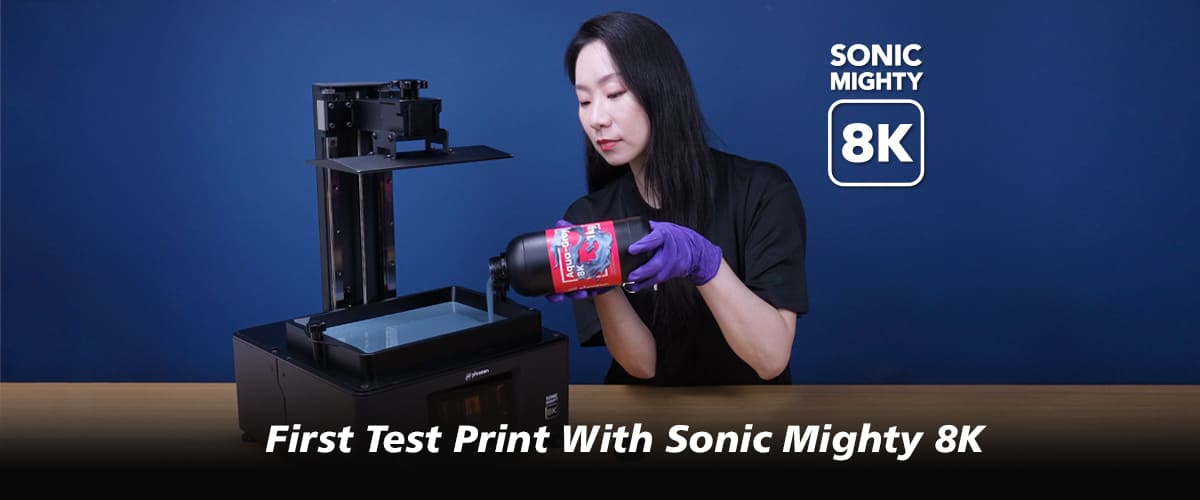
首先,讓我們完成印表機的初始設定和測試,為您使用Sonic Mighty 8K LCD 3D 列印機進行首次列印做好準備。在本文中,我們將指導您執行 LCD 測試和 Z 軸校準。
液晶螢幕測試
完成所有基本設定後,系統將自動引導您進行初始設定。請確保戴上護目鏡,並且不要直視 3D 列印機 LCD 發出的光線,因為不當暴露於紫外線可能會導致眼睛疼痛和/或皮膚受傷。

然後按一下「下一步」繼續進行 LCD 測試。

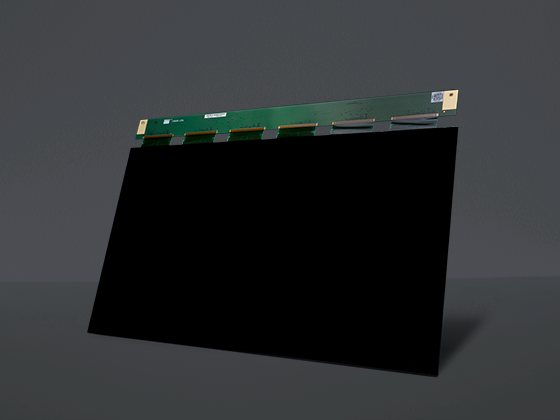
Sonic Mighty 8K 的 LCD 測試將分為三個不同的部分:Light Up、LCD Grid 和 Blackened。每個測試需要十秒鐘才能完成。按一下下一步並確保 LCD 螢幕與觸控面板中顯示的影像匹配,LCD 測試現已完成。
Z 軸校準
完成LCD測試後,系統會自動引導您執行下一個任務:Z軸校準設定。您只需按照觸控螢幕上的說明即可校準 Z 軸。
步驟一:取下樹脂槽,將一張A4紙放在液晶螢幕上。

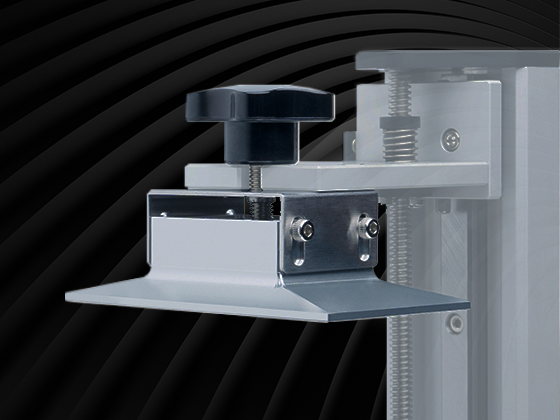
步驟 2:鬆開建築板側面的所有四個螺絲。
步驟3:等待Z軸將搭建板一直降到底部,然後旋緊搭建板兩側的螺絲。

全部工序完成後,Z軸將自動升起建築板回到原來的位置。
現在您已經了解如何執行 LCD 測試和 Z 軸校準,您可以在Sonic Mighty 8K上進行第一次測試列印,繼續您的 3D 列印之旅。



1條評論
Jim
in your setup if you dont have Aqua 8k the menu takes you back and tells you to scan a QRcode for other resins. That goes to a broken page on this site… please fix.
———
Phrozen Technology replied:
Hi Jim, thank you for letting us know, and we are sorry for this inconvenience. We are currently in the process of fixing this. In the meantime, please refer to the Sonic Mighty 8K User Manual (p.8) https://phrozen3d.net/tkoCO, and scan the third QR code to get to the correct link.
Cheers, Phrozen Team
>