Z 軸校準對於每台 3D 打印機都是必不可少的。運行此測試以確保構建板與 LCD 屏幕保持水平。這是為了確保模型和印刷品能夠粘附在建築板上。
我們將指導您使用一張 A4 紙完成校準Sonic Mini 4K LCD 3D 打印機的步驟:
第 1 步:設置
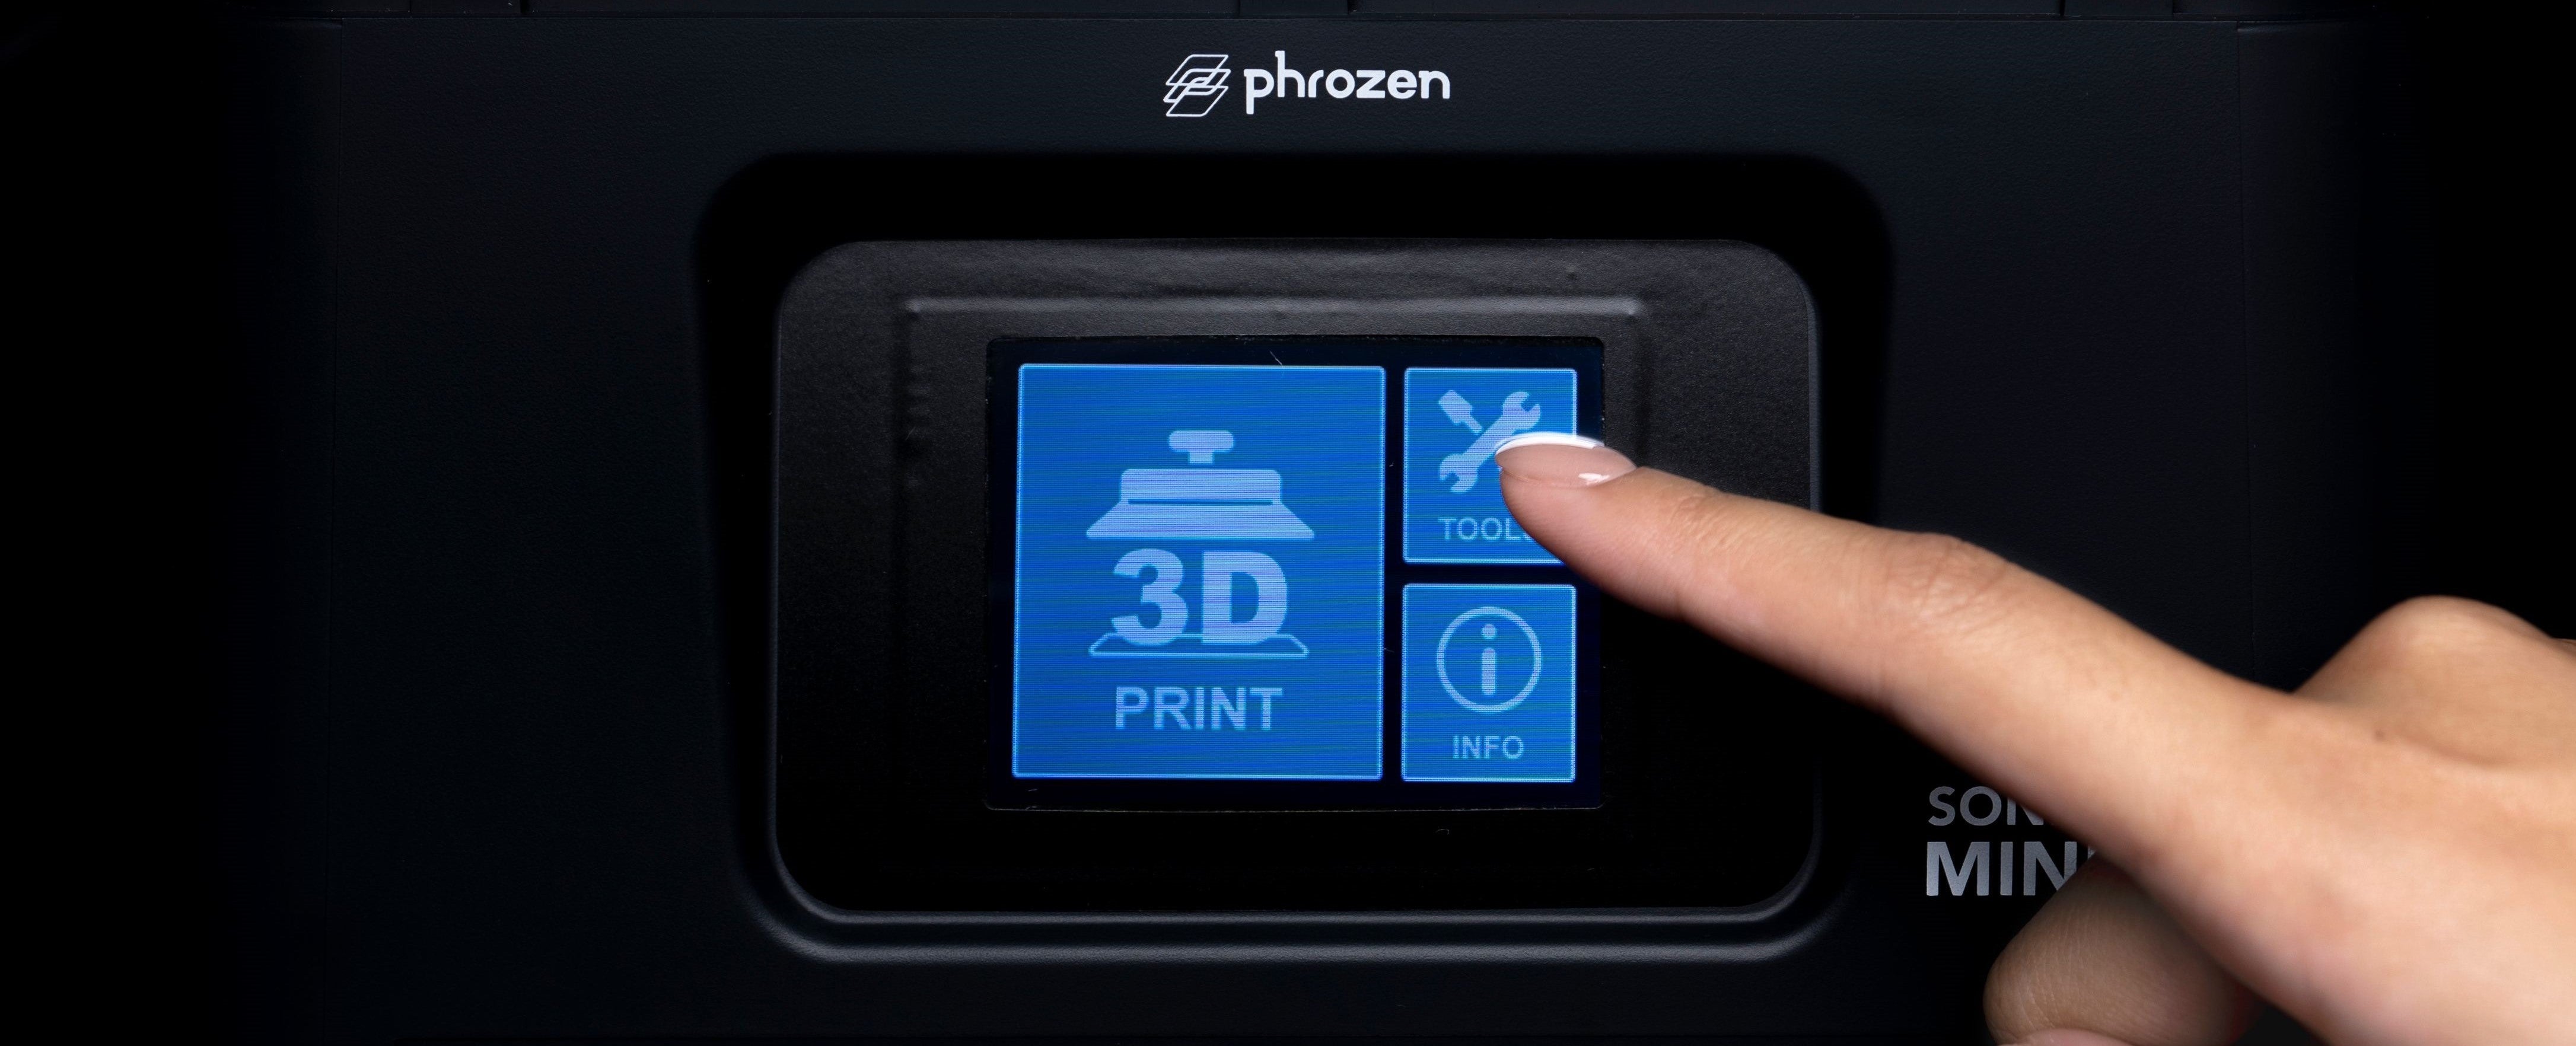
在觸摸屏上,點擊TOOLS ,然後點擊觸摸屏上的Z CALIB開始校準過程。
在點擊NEXT之前,請完成步驟 2 - 4。

第 2 步:移除樹脂桶
取出樹脂桶並確保清除機器平台上存在的所有物體。
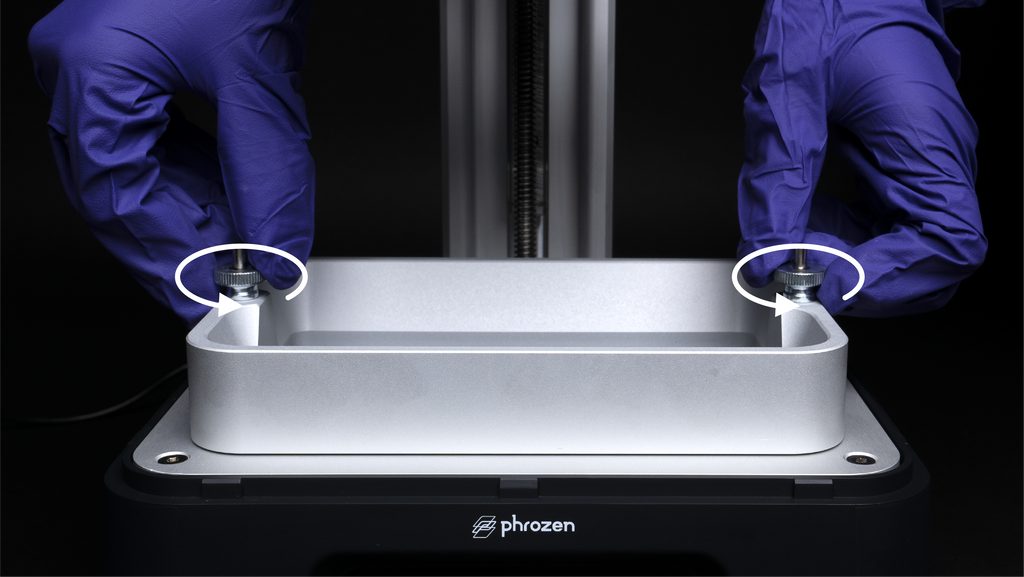

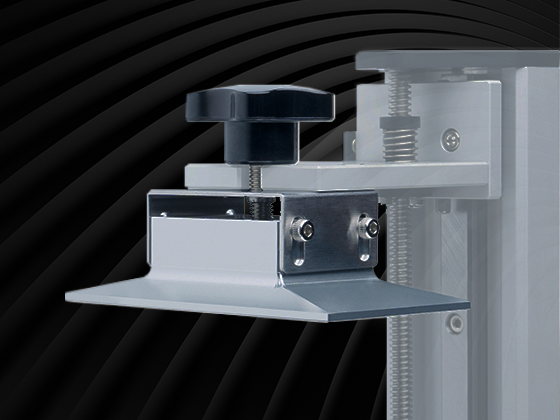
第 3 步:安裝建築板
將構建板旋鈕連接到打印機並將其與銷對齊。擰緊建築板。
*注意:請確保在擰緊過程中建築板不會移動。


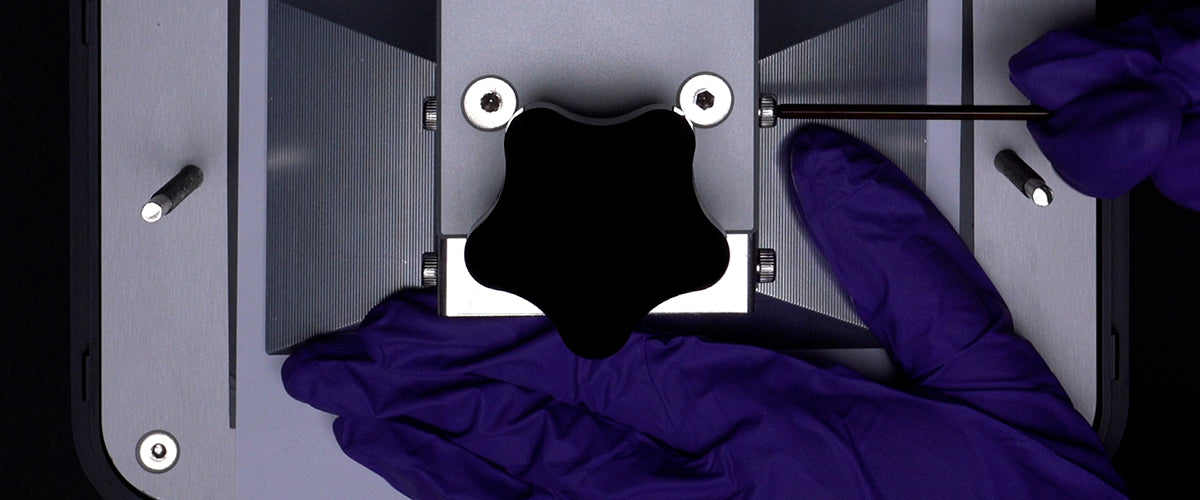
第 4 步:鬆開螺絲
使用工具箱中的內六角扳手沿逆時針方向鬆開構建板兩側的所有 4 個螺釘。鬆開後,仔細檢查板是否鬆動和活動。

第 5 步:向下拉建築板
向下拉建築板,直到完全拉下建築板上的螺絲。
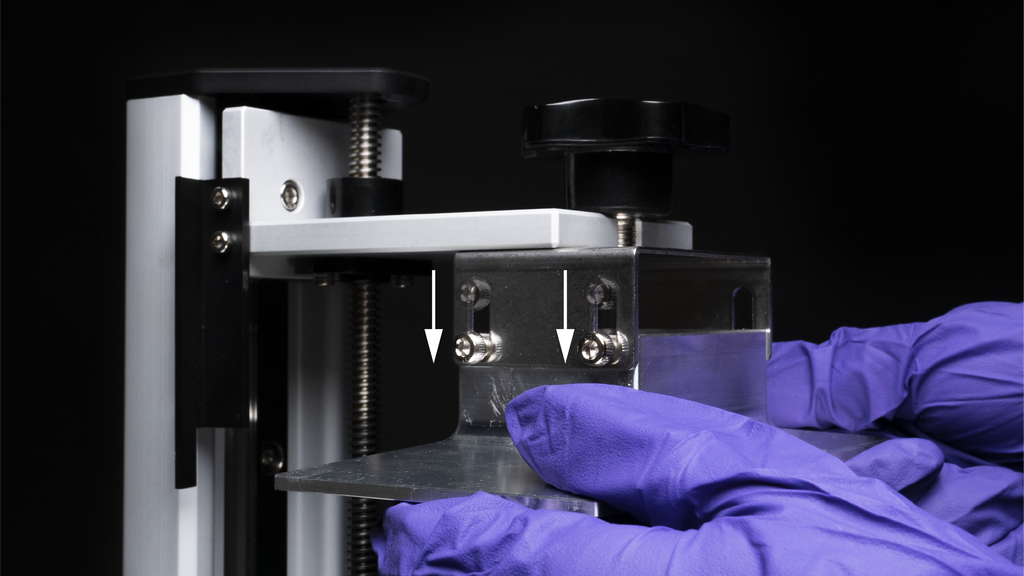
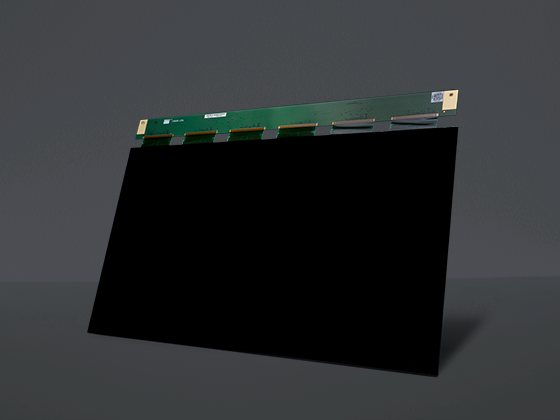
第 6 步:在 LCD 上放一張紙
準備一張A4紙(大約0.07-0.10毫米),平放在液晶屏上。這張紙將用於調平建築板。單擊 NEXT 並等待 1-2 分鐘,因為構建板會延伸到 LCD 屏幕。


第 7 步:在建築板上施加壓力
建築板接觸後,施加壓力並用力向下壓建築板的兩側。拉動這張紙,確保建築板緊緊貼著它。

第 8 步:以交叉方式擰緊螺絲
成功調整構建板後,按順時針方向擰緊構建板兩側的所有四個螺絲,同時用另一隻手按交叉模式順序向下壓構建板,例如,右上,下-左、左上和右下。

第 9 步:仔細檢查 Z 軸校準
拉動 A4 紙的所有四個角以檢查壓力強度。如果很緊,請繼續下一步。如果不是,請重新進行 Z 軸校準測試。
多次嘗試後,如果紙張仍然鬆動,請直接在樹脂缸上進行 Z 軸校準測試。 FEP 厚度約為 0.14-0.15 毫米。

第 10 步:完成
單擊觸摸面板上的完成並等待構建板縮回。


板縮回後,取出 A4 紙。
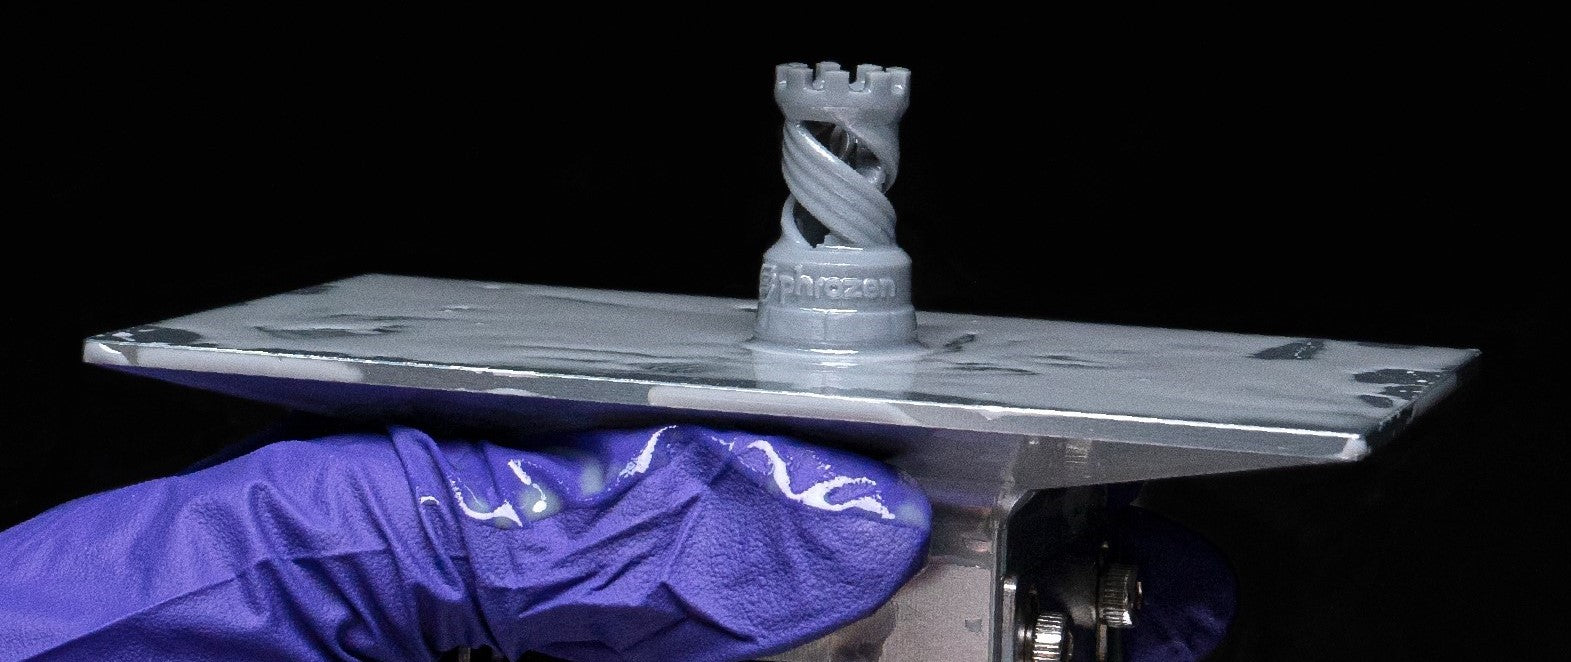
您現在可以開始您的 3D 打印之旅了!單擊此處獲取有關打印 Phrozen 測試文件的教程。




2條評論
Dave Adams
Needed to replace out z axis motor bearings, due to a resin spill. How do I reset the maximum distance the z axis will move in the upward direction? Thanks in advance, Dave.
———
Phrozen Technology replied:
Hi Dave,
To lift build plate, select TOOLS, then MANUAL after you’ve boot up your Sonic Mini 4K, where you can lift or lower the build plate manually.
If you need to replace your z-axis motor, please contact your local dealer or submit a request from the helpcentre or using the link down below. https://reurl.cc/lvd5kq
Regards, Phrozen Team.
>
Amaury
Do I have te recalibrate the Z-axis every time I turn the printer on?
———
Phrozen Technology replied:
Hi Amaury,
No, you don’t need to recalibrate the Z-axis every time you turn the printer on. However, here are some conditions in which recalibration might be required: 1. When you just installed an LCD screen protector 2. When the building plate is not level and unstable 3. When you change to a thicker resin than the one you normally use. Hope this helps.
Cheers, Phrozen Team
>