Resource link: https://www.instagram.com/theprintinggoeseveron/
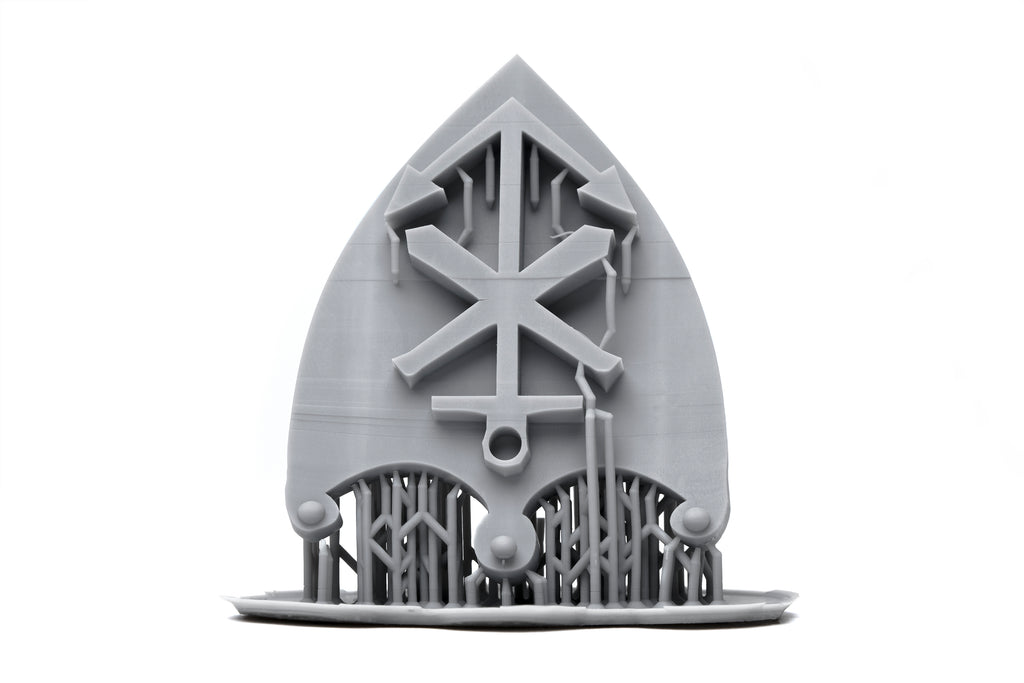
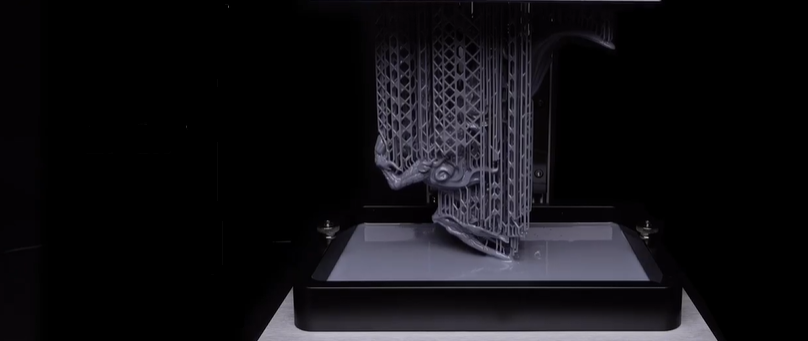
When printing a model, supports are important, well, because you need something to provide stability to your 3D prints as it is getting printed out — especially if your models have overhanging and bridges. As your 3D model is hanging in the air as the 3D printer operates, you need supports to anchor your model to the building plate. If the model doesn't have any supports, it may also fall off due to gravity.
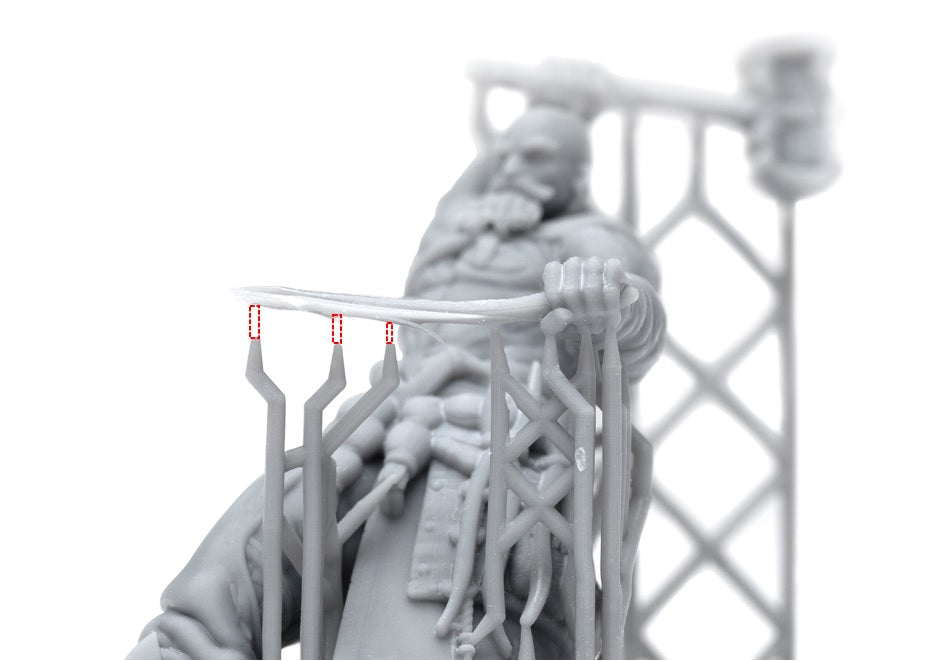
Setting supports is extremely important as this ensures that your models adhere to the building plate and does not fall into the resin vat easily. Only the tip of these support structures typically touches the model.
You can adjust the thickness or thinness of the supports by using slicer software such as CHITUBOX or just add a few more supports for extra grip and stability to ensure that you have a higher chance of success while printing out your 3D models. To learn more about what the different support settings on CHITUBOX mean, please click here.
So how should you set your supports? Keep on reading to find out more:
Thick Supports VS Thin Supports

If your model has overhanging and bridges, you’ll need to use thicker supports as a way to provide sturdy support to your 3D models. Thin supports are generally used as a way to support denser supports during the printing process. Depending on the complexity of your model, you could get away with only using thinner supports.
Though, keep in mind that the thicker your supports are, the harder it will be to remove them during post-processing. Conversely, the thinner your supports are, the easier it will be to remove after printing.
Click here to learn more about our recommended support settings on CHITUBOX Slicer Software.
Adjusting Support Tips

You can adjust the tips of your supports to have a smaller or wider diameter using slicer software.
If you set your support tips to have a smaller diameter, it may not provide you with enough support during the printing process.
In comparison, setting support tips to have a wider diameter leads to models having sturdy support during the printing process.
We recommend setting the upper diameter to roughly 0.6 and lower diameter to 0.8 mm.
Interested in learning what the different support settings on CHITUBOX mean? Click here!
Smaller support tips typically leave less visible marks after the supports are removed, while bigger support tips may leave marks that are much more noticeable after the supports are taken out.
Some Models May Need to Be Angled

Not all models need to be tilted before printing. If your model has a larger surface area, it is recommended to add in supports to ensure a successful print.
This is because, the larger the surface area is on the FEP film, the higher the peeling force will be. While printing, if the peeling force from the FEP film is stronger than the force holding the model on its supports, it’s highly likely that your prints may fail.
You can tilt your model by roughly 45 degrees. While tilting the model, feel free change to the settings and see what works best for you.
If you tilt your model, you can add in fewer supports, which cuts down on costs and saves time during post-processing. This also gives you a smaller surface area to work with.
Use Supports Sparingly
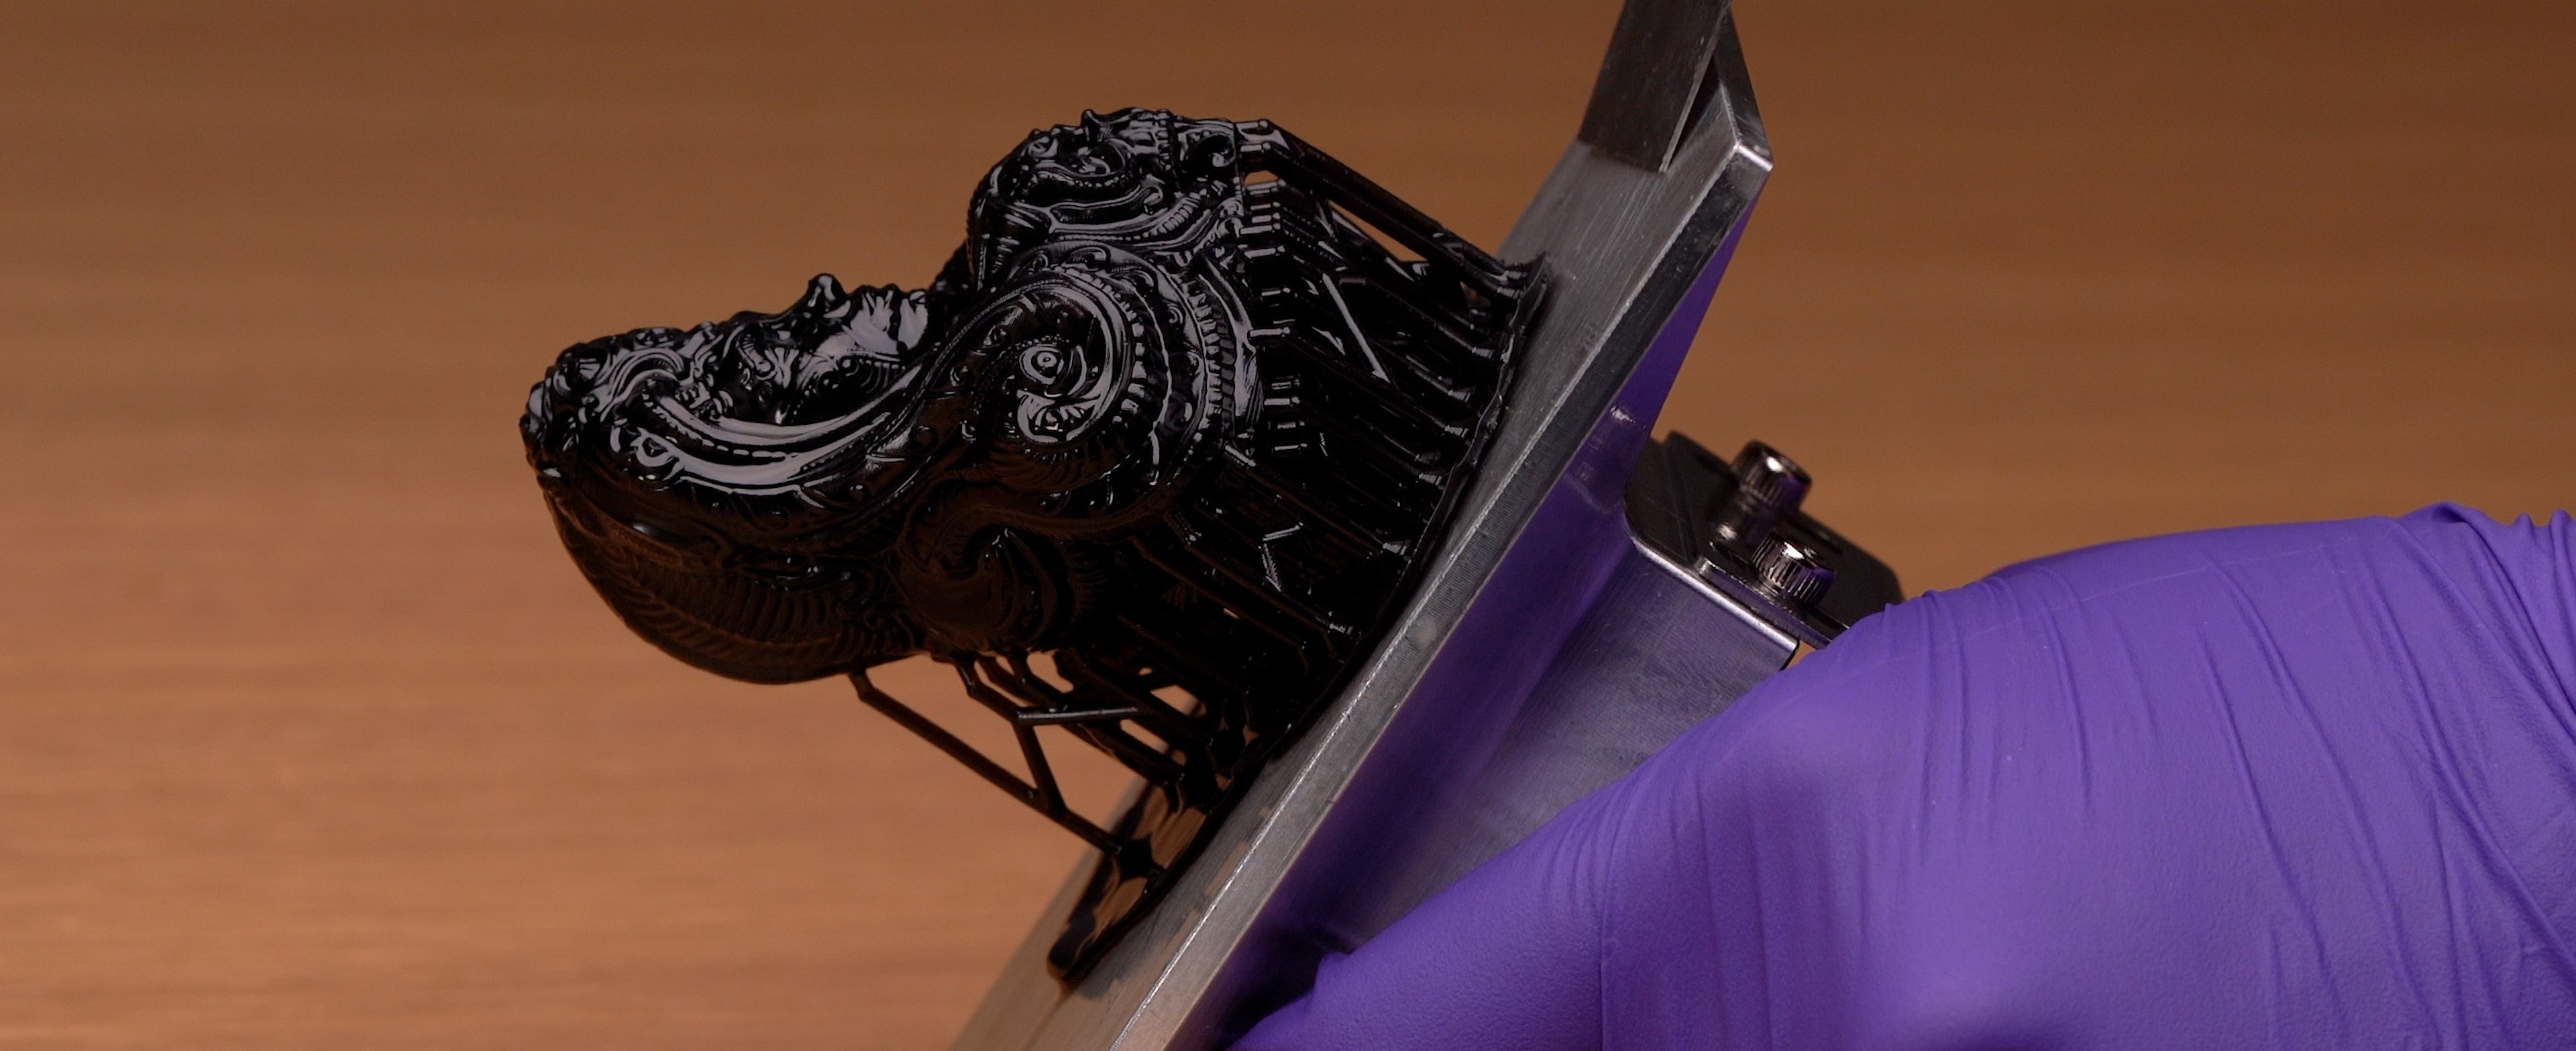
The more supports you add to your 3D model, the more resin will be used in the process, adding to your cost of materials needed to create a finished print.
While using slicing software, you are typically able to select a function to adjust support settings manually. You want to go in to double-check if you need to adjust anything or add or remove a few supports.
The quality of your prints isn’t impacted by the use of supports, though it will need to be removed in the post-processing process. It’s better to minimize the use of supports and add them only in places where it’s absolutely necessary.
Weak Supports May Cause Layer Lines

If your supports aren’t strong enough, you might be able to print out your resin prints but if you look closely, you’ll find layer lines. This means that your model was shaking against the building plate and resin vat while printing.
Areas that aren’t sufficiently supported can shift easily, causing layers to misalign, leading to the formation of layer lines.
When layer lines are formed, there is a possibility that it may cause at least some damage to your 3D prints...or, at the very least, your models may not be perfect.
Separation between 3D Model and Supports

After printing, if you’ve noticed that parts of your model aren’t touching the supports, it means that the supports or the support tips may not have been strong enough. To fix this issue, you’ll have to increase the density of the supports or increase the width of the support tips.
If the supports aren’t strong enough to provide stability to your model as it is being printed out, there is a possibility that some parts of your model may separate from the support tips after the printing process is complete.
These are just a few reasons why it’s important to add supports to your prints!
Click here to find out which Phrozen LCD 3D Printers are best for beginners. Need ideas for 3D printing? Click here!


4條評論
Martyn
Hi, we recently changed from using nFEP to ACF and now the prints have prominent layer lines. Is ACF known for this or is something not set up right? What would you suggest? Thanks!
———
Phrozen Technology replied:
Hello Martyn, Thank you for commenting.
If you are using Phrozen resin on Phrozen printer, it’s suggested to use the recommended resin settings and dial the exposure timing in from there. You should be able get similar results with the settings we provide whether you are using nFEP or ACF as your releasing film.
The resin setting we provide are listed on this page: https://phrozen3d.com/pages/resin-profile
Please note that those settings are tested under the room temperature of 25℃. You might need to use longer exposure timing and rest time after retraction, sometimes with slower building plate moving speed in winter time, since the resin will get thicker in the colder months.
Hope this helps.
Best, Phrozen Team
>
Javier Hernández
Hi! I have a problem in rounded impressions. Several “pinches” appear in the areas where the tips of the supports are. Is that due to low or high exposure time? I’ve tried many times and I can’t find a solution.
Greetings
———
Phrozen Technology replied:
Hi there,
Thank you for your comment. Please fill out this form:
https://phrozen3d.com/pages/technical-issue-form
Phrozen Team
Hi there,
Thank you for your comment! This depends on the strength, not the length of the supports. For example, in the blog post section “Separation between 3D Model and Supports,” we see support structures with multiple “X” structures in between. This will strengthen the supports and will help you to avoid results with zig-zags.
Lee
Great article! Any reason for supports to be printed in zig zag? Some of my longer supports are coming out of the printer in zig zag.
Thanks!
Great article! Any reason for supports to be printed in zig zag? Some of my longer supports are coming out of the printer in zig zag.
Thanks!