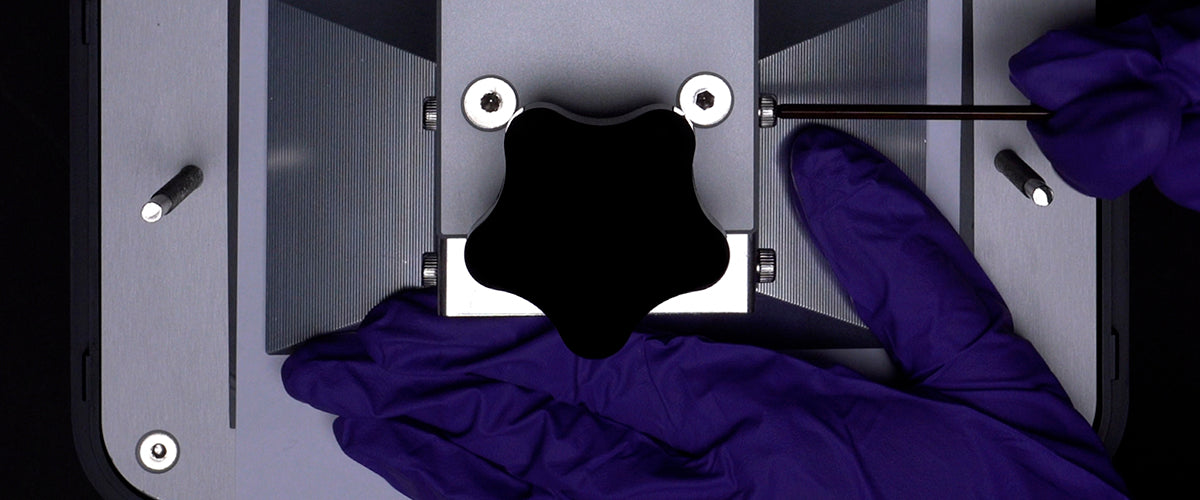
Before printing, you may need to check the status of your Sonic Mini 4K's LCD screen. This is to ensure that both the UV lights and the 6.1” Mono-LCD screen are functioning properly. We will guide you through the steps of performing an LCD test and how you can read it:
*Caution! DO NOT look directly into the light. Improper exposure to UV light may cause painful eye and/or skin injuries.
Step 1: LCD TEST
On the touch panel, click TOOLS, then click LCD TEST:


1. A white rectangle with black sides will appear on the touch panel.

2. On the LCD screen, a 10.5 cm x 6 cm bright blue square will appear.
Run this test to make sure that the image shown on the LCD screen matches the one shown on the touch panel.

Step 2: VAT CLEANING
Click TOOLS, then click VAT CLEANING.


1. On the touch panel, a white rectangle will appear.

2. On the LCD screen, a 13.5 cm x 7.5 cm bright blue square will appear. Run this test to make sure the UV lights are distributed evenly.

Step 3:
After making sure everything is functioning correctly on your LCD 3D printer, you’re all set to proceed to the next step: Z-axis Calibration


