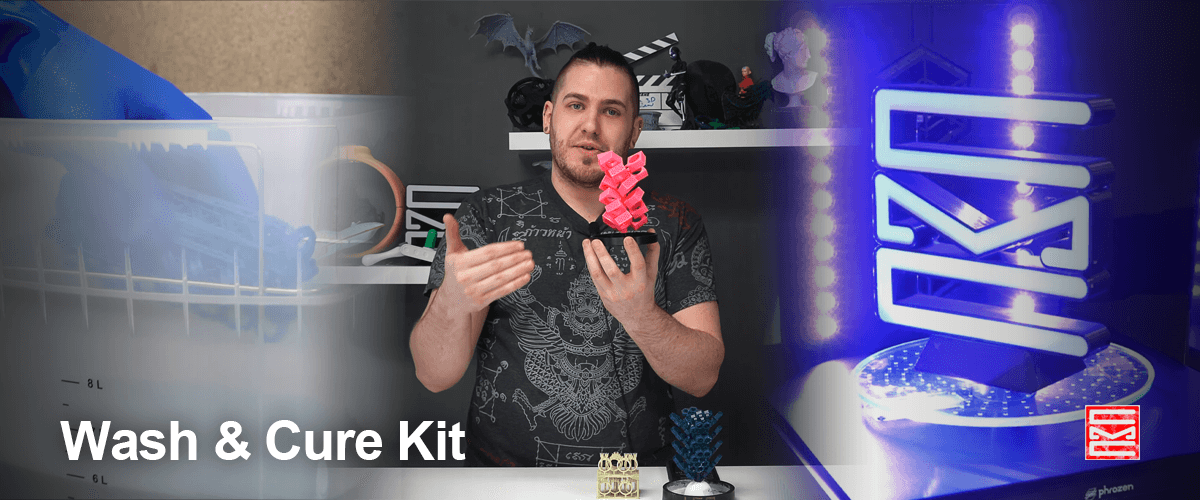
Today we are sharing another review from Clean Mind Jewelry, specifically on why a wash and cure station is necessary for post-processing resin 3D prints, especially for jewelers. According to Dan, the prime purpose for the best wash and cure station for jewelry is consistency, which is the ultimate goal for all jewelers. So if you are in a jewelry 3D printing business, make sure to read this article till the end to see why a Wash and Cure Kit is an essential kit for your workflow.
What is the Wash & Cure Kit?
As the name suggests, it is a post-processing kit for you to easily wash and cure your 3D prints. Some other brands have also come up with their own version of wash and cure, but with separated units included in the Phrozen Wash & Cure Kit, you can either simultaneously wash and cure your models or do these separately based on your 3D print.
What’s the Benefit of Post-Processing With the Wash & Cure Kit
You can learn more about the best benefits and features of the Wash and Cure Kit on our website, but Dan mentioned some of the prime benefits as follows:
- Capacity to completely submerge your 3D print.
- The washing and curing stations can cure separately and simultaneously when needed.
- All the cleaning is delicate with advanced vortex tech.
- No more unevenly cured models due to the latest UV light emission tech.
Best Tips on Creating the Trees for Your Jewelry Prints
After discussing some great benefits of the Washing Station and Curing Station, Dan discusses the steps in resin 3D prints post-prcoessing and how important it is to be done it properly before casting.
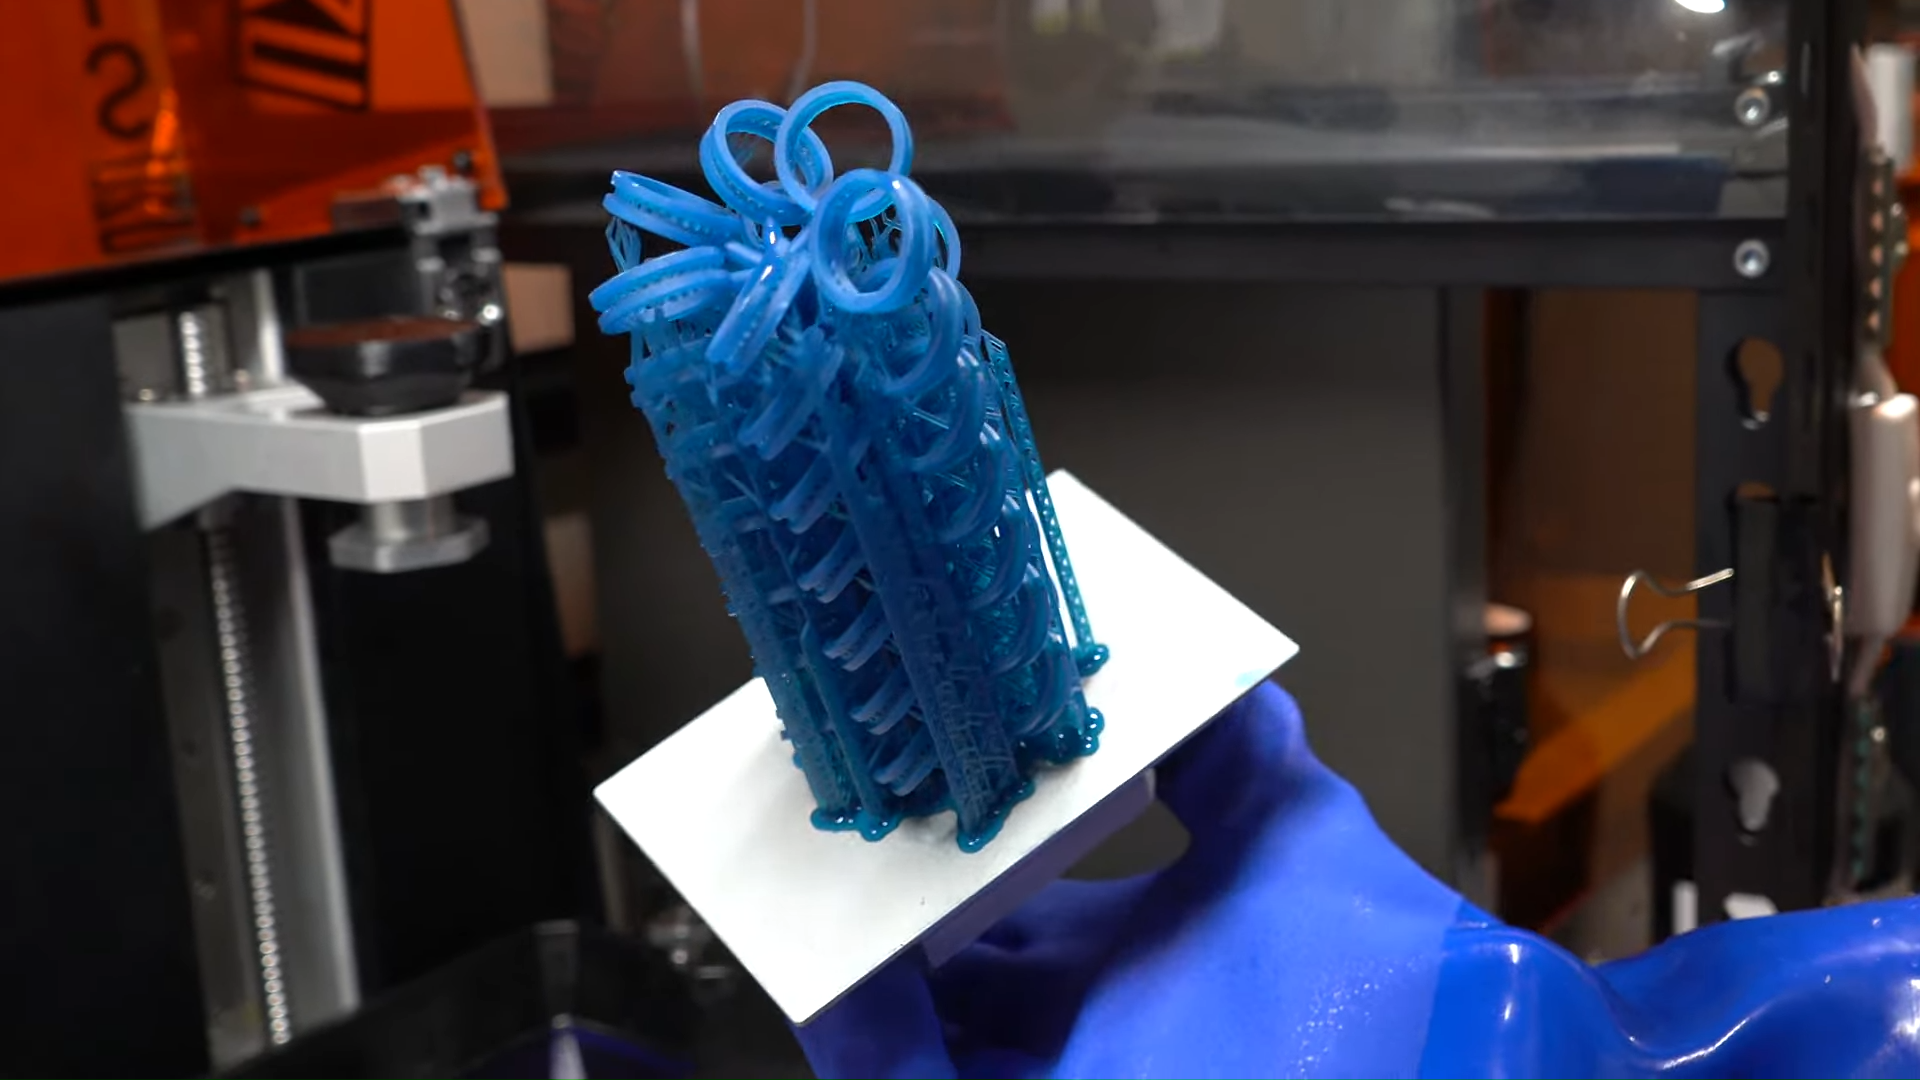
He starts by talking about supports and how vital the resin you use is, so he always starts building his trees by keeping the type of resin he’s going to use in mind. Knowing your resin well give you the understanding on what kind of supports do you need, what type of designs allows you to get away with some overhangs, etc.
Having a great end product starts by slicing and post-processing. You should keep the support as minimum as possible. Furthermore, you can lower the head size to around 0.2–0.3mm.
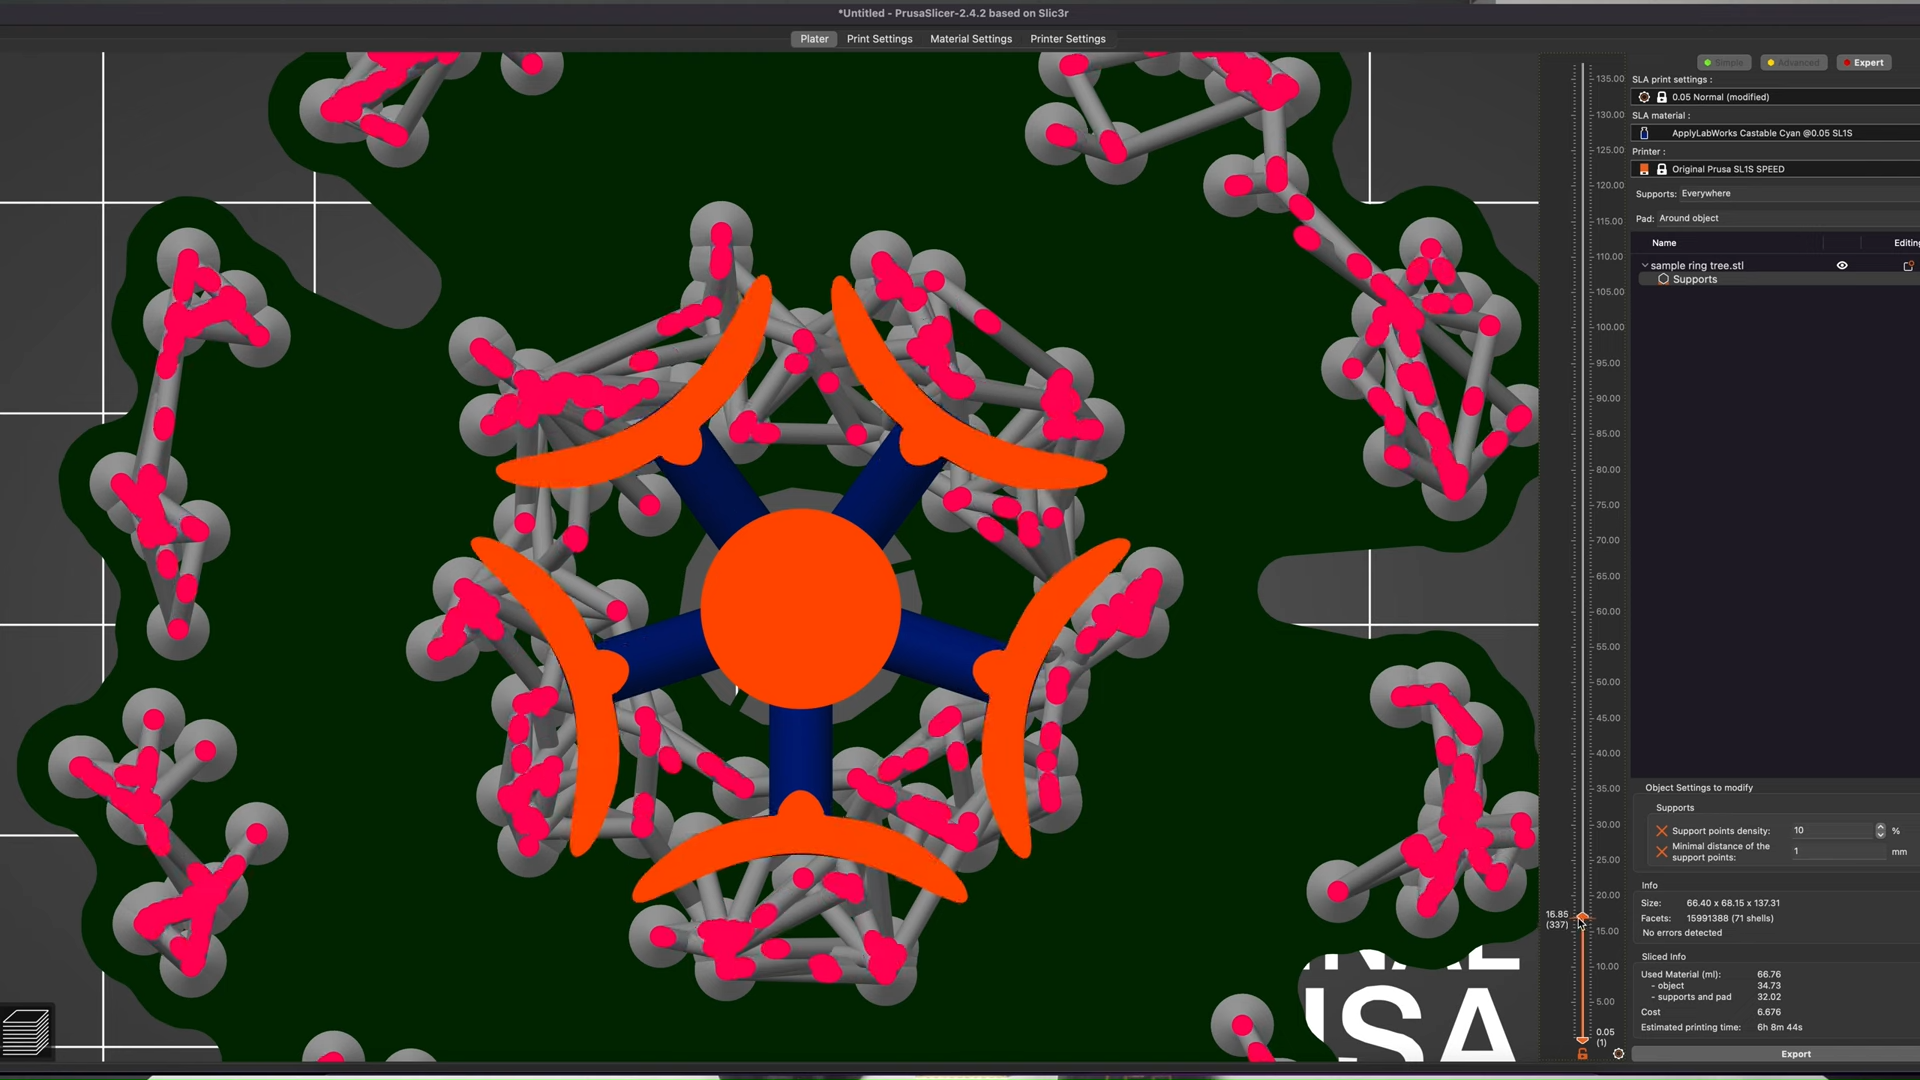
Dan highlights the importance on having the spruce being as low as possible so you can build it along your tree naturally, and avoid unnecessary supports that would increase the weight and waste material.
Removing Supports Before or After Post-processing?
Whether you prefer to remove supports before or after post-processing has always been a heated debate in the 3D printing community. However, as he focus on jewelry 3D printing, Dan believes in removing the supports from your 3D model after post-processing. According to his experience, when you remove support pre-curing, Dan would be left out with concave pockmark instead of the convex pockmark you got after-curing.
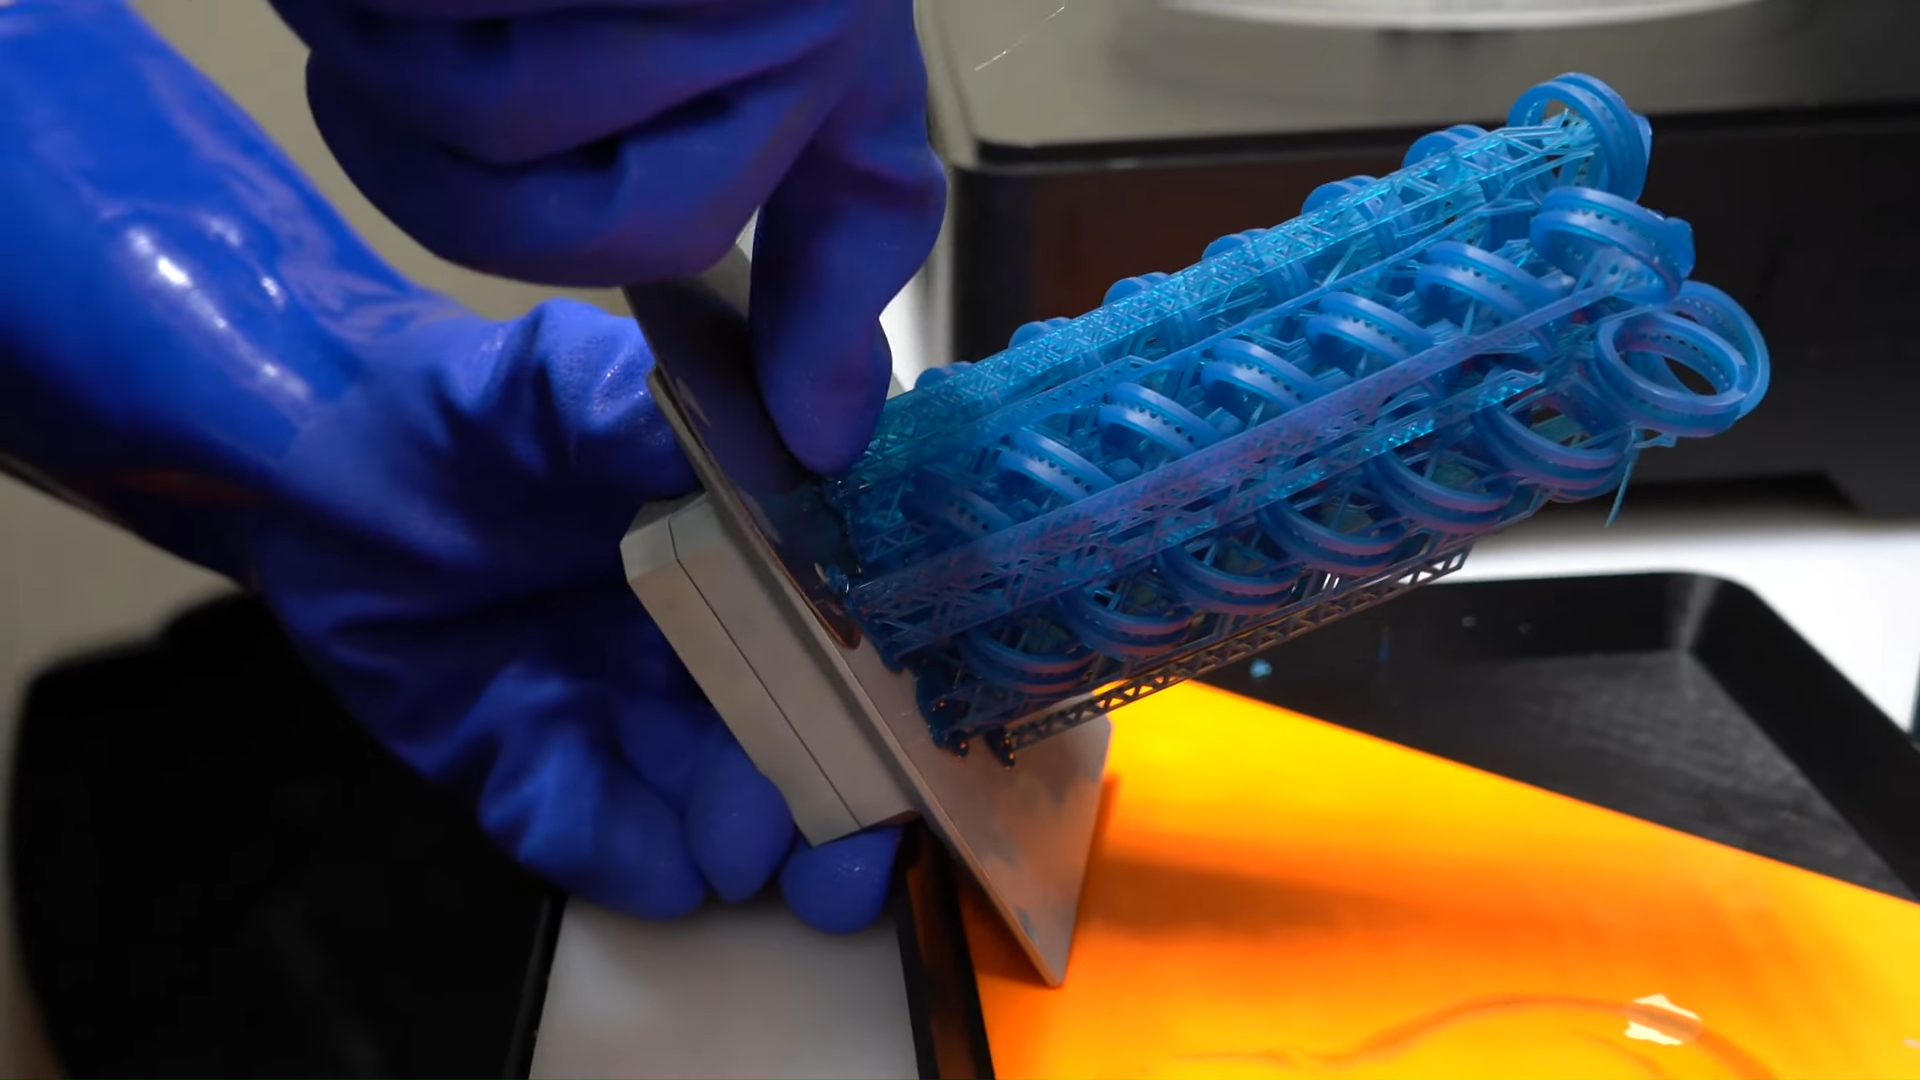
With the concave pockmark from support removal pre-curing, Dan needs to fill these marks with wax or add a bit of resin into it before curing them again with his UV light.
But if he removes the support post-curing, he’ll end up with convex marks, or a little bit of hangover from the supports. In jewelry business where you’ll need to polish the surfaces anyway, removing these marks seems more economical and faster compared to filling in the mark one by one.
Why the Wash & Cure Kit?
Dan further talks at length about why Phrozen’s Wash & Cure Kit is a great machine, and here are some of the prime features other than what we have mentioned above.
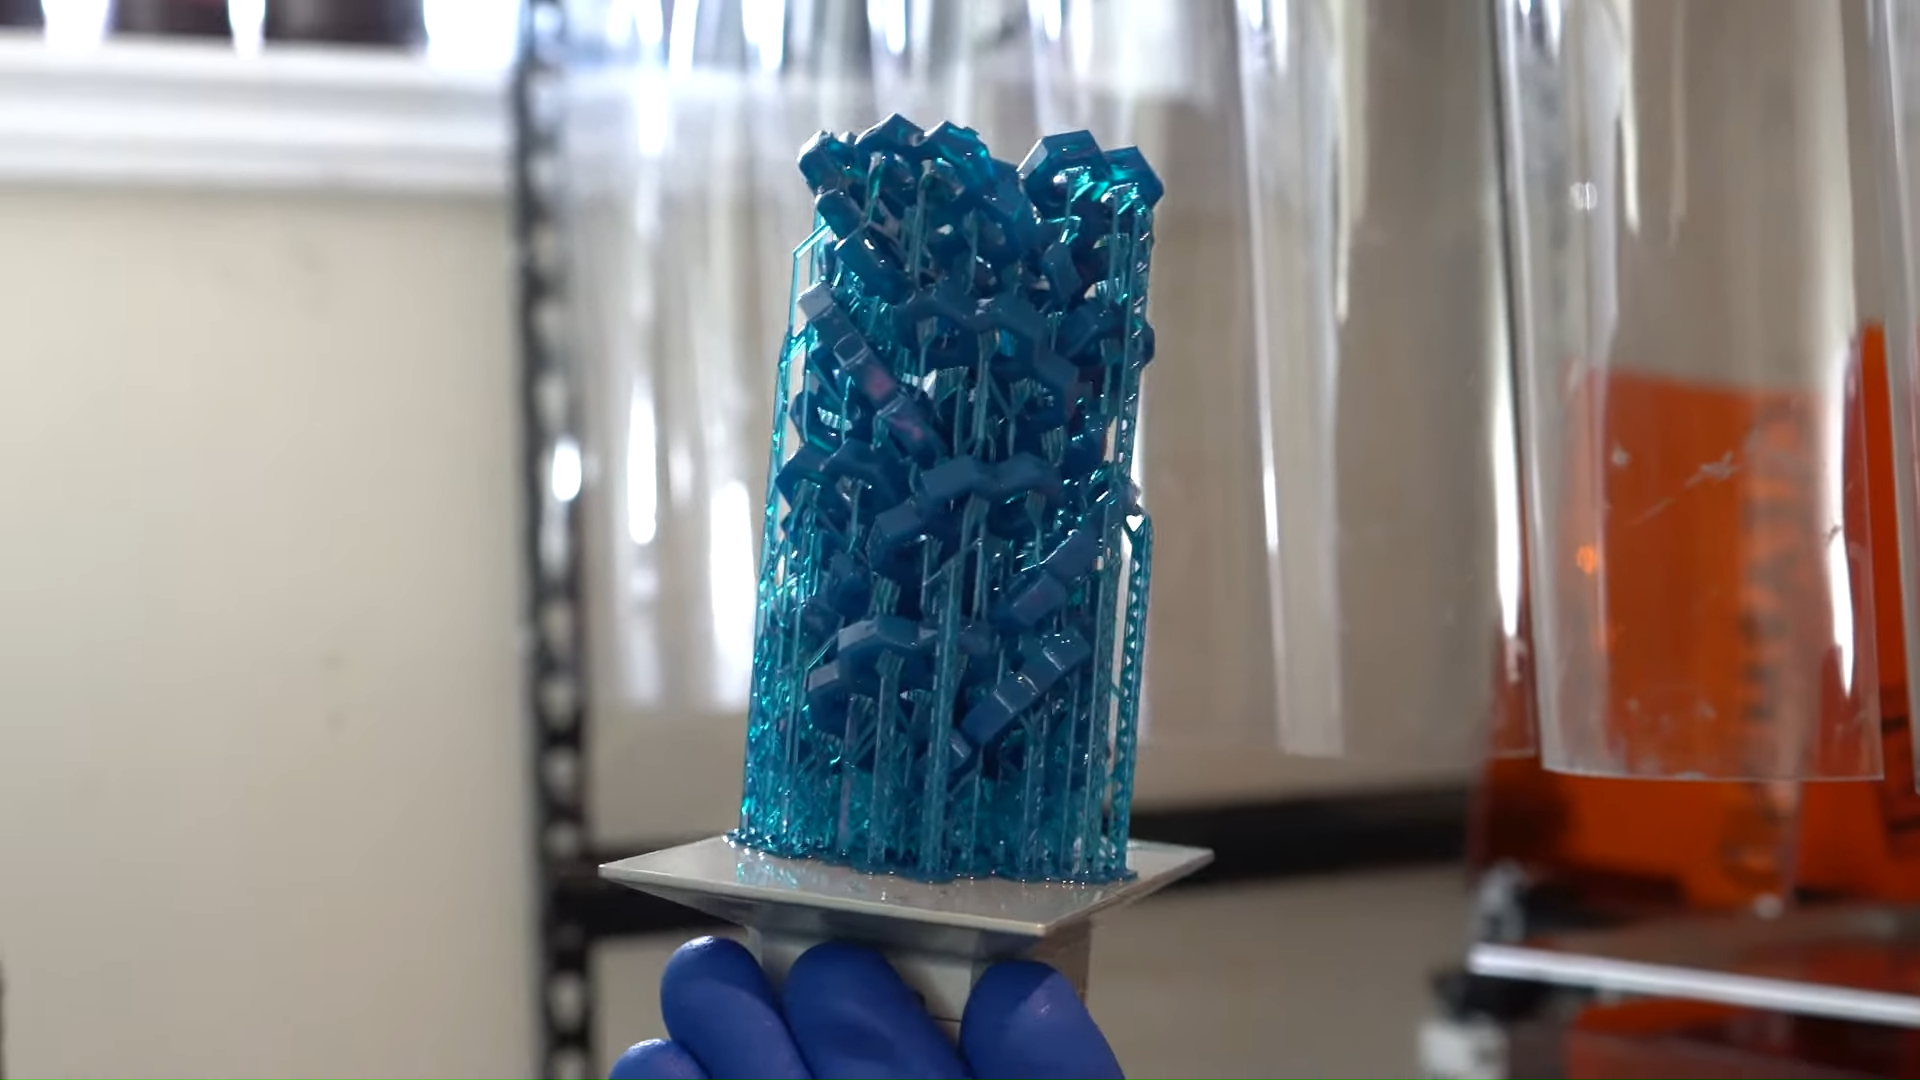
- A larger area enhances and optimizes your workflow, allowing mass production of post-processing resin 3D prints from the the washing and curing station.
- It allows you to work on taller models like shown in his video.
- You get two fully functional systems instead of 2 in 1, where you can employ two jobs simultaneously instead of just one.
- If they are not trees, you can put up to 3 post-processing resin 3D prints trees in the Washing Station of easily a full big plate of your designs.
Jewelry 3D Printing Tips and Tricks
Here are some more tips Dan gave when discussing the best wash and cure station for jewelry.
- Use hot water to preheat your trees. You can also dry your specimen using a blower or a hot gun, whichever you have at hand.
- You may need to experiment with the heat to find the sweet spot based on what type of resin you are using, but make sure that it was not too hot because these are, after all, castable materials.
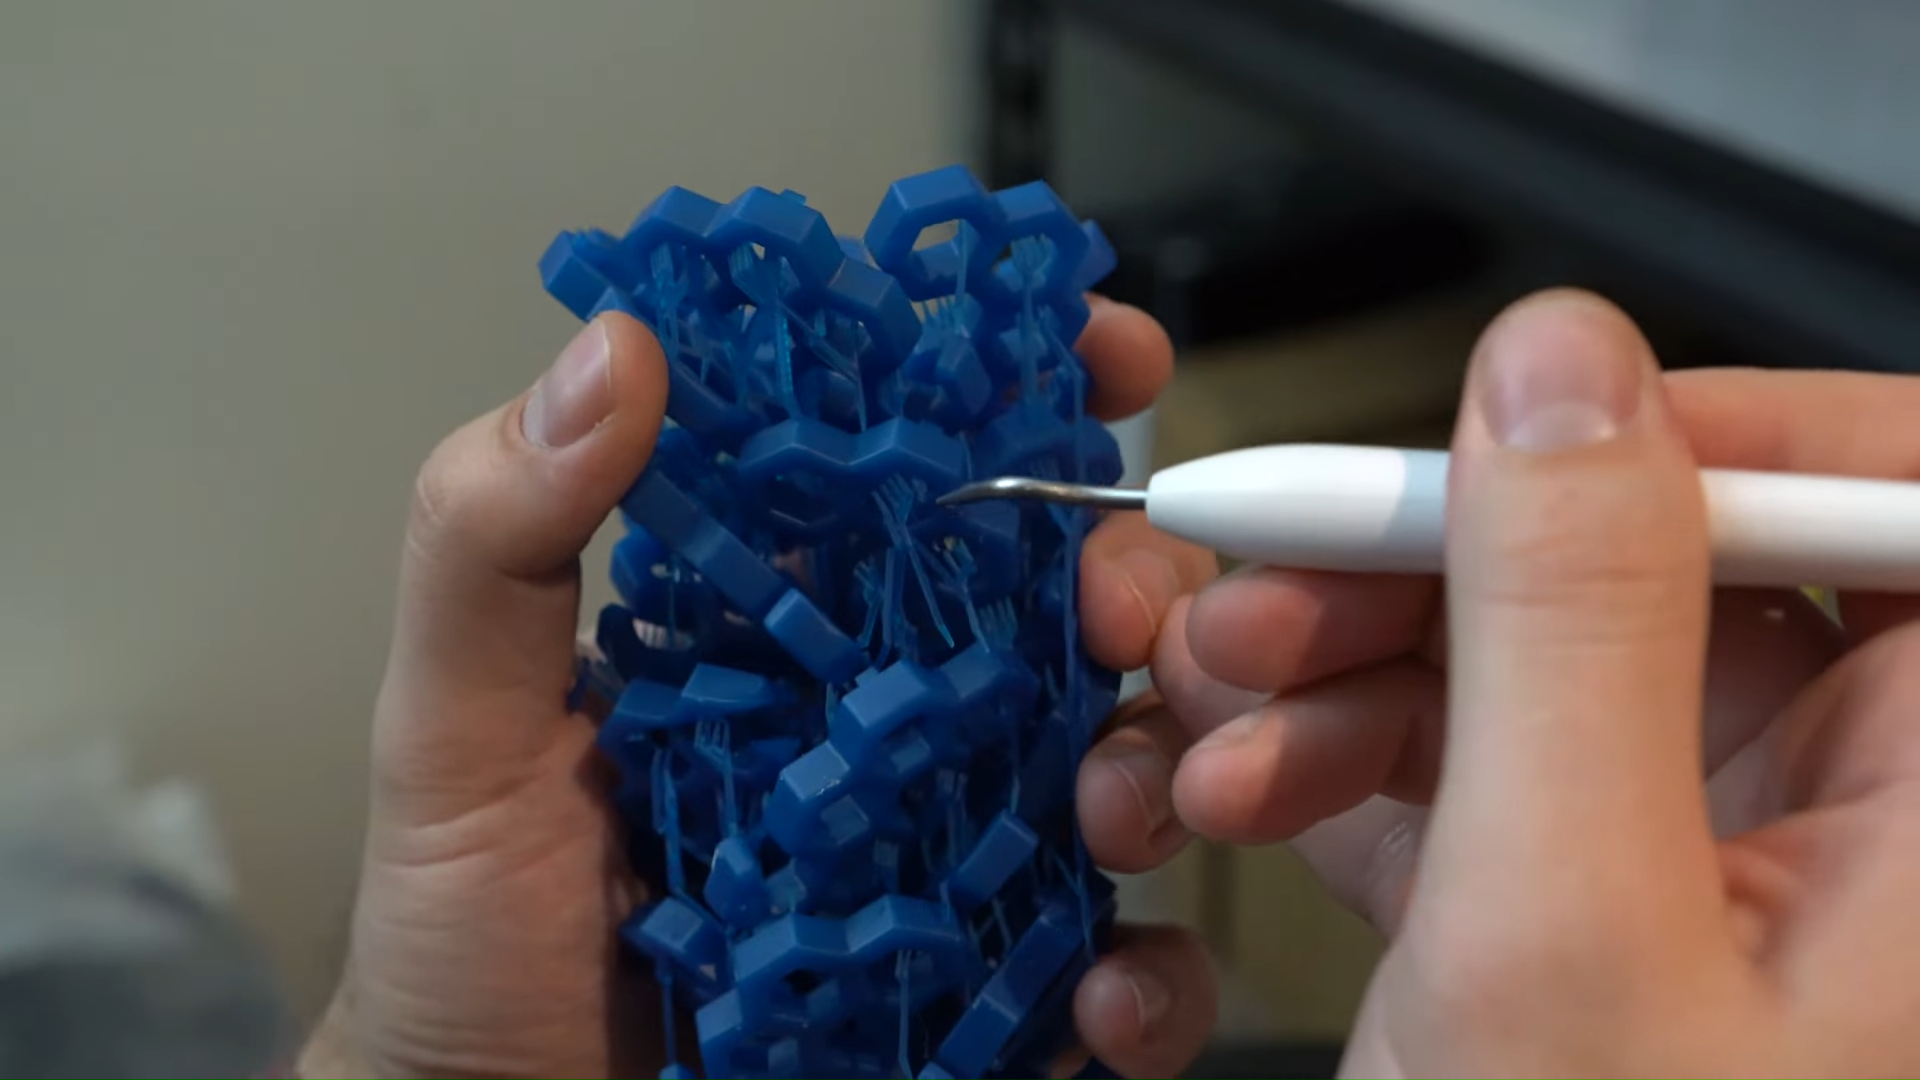
- When removing supports, he utilizes tools like the dentist pick or small headed carving tools to get into complex regions of your tree print whenever you encountered complex jewelry 3D printing designs with lots of supports inside the tree.
- Be patient. According to Dan, it’s one of the most essential trade tips. The higher number of trees you are printing, the more time you’ll spend working on each of them.
- Design trees to accommodate as many as possible in one plate, saving you time, and that support material isn't wasted.
Should You Get It?
For smaller businesses who need cost-effectiveness, using a wash and cure station from Phrozen can save you tons of time and effort. In addition, the various jewelry printing tips and trick shared by Dan here can also increased your working efficiency.
It’s always great for designers to have the best tool possible to help in their manufacturing process. In this case, the Wash & Cure Kit is easily the best wash and cure station for jewelry manufacturer, just like Dan shown in the video. So without sacrificing your hard work and precious time, don’t forget to check the Wash and Cure Kit out!

