Imagine spending hours crafting a complex 3D model, optimizing its design, only to have it collapse or become misshapen during printing.
Overhangs droop, bridges sag, and intricate details lose their sharpness. For many users, this is a common frustration when dealing with unsupported designs in 3D printing.
But the good news? It’s a problem that can be easily solved with the right use of support structures.
In this comprehensive guide, we’ll take you through everything you need to know about support for 3D printing, including how to add support structures, when to use them, and the best ways to remove them without damaging your prints.
Plus, we’ll introduce tools that can help streamline the process, ensuring your prints are flawless and free of unnecessary blemishes.
By the end of this guide, you’ll be ready to tackle even the most complex designs with confidence, knowing that support structures will keep your prints looking professional and stable.
What Are Support Structures in 3D Printing?

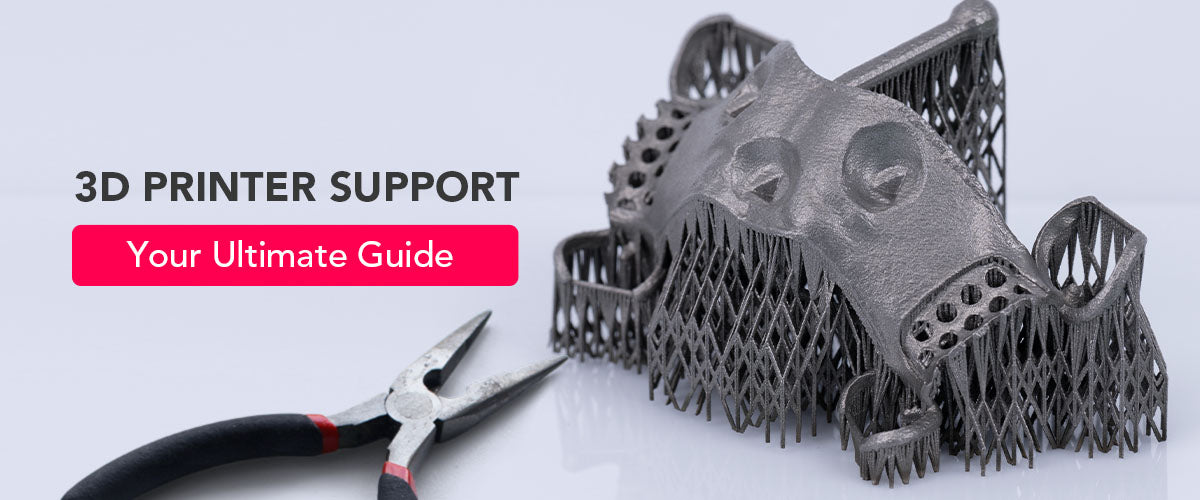
At its core, a support structure is an auxiliary part printed to stabilize certain features of your model during the 3D printing process. These structures are essential when printing overhangs, bridges, or intricate features that need temporary backing to maintain their shape.
Without supports, many prints—especially those with complex geometries—would collapse under their own weight or deform during the printing process.
Support structures act as scaffolding during the printing process, providing a foundation for layers that would otherwise be suspended in mid-air. Once the print is complete, these supports are carefully removed, leaving the model intact.
Why Do We Need Support Structures?
Most 3D printers work by depositing material layer by layer. In FDM 3D printing, for example, each new layer must be supported by the layer below it. However, when parts of your model feature large overhangs—sections that extend outward without direct support—there is a high likelihood of the material drooping or collapsing under the effects of gravity.
Overhangs exceeding 45 degrees from the vertical, bridges longer than 10mm, and intricate designs with many thin, unsupported features are all prime candidates for needing support structures. To prevent sagging or outright failure of your print, adding supports is crucial.
When to Use Support Structures in 3D Printing
When should you add support to your 3D prints? Knowing when to use supports can save you time, materials, and a lot of frustration. Here are the most common scenarios where adding supports is non-negotiable:
Overhangs greater than 45 degrees. Any section of your model that extends beyond a 45-degree angle from the vertical will likely need support. The reason is simple—gravity. At angles greater than 45 degrees, the material tends to droop or collapse, ruining the overall structure of your print.
Bridges longer than 10mm. In 3D printing, bridges are horizontal structures that span two points. If the bridge exceeds 10mm in length, there’s a good chance the material will start to sag. While certain settings (like increased cooling) can sometimes reduce the need for support, long bridges usually require scaffolding underneath to ensure they hold up during printing.
Irregular shapes and complex geometries. Designs that feature a lot of intricate shapes, such as hollow areas or unsupported islands, almost always need support. This is especially true for architectural models or detailed miniatures where stability during printing is paramount. Complex structures can lead to parts shifting, sagging, or even breaking off mid-print without the proper support.
Hollow prints. When printing hollow objects, it’s essential to add supports to stabilize the inner surfaces during the print process. These supports help ensure that the inside of the model doesn’t deform or collapse, preserving its overall shape and integrity.
For example, if you're working on a detailed architectural model, you’ll need to carefully plan where to place supports to maintain the sharp edges and clean lines typical in these designs. Curious about how different 3D print file formats might affect your design’s need for supports? You can learn more about file formats and their use cases here.
How to Add Support to a 3D Print

3D model with auto supports on Chtibubox (3D model by IRNKMAN)
Adding supports is usually handled by your slicing software. Popular programs like Chitubox, ideaMaker, and PrusaSlicer come with built-in tools to automatically generate support structures based on your model's geometry. However, understanding how to customize your supports is key to creating efficient and clean prints.
Automatic vs. Manual Support Generation
Automatic Supports: Most slicing software includes an option for automatic support generation, which identifies parts of your model that need support and adds them based on preset parameters. This is the fastest and easiest way to ensure that your model prints successfully. However, automatic supports aren’t always perfect and can add unnecessary structures, increasing print time and material costs.

Through manual addition, you gain greater control.
Manual Support Generation: For greater control, you can manually place supports in your slicing software. This is particularly useful for complex models where you want to minimize material use or avoid supports in areas that are hard to clean post-print.
This customization becomes especially important when working with resin printers like the Phrozen Sonic Mini 8K. Resin prints are known for their fine details, and supports can sometimes leave marks that detract from the quality of the print. Using manual supports allows you to strategically place them where they will have the least impact on the finished surface.
Types of Support Structures for 3D Printing
When it comes to support structures, you have several options. The type you choose depends largely on the complexity of your model and the material you’re printing with. Here are the two most common types:
Lattice Supports. These are grid-like structures that provide solid support for overhangs and bridges. Lattice supports are the most common because they’re strong and reliable. However, they tend to use more material and can be difficult to remove, especially in tight spaces. They also often leave marks on the surface where they connect to the print.
Tree-like Supports. As the name suggests, these supports look like trees with branches extending to different parts of the model. Tree supports use less material and are easier to remove than lattice supports, making them ideal for organic shapes with intricate details. However, they aren’t as stable for larger flat overhangs.
Pro Tip. To make removing supports even easier, consider using the Phrozen Sonic Saber. Its ultrasonic cutting capability—at over 35,000 vibrations per second—makes quick work of even the most complex support structures. With its precision, you can remove supports from tight spaces without leaving any marks, preserving the fine details of your model. Check out the video below for a powerful demo.
Optimizing Your Design to Minimize Support Structures
While supports are sometimes necessary, minimizing their use can save you time, materials, and post-processing work. Here are some design tips to help you reduce the need for supports:
Reorient the Model: Simply changing the orientation of your model in the slicer can significantly reduce the need for supports. For example, printing with the largest flat surface on the build plate can minimize overhangs.
Chamfer Edges: If your model has sharp overhangs, consider chamfering the edges. Chamfers are angled cuts that reduce the overhang’s angle, allowing it to print without supports.
Add Bridges and Pillars: Sometimes, it’s possible to integrate support-like structures directly into your design. For example, adding pillars or connecting overhangs with small bridges can reduce the need for additional supports.
Use Break-Away Support Materials: If your printer supports dual extrusion, you can print the supports in a different material that’s easier to remove, like PVA, which dissolves in water. This leaves your model intact and free of surface damage.
Our blog on creating 3D models is a must-read if you're interested in designing prints for 3D printing; we've compiled expert tips and techniques just for you.
How to Remove 3D Print Supports

Support removal can be tricky, especially for delicate models with fine details. Here are the most effective methods for removing supports without damaging your print:
Pliers or Snips. For FDM prints, simple tools like needle-nose pliers or side cutters are effective for removing lattice supports. Be sure to carefully grip the support and twist it away from the model to minimize surface damage.
We have a highly-detailed and comprehensive guide on 3D printing tools; it's a must read if you want to ensure a quick, and seamless 3D printing experience.
Ultrasonic Cutting. For prints that require precision, like resin models, the Phrozen Sonic Saber is perfect. Its ultrasonic blade can cut through supports cleanly, even in hard-to-reach areas, without damaging the delicate surfaces of your print.
Sanding. After removing supports, you may notice rough areas where the supports were attached. Wet sanding with fine-grit sandpaper (220-1200 grit) will smooth out these areas and give your print a polished finish.
Dissolvable Supports. If you used a water-soluble support material like PVA, you can dissolve the supports in water, leaving your print untouched. This is particularly useful for intricate models where traditional removal methods might cause damage.
For detailed instructions on fixing common resin print failures, especially issues related to support removal, check-out our exhaustive troubleshooting guide.
Conclusion: Mastering Support for 3D Printing
Mastering support for 3D printing is essential for anyone working with complex models or intricate designs. While support structures are often seen as a necessary evil, they’re vital for achieving successful prints. With the right tools, techniques, and smart design choices, you can minimize the need for supports, optimize your models, and remove supports cleanly and efficiently.
Whether you’re creating high-precision prototypes or large, intricate models, tools like the Phrozen Sonic Saber and Phrozen Cure Beam can help ensure that your prints come out clean, professional, and free of flaws.
With the right knowledge and tools, you’ll be well on your way to producing high-quality 3D prints, no matter how complex your designs might be.


