Sonic Mini 4K: Unboxing
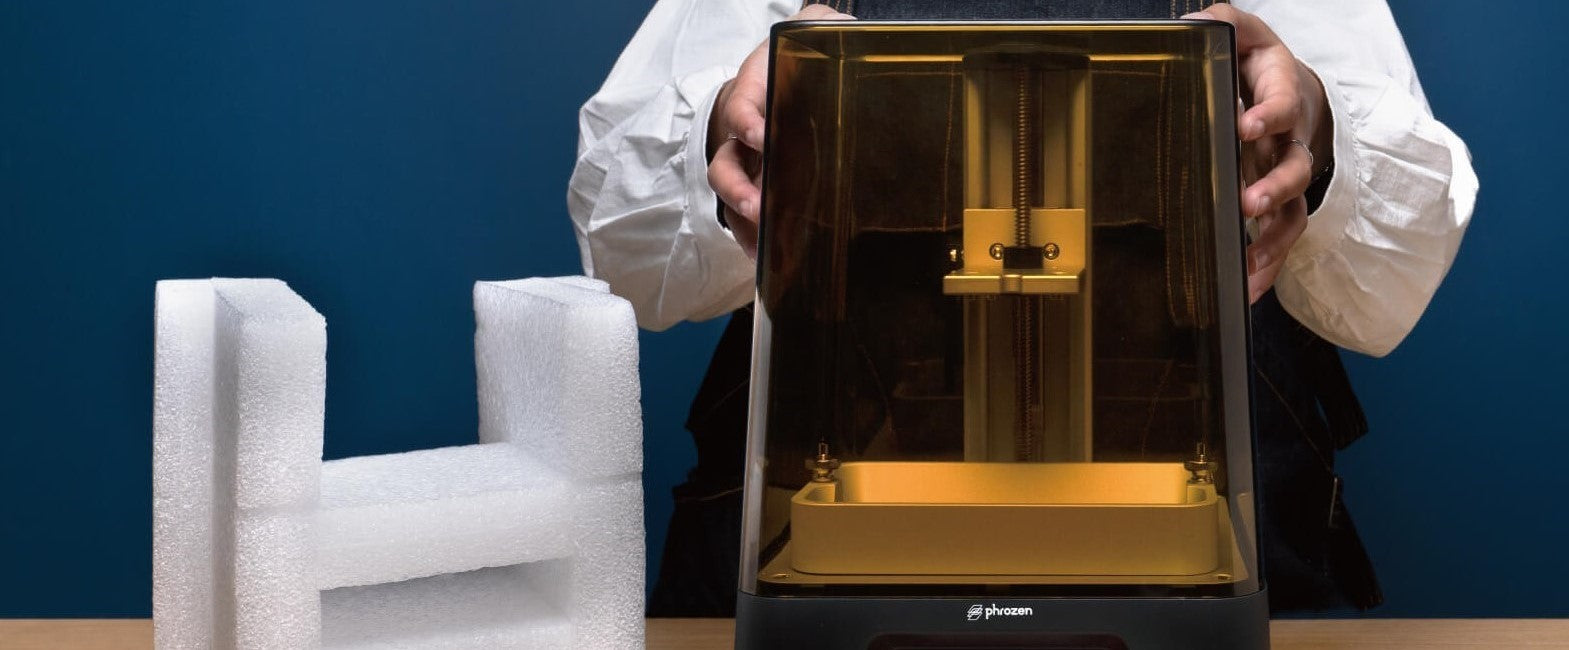
In this article, we will guide you through the steps of unboxing your Sonic Mini 4K:
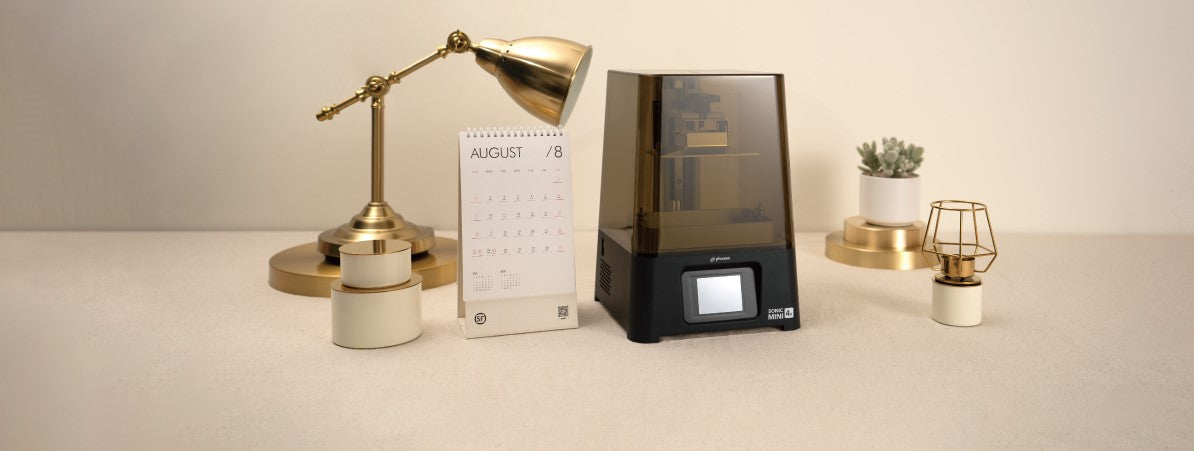
Get to Know Your Sonic Mini 4K
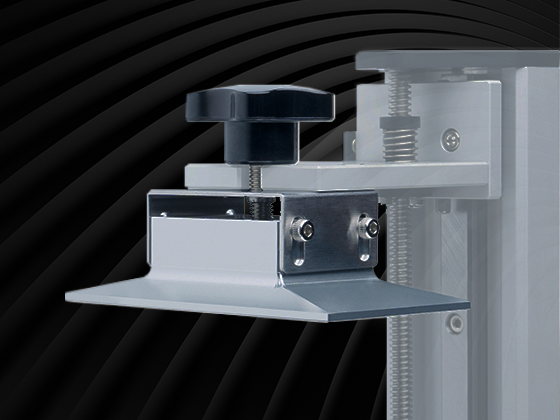
Let’s take a few moments to familiarize ourselves with the hardware and components of this LCD 3D printer. You may find it helpful to bookmark this section and refer to it as you read through the r...
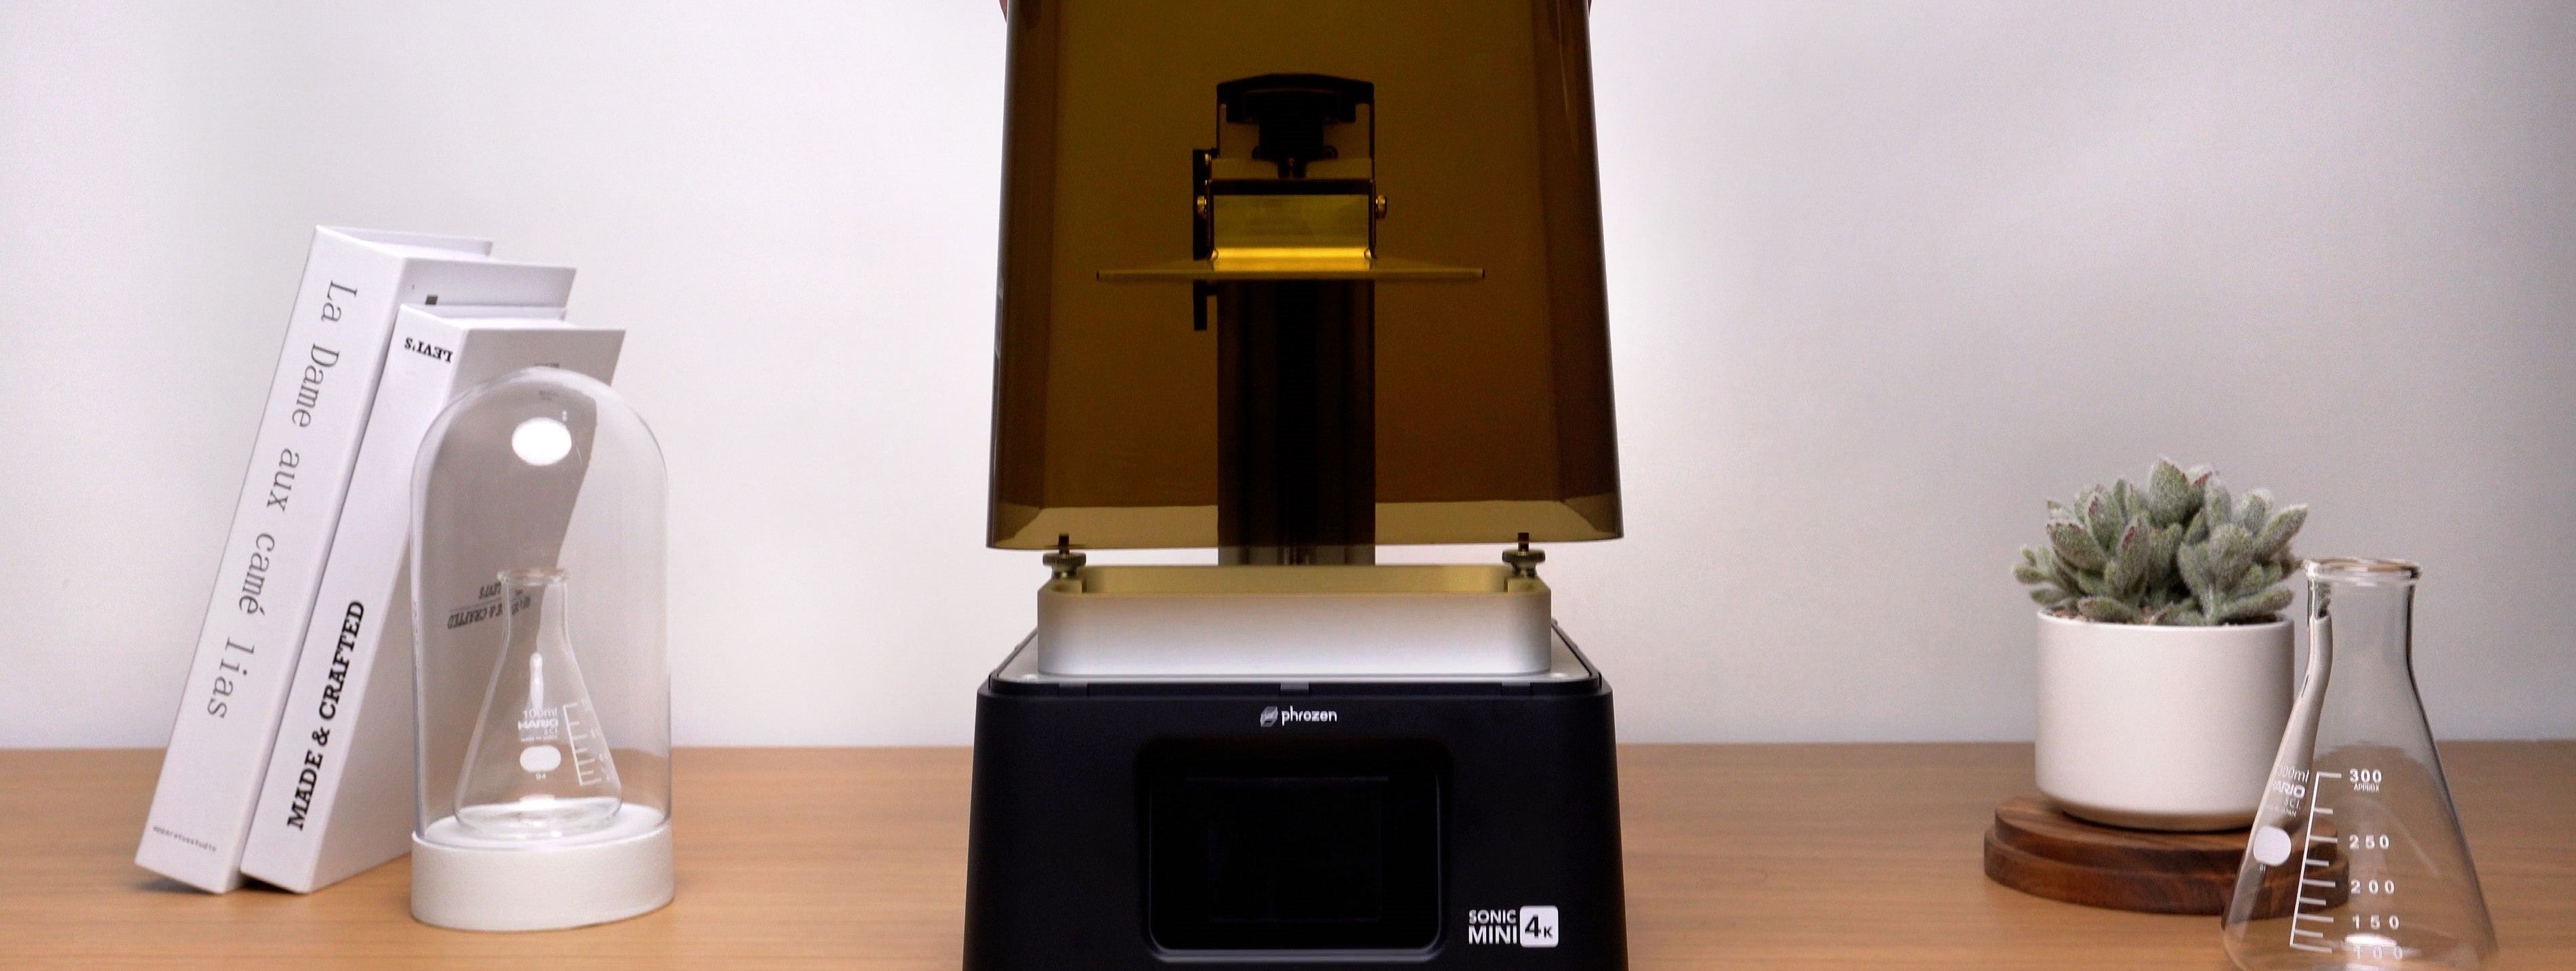
Sonic Mini 4K: Setting Up
In this article, we will guide you through the steps of setting up your Sonic Mini 4K.
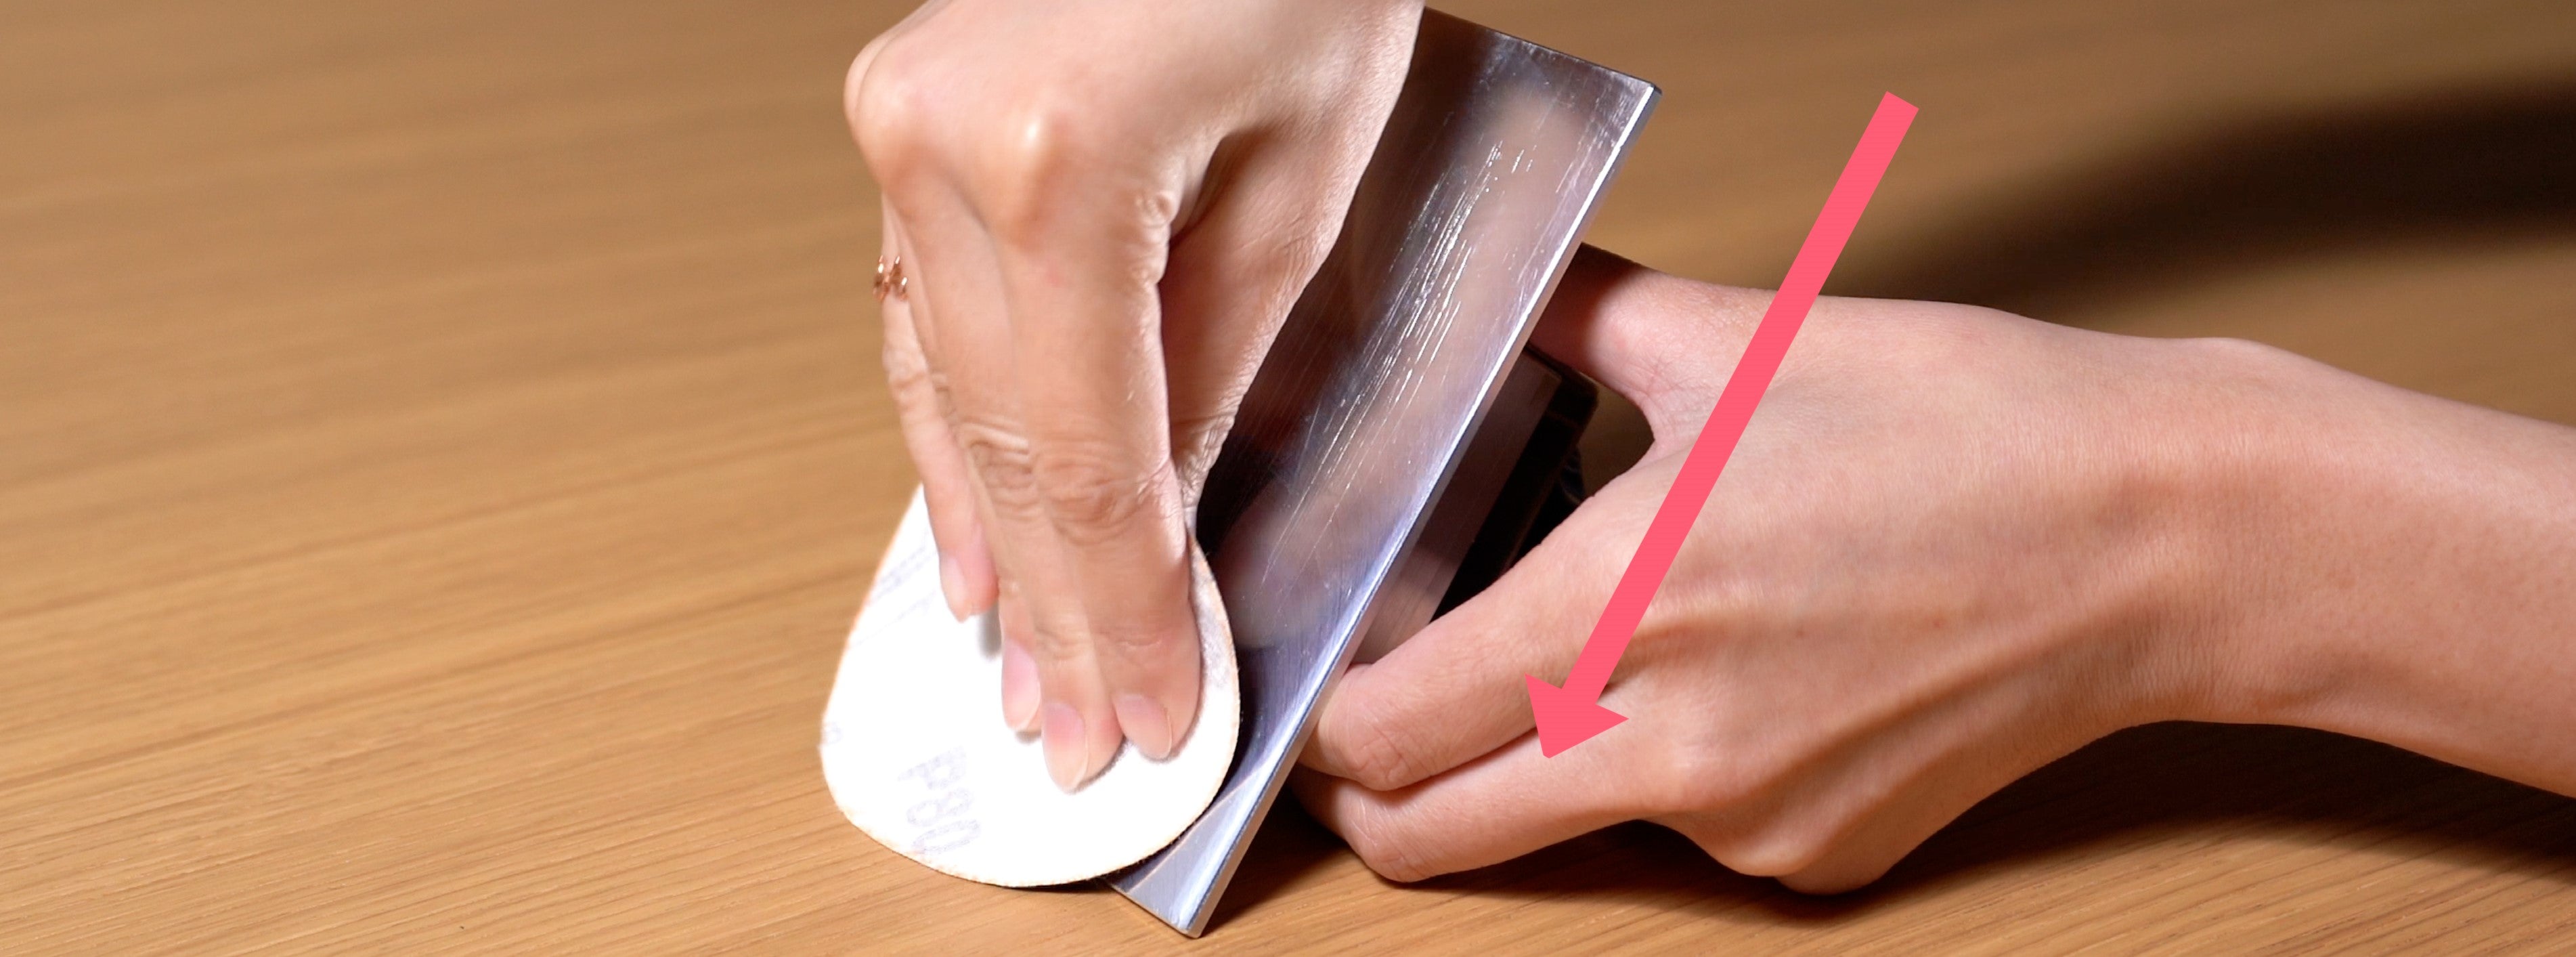
Sonic Mini 4K: Sanding the Building Plate
Sanding the building plate isn’t 100% necessary, but it increases adhesion significantly. The following are tips for sanding the building plate with the 80 grit sandpaper included in your Sonic Min...
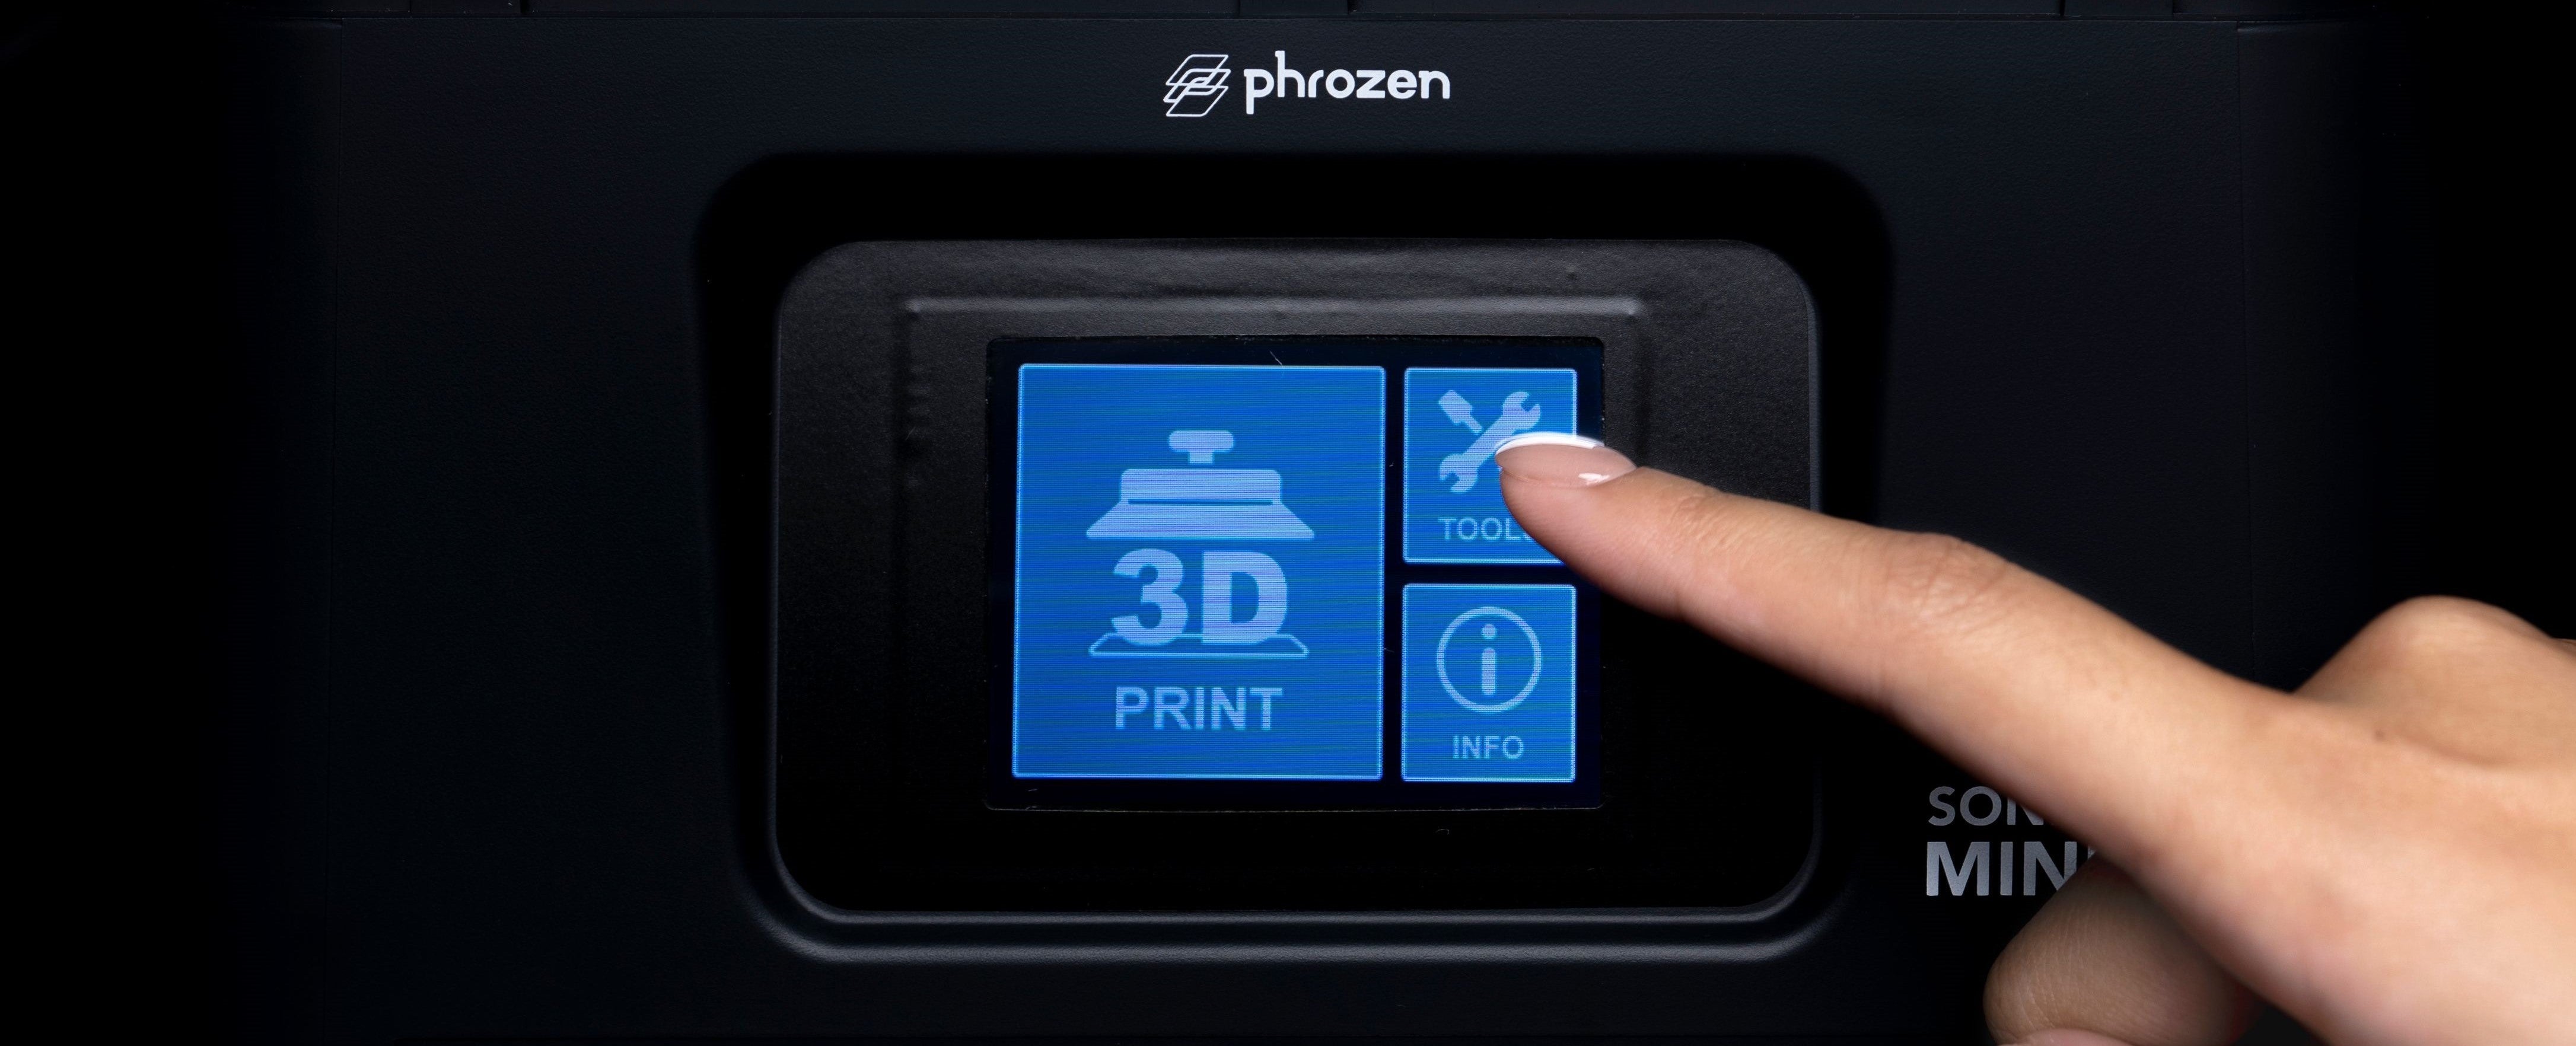
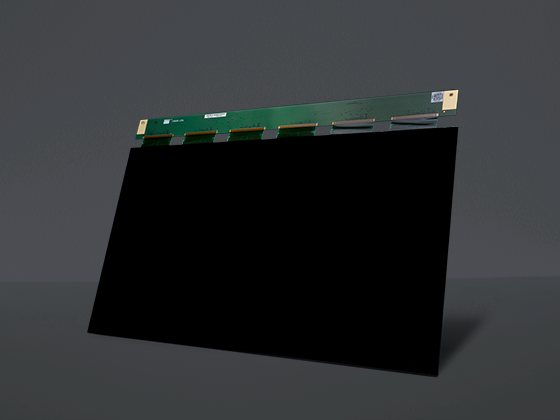
Performing an LCD Test on the Sonic Mini 4K
Phrozen guides you through the steps of performing an LCD test on your Sonic Mini 4K.
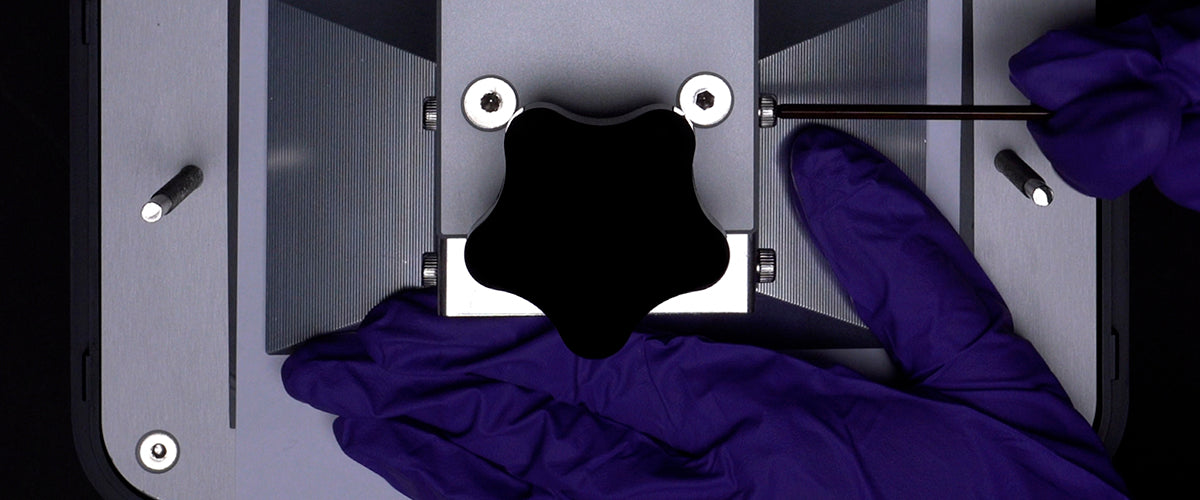
Performing Z-axis Calibration on the Sonic Mini 4K
The Z-axis calibration test is essential for every 3D printer. Run this test to make sure that the building plate is leveled to the LCD screen. We will guide you through the steps of calibrating y...
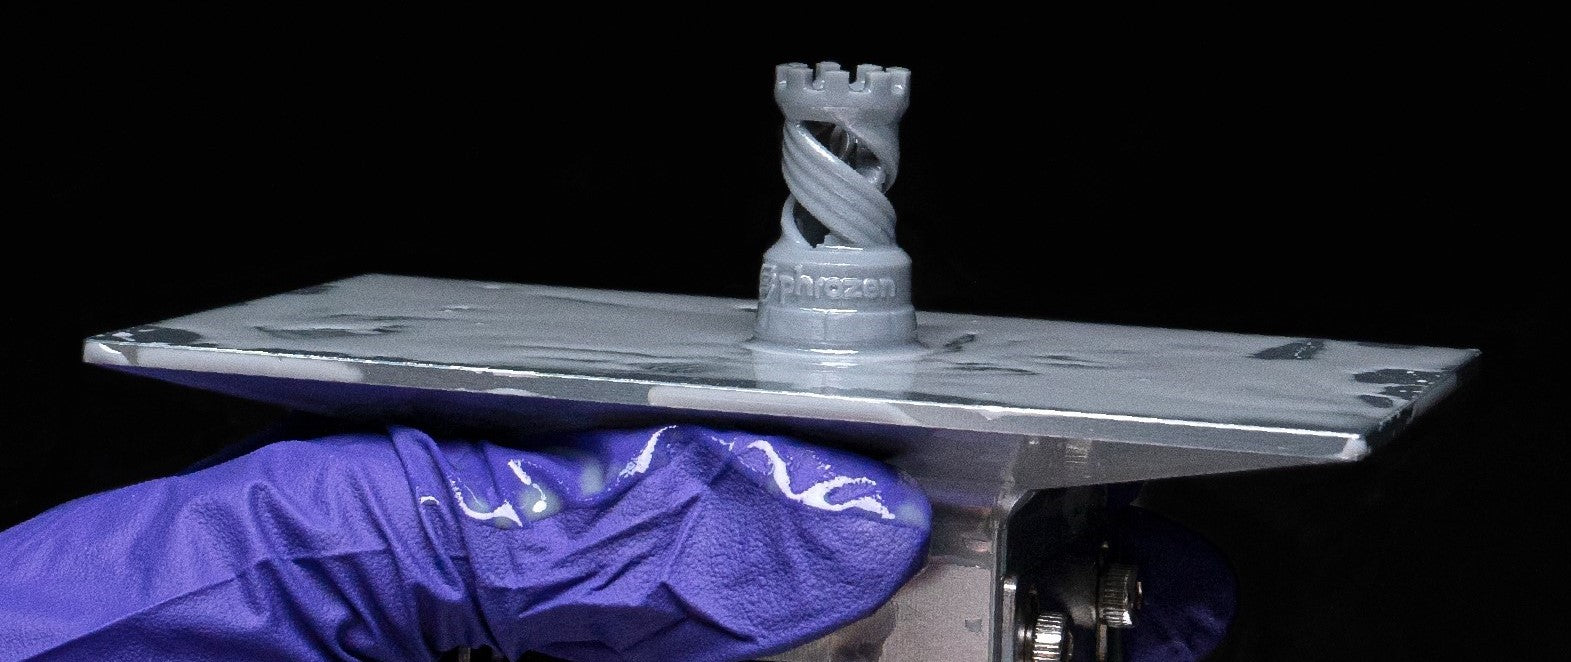
Sonic Mini 4K: First Print with Phrozen Test File
After correctly calibrating your Z-axis, it’s time for you to test out your first print! We have included a test file for you to test out the Sonic Mini 4K with Aqua-Gray 4K resin. Feel free to tes...
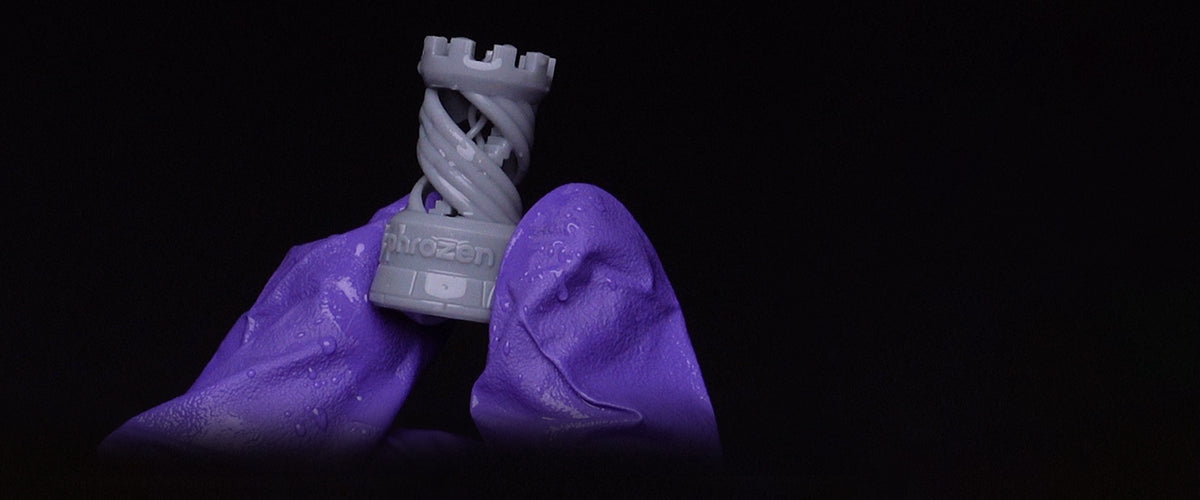
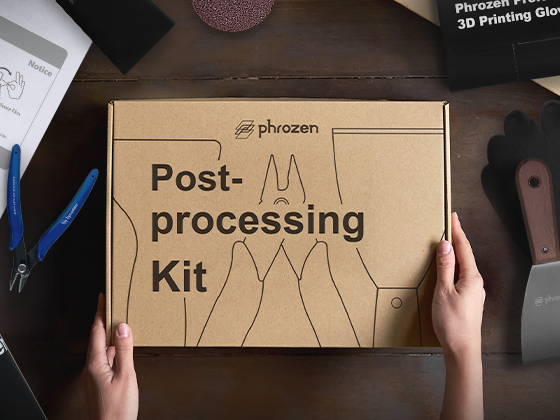
Sonic Mini 4K: Post-Processing
Once you have finished printing out 3D models from your Sonic Mini 4K, your prints need to be cleaned and post-processed thoroughly. In this article, we'll demonstrate how to thoroughly clean your ...

