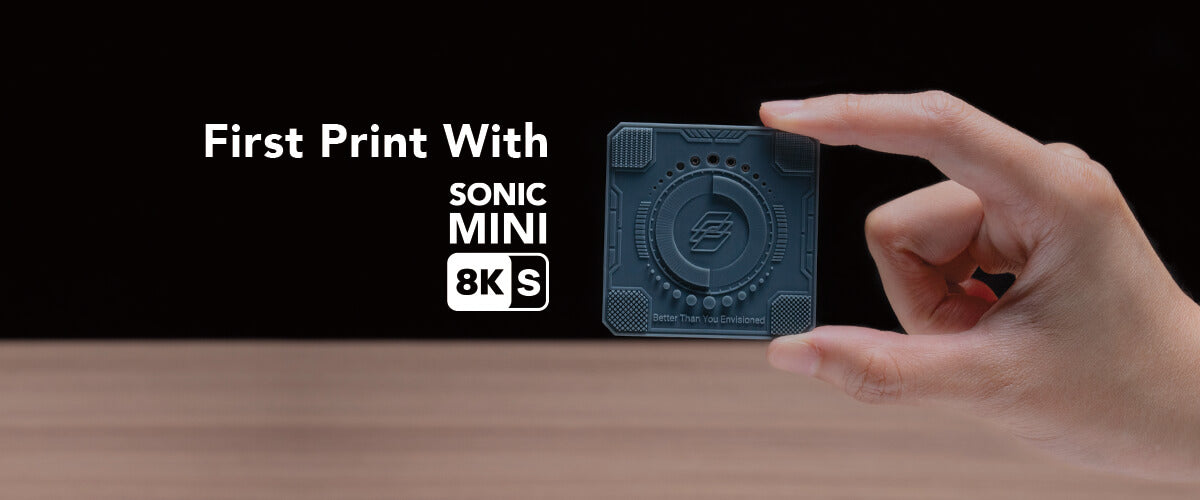
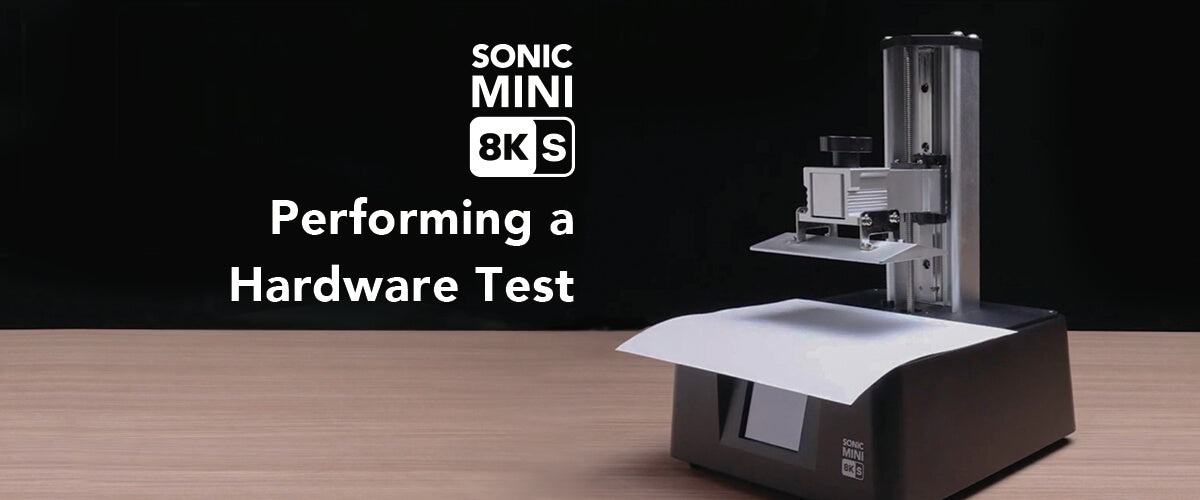
Now that you have accurately calibrated the Z-axis, it is time to conduct your initial print test using the Sonic Mini 8K S. We have provided the Phrozen XP Finder on the USB drive for you to try out the LCD 3D printer with Aqua-Gray 8K Resin.
Start your first print
1. Before installing the resin vat, make sure that the bottom screws are precisely aligned with the platform grooves. Remember not to damage the LCD screen while placing the resin vat. Afterward, tighten the screws on both sides.
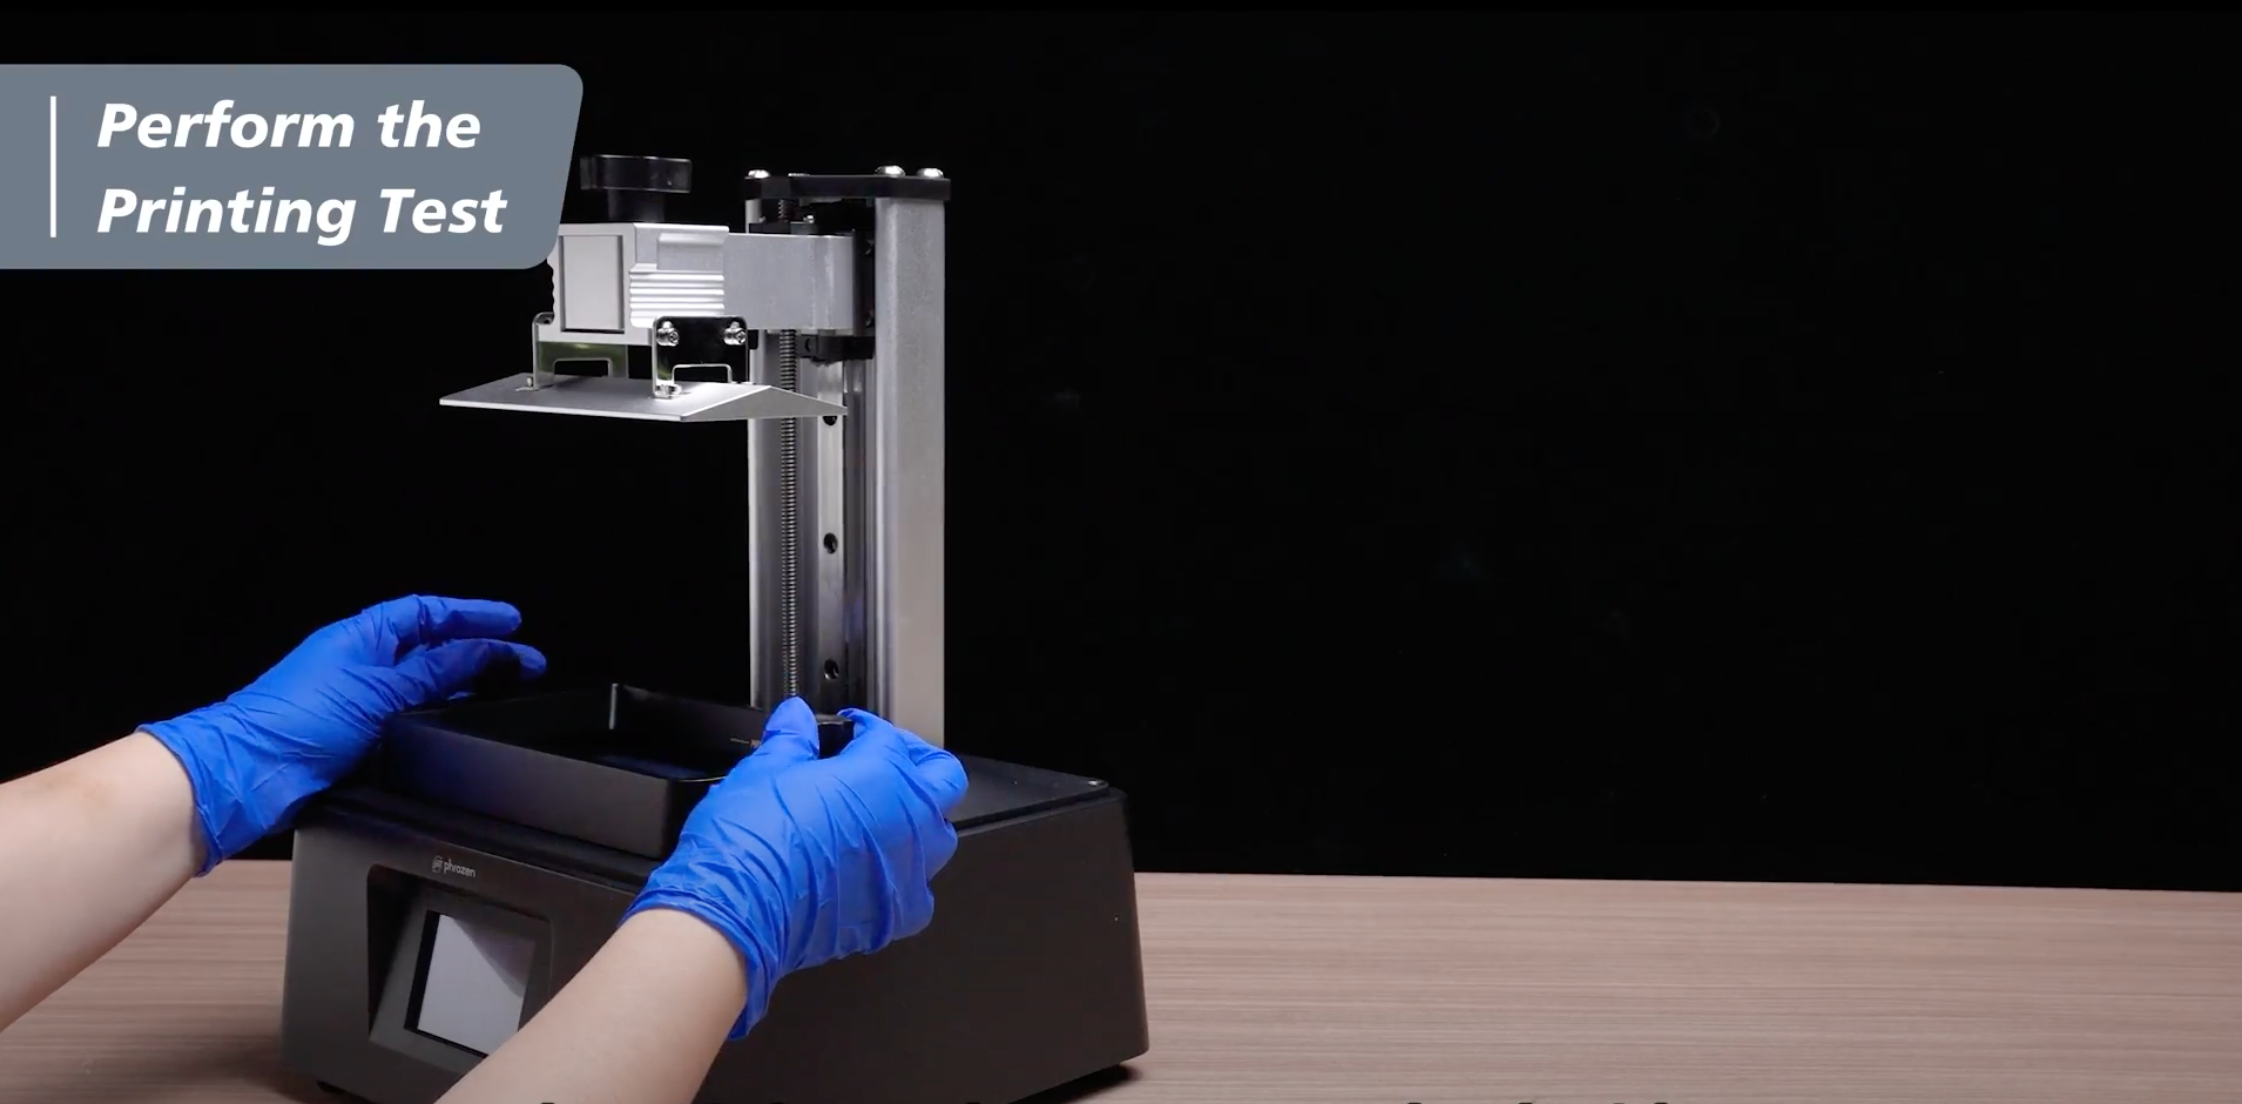
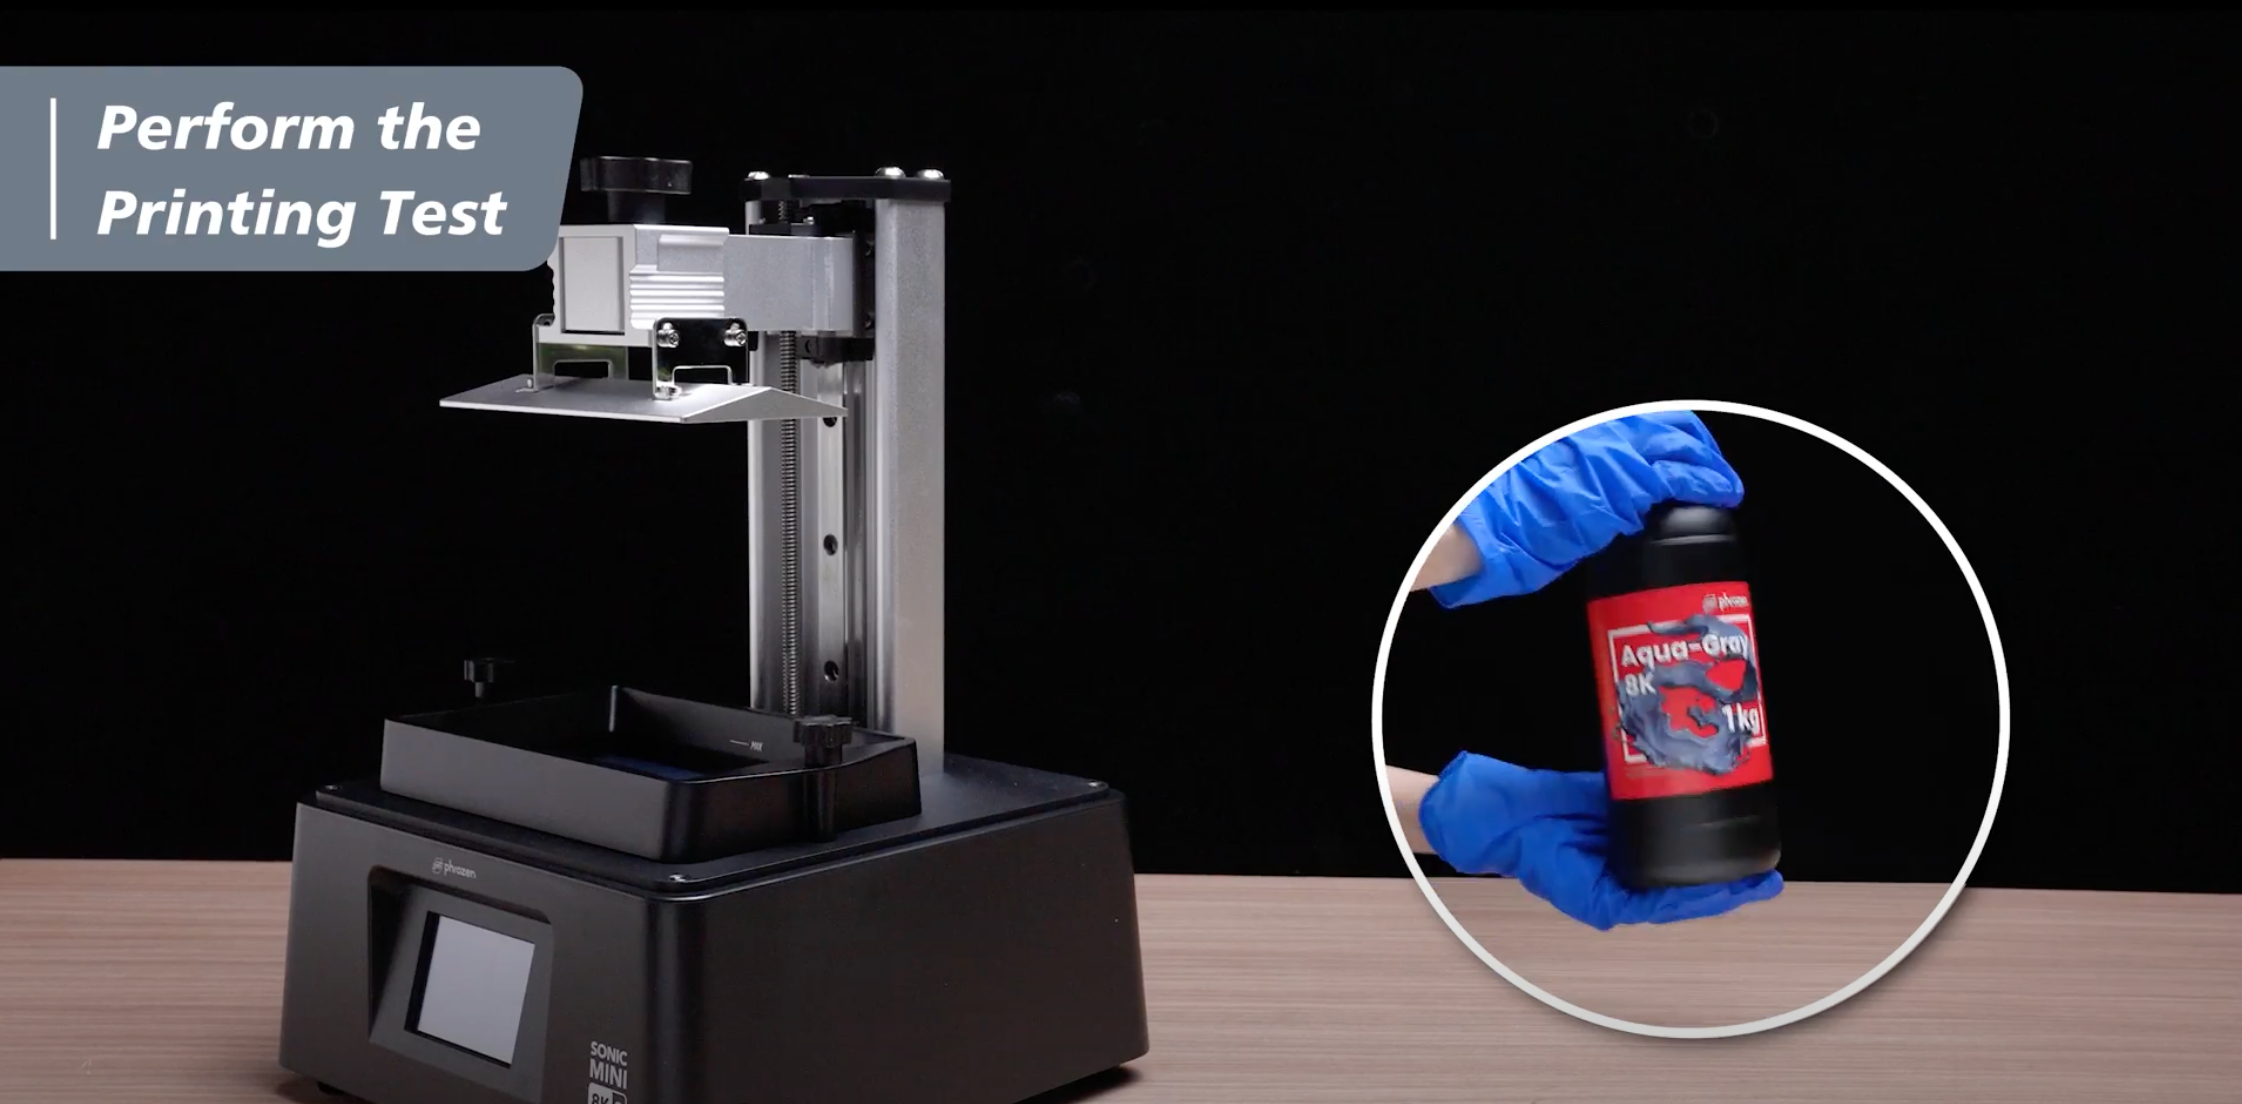
2. Prior to pouring the resin into the resin vat, make sure that it is thoroughly mixed by shaking it for a minimum of 1 minute. Do not exceed the maximum fill line on the resin vat when pouring the resin.
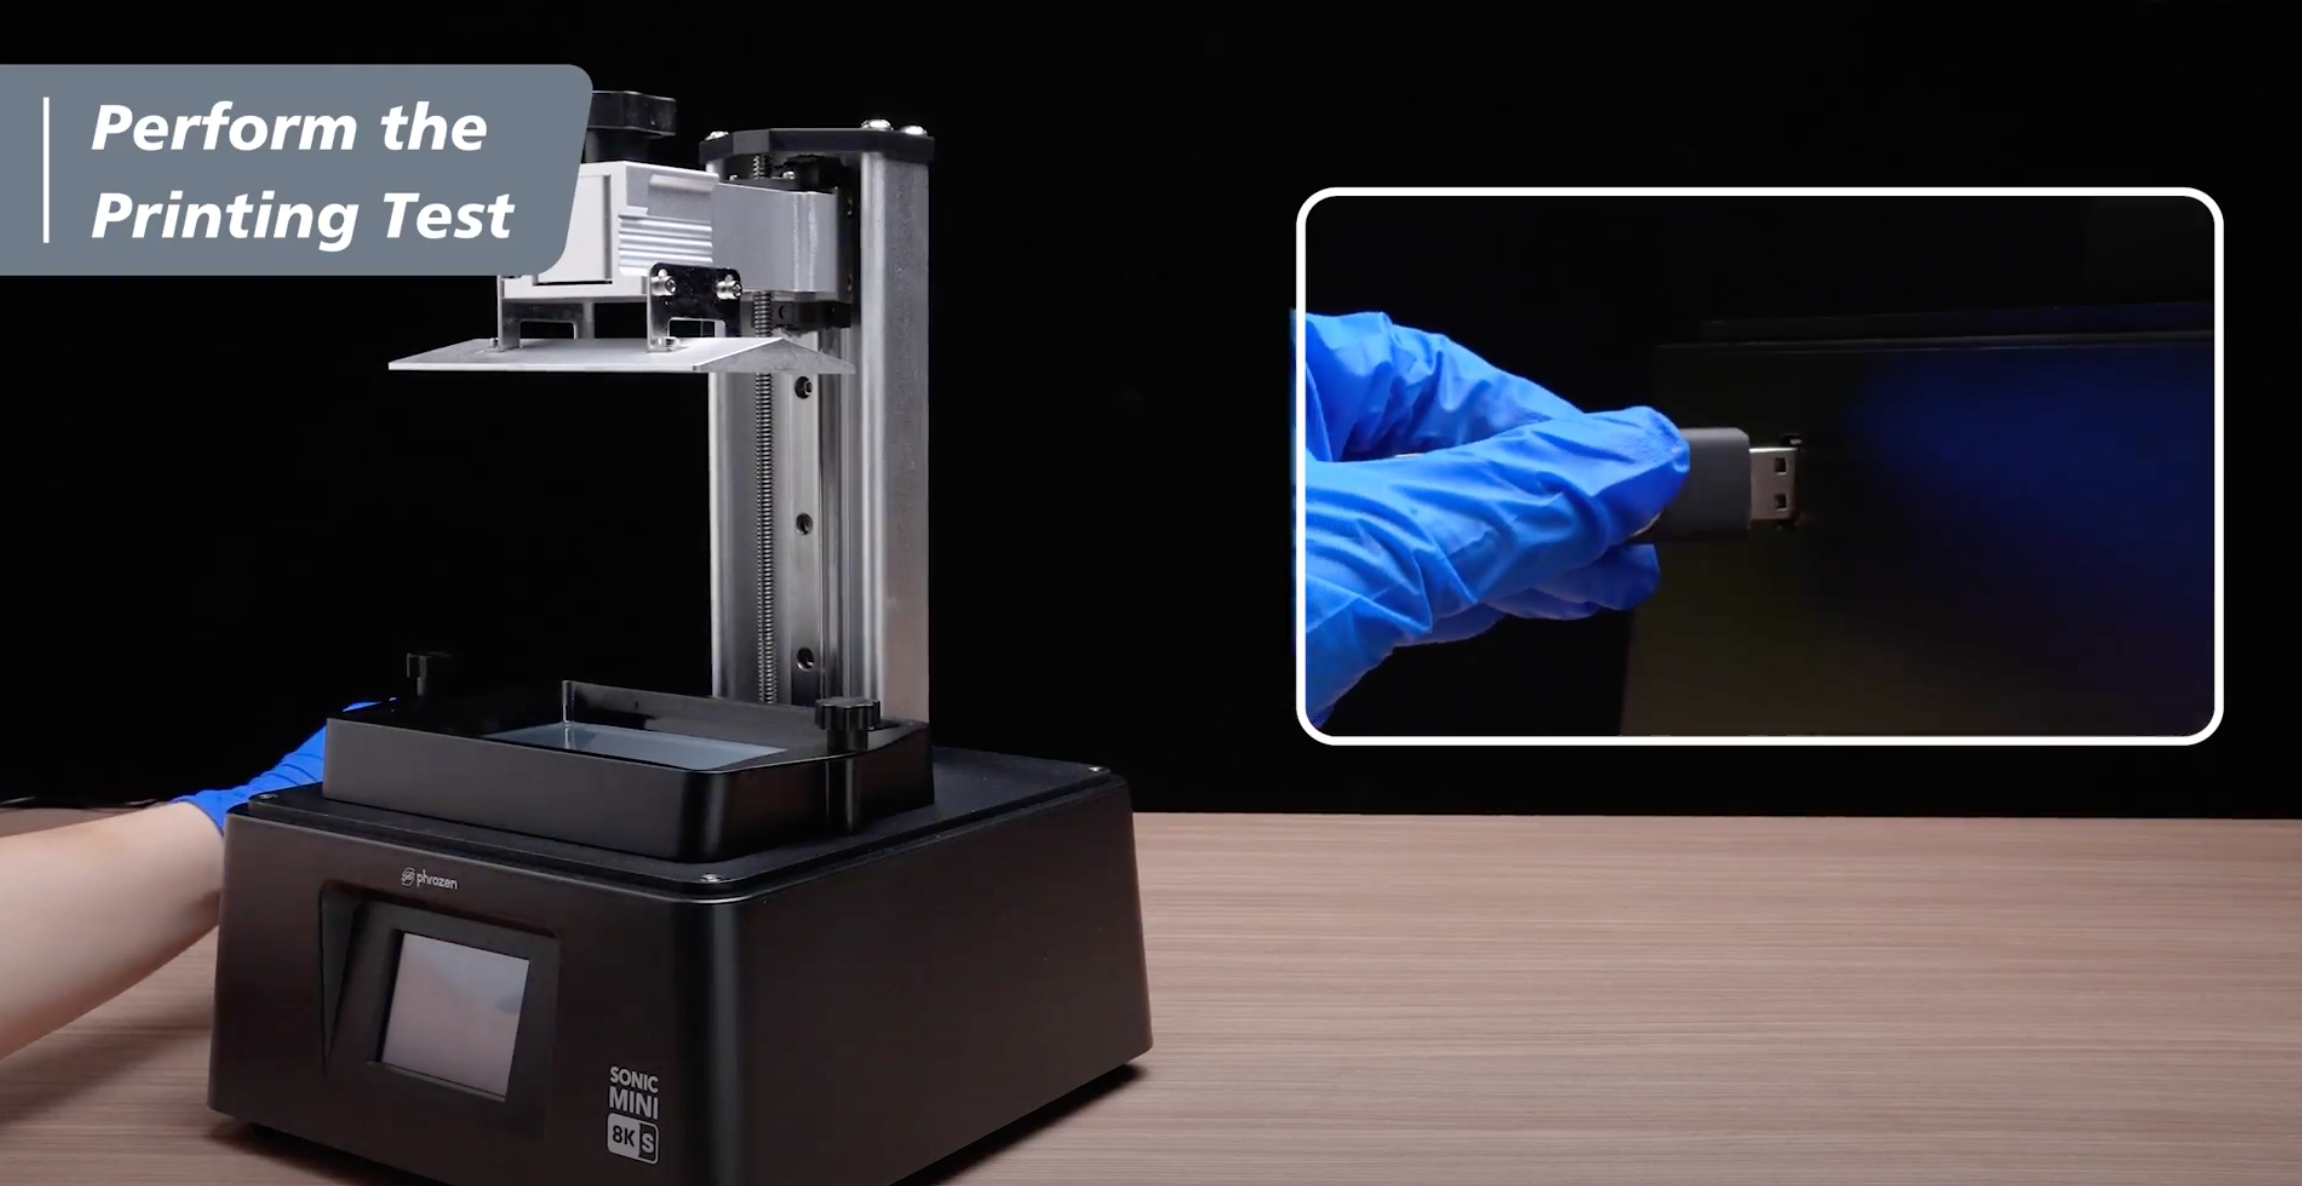
3. We will use the USB to transfer your file to the Sonic Mini 8K S 3D printer. Connect your USB to the USB port on the side of the Sonic Mini 8K S to start the printing process. Then, cover the lid of the Sonic Mini 8K S.
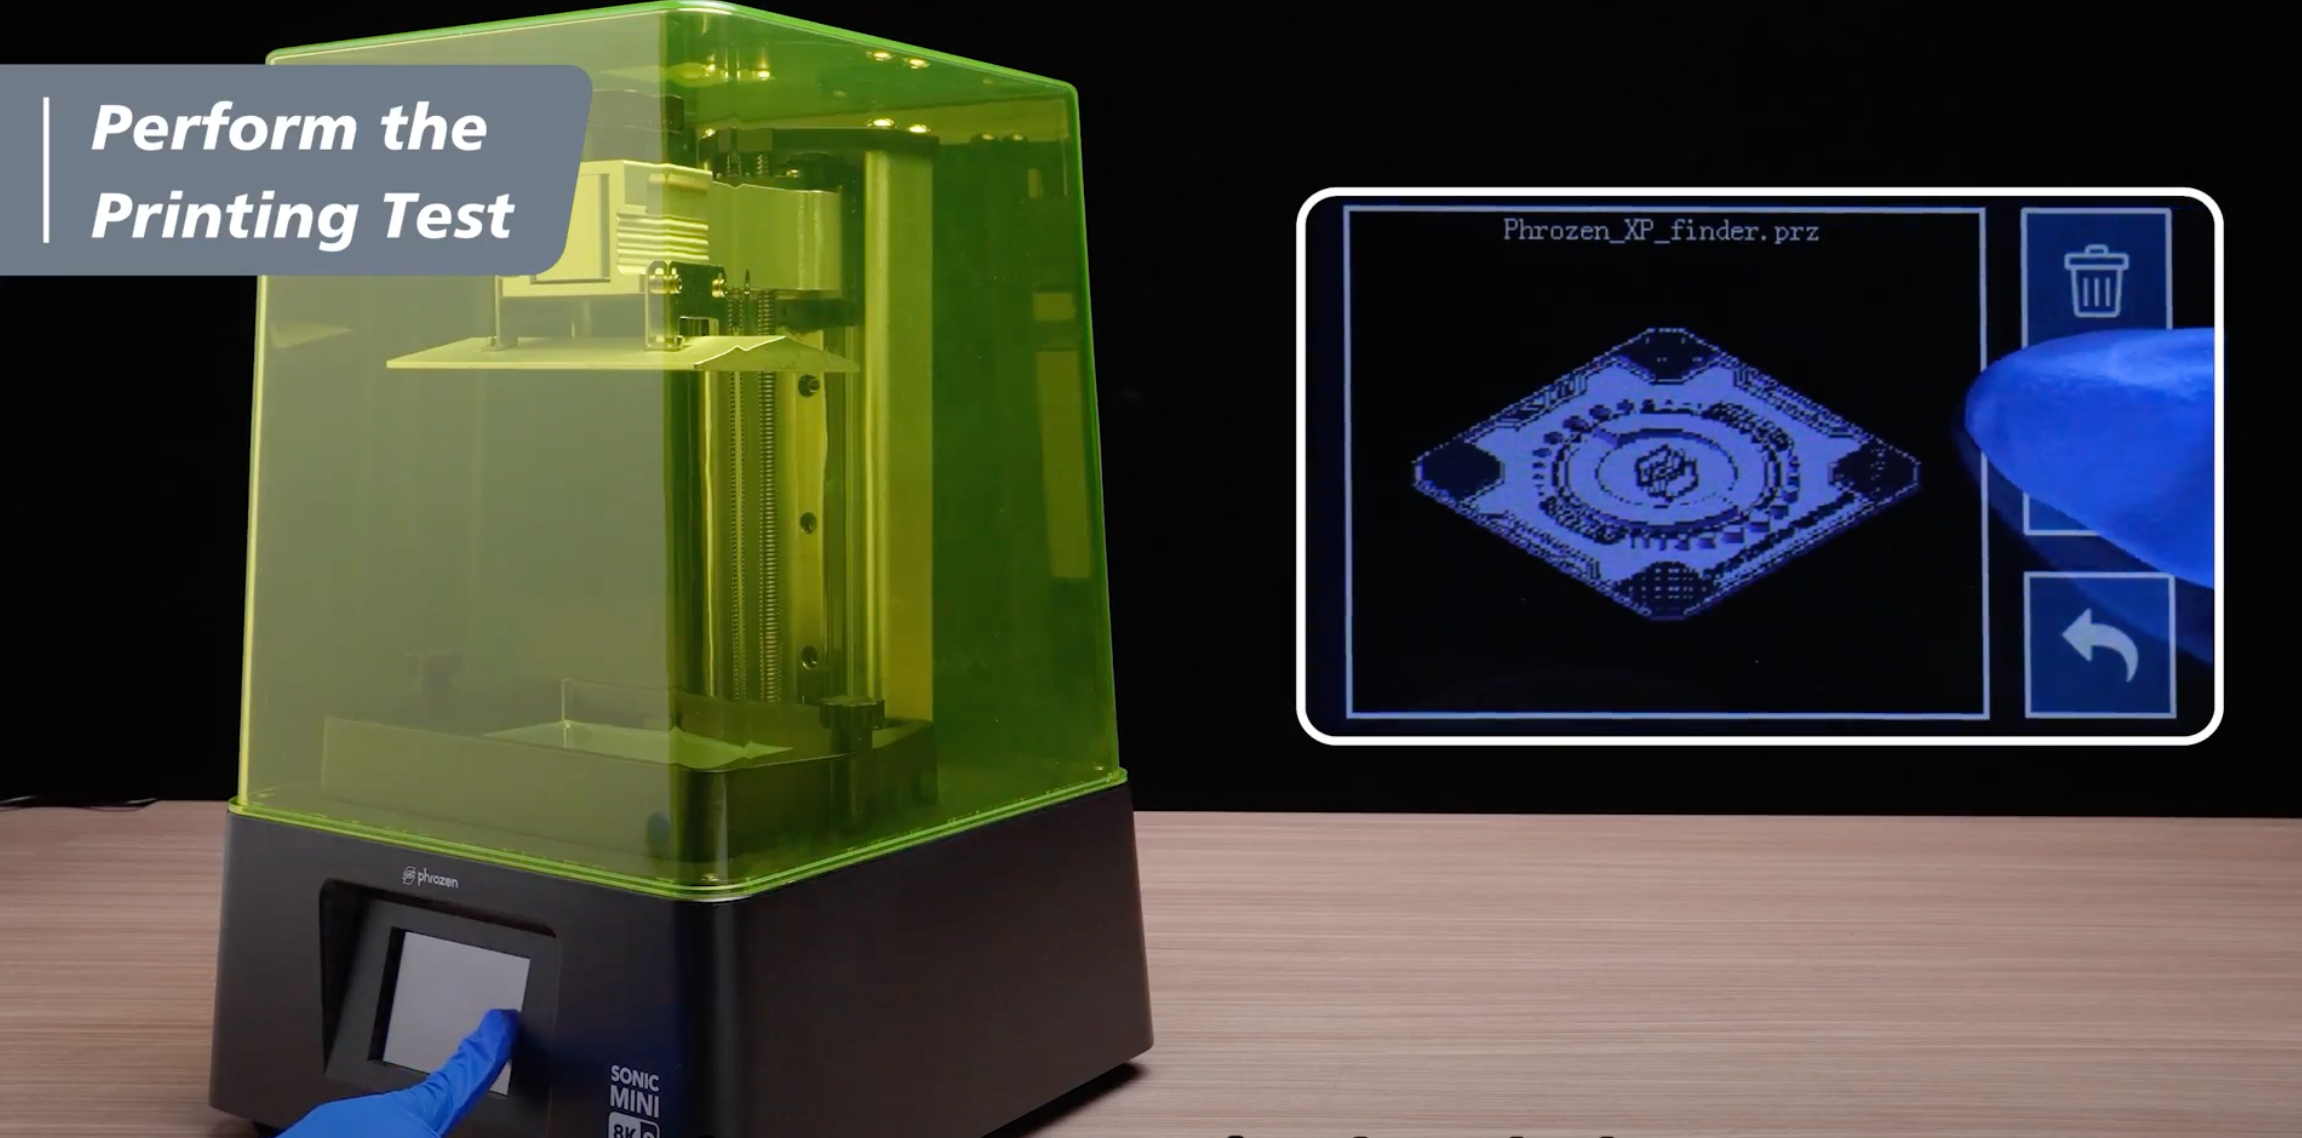
4. Use the touch panel to navigate to the "PRINT" and select your .PRZ file then press "GO" to start printing. Please note that the Sonic Mini 8K S only supports .PRZ files. You can use various software programs to process .prz files, for example, Chitubox, Lychee, VoxelDance Tango, or others slicing software.
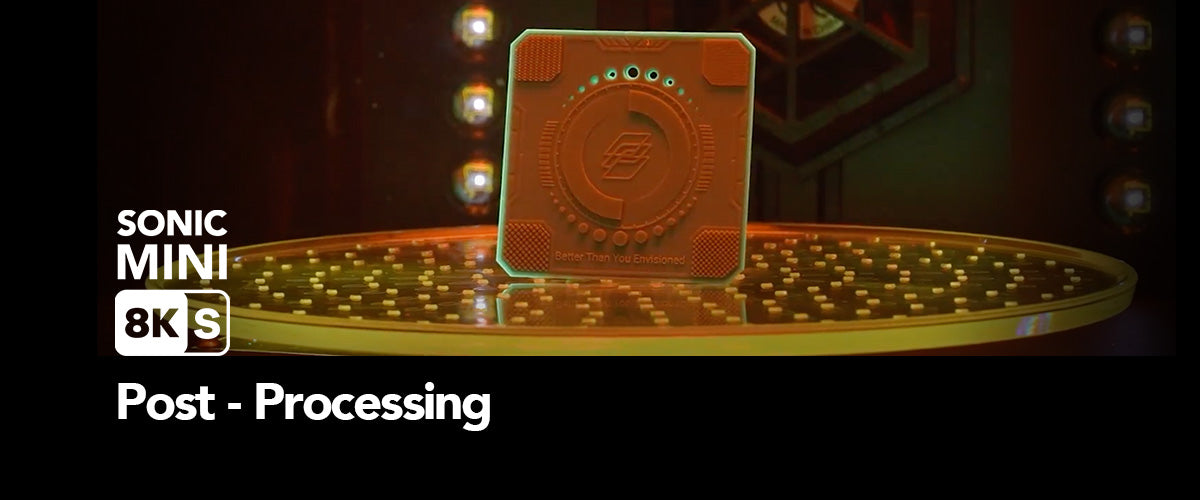
5. Once the printing process is finished, the building plate will move back to its top position. Allow the resin to completely dripain before proceeding to the next step, which is post-processing.

