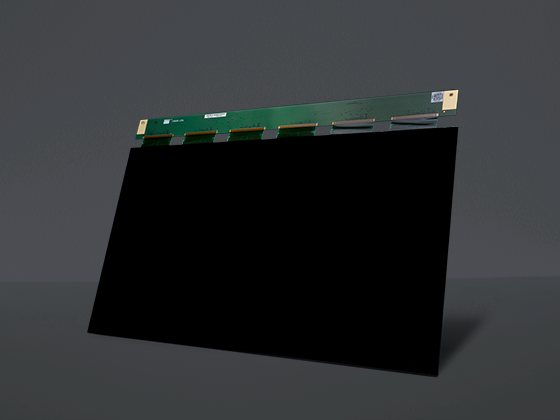
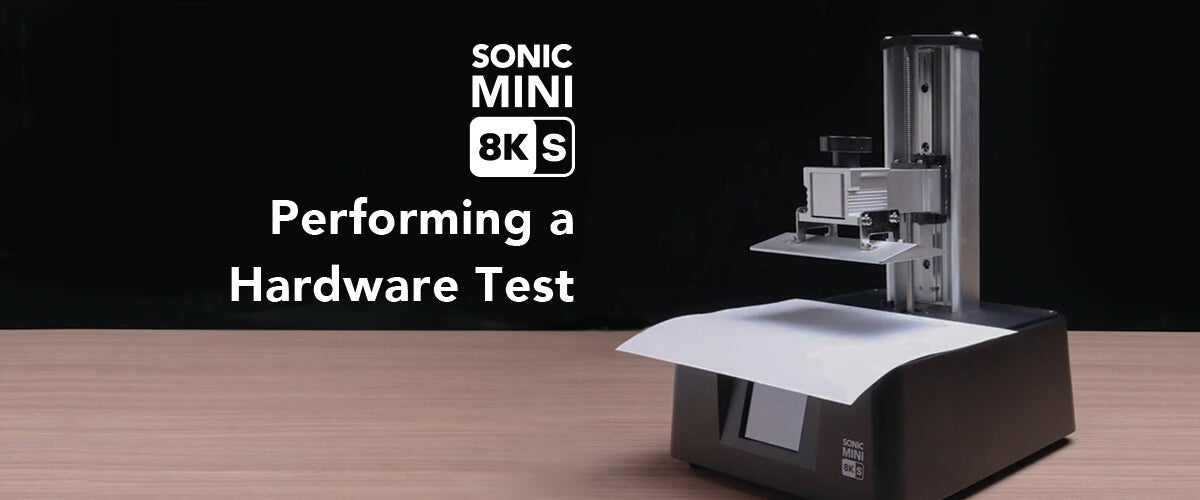
After setting up your Sonic Mini 8K S, it is important to check the status of the LCD screen on your Sonic Mini 8K S before printing. This will ensure that both the UV lights and the 7.1" Mono-LCD screen are functioning correctly. In this article, we will guide you through the steps of performing an hardware test and interpreting the results:
Please note that it is crucial to avoid looking directly into the UV light, as improper exposure can cause painful eye and skin injuries.
Step 1: LCD TEST
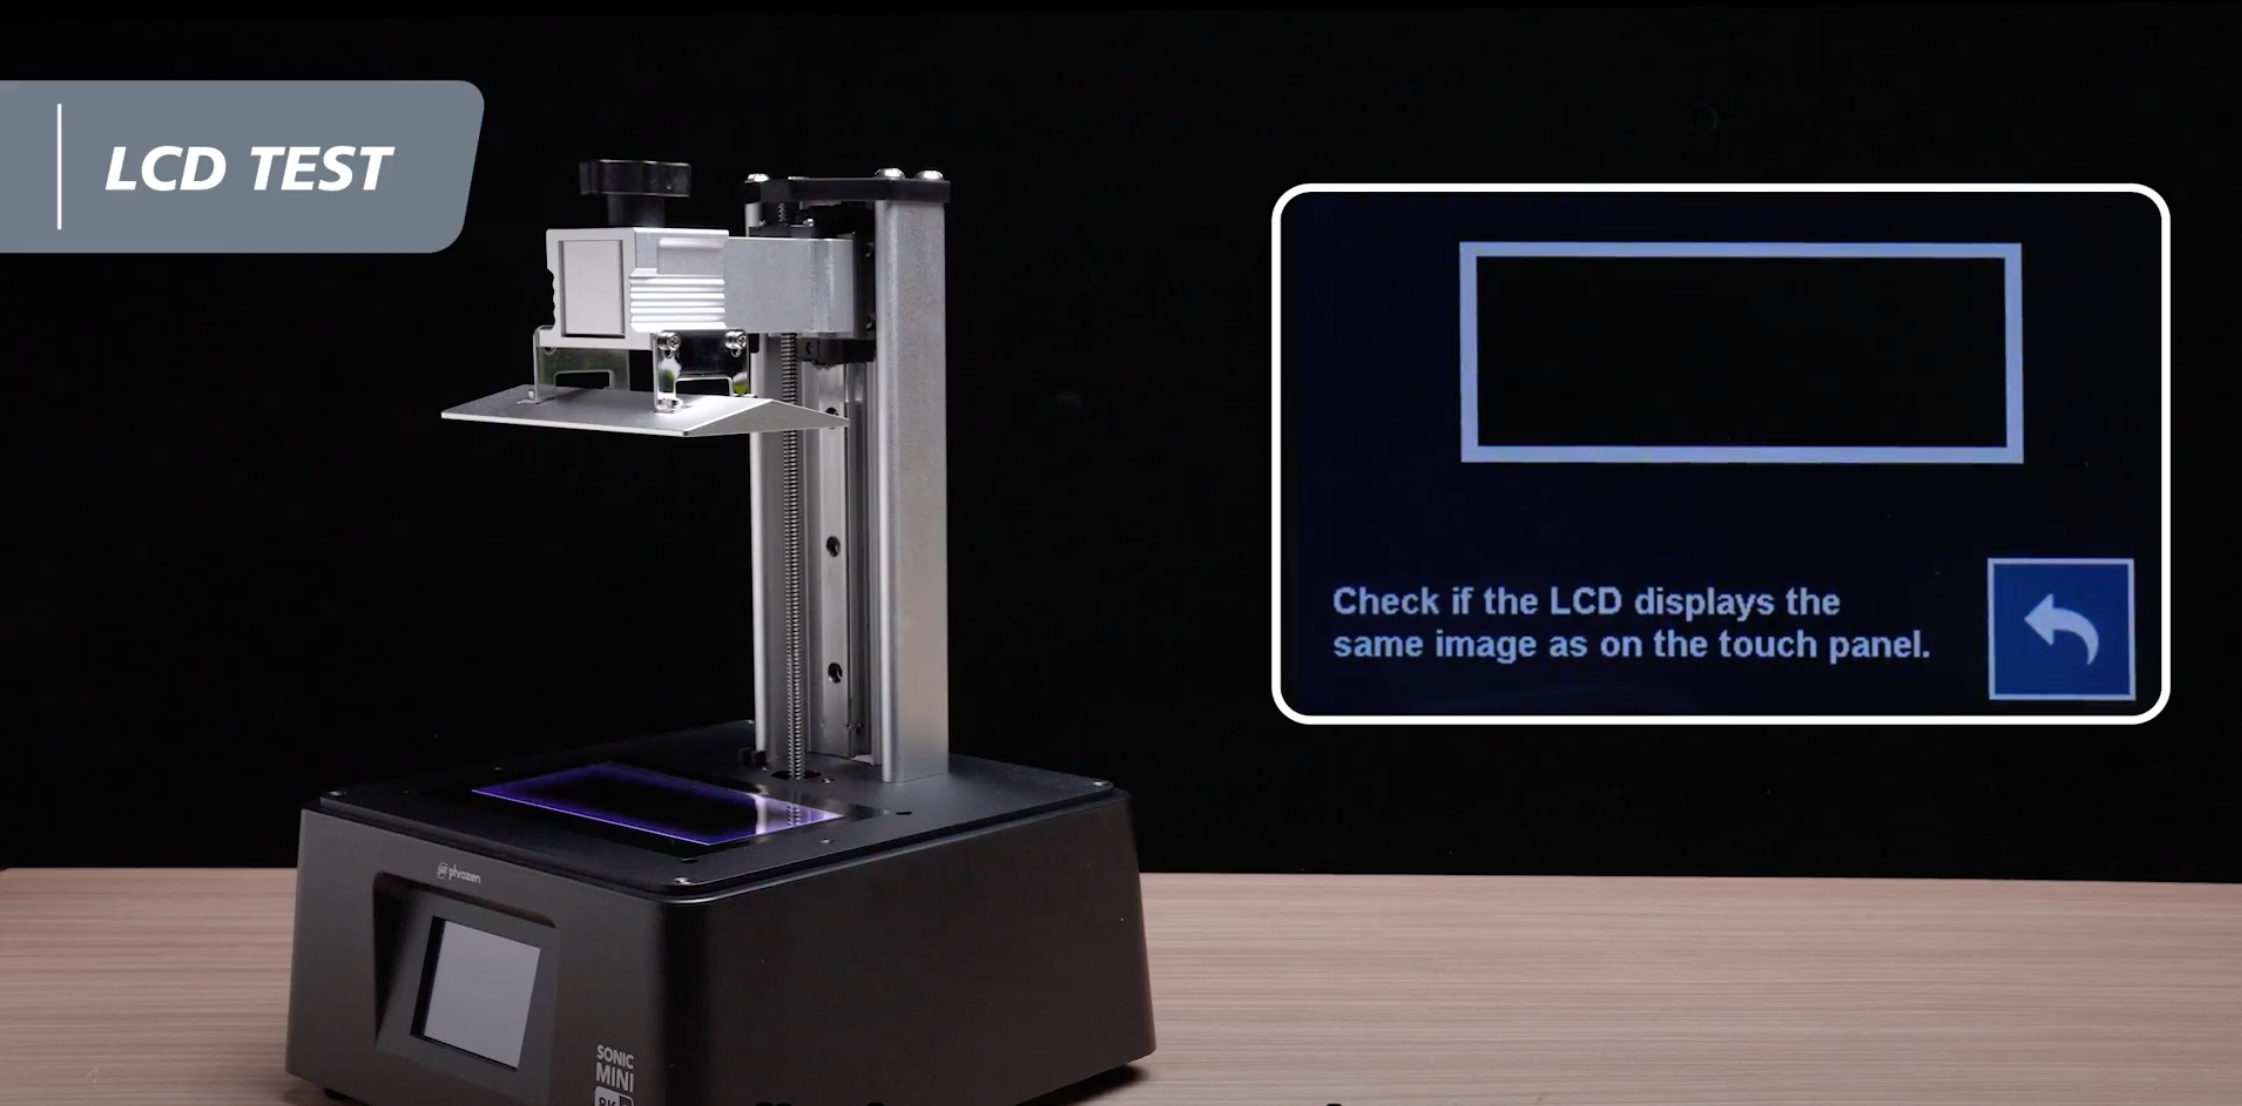
Now let's test the LCD, to perform an LCD test on your Sonic Mini 8K S:
- On the touch panel, click on "TOOLS" and then select "LCD TEST".
- Check to see if the LCD screen displays the same image as seen on the touch panel. A bright blue rectangle frame will appear on the LCD screen. Run this test to verify that the image displayed on the LCD screen matches the one shown on the touch panel.
Step 2: VAT CLEANING
To perform vat cleaning on your Sonic Mini 8K S:
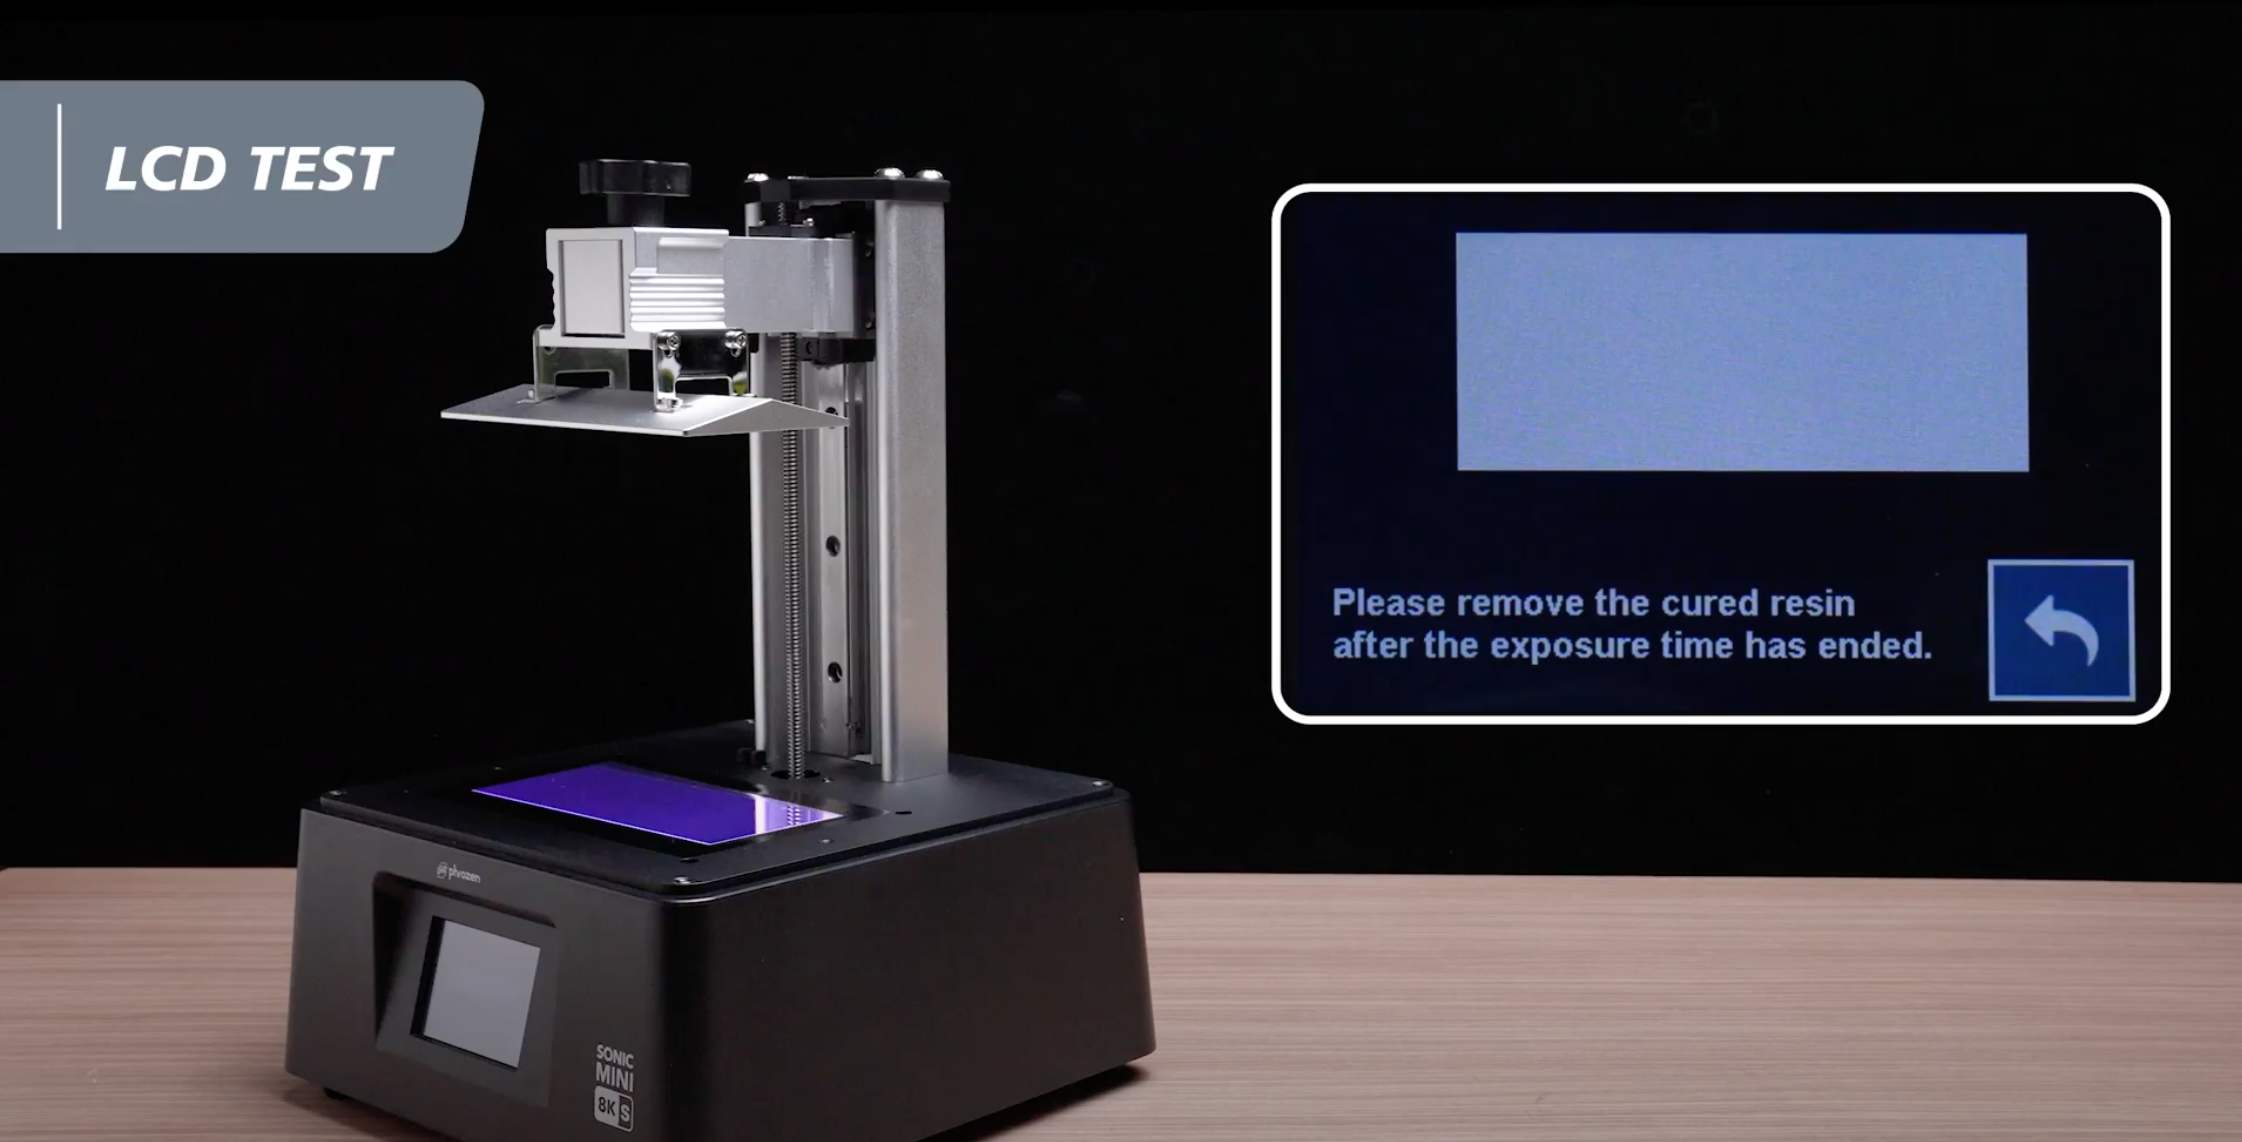
- Click on "TOOLS" and then select "VAT CLEANING".
- Set the Vat Cleaning exposure time to 15 seconds.
- Click on "Next".
- On the LCD screen, a bright blue rectangle will appear. Run this test to ensure that the UV lights are evenly distributed.
By following these steps, you can ensure that your Sonic Mini 8K S is working properly and ready for printing.
Step 3: Z-axis Calibration
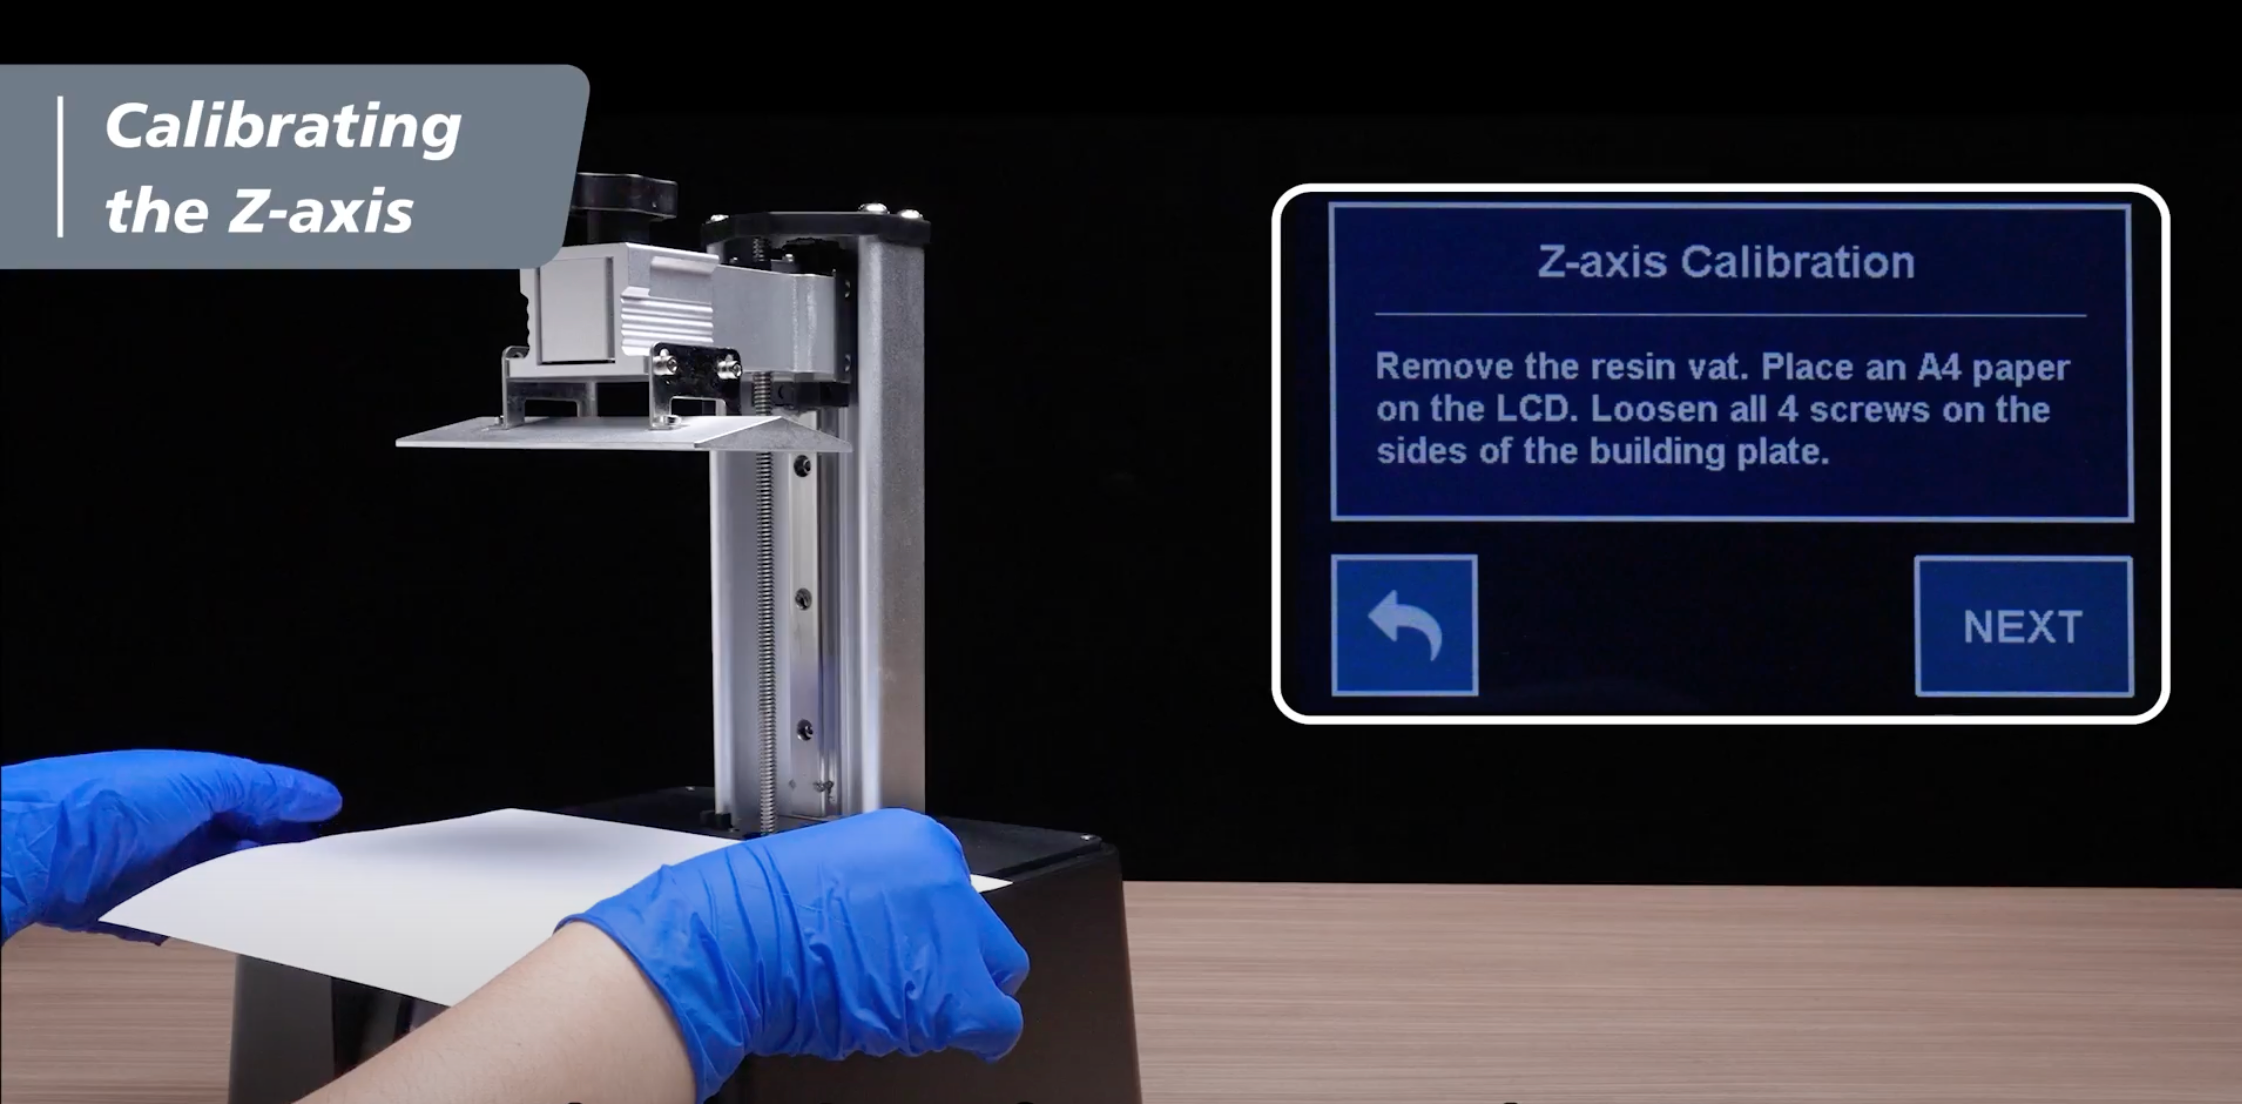
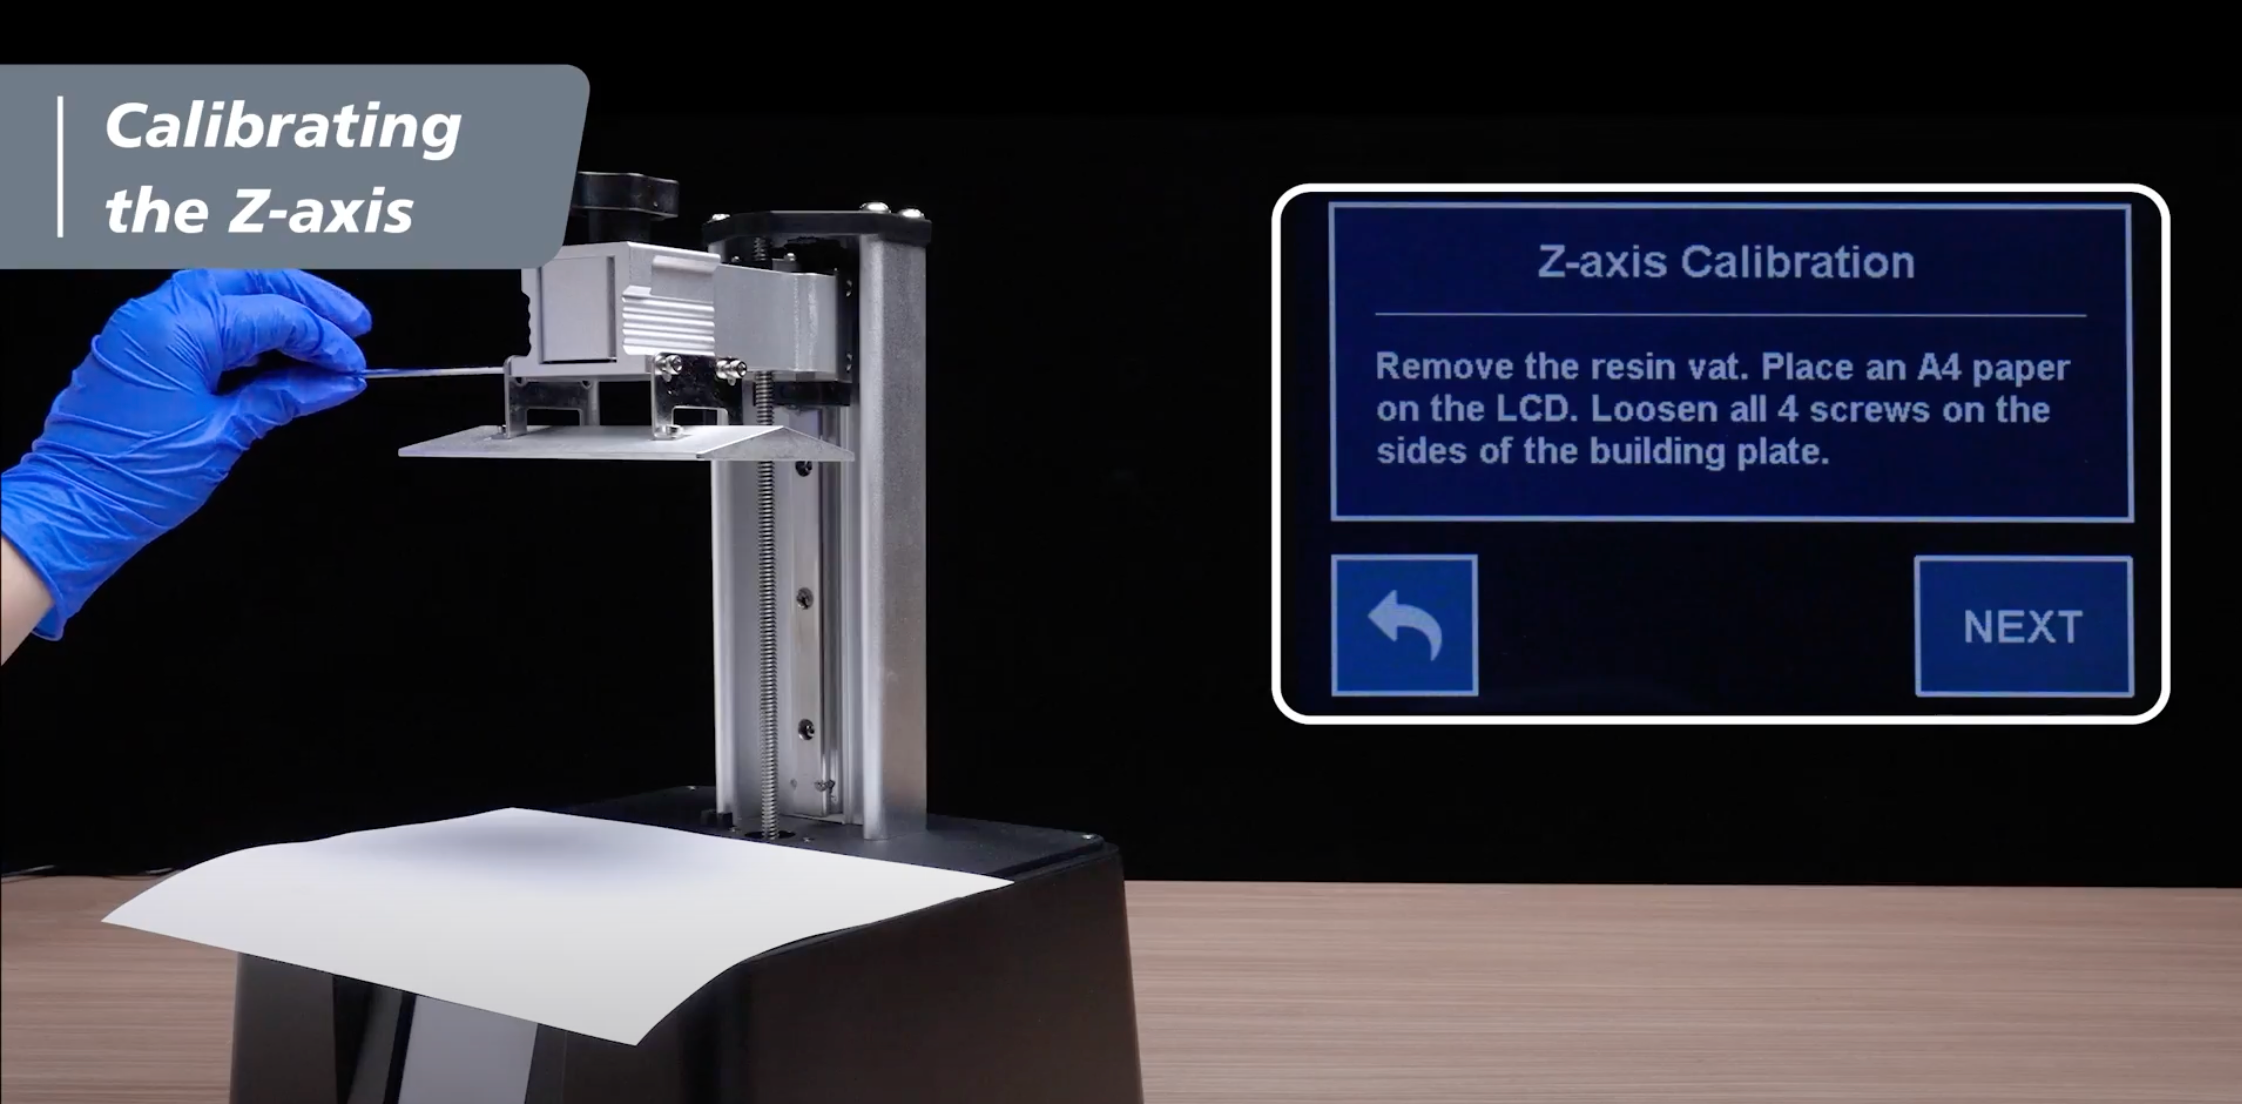
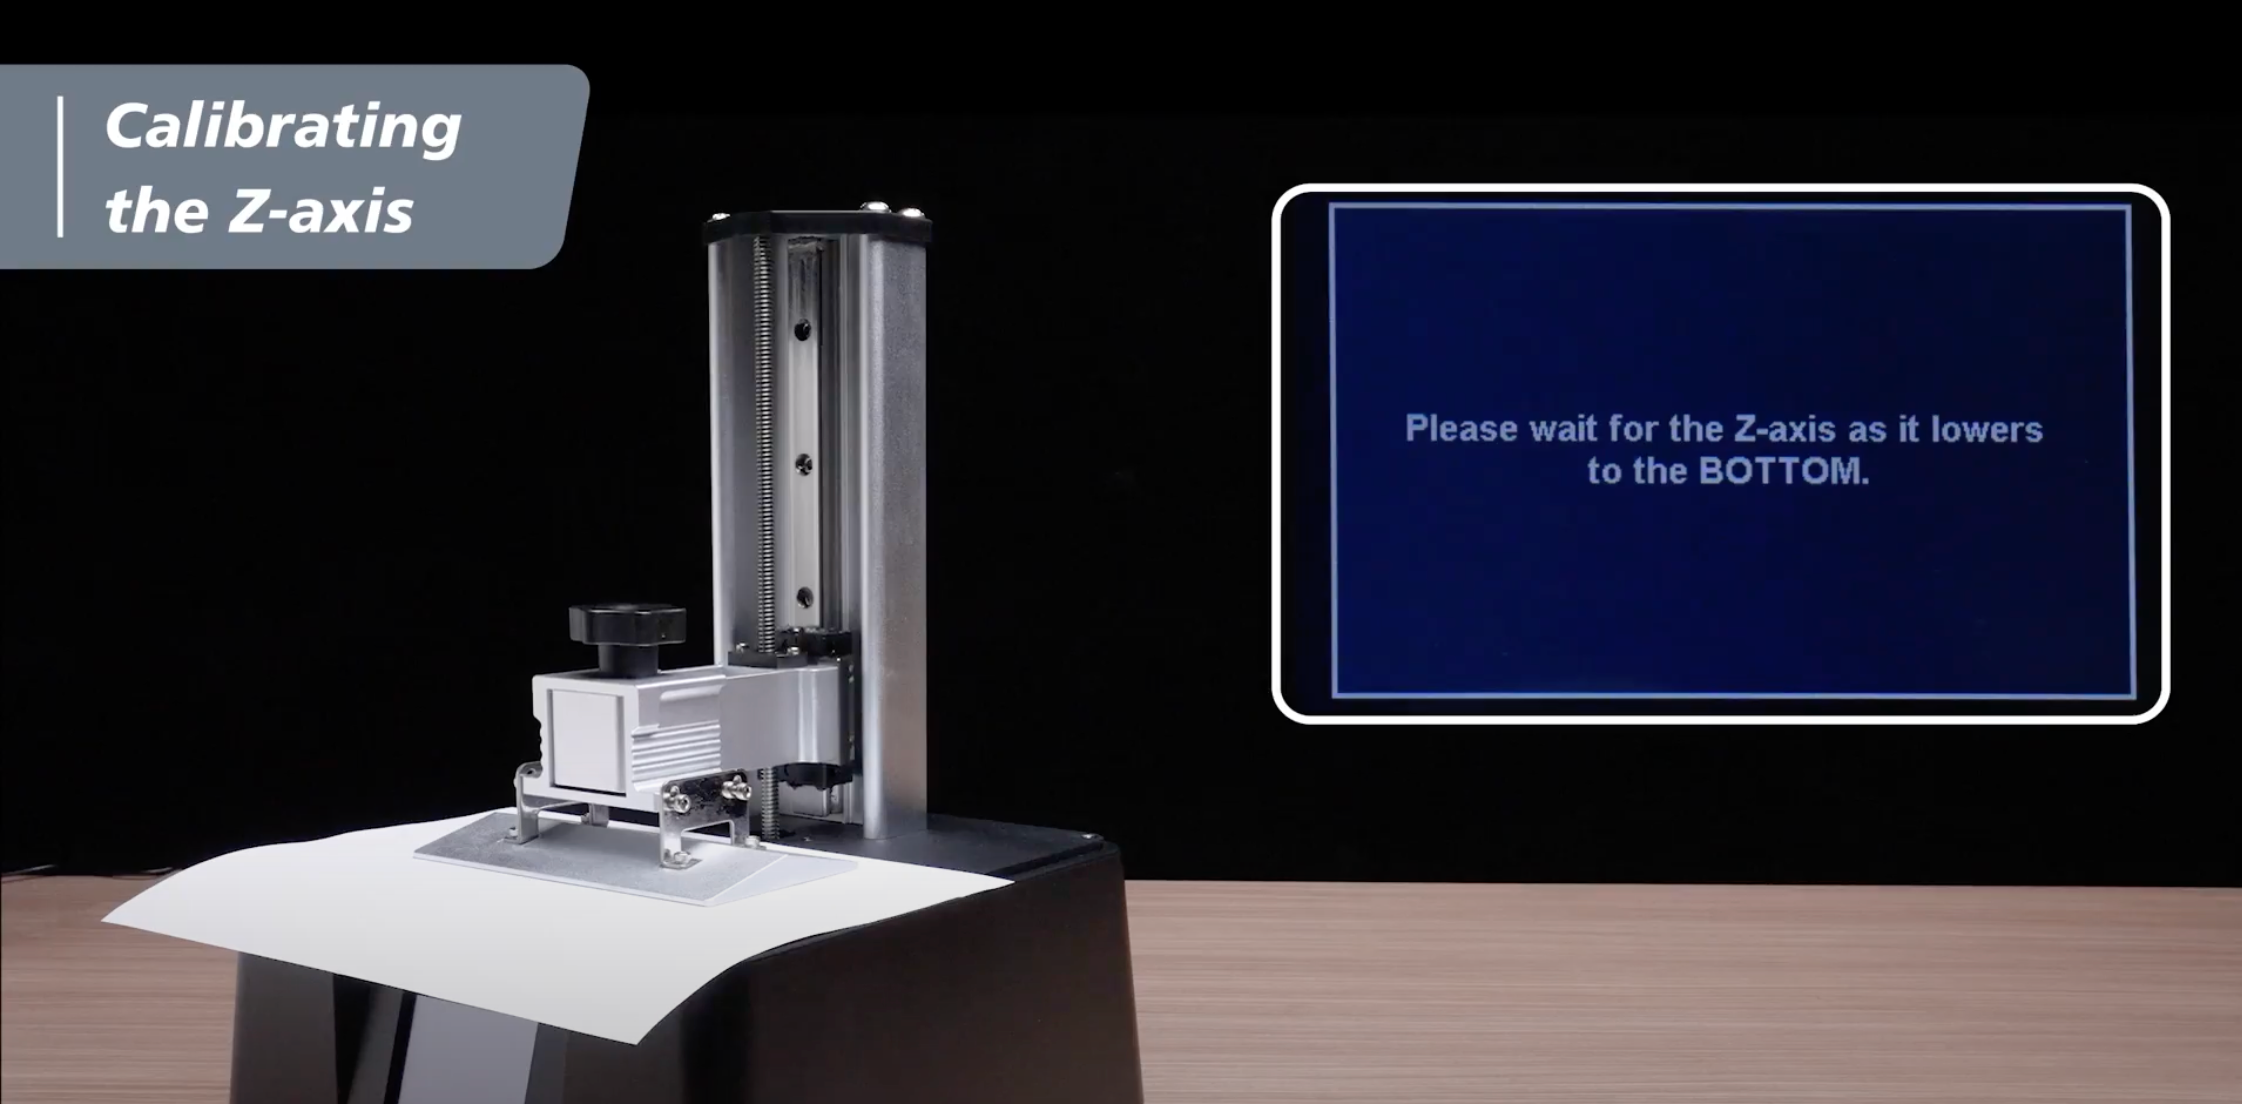
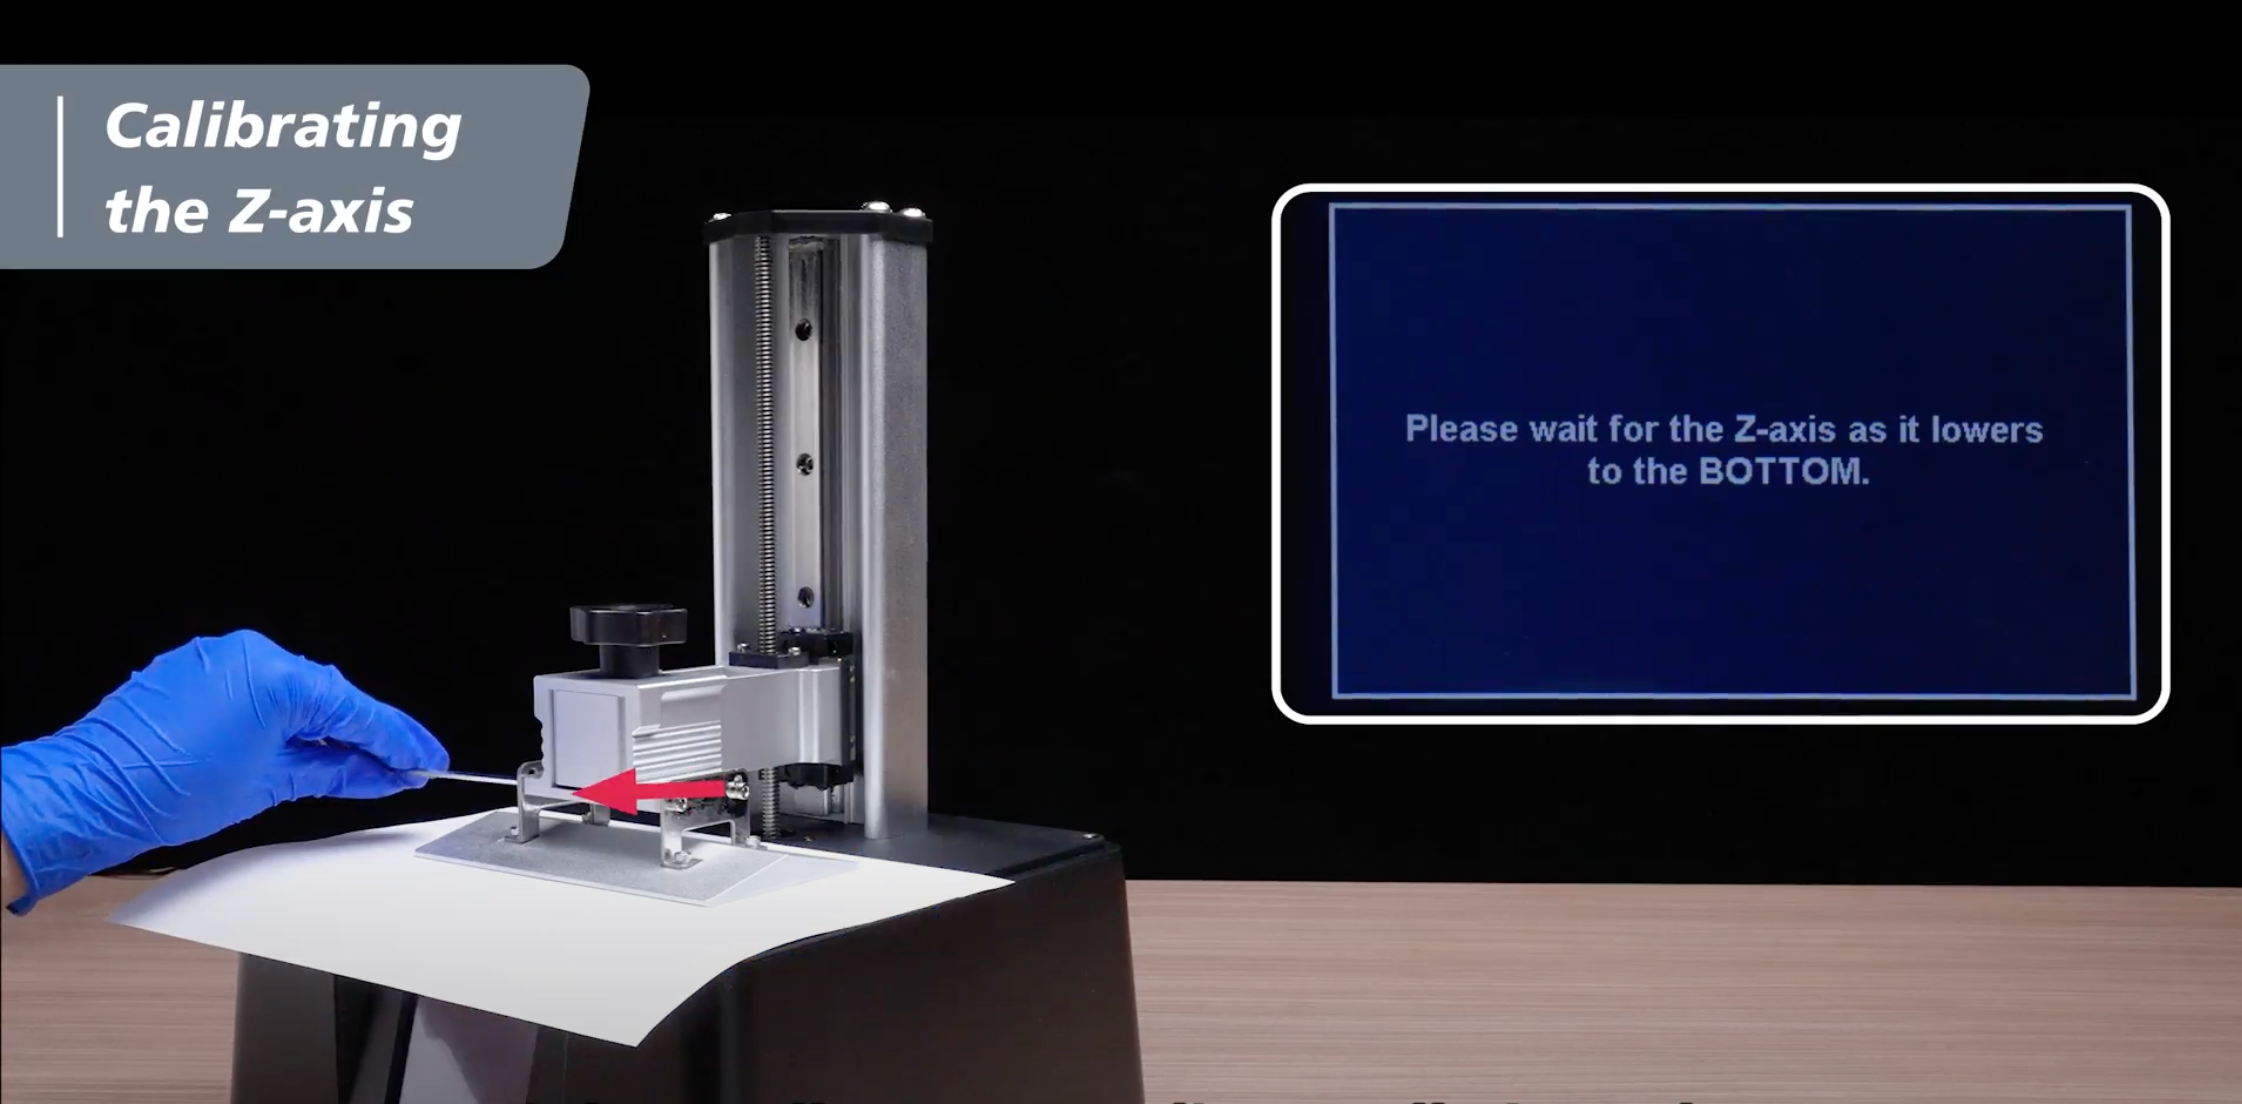
We will guide you through the Z-axis calibration process of your Sonic Mini 8K S LCD 3D printer using a piece of A4 paper:
1. Prepare a sheet of A4 paper, approximately 0.07-0.10 mm thick, and place it flat on the LCD screen. This paper will be used to level the building plate.

You are now ready to begin your 3D printing journey! Now you can start printing out Phrozen XP Finder with your Sonic Mini 8K S.




3 comments
German zarate
Las impresiones solo salen bien la mitad izquierda de la placa de construcción
Al hacer el test no enciende el lado derecho (de acuerdo a la imagen del tést solo tres lados aparecen superior inferior y lado derecho)
Alguna sugerencia por favor
———
Phrozen Technology replied:
Hello German, Thank you for commenting.
This indicates that it’s either the connection between the LCD and the motherboard are having issue, or the LCD itself is broken. Please try disconnect and reconnect the flat flex cable of the LCD, to see if it solves the problem. Here’s an article on replacing the LCD of Sonic Mini 8K S which you can refer to: https://helpcenter.phrozen3d.com/hc/en-us/articles/18880529219481—Sonic-Mini-8K-S-Replacing-the-LCD
Don’t hesitate contacting our customer support team where we have expertise ready to help you with this kind of situation. You can submit them a request by filling in the form on this page: https://helpcenter.phrozen3d.com/hc/en-us/requests/new
Hope this helps.
Best, Phrozen Team
>
Andreas Winkler
My printer does not start printing anymore.
Everything works as usual, i pick my print on the screen and start, z-axis moves down but when its all the way down to the fab it doesnt start, but i get some grinding noise until i abort the process.
I already re-calibrated z-axis but that didnt solve my problem.
Thank you
———
Phrozen Technology replied:
Hello Andreas, Thank you for commenting.
Based on your description, we’d recommend two things to do:
1) For the grinding noise when the plate is moving up and down, please clean and lubricate the Z rod and see if it solve this problem. Here’s an article about how to maintain the Z rod of your Mini printer: https://helpcenter.phrozen3d.com/hc/en-us/articles/6325671107737—Sonic-Mini-8K-Cleaning-the-Z-axis
2) For the expected plate moving behaviour, please reflash the firmware of your printer and uninstall and reinstall the slicing software you’re using from your computer, when only reserve 1 instances of your slicing software at a time – which means only the latest version of the slicing software should be installed on your computer and previous one should be replaced by the new one or be uninstalled.
When reflashing your firmware and reinstalling the slicing software, please download the latest version from the website, and follow the instructions carefully when flashing the firmware of your printer.
You can download the latest version of firmware and find the instructions on this page: https://helpcenter.phrozen3d.com/hc/en-us/articles/6369983852569-Firmware-downloads-and-release-notes
Hope this helps.
Best, Phrozen Team
>
Todd
I recently purchased the Sonic Mini 8K S.
I turned it on and the touch screen is non-responsive. I’ve checked the ribbon wire connections and tried to update the firmware.
The firmware didn’t appear to load and the touch screen is still not working. What would be the next course of action.
Thank You.
———
Phrozen Technology replied:
Hello Todd, Thank you for commenting.
If your Sonic Mini 8K S came with non-responsive touch screen, please contact the reseller or our customer support team for further assistance. If this happened after performing a firmware update, please try reflash the firmware again by following the instructions carefully, and if that doesn’t work, please also contact our customer support team, we will help you to solve this issue.
You can contact our customer support team by submitting a request via this link: https://helpcenter.phrozen3d.com/hc/en-us/requests/new
Hope this helps.
Best, Phrozen Team
>