After completing the printing process with the Sonic Mini 8K S 3D printer, it is important to properly clean and post-process the prints. The following steps will demonstrate how to carry out post-processing:
Preparation for Post-Processing
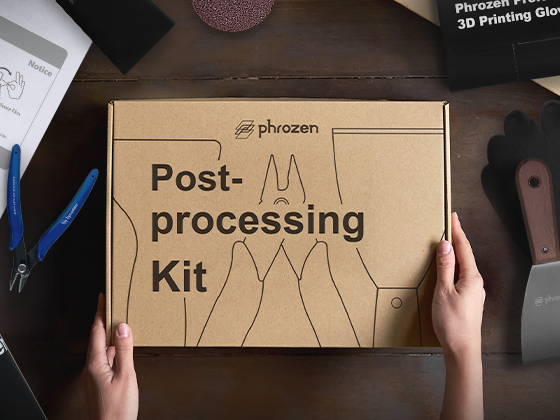
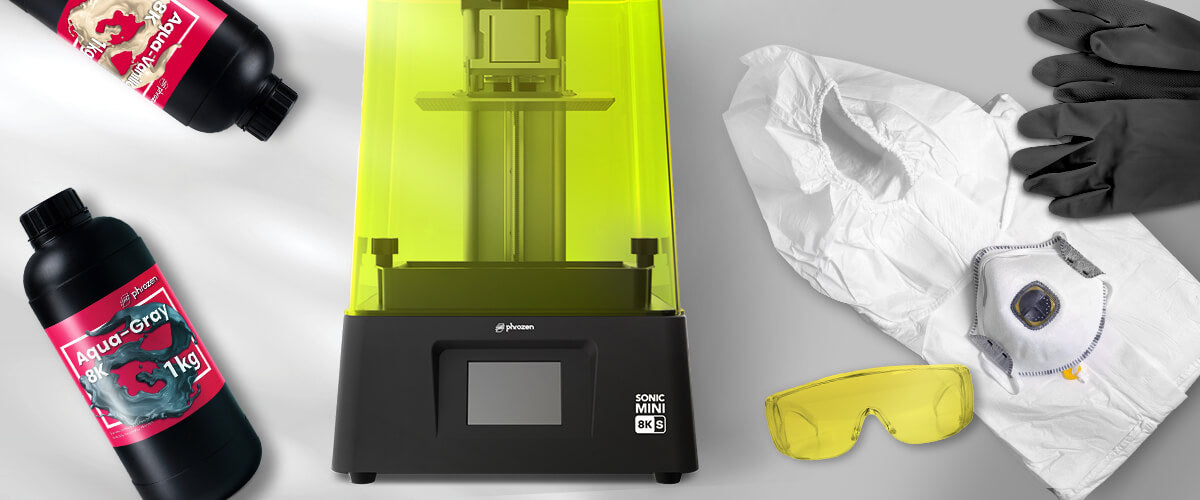
Gather the necessary materials for post-processing, including Phrozen Wash or 95% alcohol, IPA, paper towels, and a cardboard box for disposing of waste materials like supports, rafts, and resin-soaked paper towels.
Step 1: Clean the Building Plate
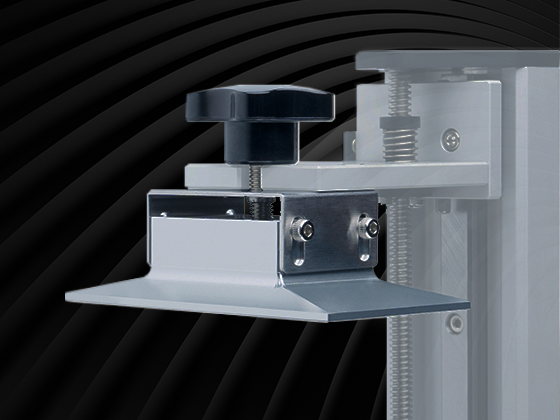
Remove the acrylic cover from the printer and loosen the building plate knob to detach the building plate. Use a paper towel to wipe the edges and top of the building plate.
Step 2: Remove the Prints from the Building Plate
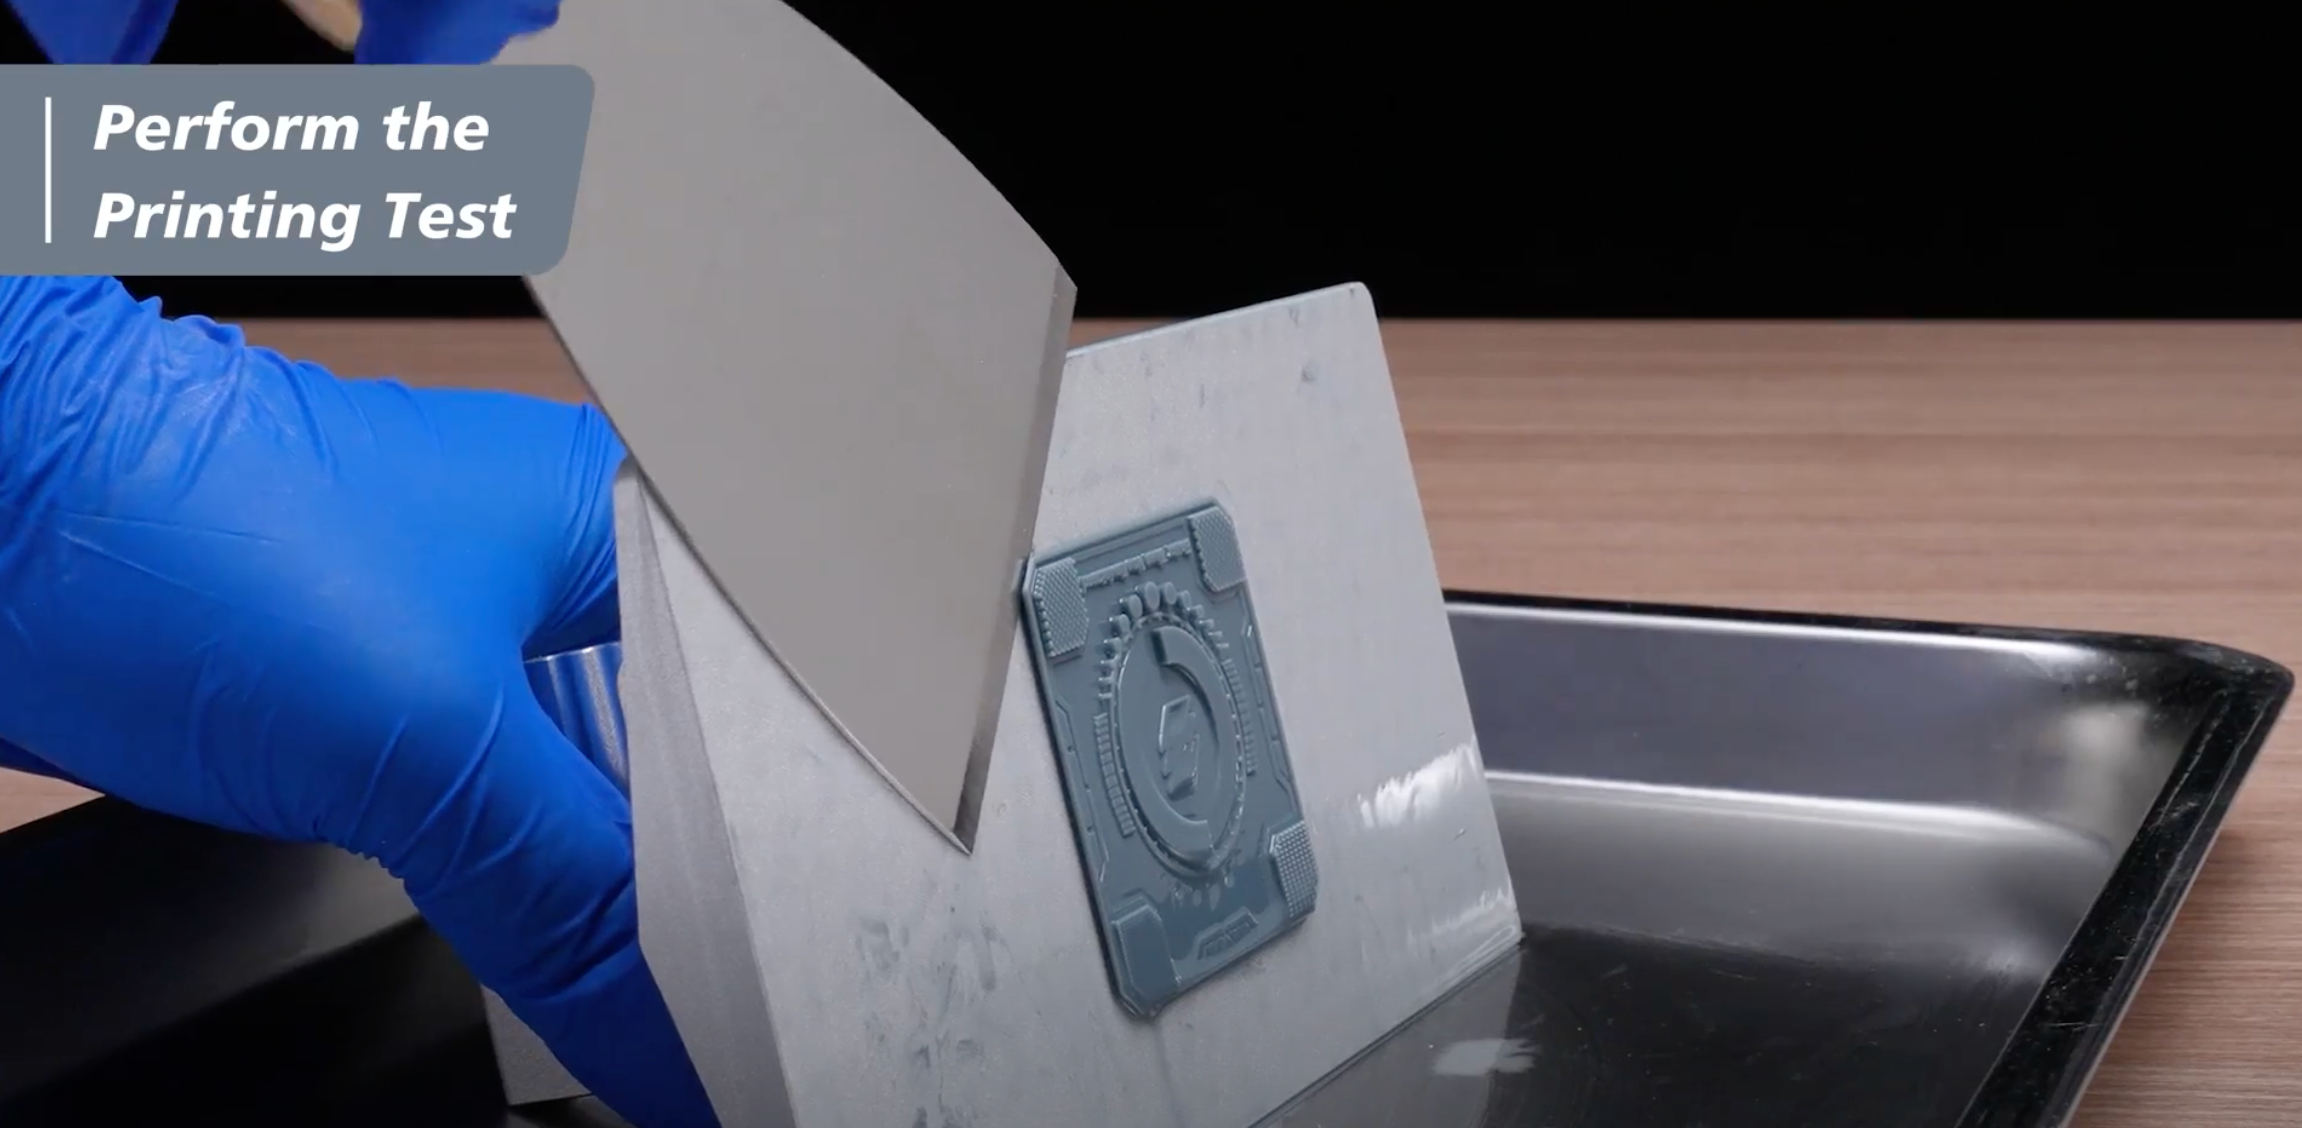
Place the building plate on a stable surface and use the metal scraper from your toolbox to carefully remove the 3D model. If you encounter difficulty in removing the prints, a utility knife can be used.
Step 3: Clean the Phrozen XP Finder
To begin, pour Phrozen Wash or 95% alcohol, IPA into a basin. Wash your Phrozen XP Finder in the basin and rinse it until its surface is clean.

Step 4: Post-Curing
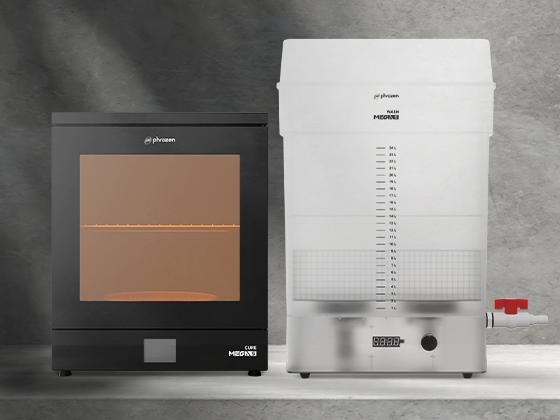
Once your model is thoroughly dry, place it into the Phrozen Curing Station to cure your XP Finder.
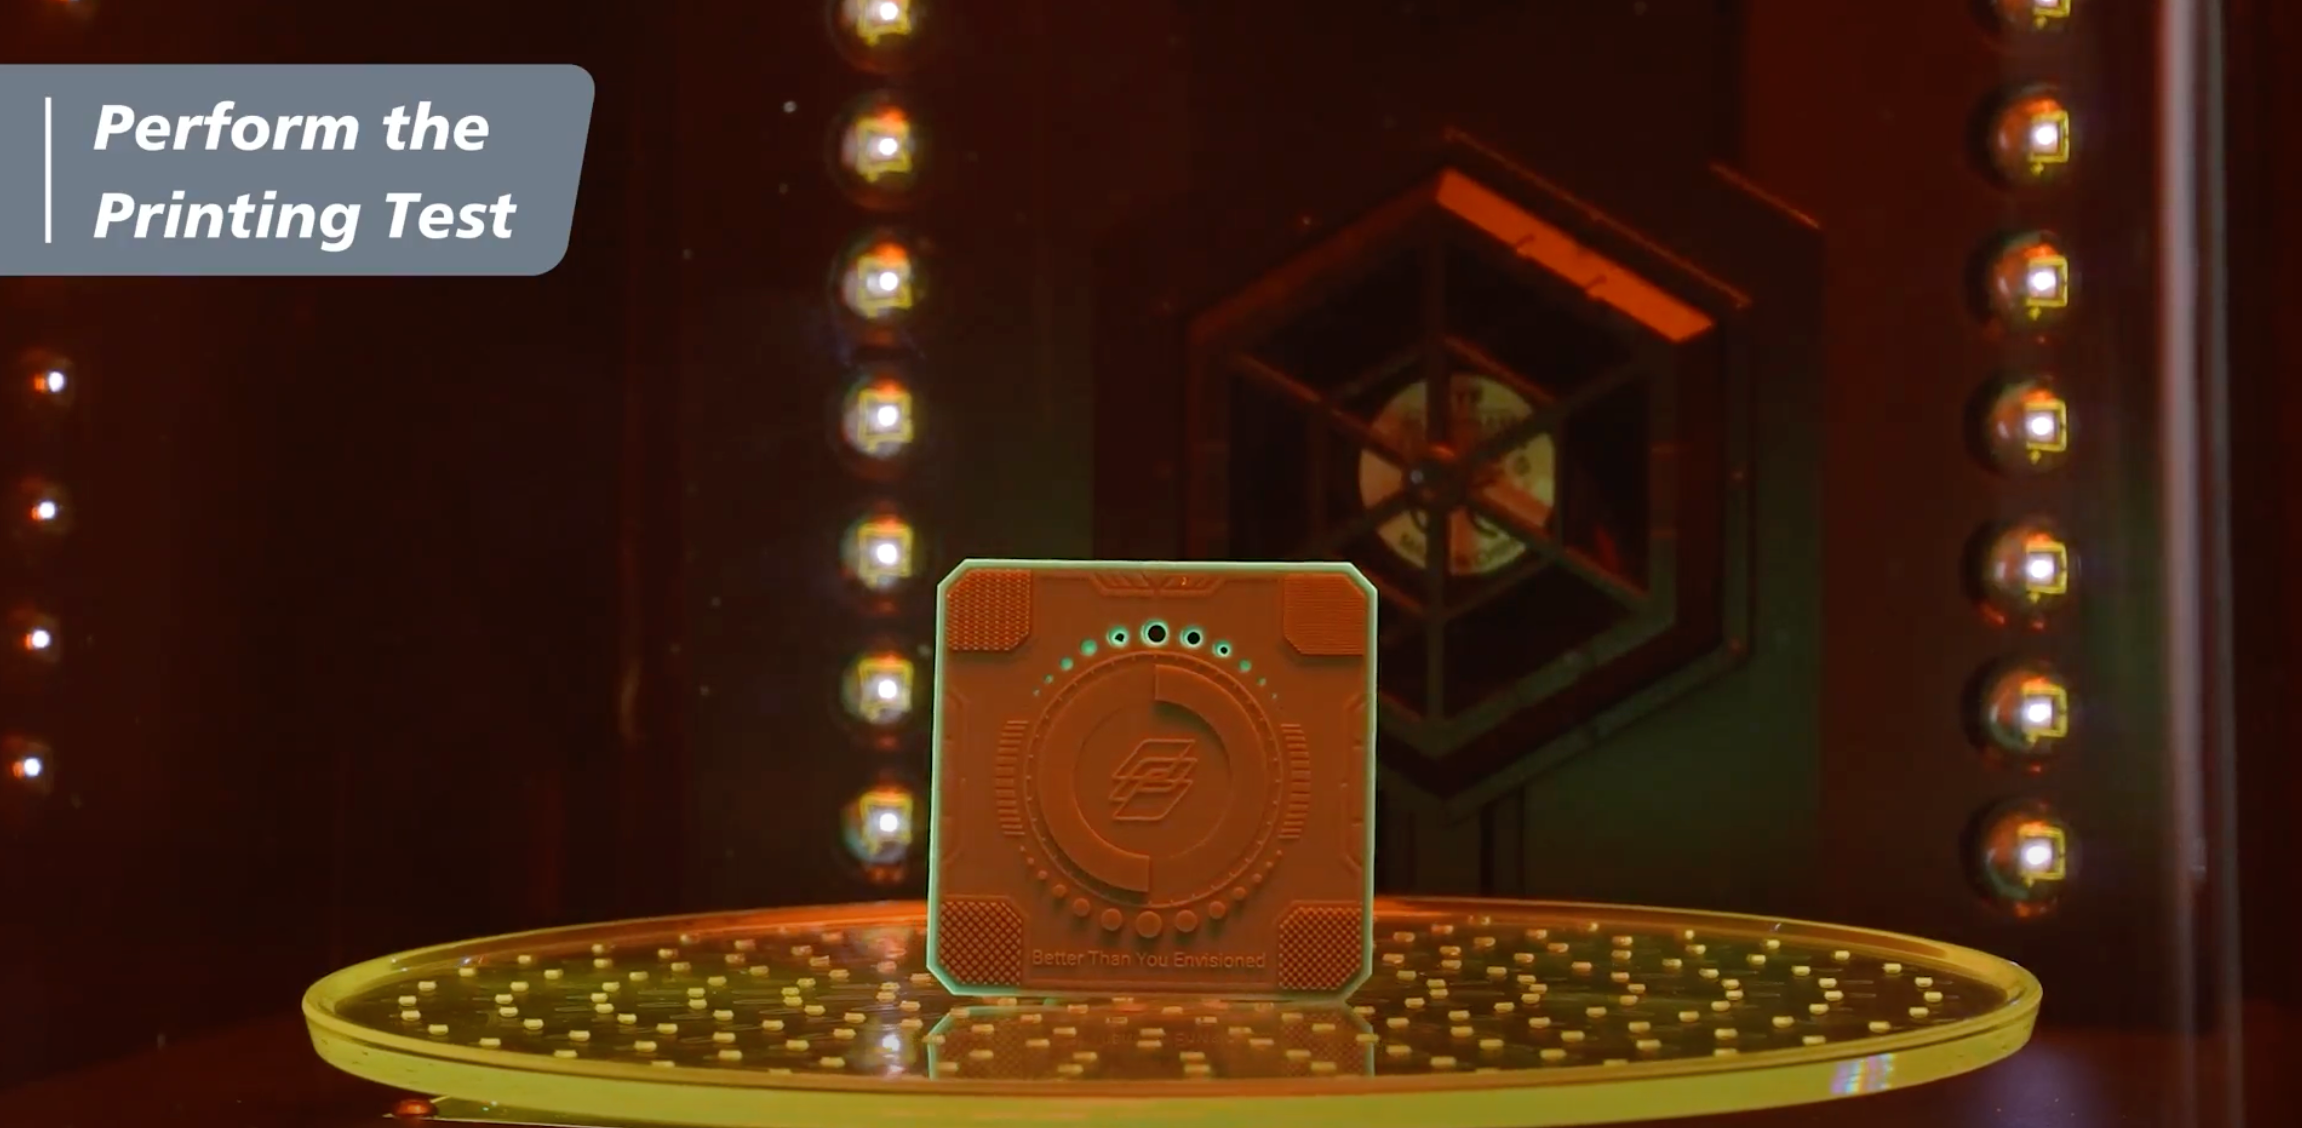
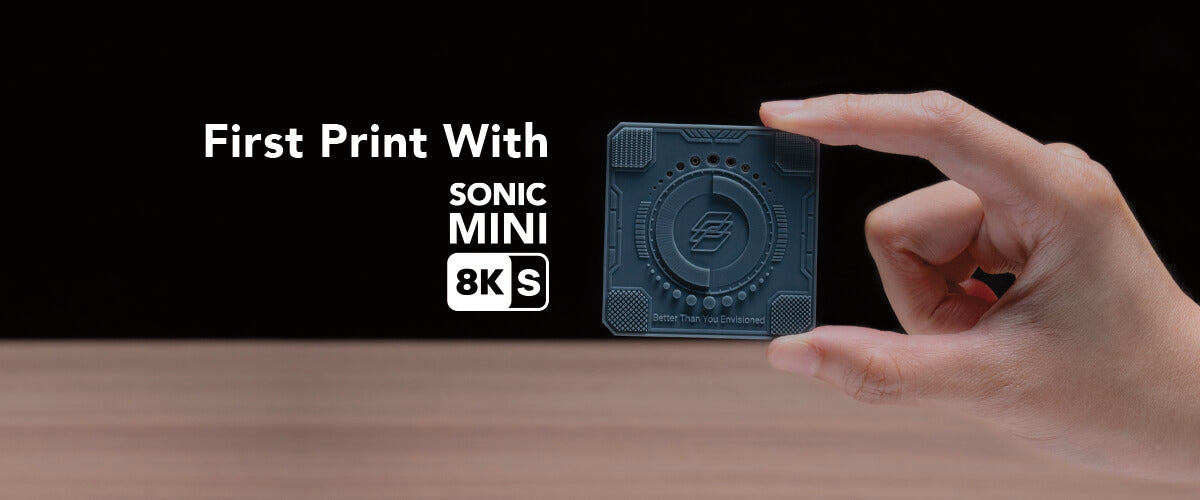
If your XP Finder came out perfect, it means you’ve got your exposure right, and you, you are now ready to start printing models with your Sonic Mini 8K S.

