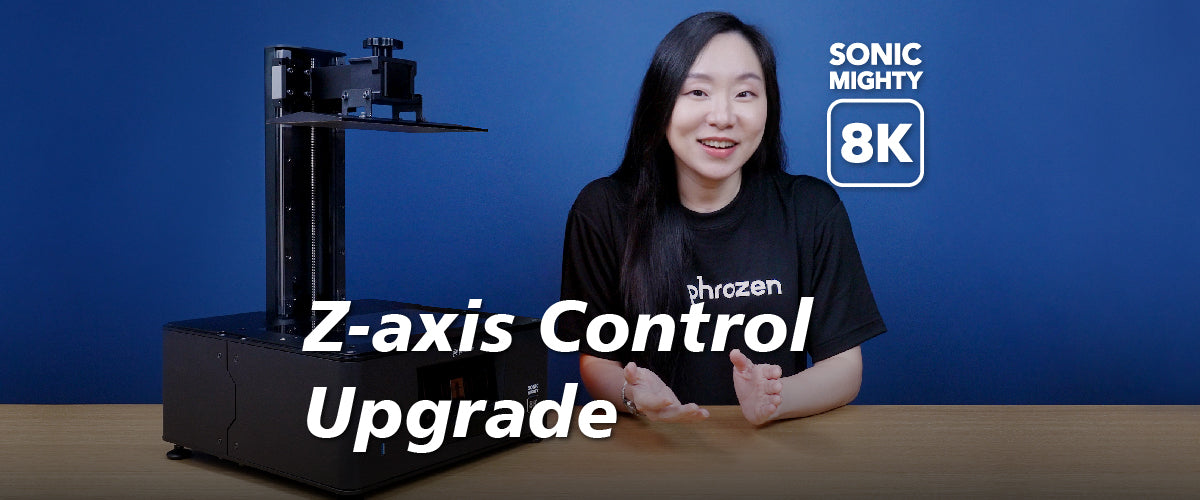
Sonic Mighty 8K: Upgraded Z-Axis Control
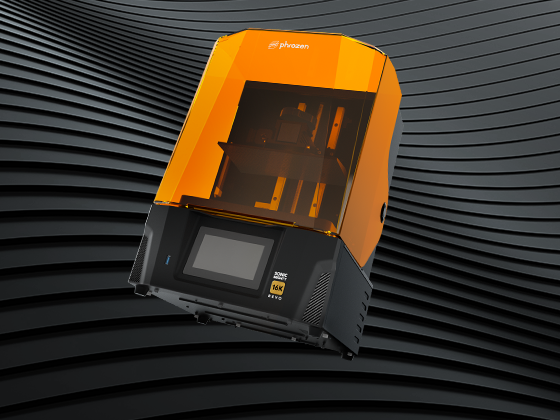
To make your 3D printing experience easier and smoother, we’ve upgraded some functions in the Sonic Mighty 8K LCD 3D Printer to better suit our user needs. One of them is an upgraded z-axis control...
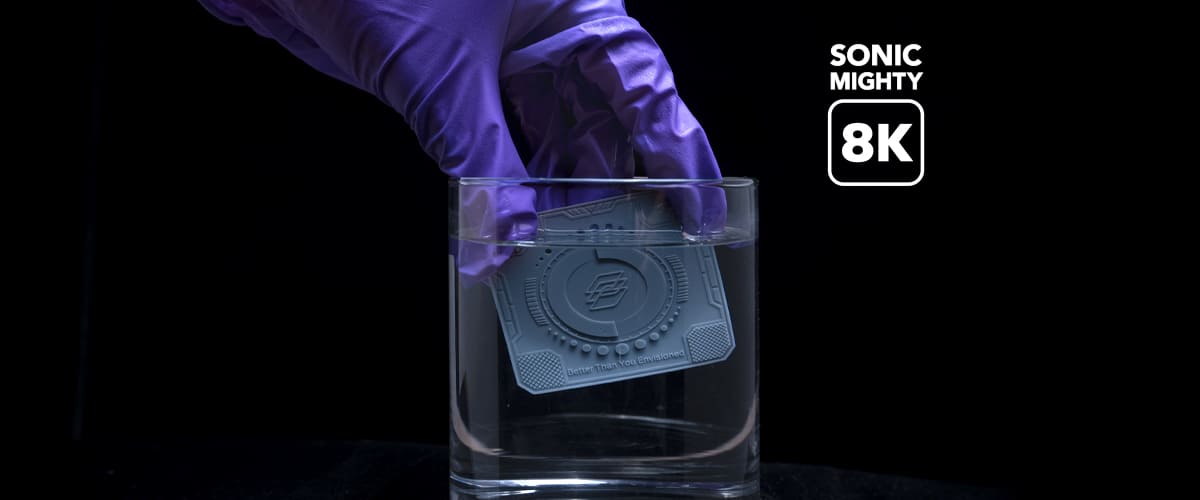
Sonic Mighty 8K : Post-Processing Your Prints
Learn the step-by-step on how to post-process your 3D printed XP Finder test model.
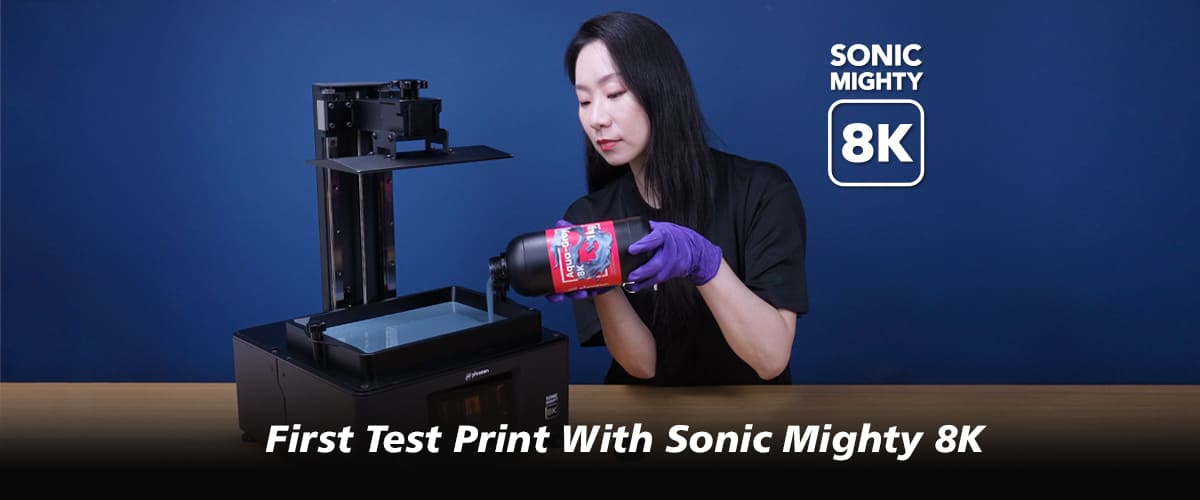
Sonic Mighty 8K : First Test Print
Learn how to print your first test-piece model - the XP Finder with your Sonic Mighty 8K LCD 3D Printer.
Sonic Mighty 8K: On-Screen Initial Setup
Is this your first ever LCD 3D printer? No worries. In this article, we will guide you on the step -by-step of how to perform an LCD test and calibrate the z-axis on your brand-new Sonic Mighty 8K ...
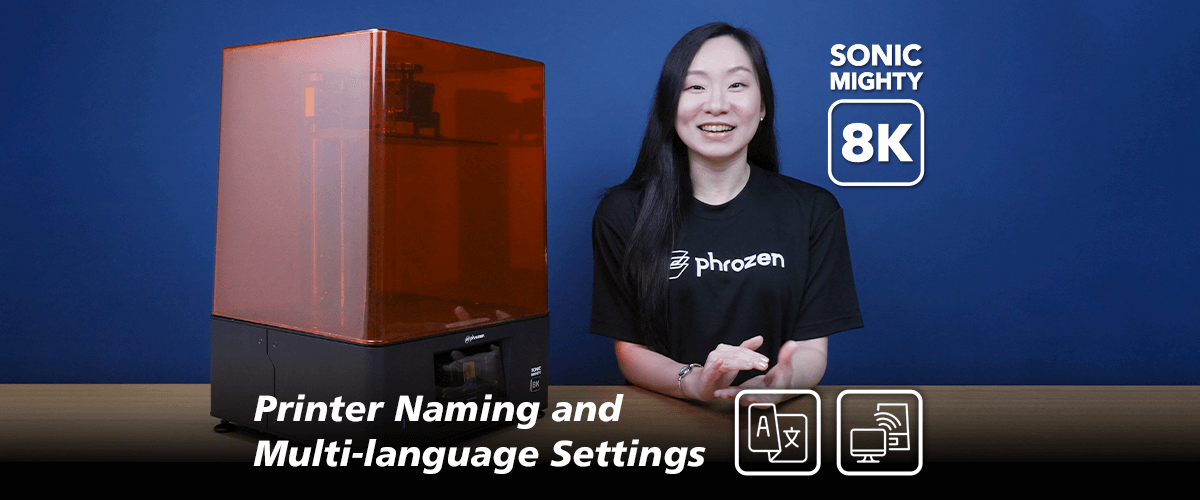
Sonic Mighty 8K Brand New Features: Printer Naming & Language Settings
The Sonic Mighty 8K comes with brand new features that have never been seen in Phrozen’s previous printers. Sonic Mighty 8K is now equipped with a system that allows you to name your printer to mak...
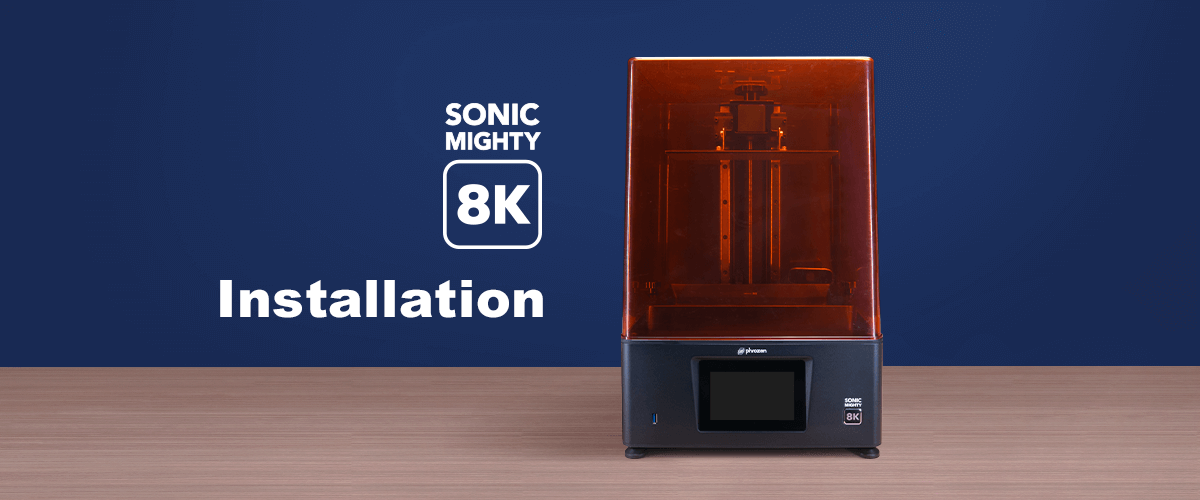
Sonic Mighty 8K: Installation
In this article, we will guide you through the steps of setting up your Sonic Mini 8K LCD 3D printer before you start 3D printing.
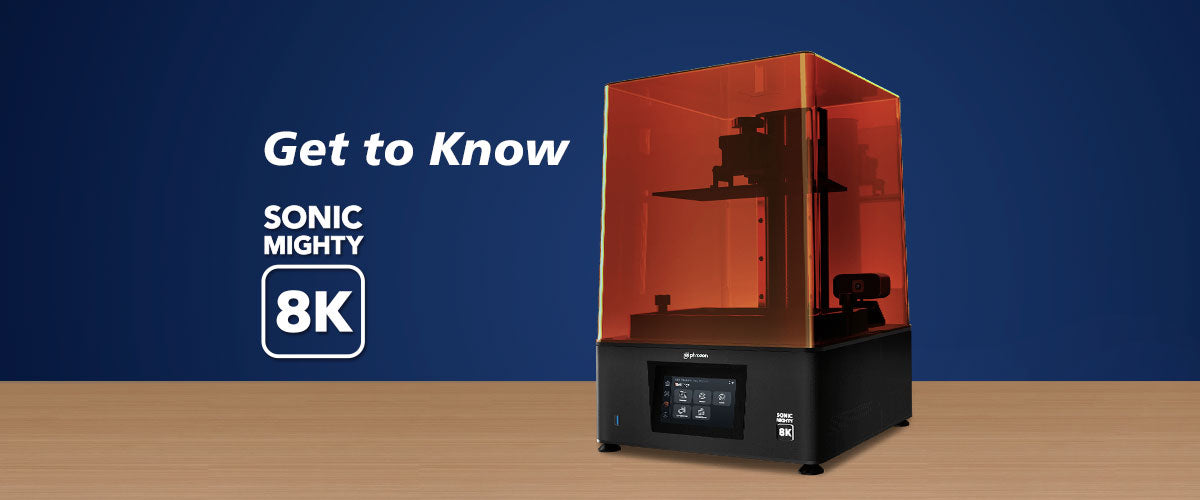
Get to Know Your Sonic Mighty 8K
Now that you have the Sonic Mighty 8K unboxed and ready, let’s first spend a few moments to familiarize ourselves with the hardware and components of the Sonic Mighty 8K LCD 3D printer.
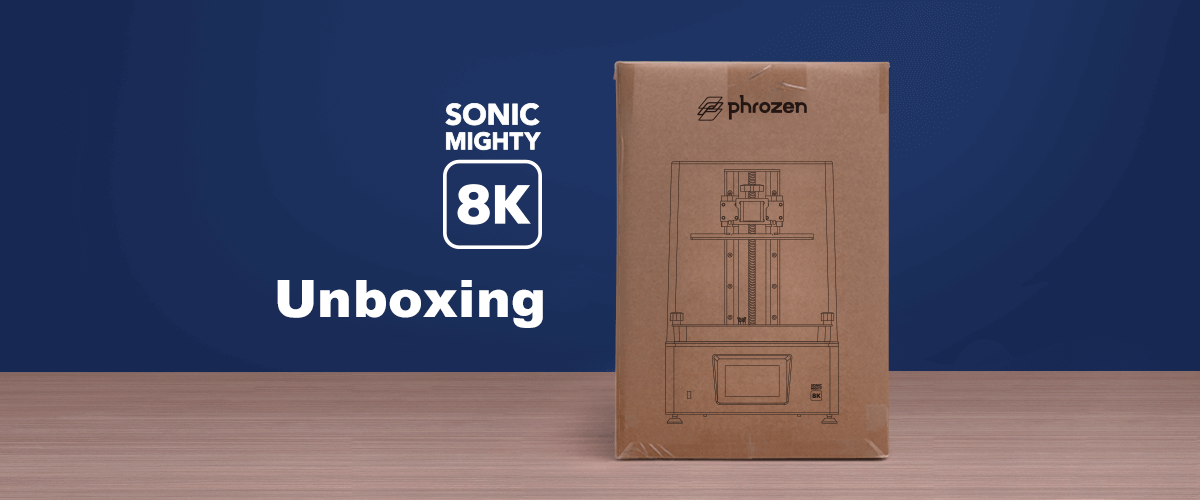
Sonic Mighty 8K: Unboxing
Let's unbox your brand new Phrozen Sonic Mighty 8K LCD 3D Printer with us!
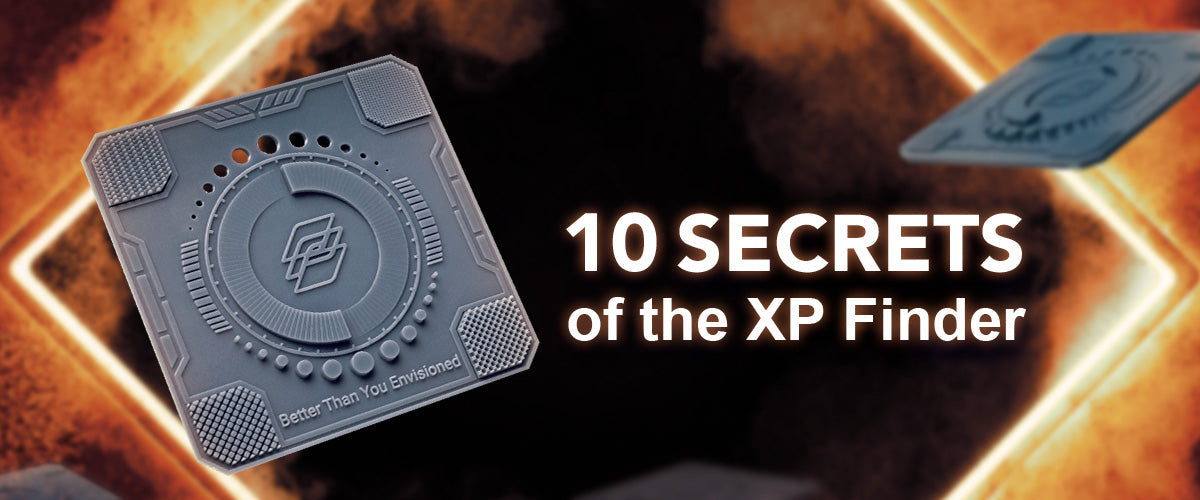
10 XP Finder Secrets That You Might’ve Missed
Now that you've got yourself a resin 3D printer, what should you print next? Print XP Finder test model and learn how to interpret each part here!
Sonic Mighty 8K: The Best 8K LCD 3D Printer in the Market
Learn more about all the new features and how Sonic Mighty 8K will make your 3D printing experience better.
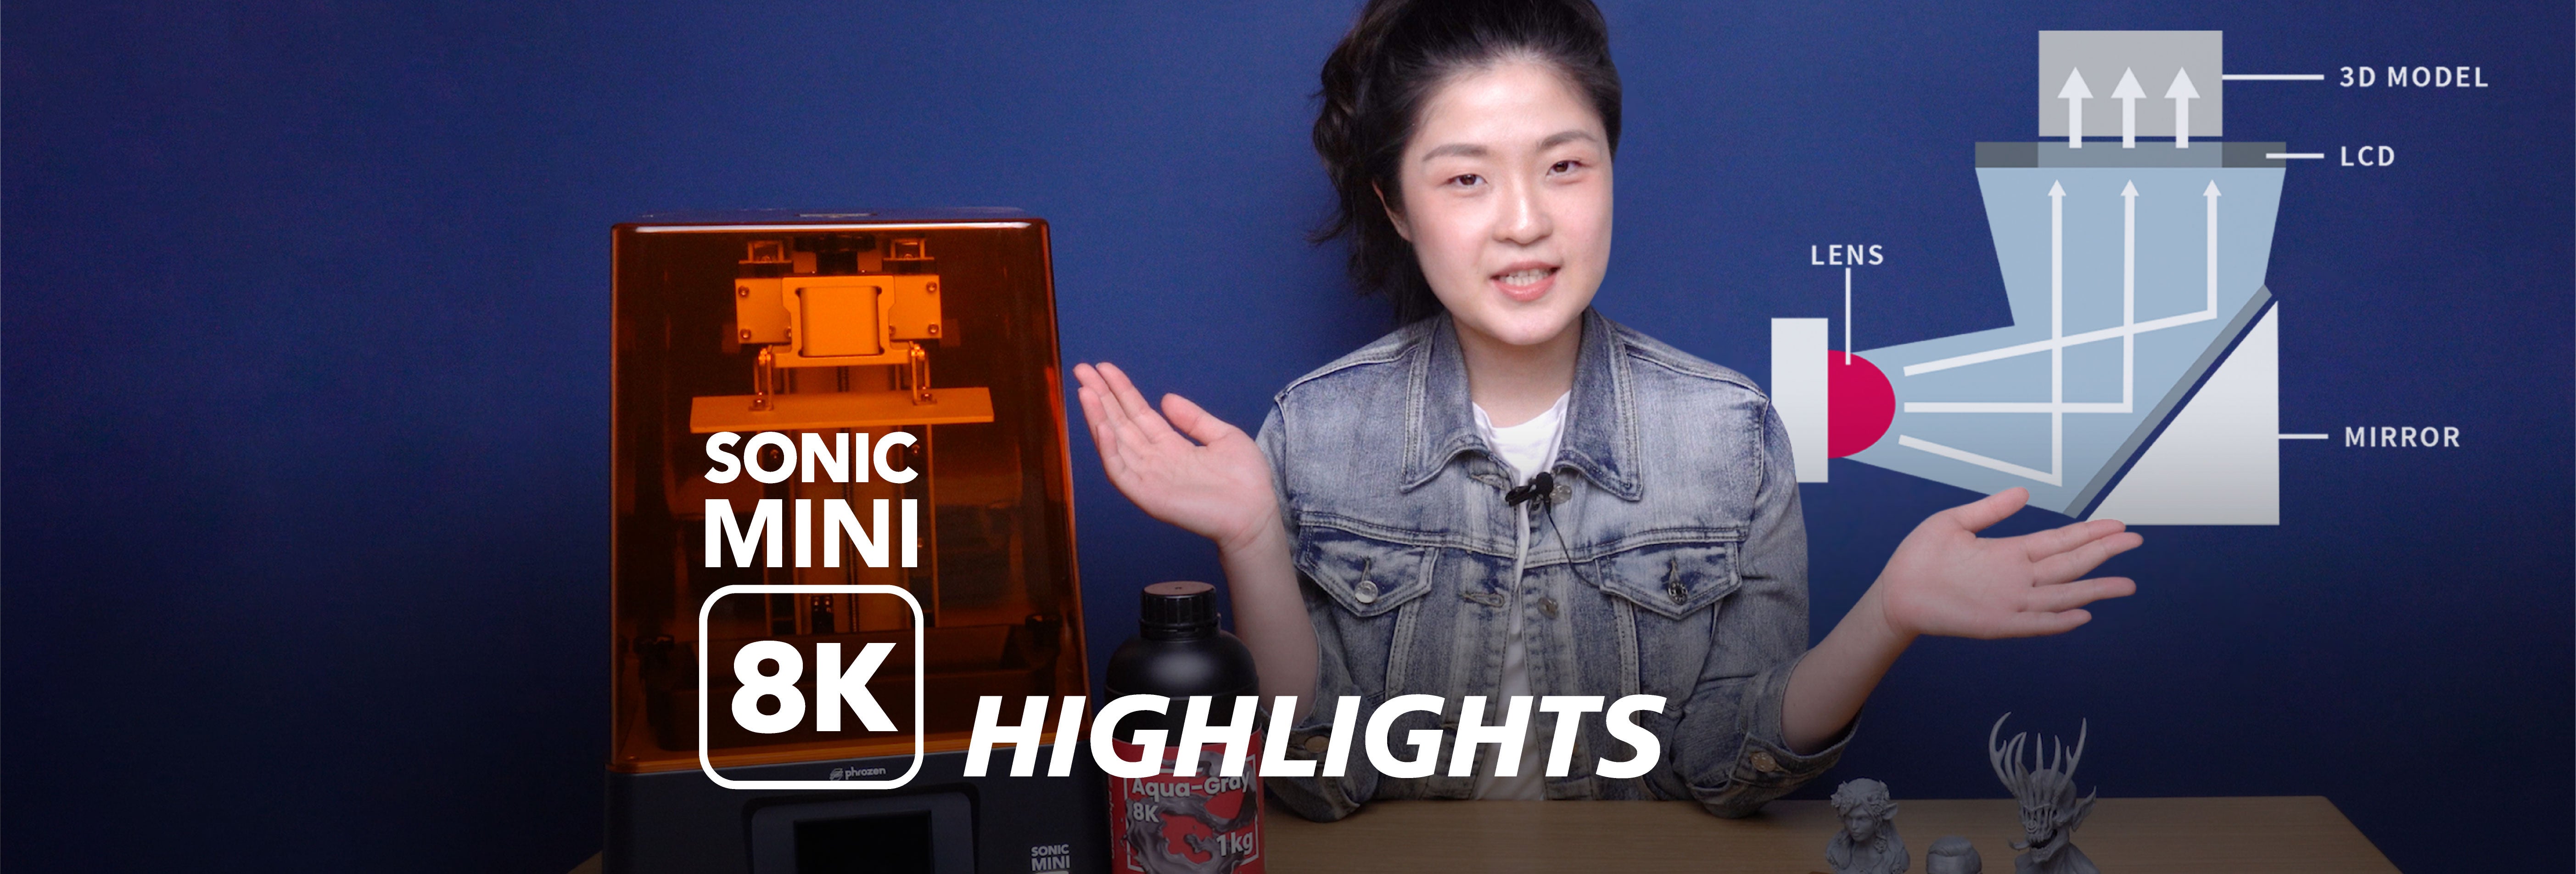
Sonic Mini 8K Features Explained
The Sonic Mini 8K comes with a host of new features, so let’s take a few minutes to learn more about the Sonic Mini 8K’s all new Linear Projection LED module, thicker T-Plate, solid dual-linear rai...
Sonic Mini 8K: Unboxing
In this article, we will guide you through the steps of unboxing your Sonic Mini 8K:
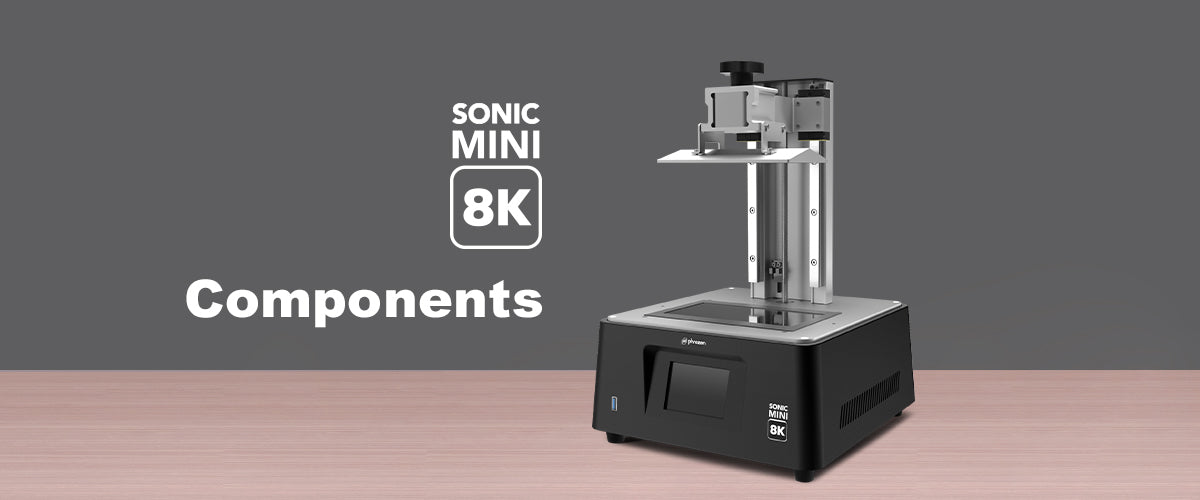
Get to Know Your Sonic Mini 8K
Let’s take a few moments to familiarize ourselves with the hardware and components of the Sonic Mini 8K. You may find it helpful to bookmark this section and refer to it as you read through the res...
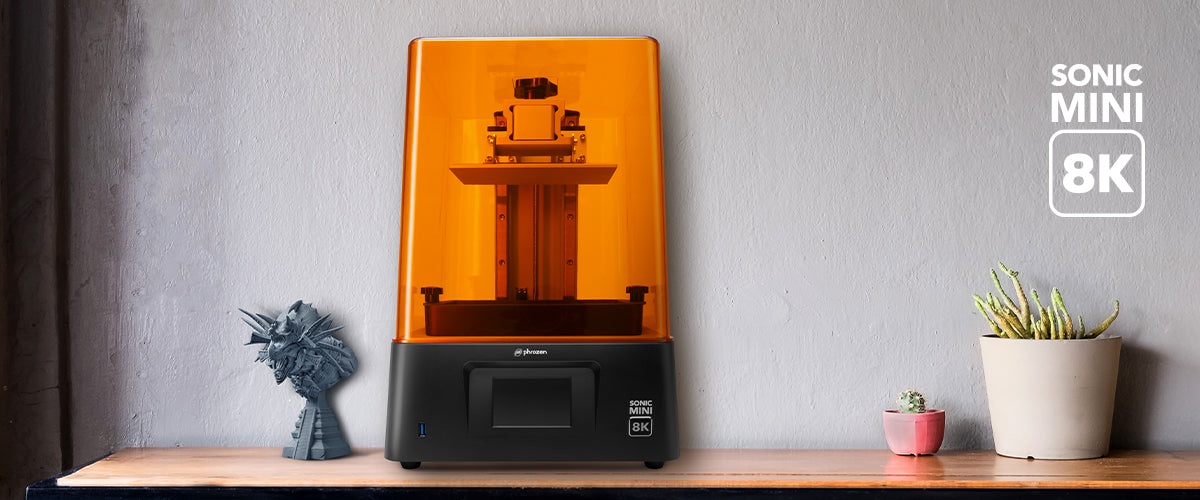
Sonic Mini 8K: Setting Up
In this article, we will guide you through the steps of setting up your Sonic Mini 8K LCD 3D printer before you start 3D printing.
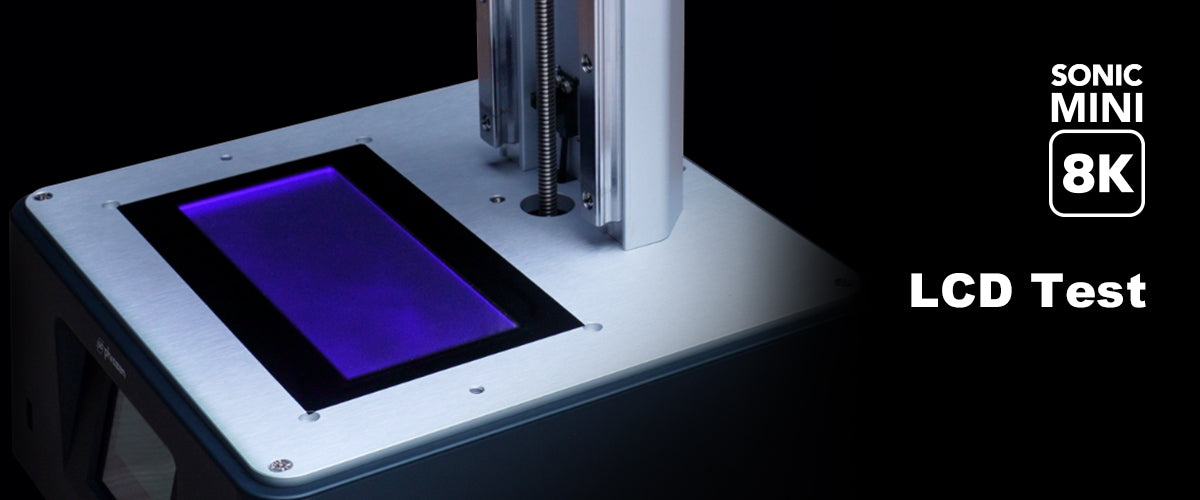
Performing an LCD Test on the Sonic Mini 8K
Before printing, you may need to check the status of your Sonic Mini 8K's LCD screen. This is to ensure that both the UV lights and the 7.1” Mono-LCD screen are functioning properly. We will guide ...
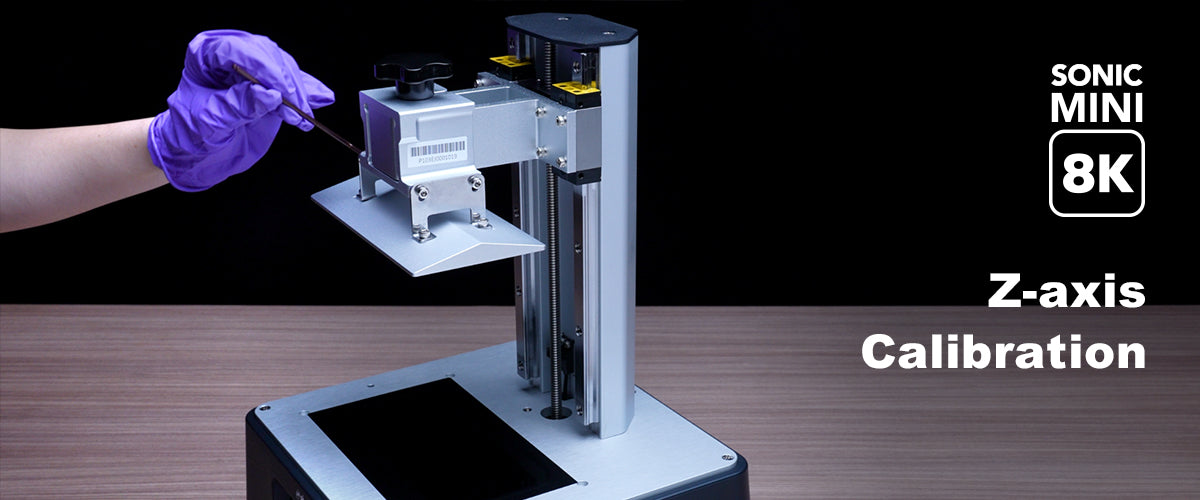
Performing Z-axis Calibration on the Sonic Mini 8K
Z-axis calibration is essential for every 3D printer. Run this test to make sure that the building plate is leveled to the LCD screen. This is to ensure that models and prints will adhere to the bu...
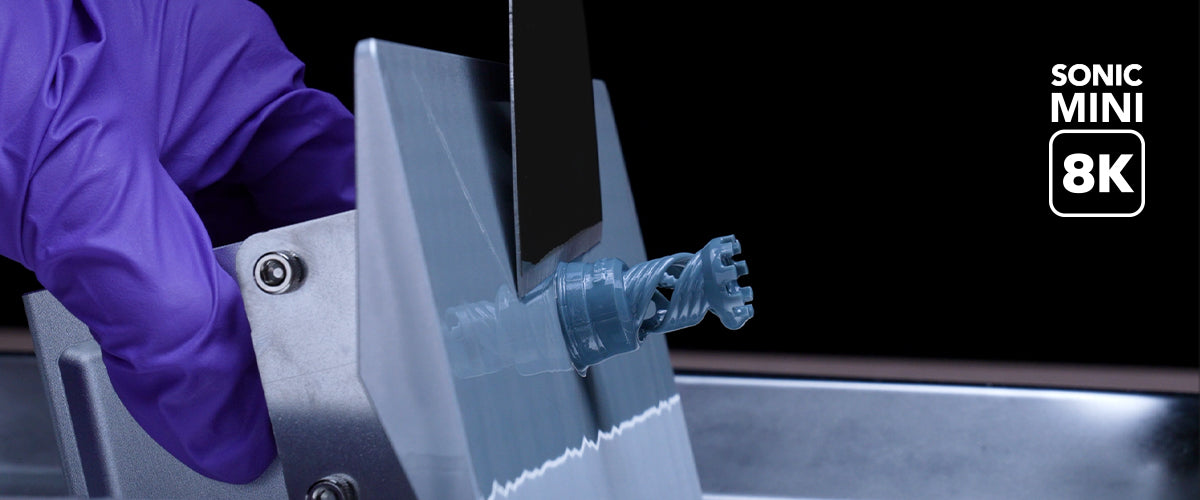
Sonic Mini 8K: First Print with Phrozen Test File
After correctly calibrating your Z-axis, it’s time for you to test out your first print with the Sonic Mini 8K!
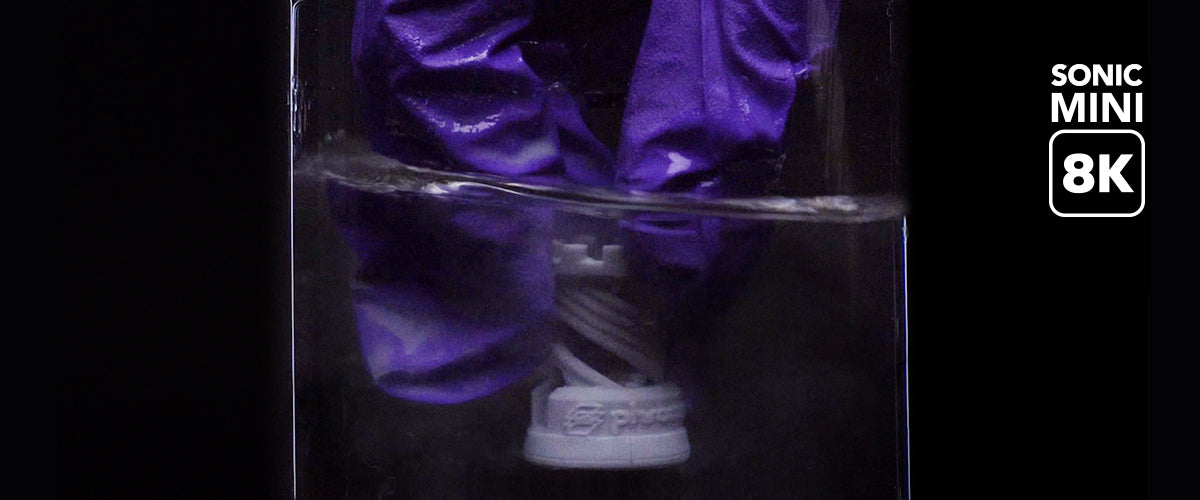
Sonic Mini 8K: Post-Processing
Once you have finished printing out 3D models with the Sonic Mini 8K, your prints need to be cleaned and post-processed thoroughly. In this article, we'll demonstrate how to thoroughly clean your 3...
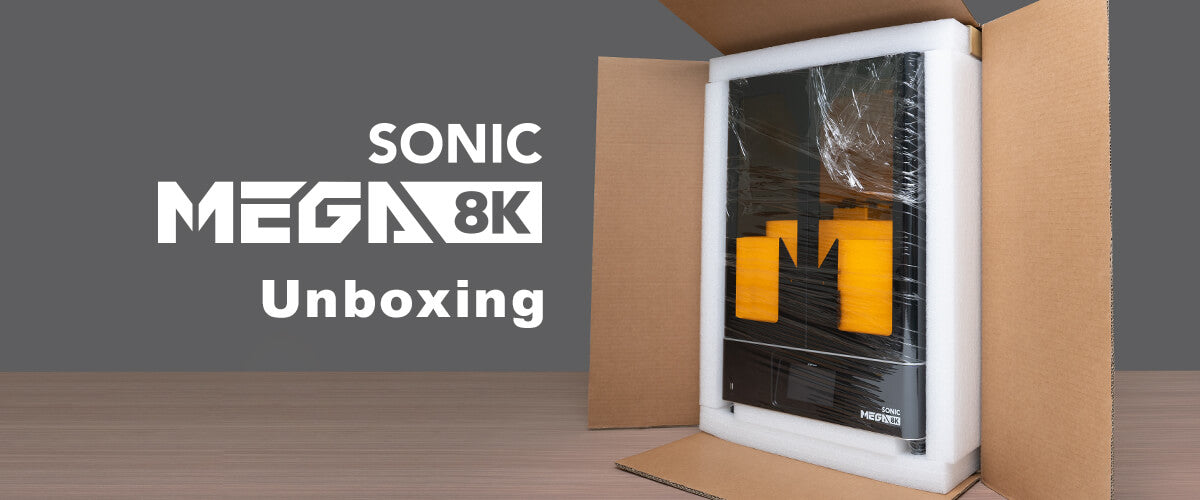
Sonic Mega 8K: Unboxing
With a printing area of 15" and a 43μm XY resolution, the Sonic Mega 8K trumps all other 3D printers on the market, producing 3D models that are almost twice as detailed as other large-scale 3D pri...
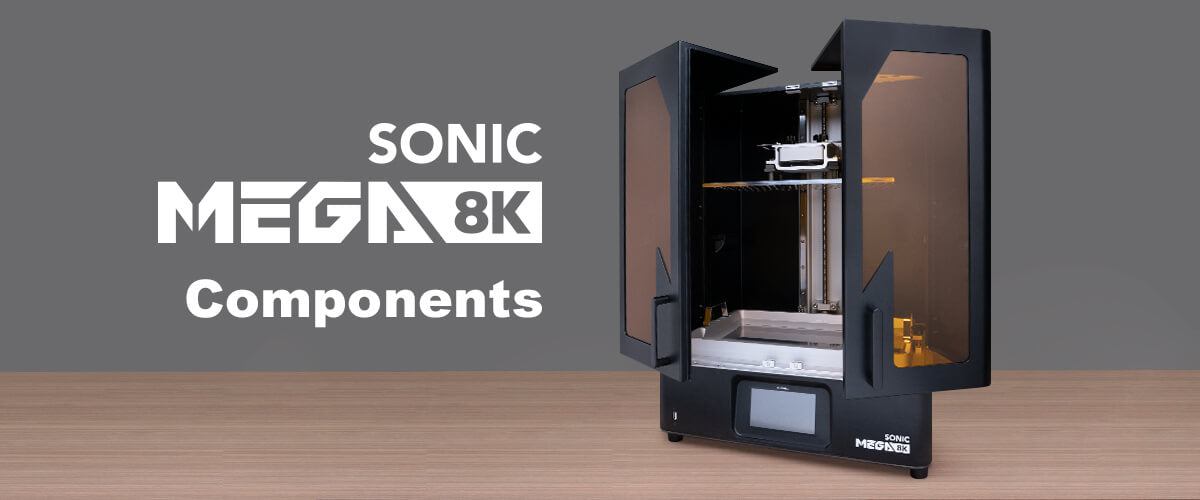
Get to Know Your Sonic Mega 8K
Let’s take a few moments to familiarize ourselves with the hardware and components of the Sonic Mega 8K. You may find it helpful to bookmark this section and refer to it as you read through the res...
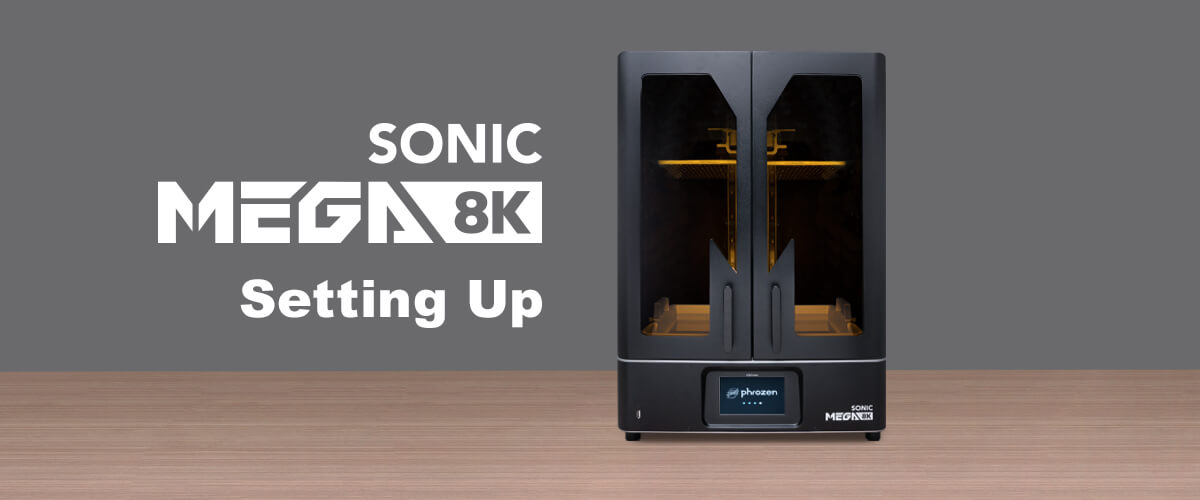
Sonic Mega 8K: Setting Up
In this article, we will guide you through the steps of setting up your Sonic Mega 8K LCD 3D printer before you get started with printing out your 3D models.
Sonic Mega 8K: How to Import 3D Files
Before we start printing on the Phrozen Sonic Mega 8K, we must first import the sliced 3D file onto the resin 3D printer. There are two ways to import 3D files: via USB, and via Ethernet.
Read on...
Sonic Mega 8K Test Print
After setting up your Sonic Mega 8K 3D Printer, it’s time to test it out. In this blog post, we’ll be showing you what you need to prepare beforehand and the resources you’ll need before you begin ...
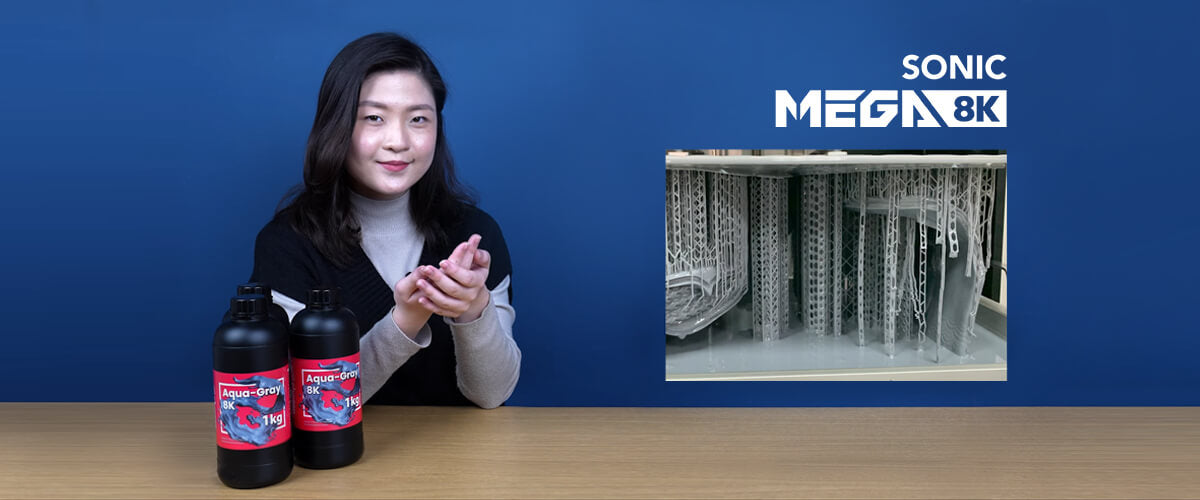
Sonic Mega 8K: Tips & Tricks to Slice Your Models
After test printing with the Sonic Mega 8K, it’s time for some exclusive tips and tricks to slice your 3D models! Let’s get right into it:
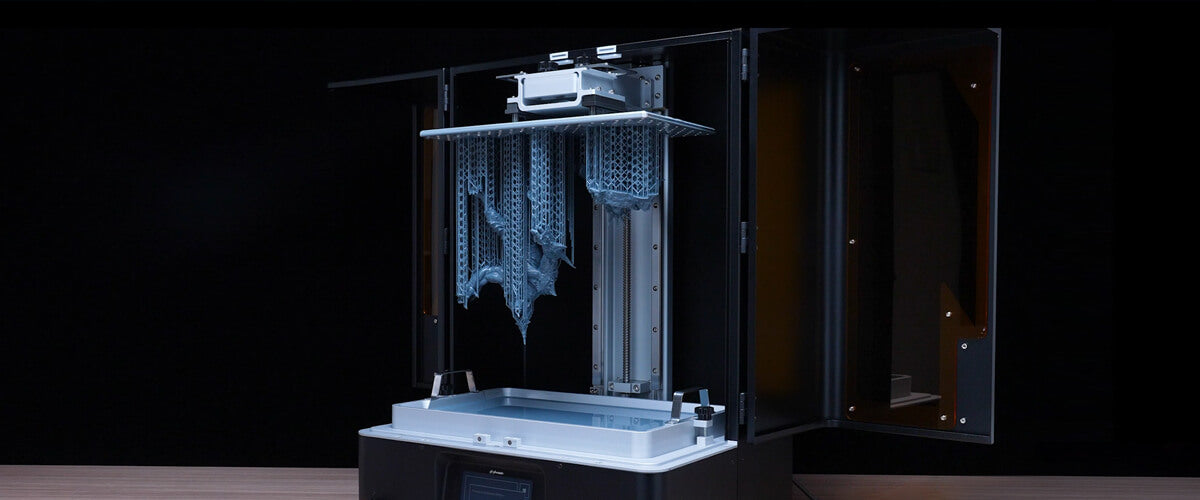
Sonic Mega 8K: 3D Printing Tips & Tricks
After slicing your 3D files, it’s time for a few exclusive tips and tricks for printing your 3D models with the Sonic Mega 8K! Let’s get right into it:
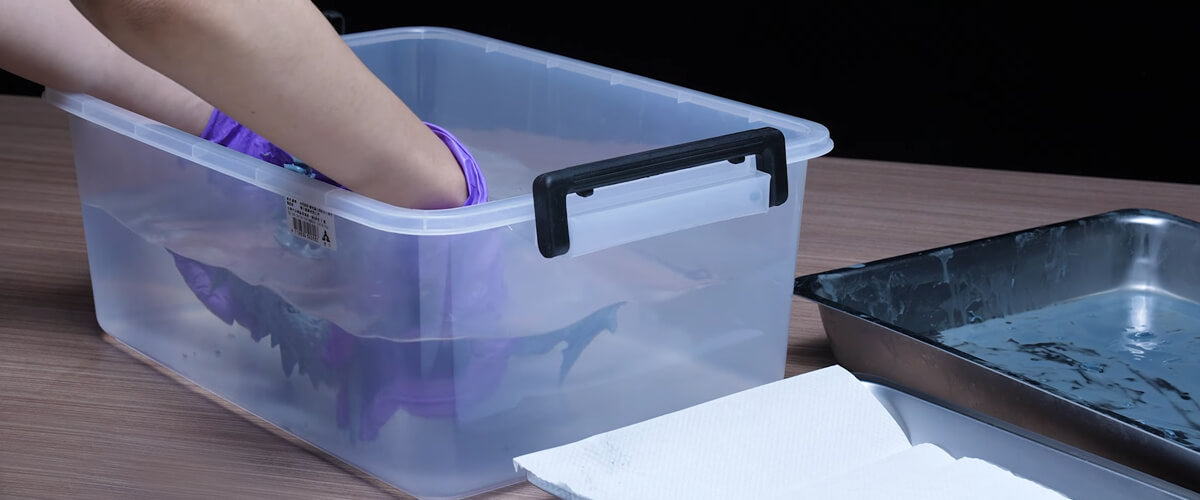
Sonic Mega 8K: Cleaning Your 3D Models
After learning a few 3D printing tips and tricks for the Sonic Mega 8K, it’s time to learn how to clean the 3D models after they’re ready! Let’s find out more:
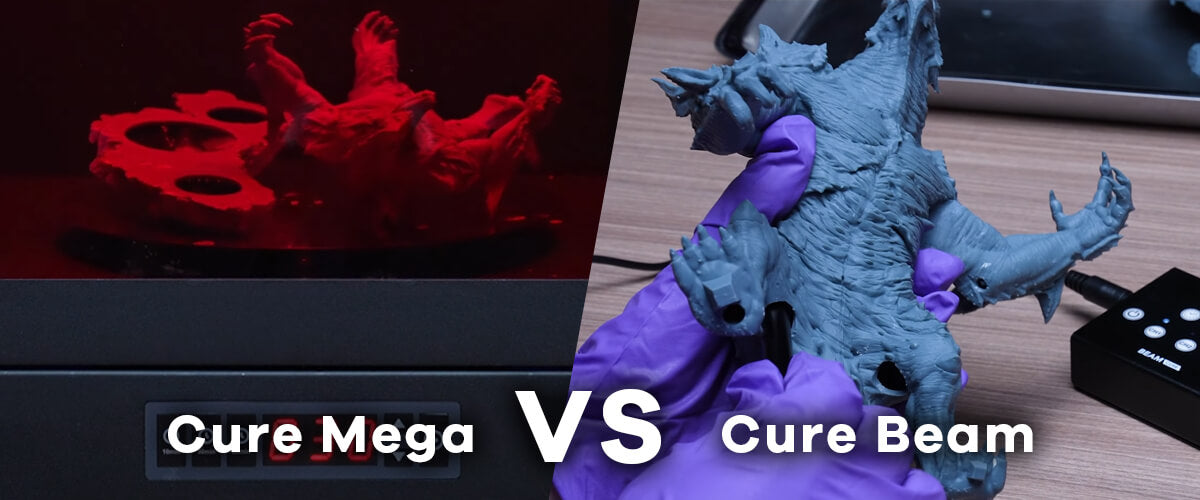
Sonic Mega 8K: Curing
After cleaning your 3D models, make sure they are dry before moving on to the next step: curing.
How to Maintain Your Sonic Mega 8K
After going through the entire Sonic Mega 8K printing process, it’s time to learn how to maintain your device after you’re done printing.
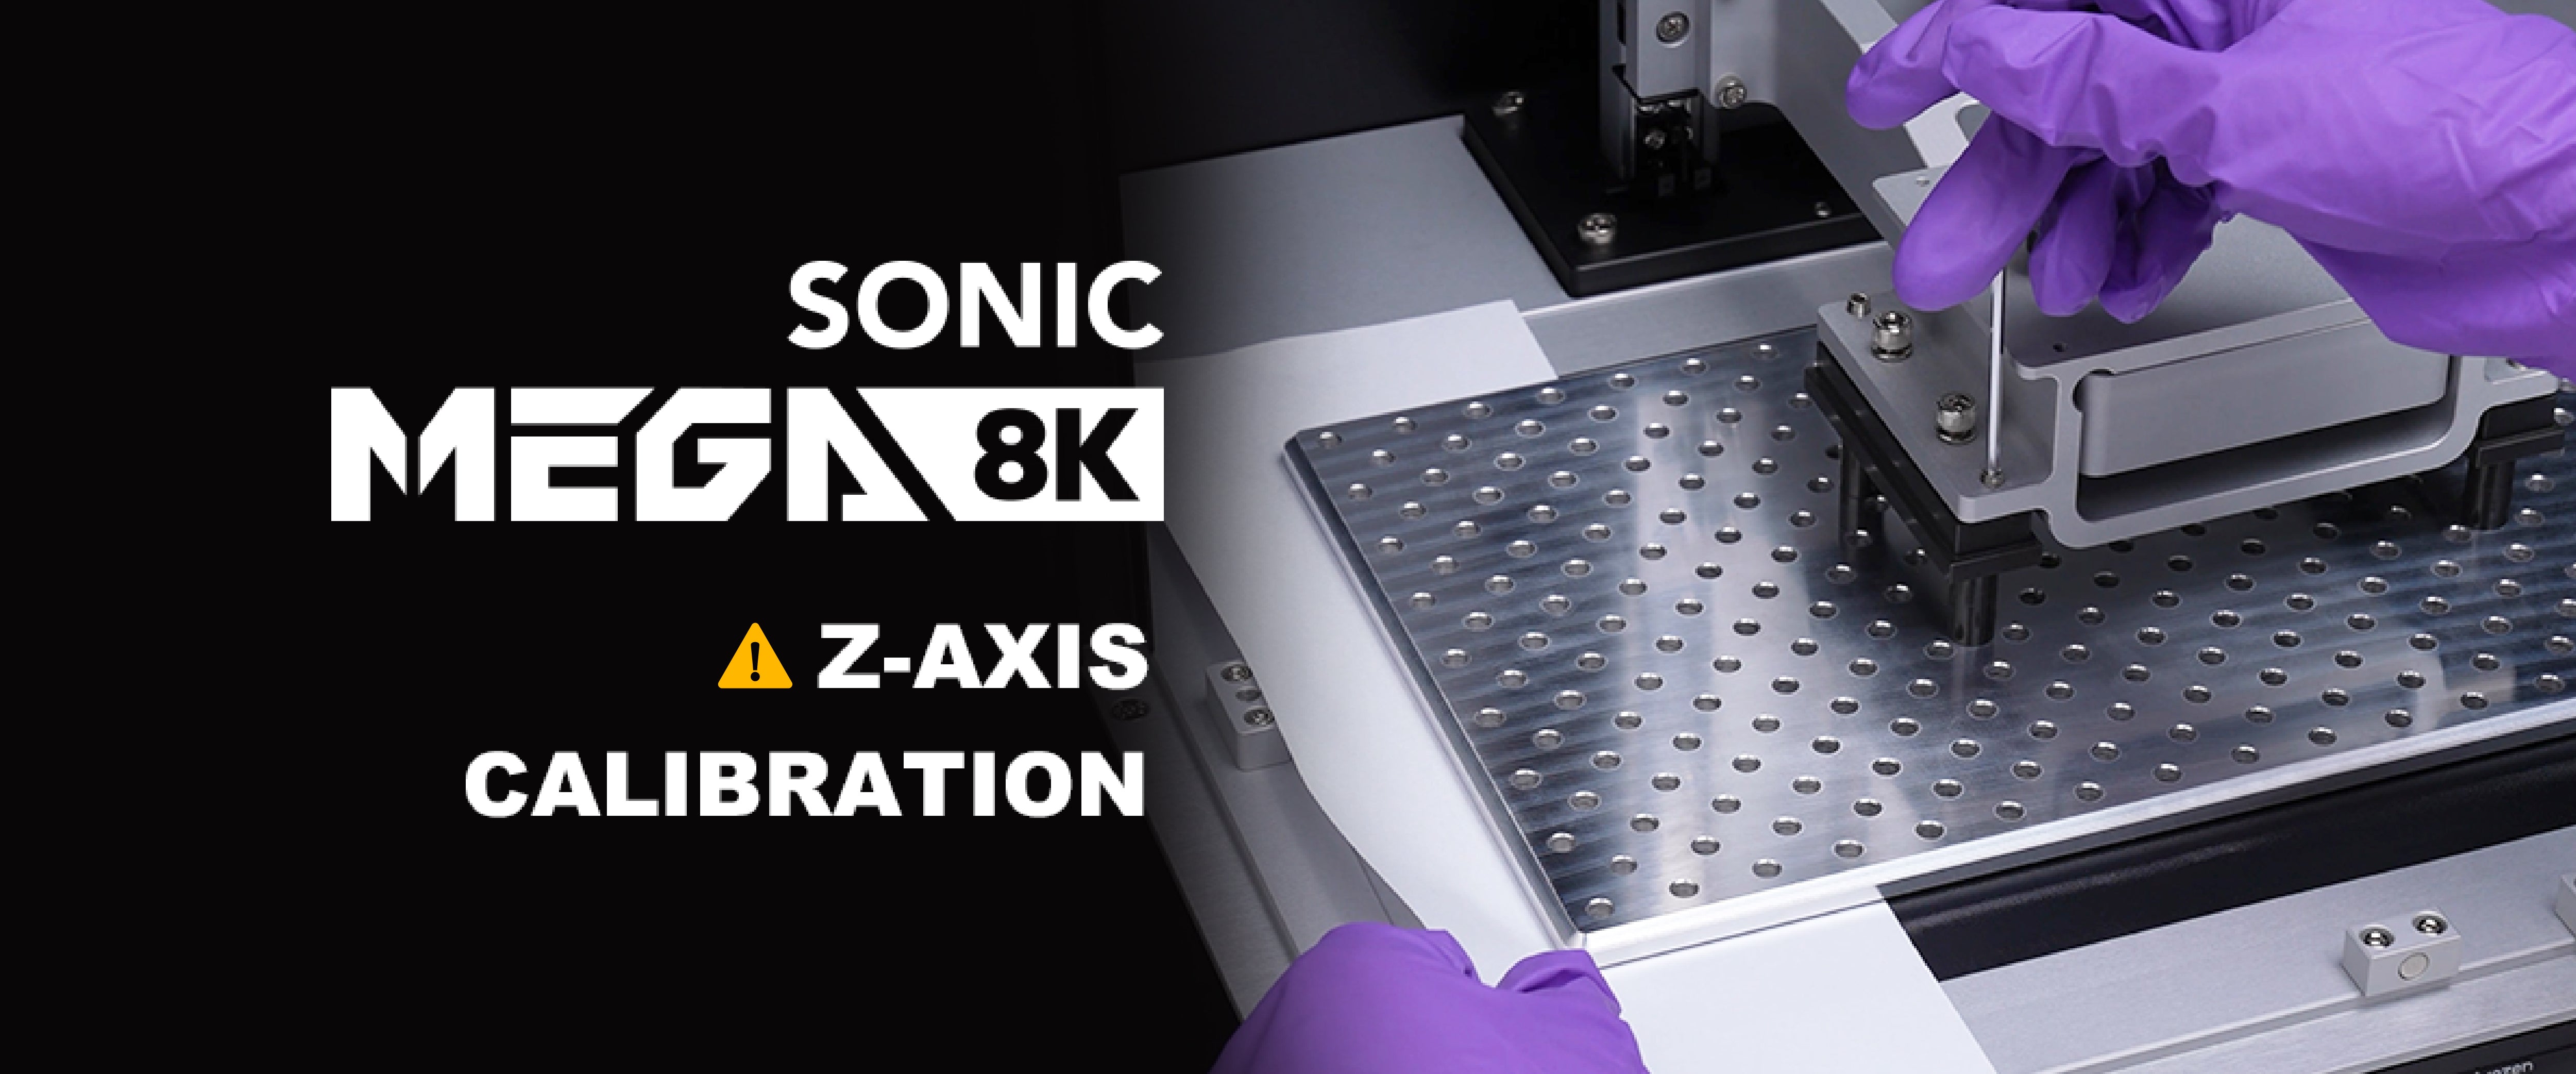
How to Perform Z-axis Calibration on the Sonic Mega 8K
All Phrozen Sonic Mega 8K building plates are calibrated perfectly before being shipped out, which means that you can start printing straight out of the box! However, in case you ever need to re-le...
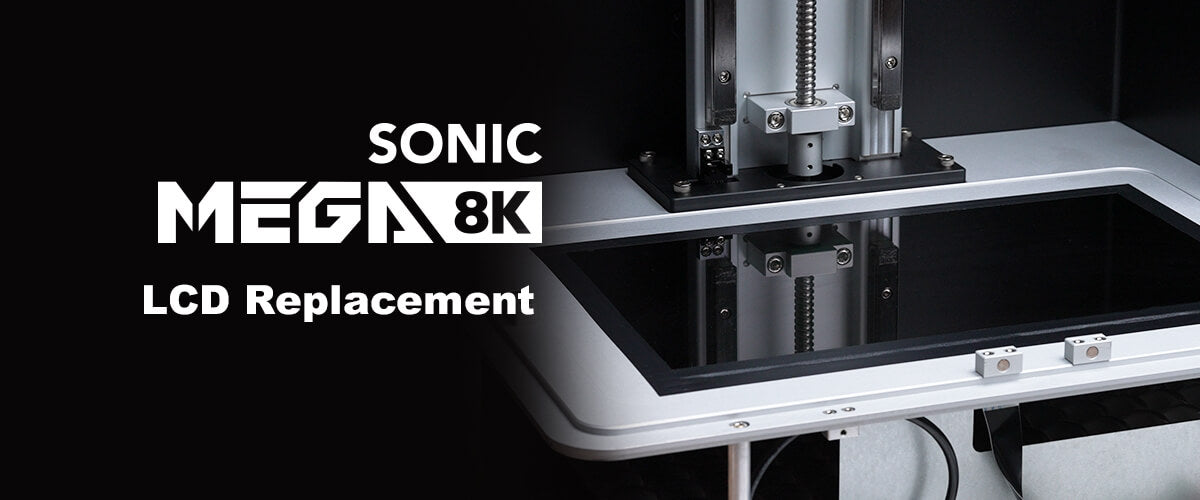
Sonic Mega 8K LCD Replacement
An LCD is essential in resin 3D printing. During printing, an image of each layer is generated on the LCD, while an array of LED chips project light through the LCD. In this article, we’ll guide yo...
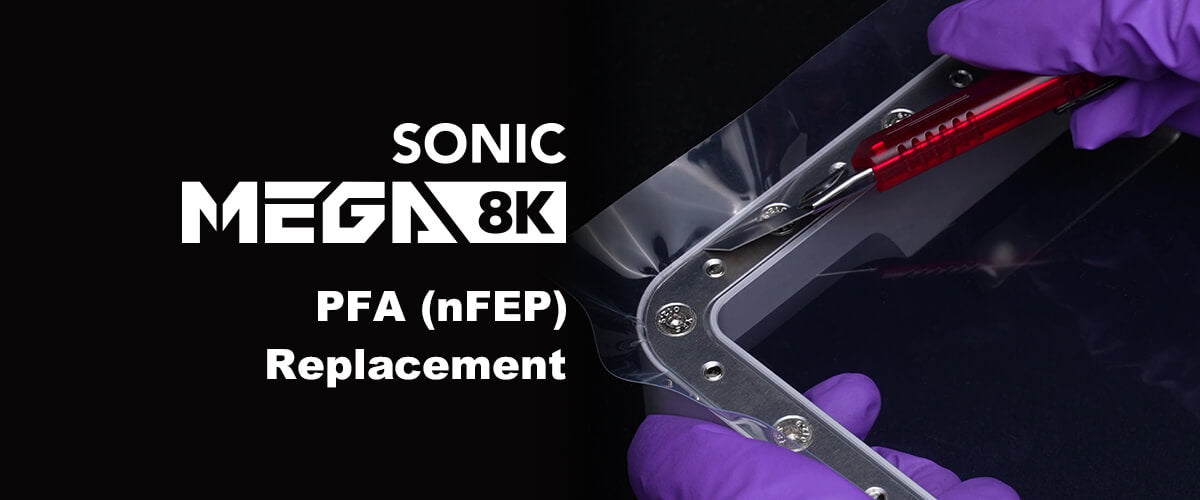
Sonic Mega 8K PFA (nFEP) Replacement
PFA (nFEP) film is an extremely important accessory of resin 3D printing. Once your PFA (nFEP) film has been dented, deformed, and/or pierced, it must be replaced in order to print successfully. In...
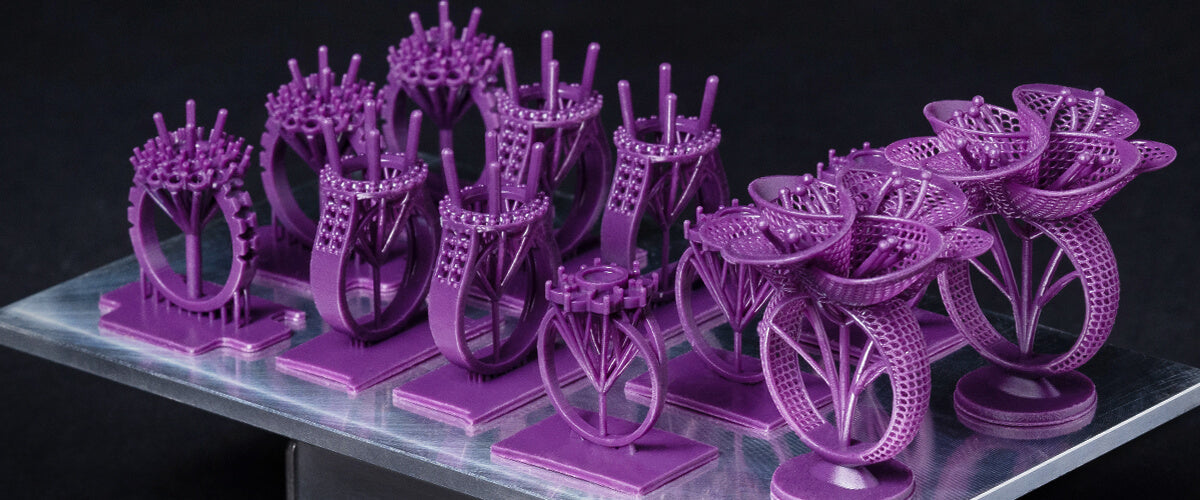
How to Set Supports for Jewelry 3D Printing
After designing your jewelry pieces, you will need to set supports on slicing software so that your jewelry pieces can be printed out perfectly. We recommend using the Phrozen Sonic Mini 4K or Soni...
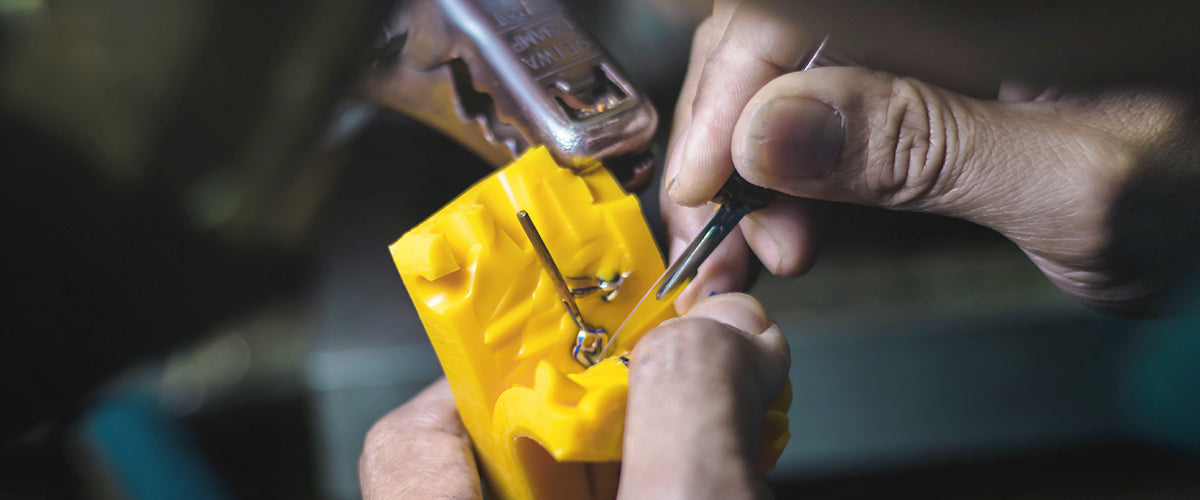
How Jewelry 3D Printing can be used for Vulcanized Rubber Molding
Learn how vulcanized rubber molding can be an important part of the jewelry-making process and is especially suitable for creating small, intricate jewelry pieces such as rings and pendants.
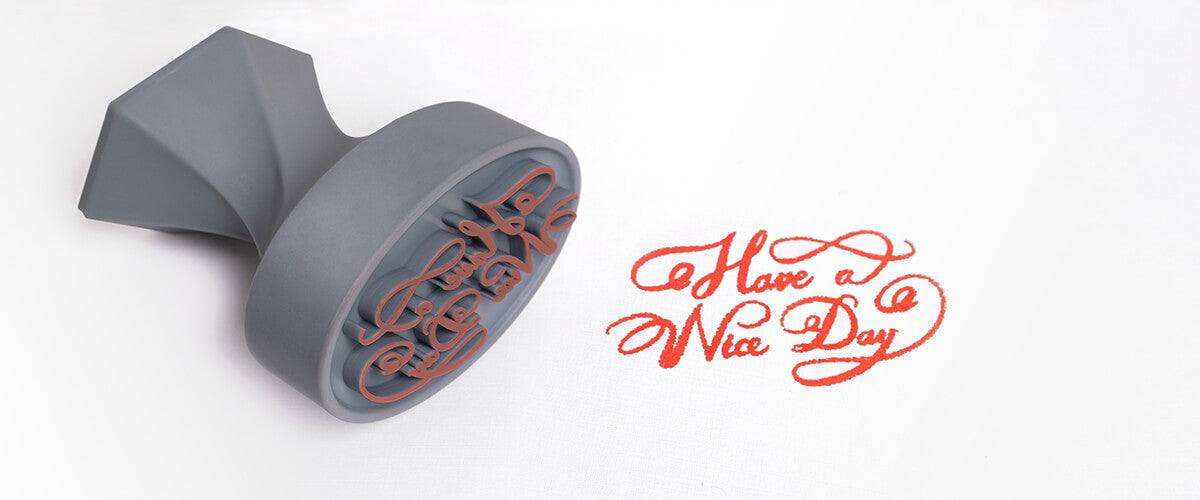
How to Create 3D Printed Stamps
Did you know that cute and quirky stamps can now easily be created with resin 3D printing? Bringing your designs to life has never been this fun. Follow the steps listed in this blog post so that y...

How to Clean and Cure your Jewelry 3D Prints
As more and more jewelers are turning to 3D printing to create jewelry prints, it is important to be aware of the proper way of cleaning and curing jewelry pieces after they have been printed out. ...
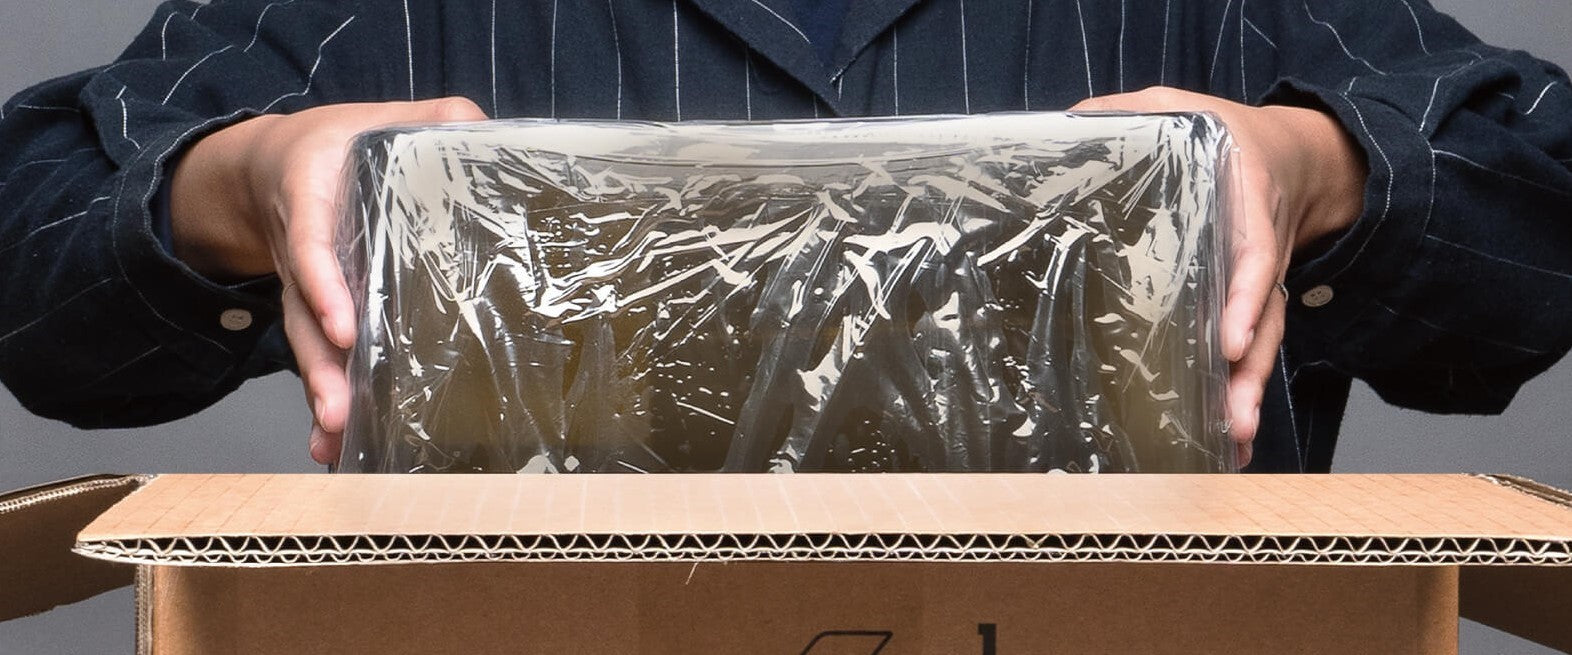
Sonic Mighty 4K: Unboxing
In this article, we will guide you through the steps of unboxing your Sonic Mighty 4K:
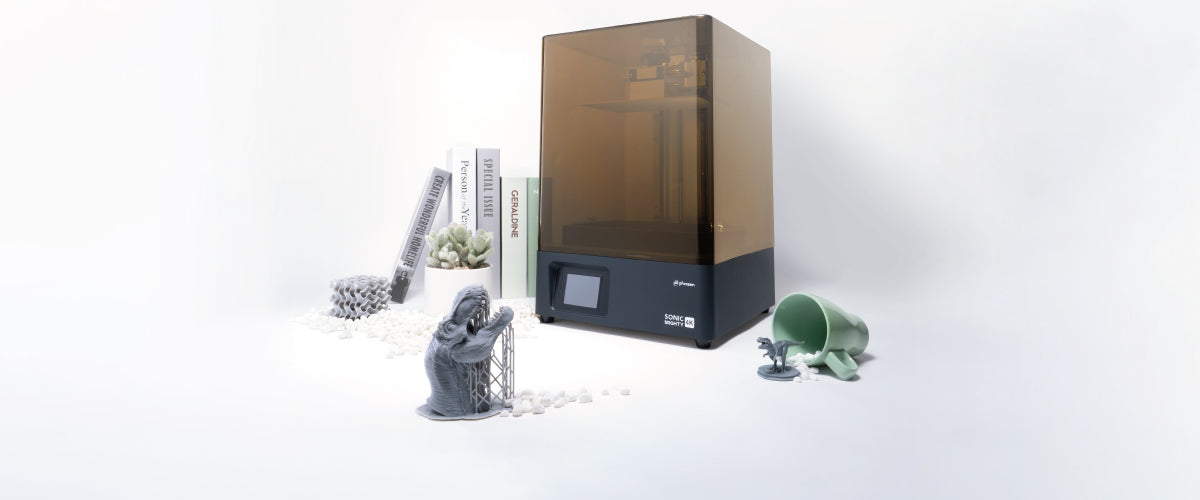
Get to Know Your Sonic Mighty 4K
Let’s take a few moments to familiarize ourselves with the hardware and components of the Sonic Mighty 4K. You may find it helpful to bookmark this section and refer to it as you read through the r...
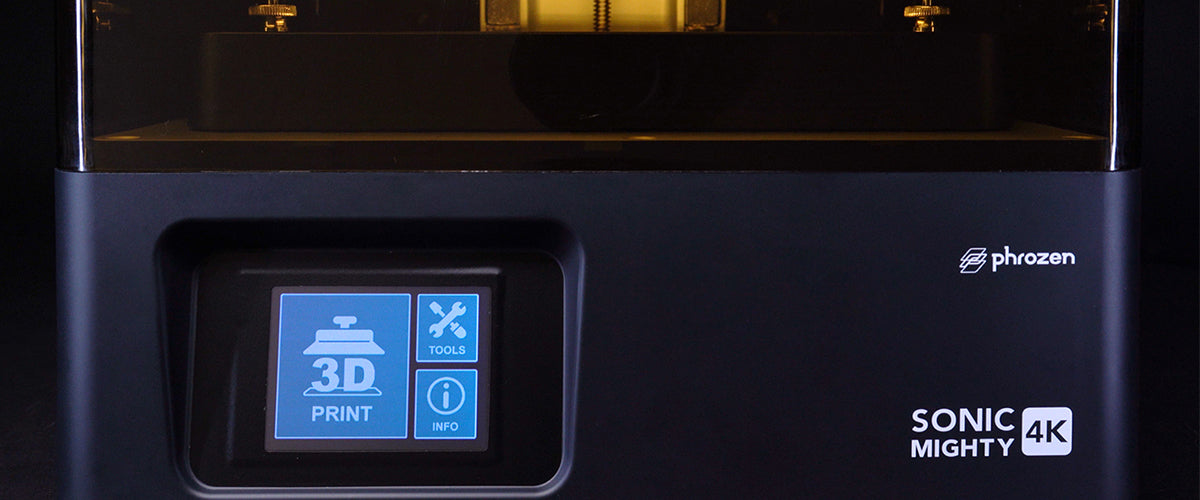
Sonic Mighty 4K: Setting Up
In this article, we will guide you through the steps of setting up your Sonic Mighty 4K 3D Printer.
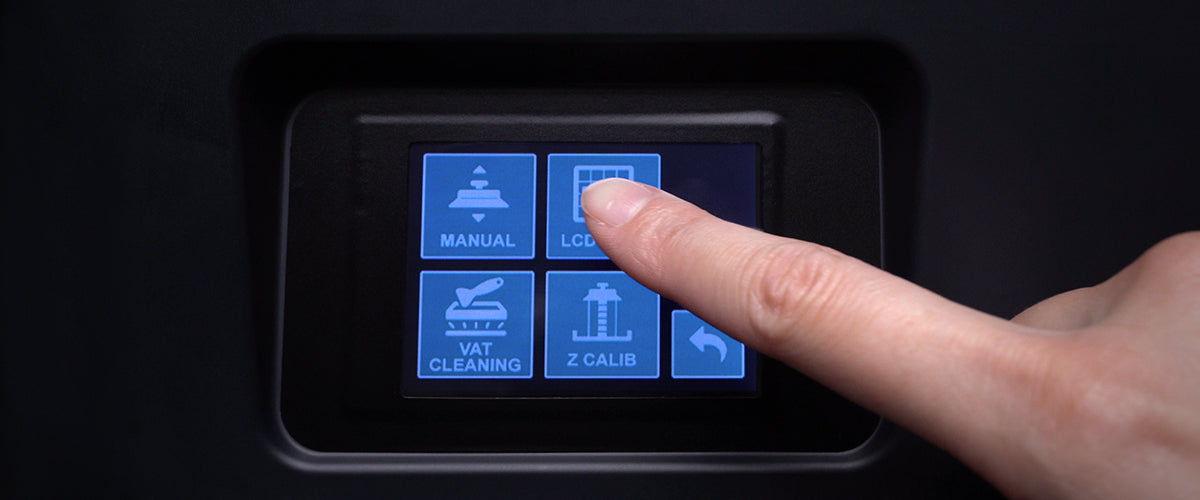
Performing an LCD Test on the Sonic Mighty 4K
Phrozen guides you through the steps of performing an LCD test on your Sonic Mighty 4K.
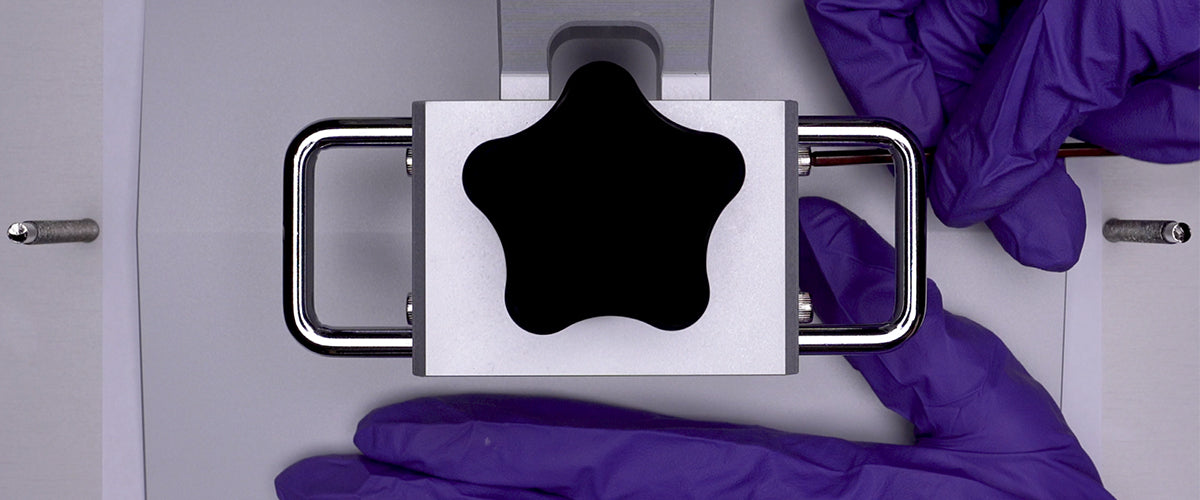
Performing Z-axis Calibration on the Sonic Mighty 4K
The Z-axis calibration test is essential for every 3D printer. Run this test to make sure that the building plate is leveled to the LCD screen. We will guide you through the steps of calibrating y...
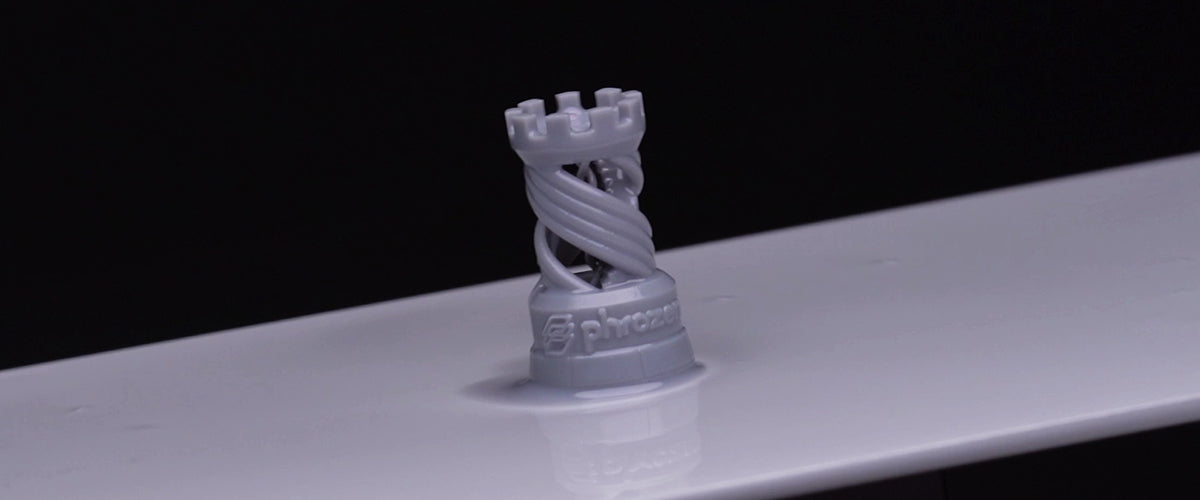
Sonic Mighty 4K: First Print with Phrozen Test File
After correctly calibrating your Z-axis, it’s time for you to test out your first print! We have included a test file for you to test out the Sonic Mighty 4K with Aqua-Gray 4K resin. Feel free to t...
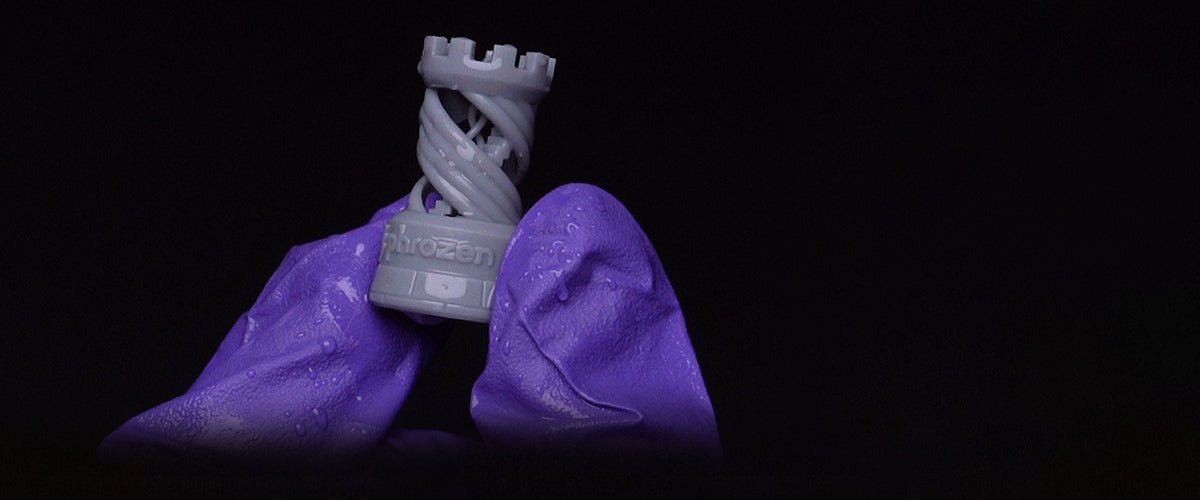
Sonic Mighty 4K: Post-Processing
Once you have finished printing out 3D models from your Sonic Mighty 4K, your prints need to be cleaned and post-processed thoroughly. In this article, we'll demonstrate how to thoroughly clean you...
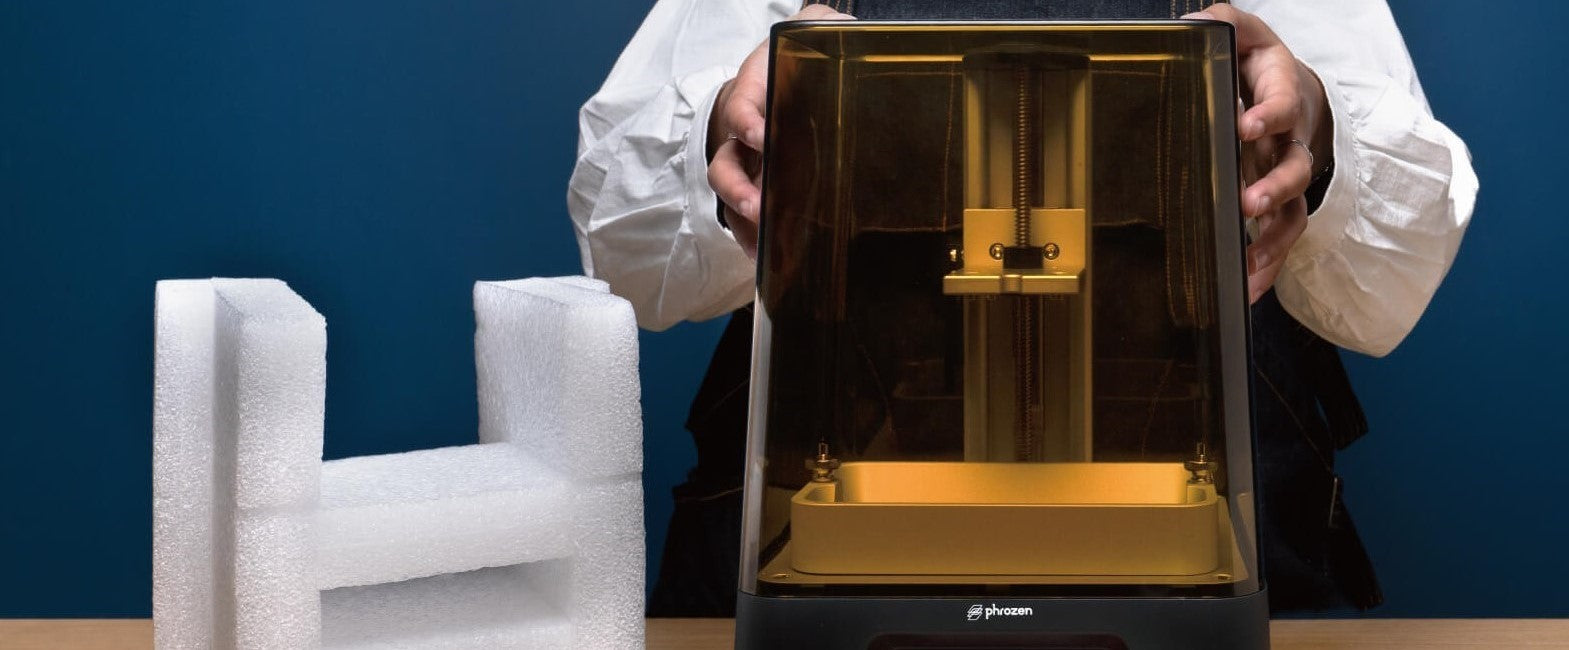
Sonic Mini 4K: Unboxing
In this article, we will guide you through the steps of unboxing your Sonic Mini 4K:
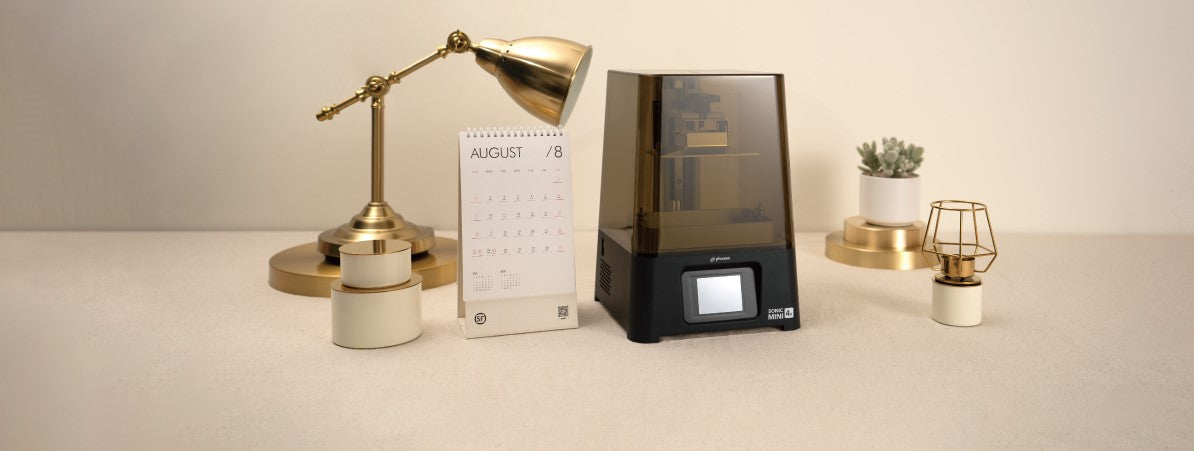
Get to Know Your Sonic Mini 4K
Let’s take a few moments to familiarize ourselves with the hardware and components of this LCD 3D printer. You may find it helpful to bookmark this section and refer to it as you read through the r...
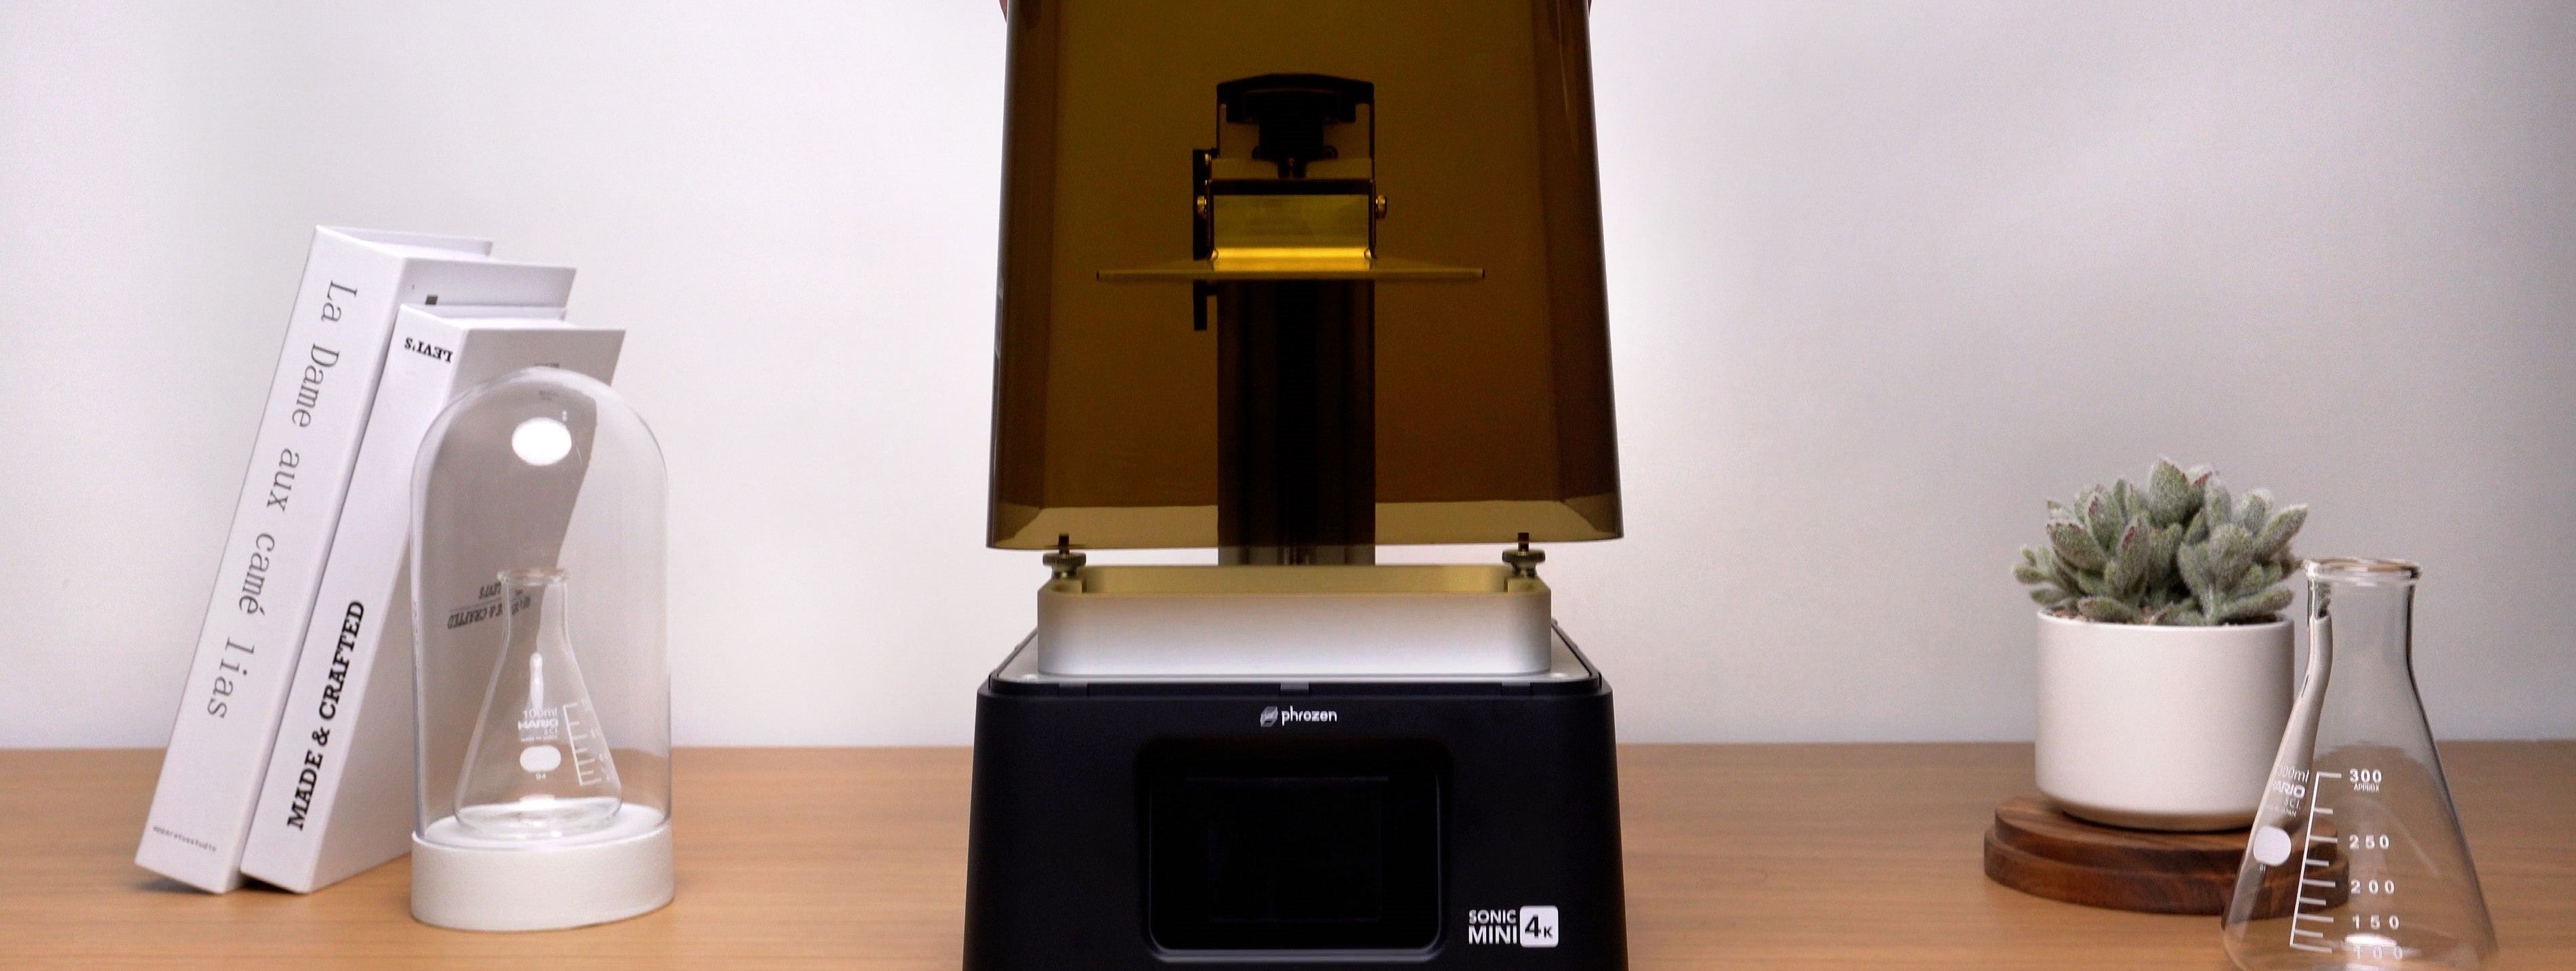
Sonic Mini 4K: Setting Up
In this article, we will guide you through the steps of setting up your Sonic Mini 4K.
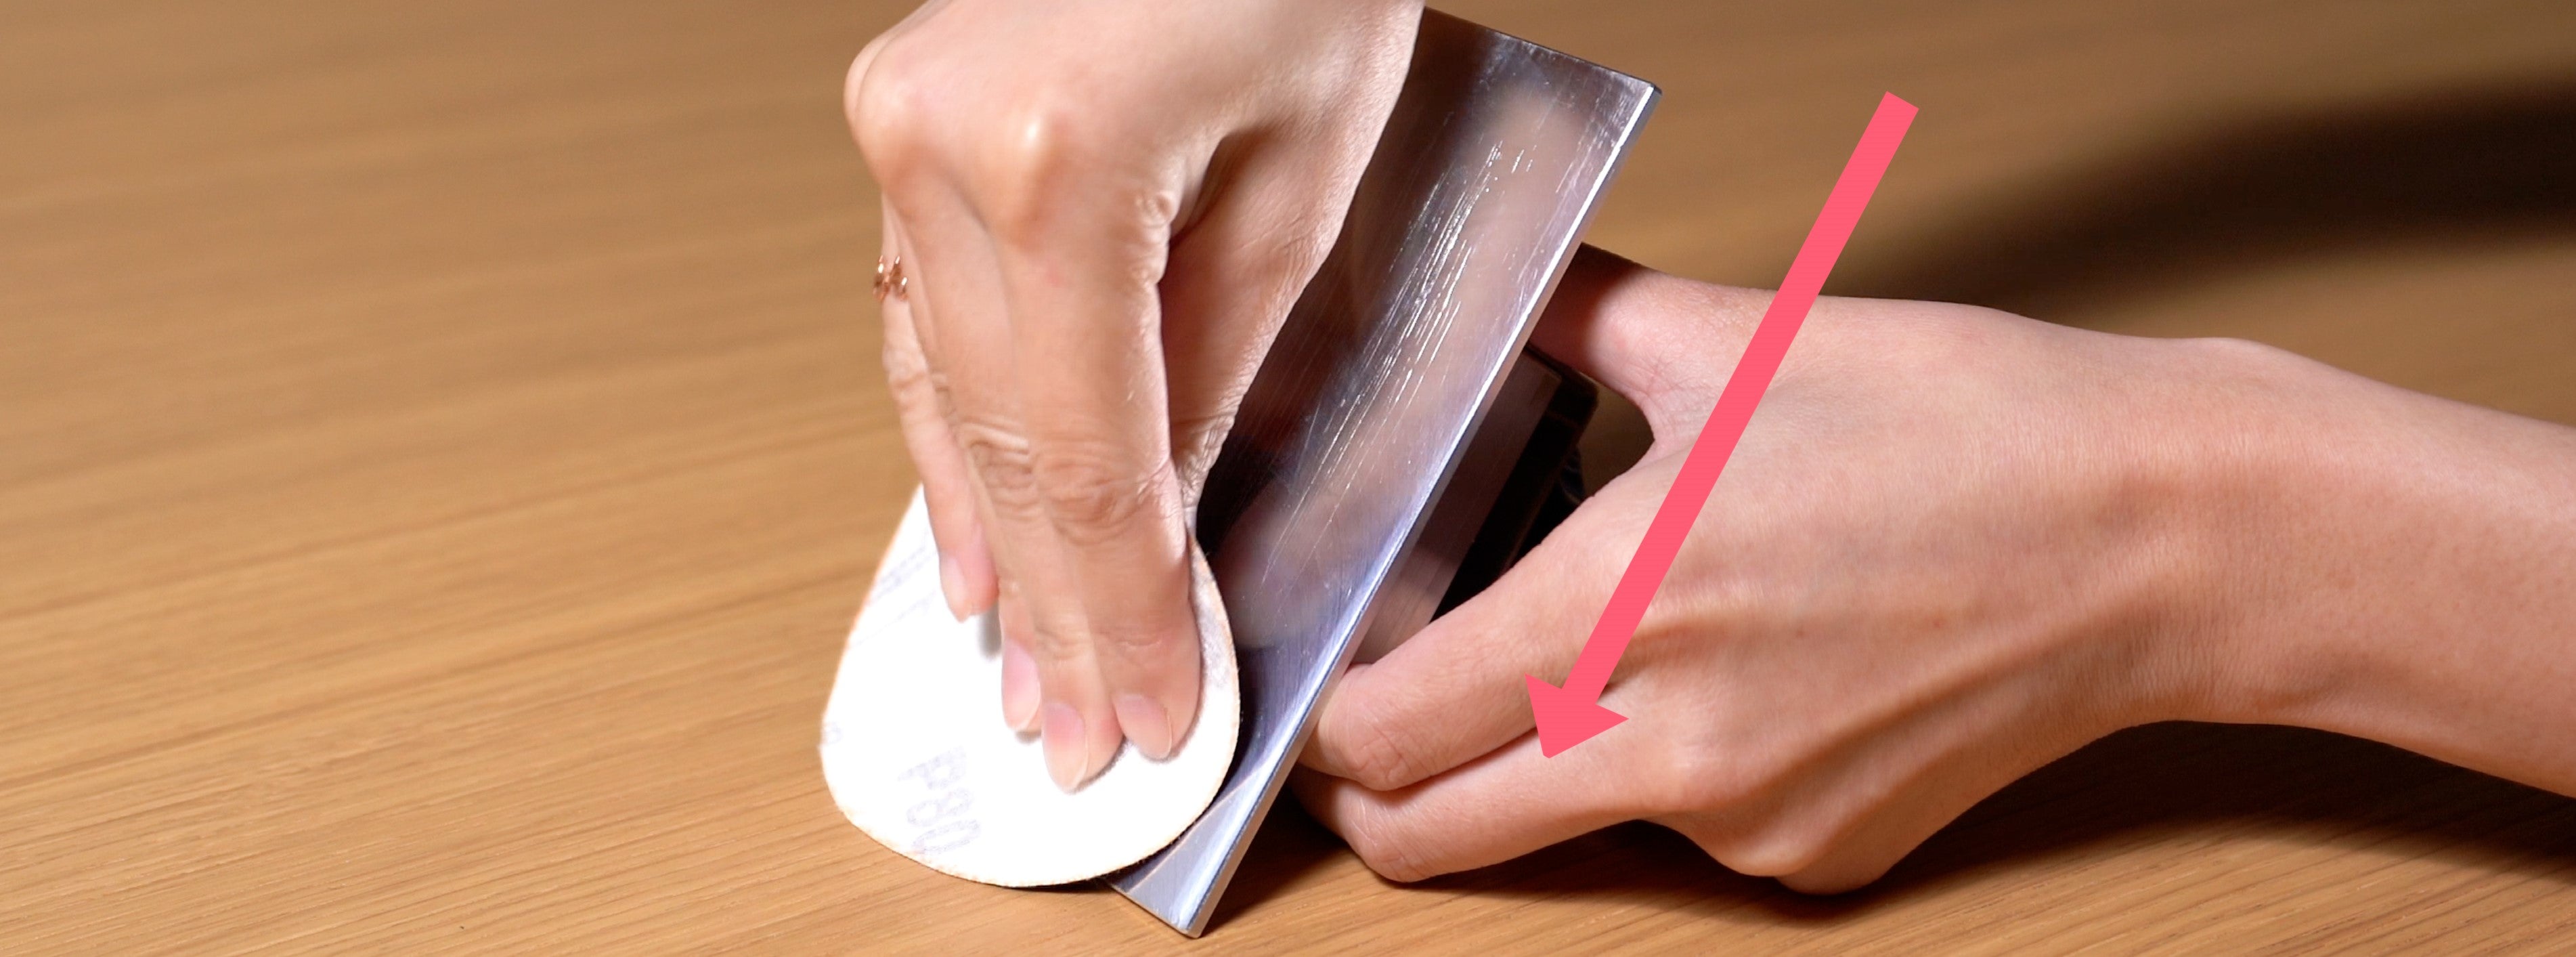
Sonic Mini 4K: Sanding the Building Plate
Sanding the building plate isn’t 100% necessary, but it increases adhesion significantly. The following are tips for sanding the building plate with the 80 grit sandpaper included in your Sonic Min...
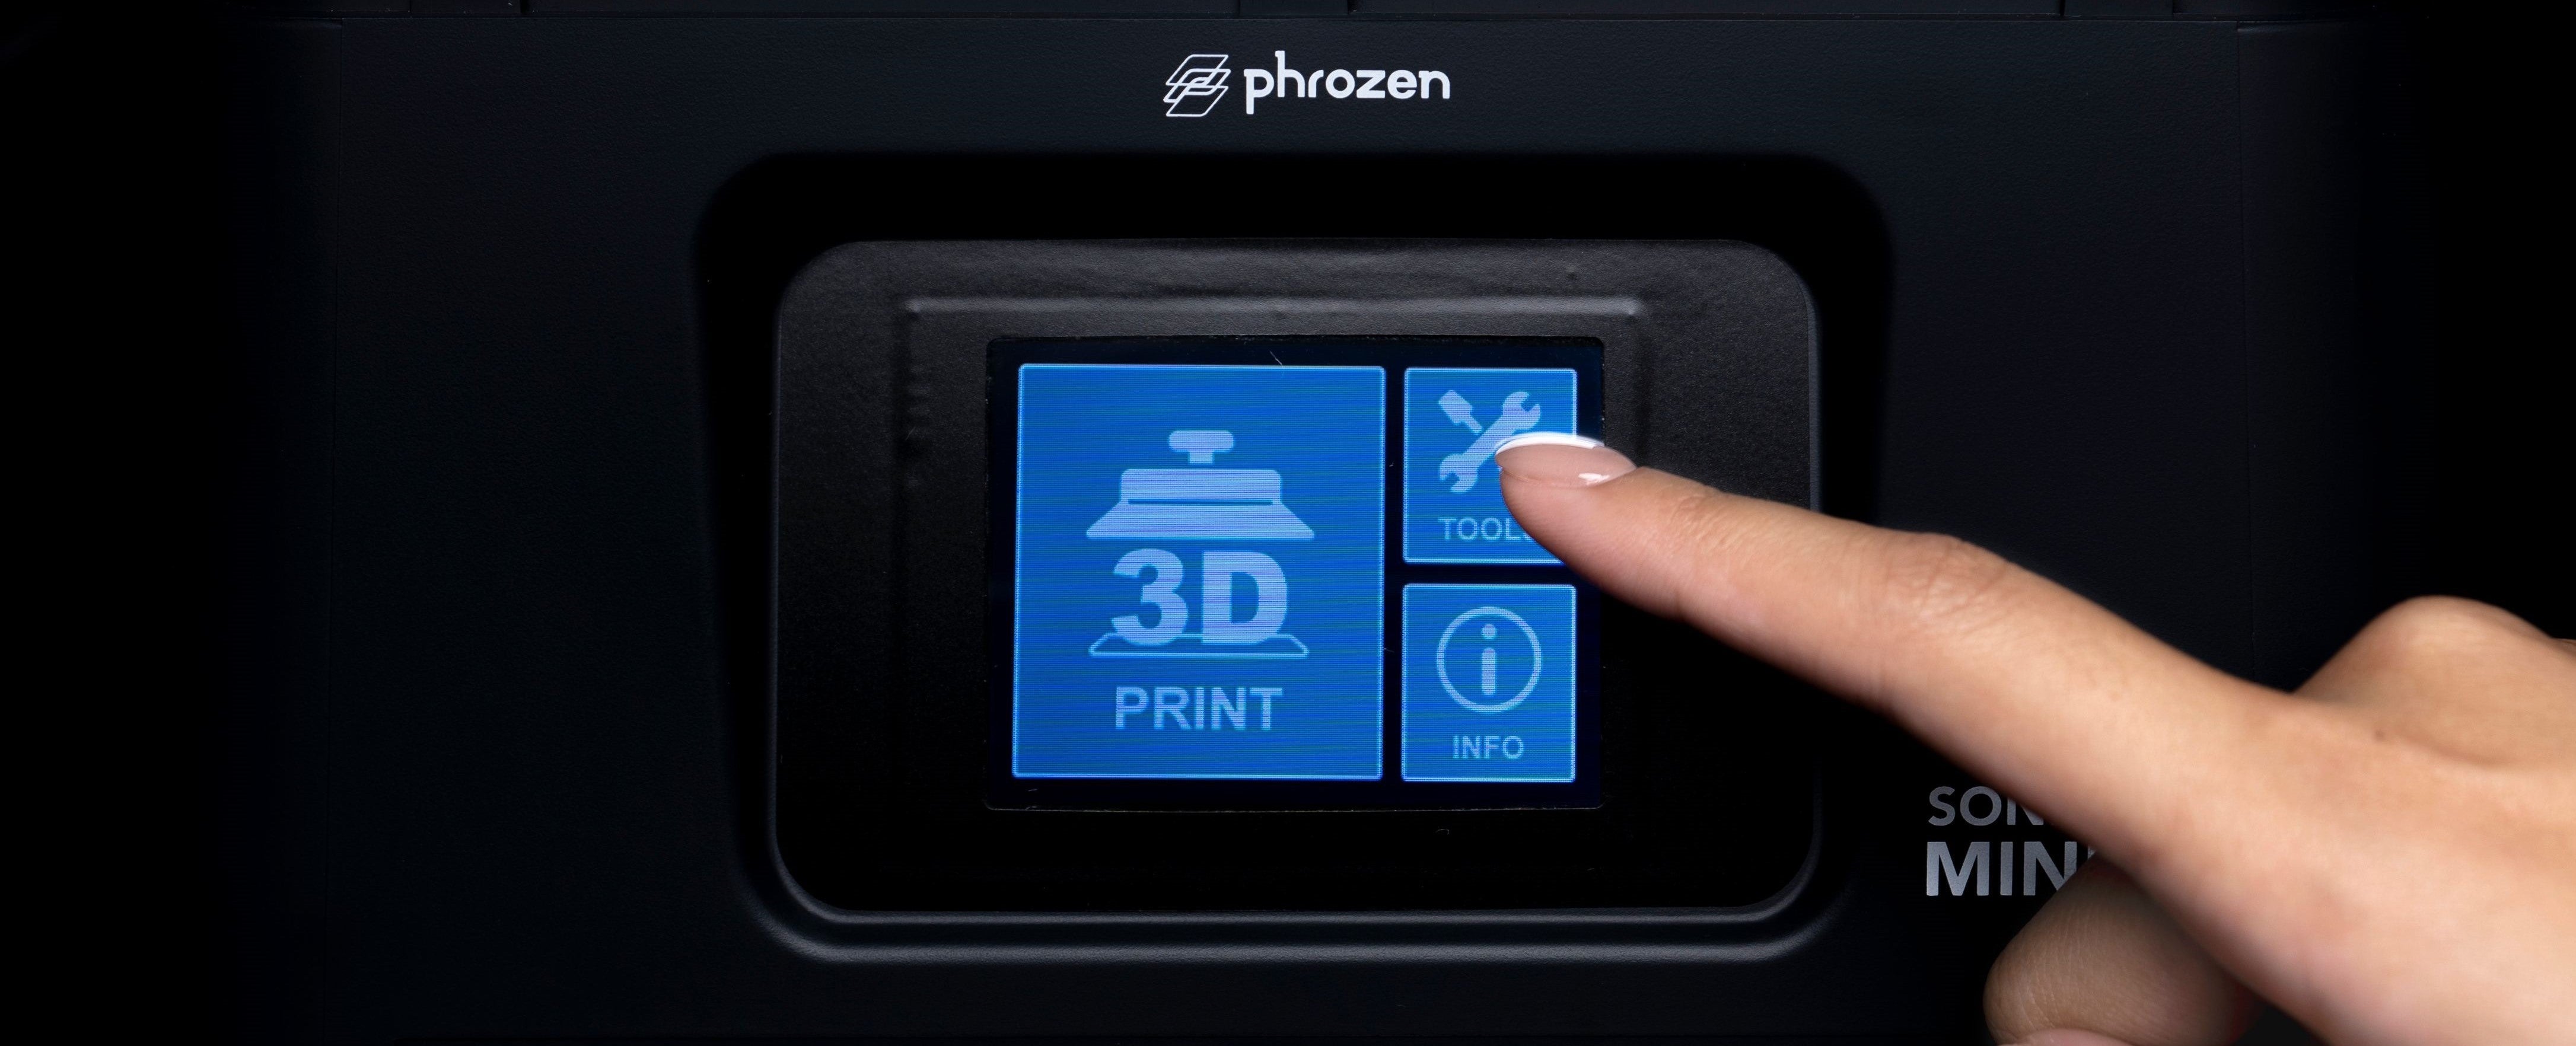
Performing an LCD Test on the Sonic Mini 4K
Phrozen guides you through the steps of performing an LCD test on your Sonic Mini 4K.
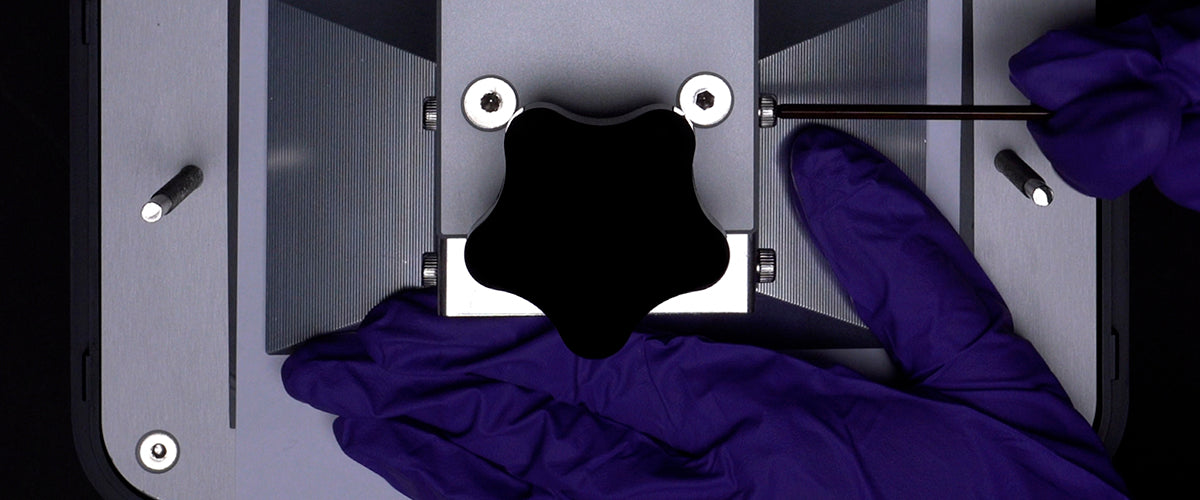
Performing Z-axis Calibration on the Sonic Mini 4K
The Z-axis calibration test is essential for every 3D printer. Run this test to make sure that the building plate is leveled to the LCD screen. We will guide you through the steps of calibrating y...

