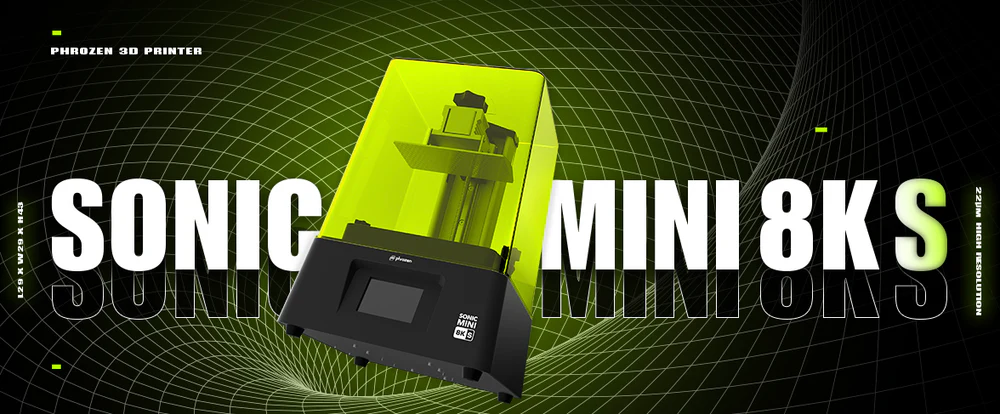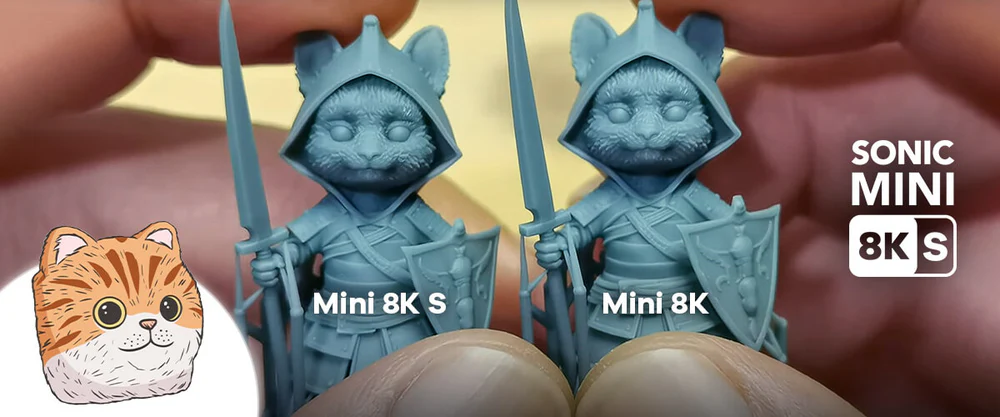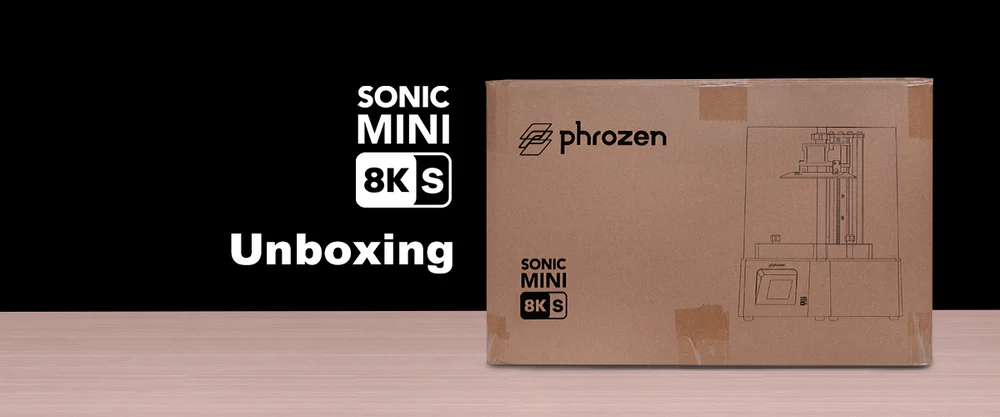
The Sonic Mini 8K S is a high-resolution resin 3D printer that provides excellent print quality. If you have recently received your Sonic Mini 8K S, you're likely eager to unbox it and begin printing immediately. In this article, we will guide you through the unboxing process. After reading this article, you will able to set up your Sonic Mini 8K S quickly and get it ready for printing.
Let's begin now!
Unboxing your Sonic Mini 8K S
- Open the box.
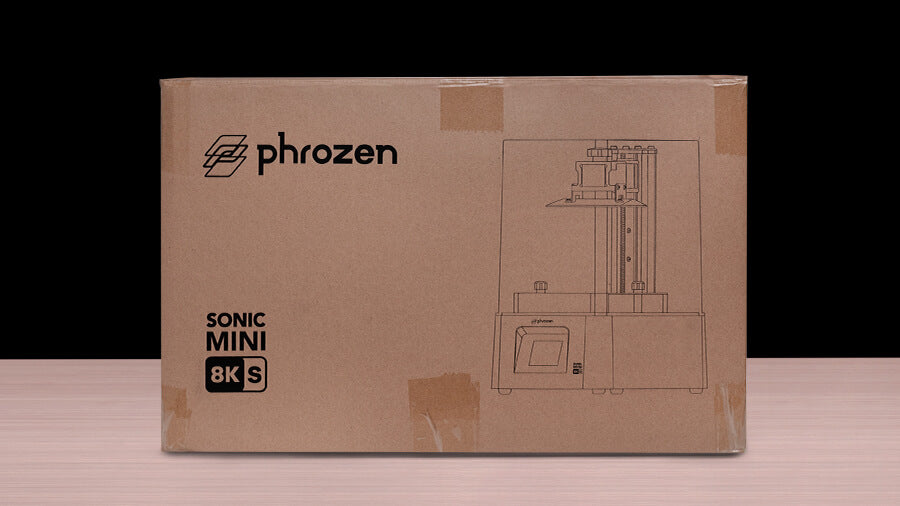
2. Take the printer out of the box.
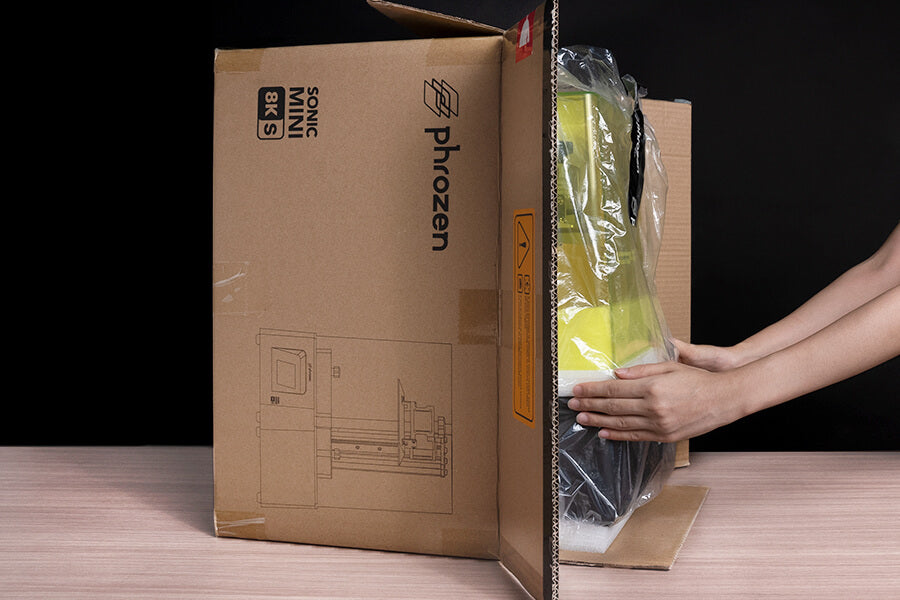
3. Remove the form packaging and the plastic wrap of the Sonic Mini 8K S.
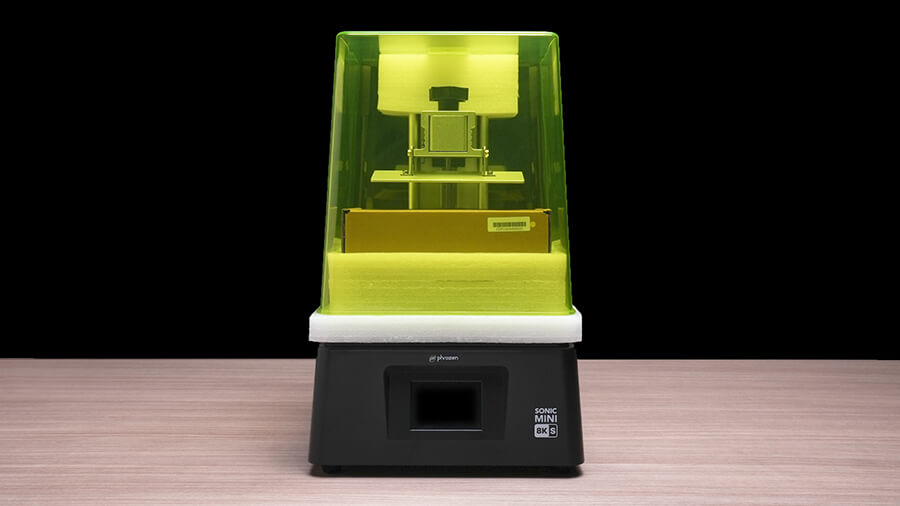
4. Remove the plastic case and then remove the toolbox and the inner cushion from the Sonic Mini 8K S.
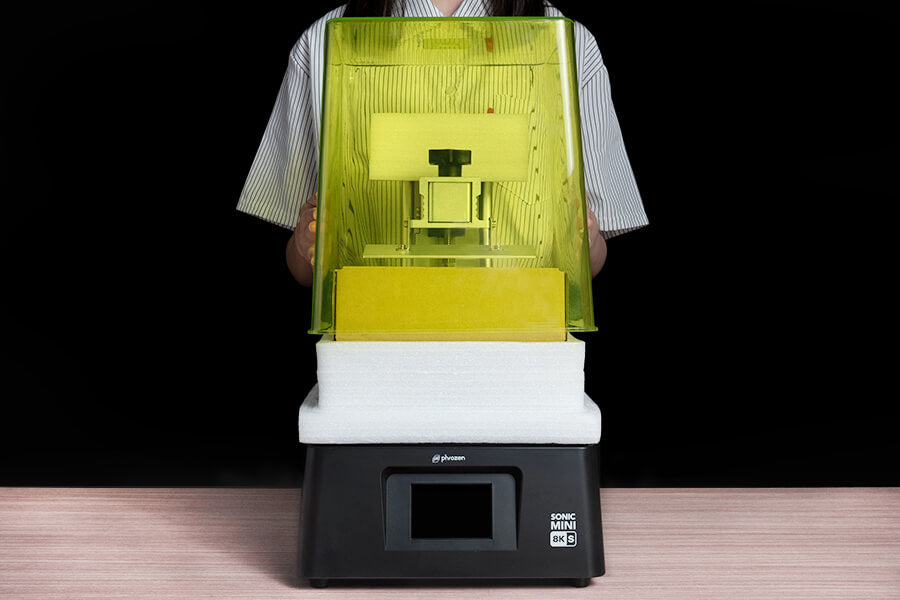
What’s in the Toolbox?
The toolbox provided with your Sonic Mini 8K S contains tools for setting up and maintaining your device. Before proceeding to the next step, double-check the toolbox contents and familiarize yourself with each tool to ensure you have everything you need.

Starter Card: Scan the QR code to access our 3D printing tutorials and Phrozen's Warranty Policy.
Gloves: Wear gloves to avoid direct contact with resin during printing.
Metal Scraper: Remove models from the build plate
Plastic Scraper: To clean the resin vat or remove the cured resin from the FEP film or LCD screen.
Power Adapter: Start up your device by plugging it into the power adapter.
Allen Wrench: Unscrew and tighten the screws of your device.
Plastic Funnel: Use the plastic funnel to filter out excess resin after printing.
USB: The Sonic Mini 8K S supports file transfer via a USB drive. Use the USB to save your 3D printing files and transfer them to your Sonic Mini 8K S.
Now, you are ready to set up your Sonic Mini 8K S.