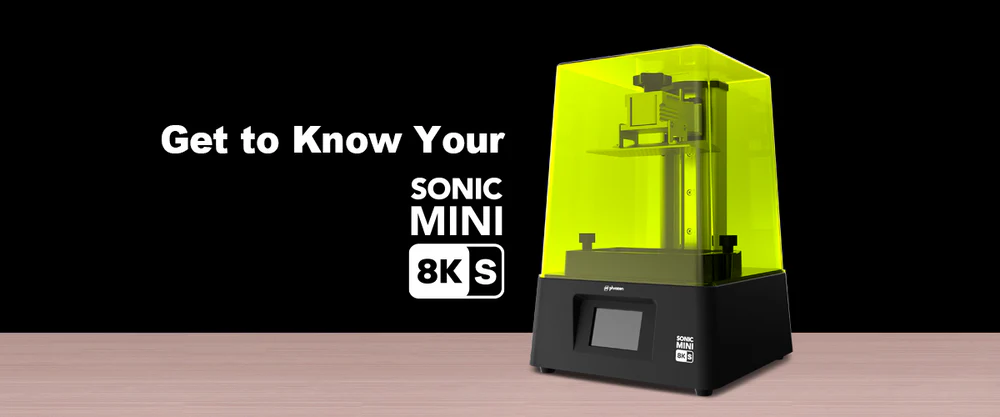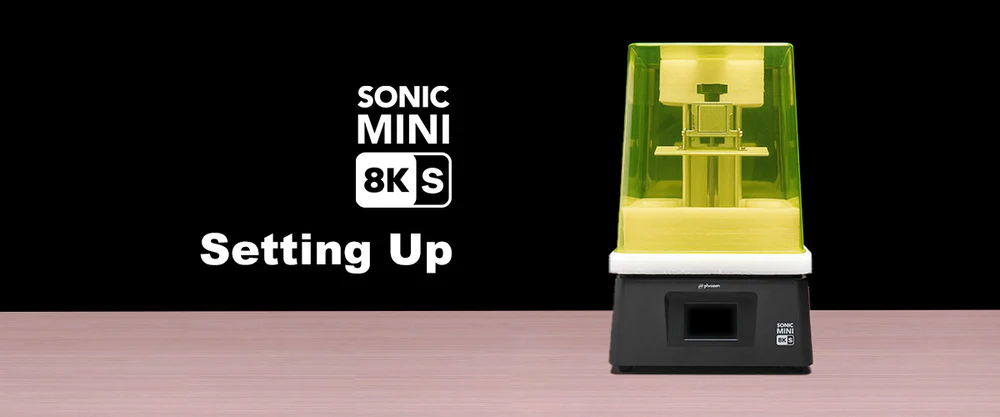
After familiar with the components of Sonic Mini 8K S, we are now ready to set up your Phrozen Sonic Mini 8K S 3D printer and start a enjoyable 3D printing journey.
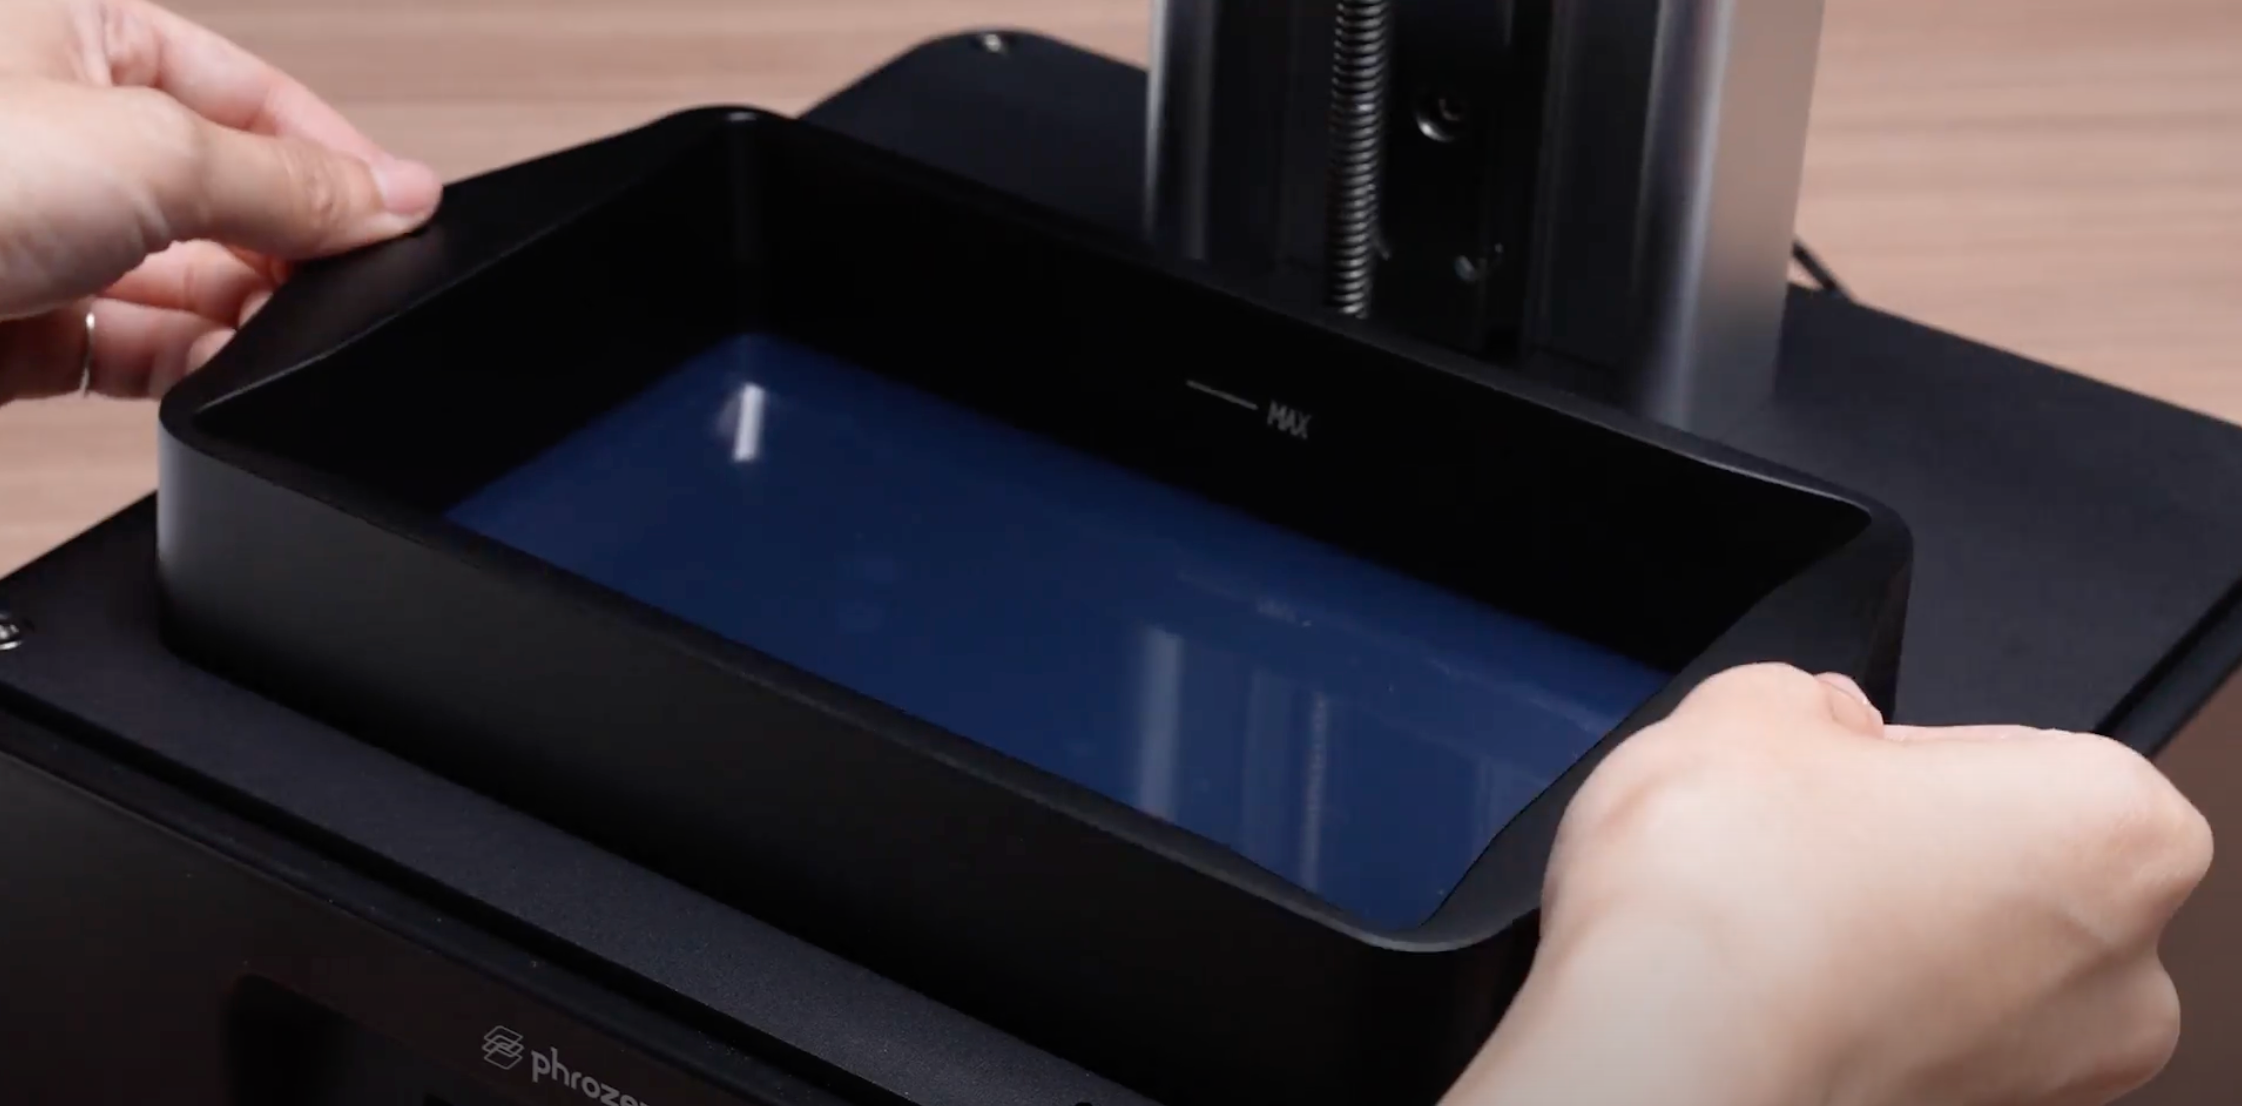
Step 1: Begin by loosening the screws beside the resin vat and then take it out.
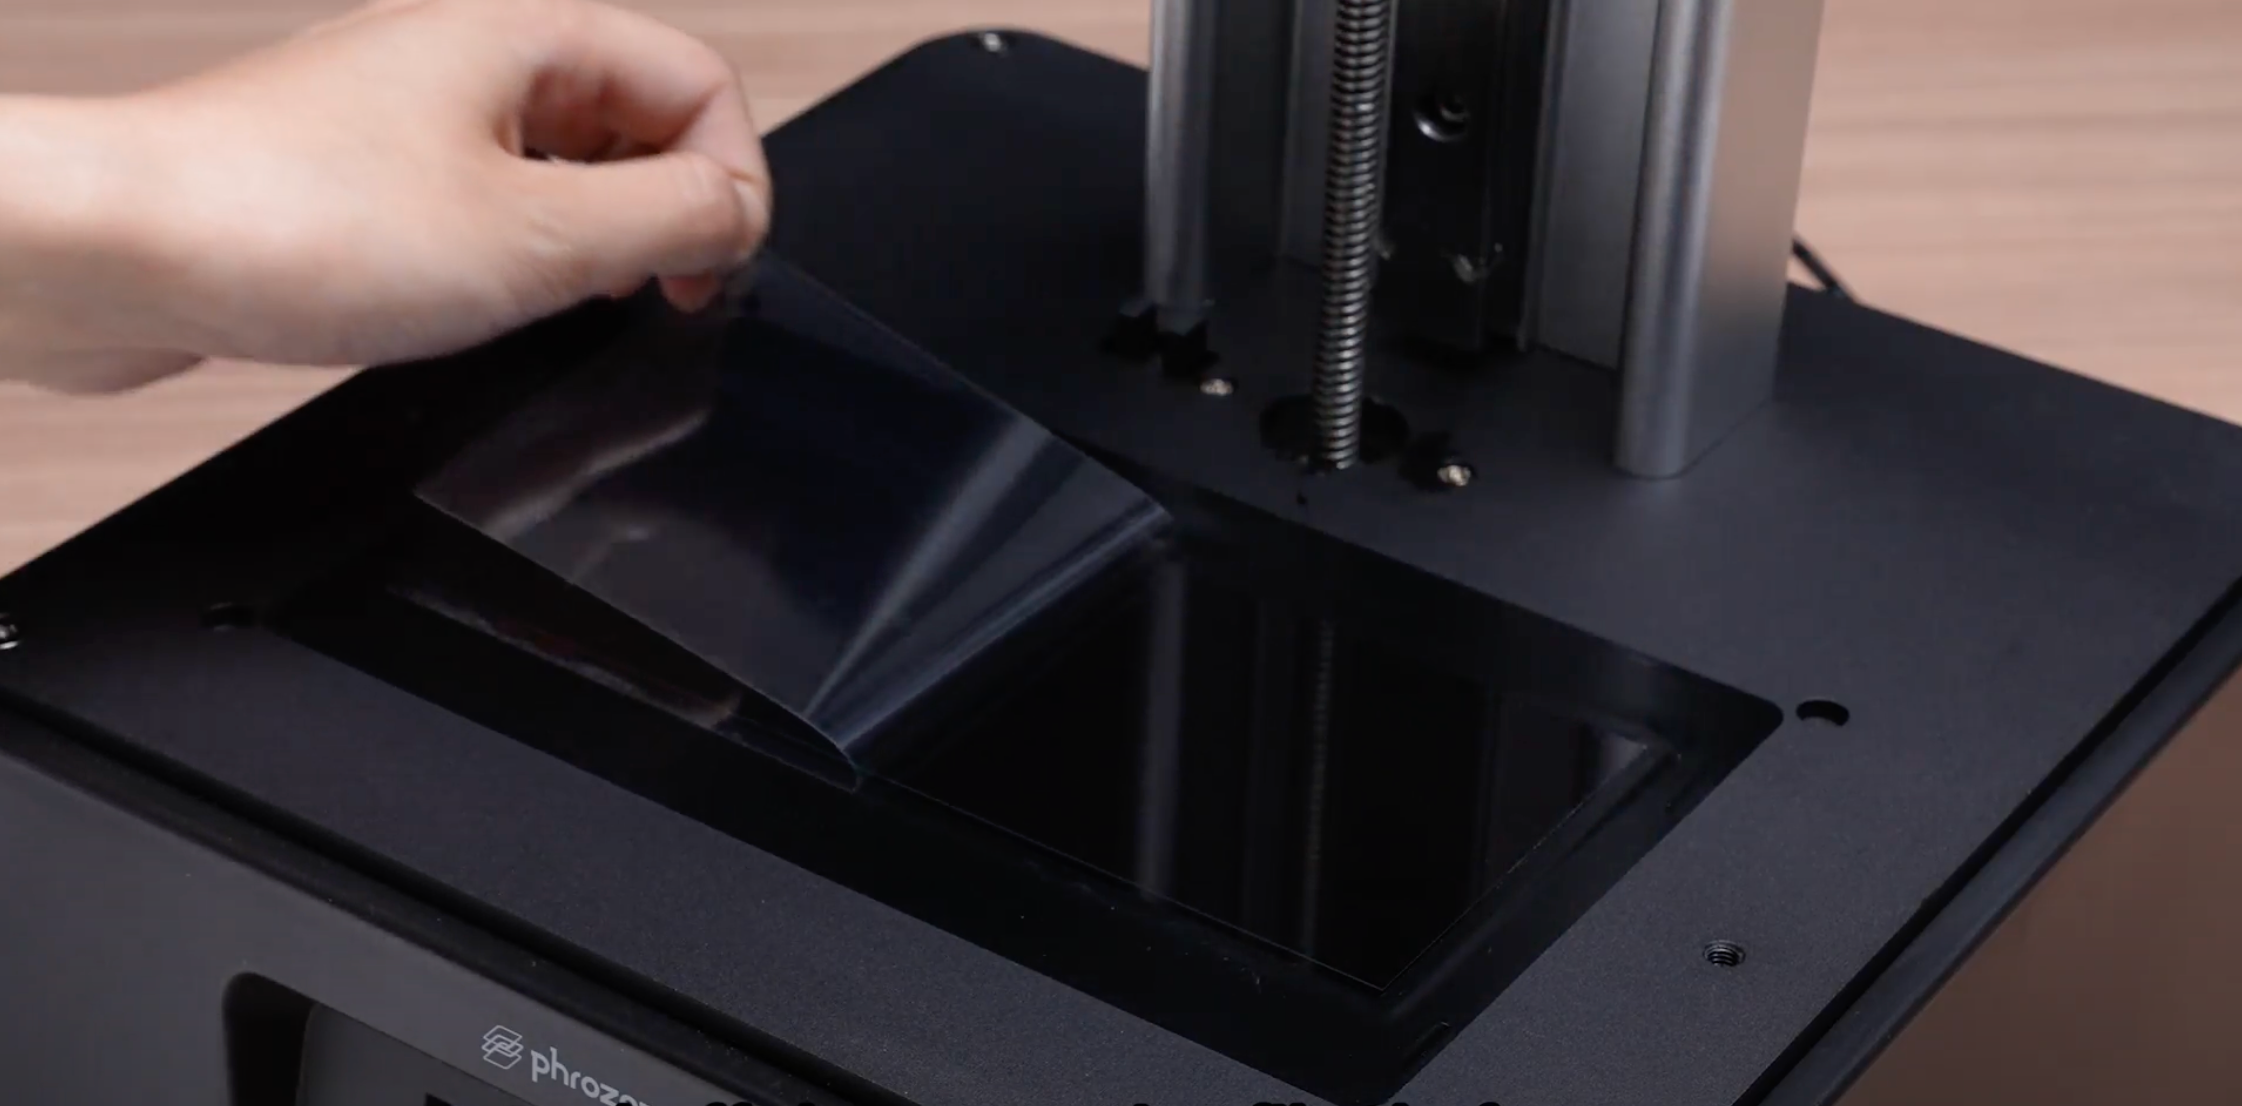
Step 2: Next, peel off the protective film on the LCD before you start printing with the Sonic Mini 8K S.
 Step 3: Plug the power cable in to the port on the back of the Sonic Mini 8K S.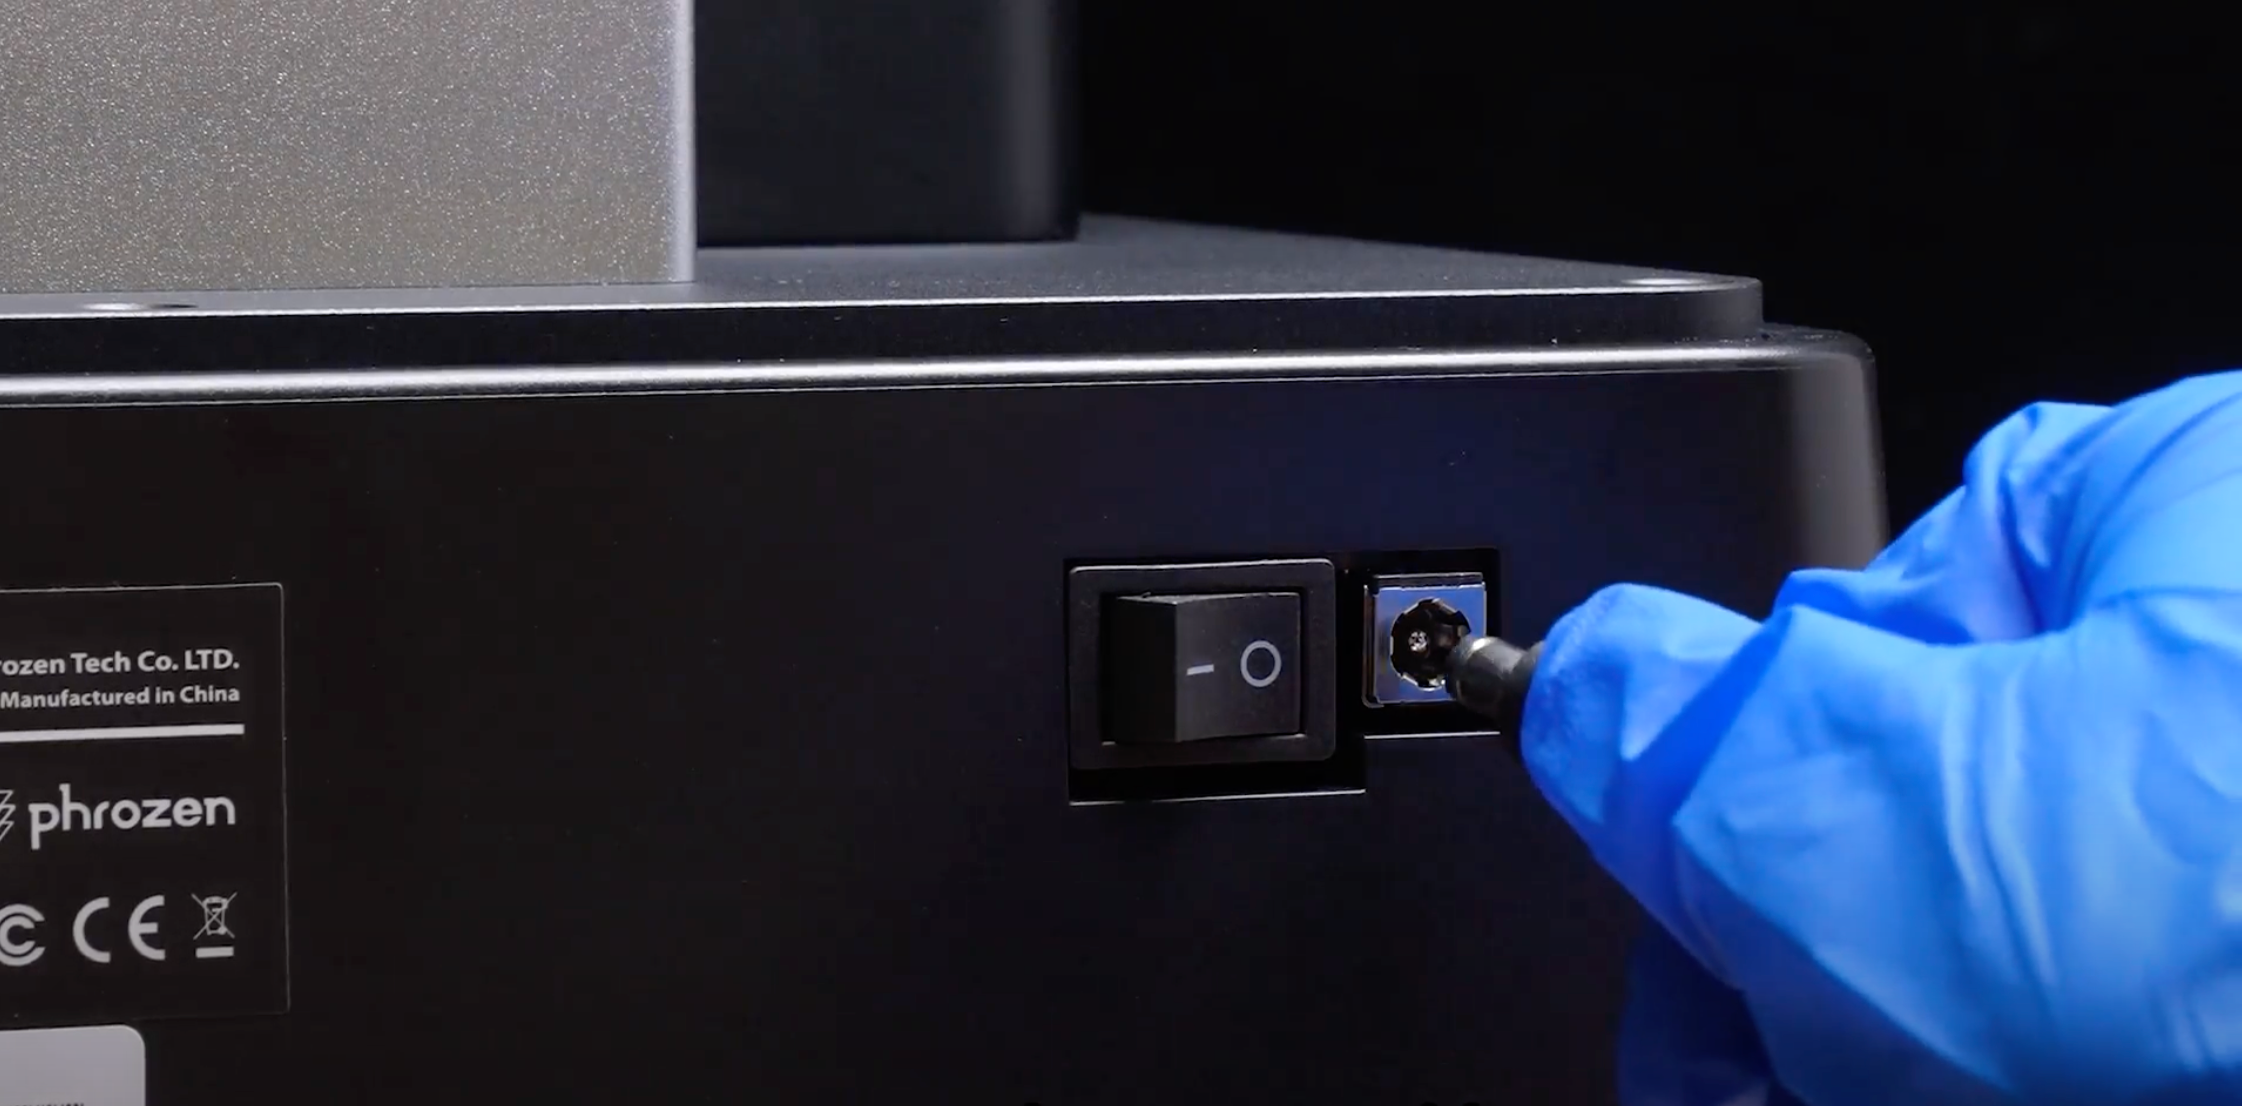
Step 4: Turn on the switch. It may take a few seconds for the touch panel to light up. Once you hear a beep sound, that means the device is ready for use.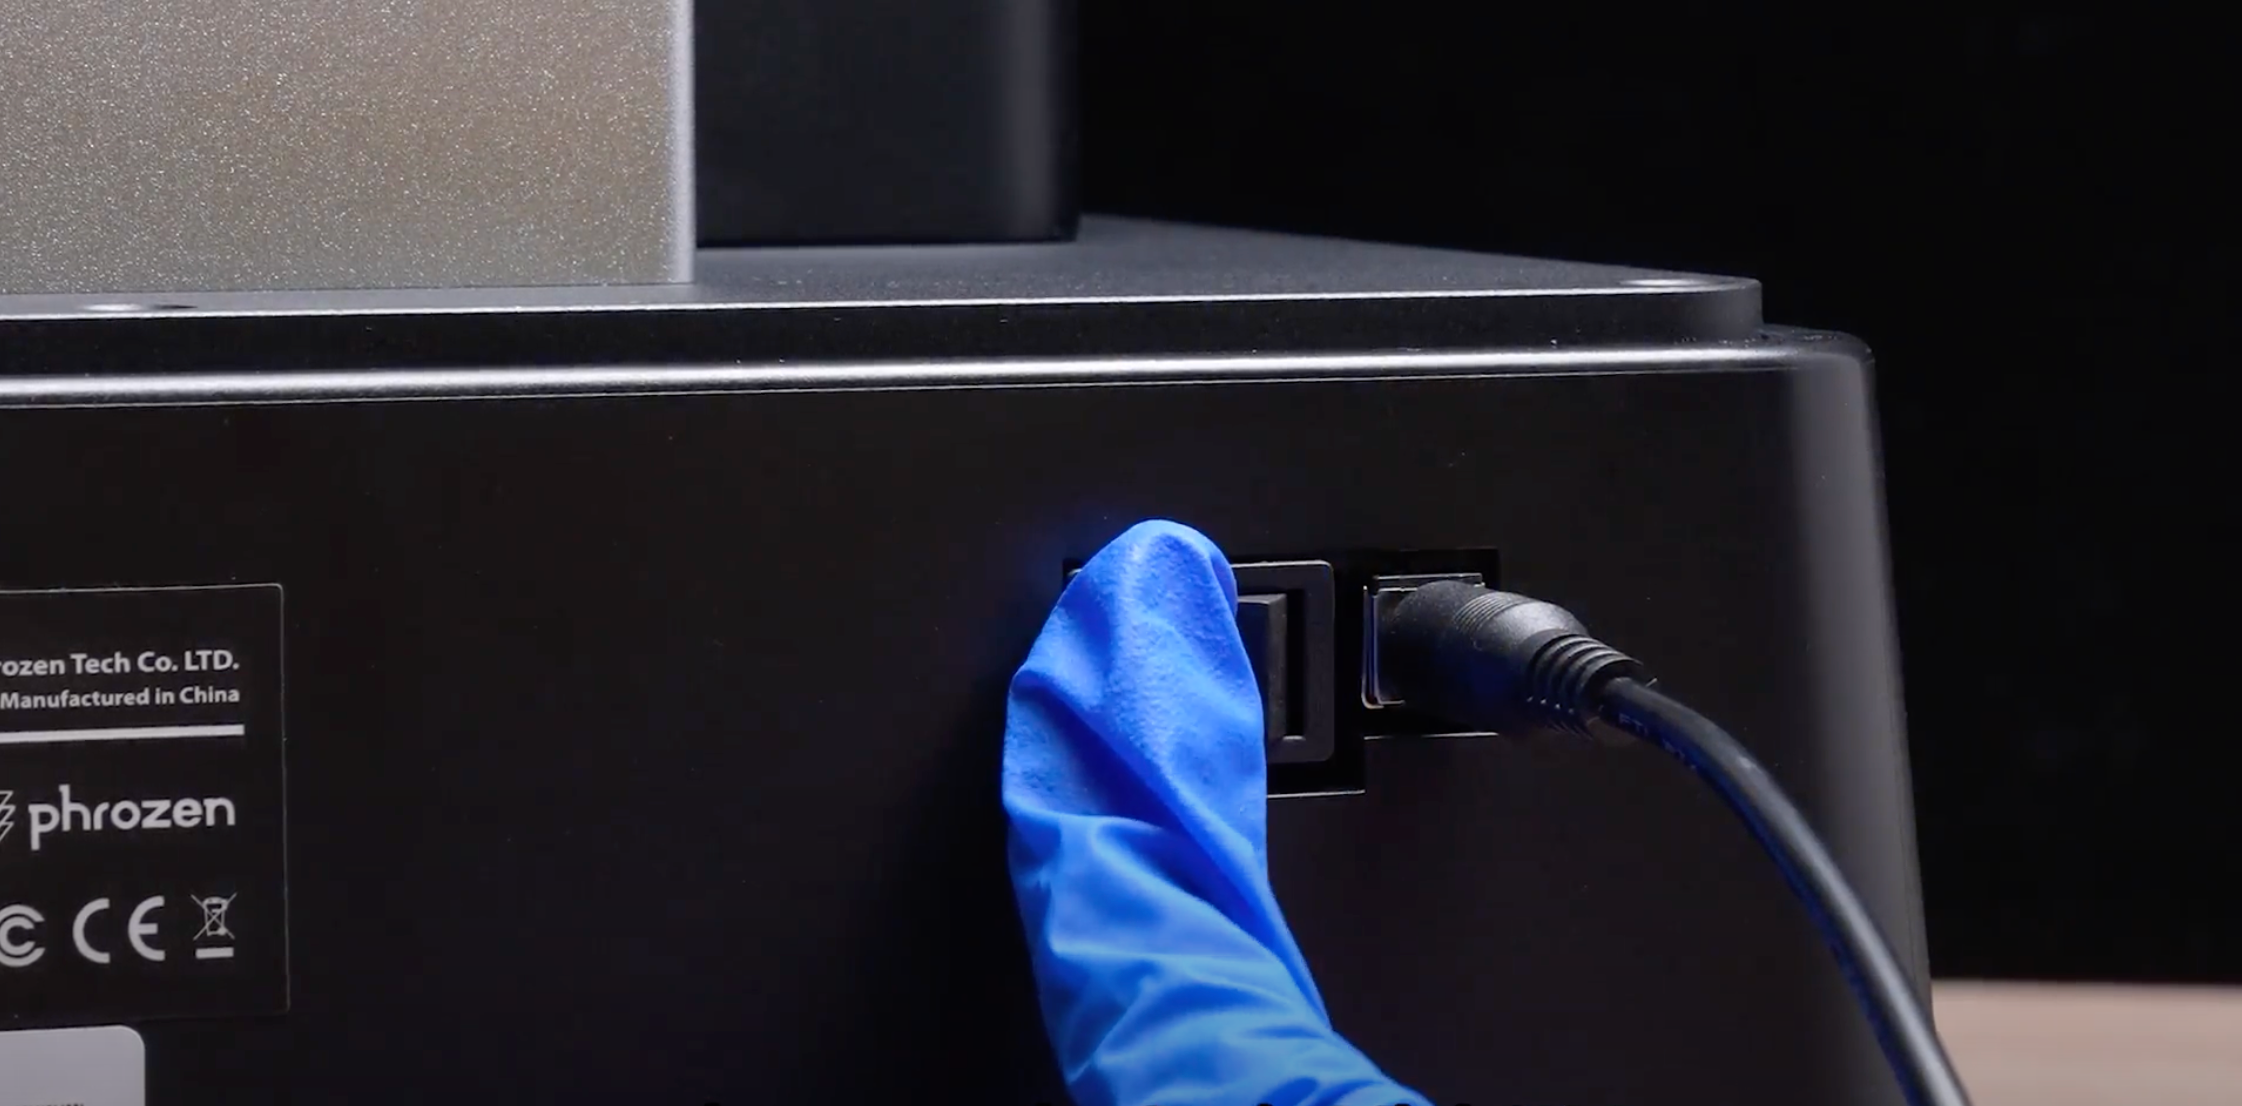
Now we can proceed with performing an LCD Test on your Sonic Mini 8K S.